Head Build – Modified
To have a better understanding, you should read this thread first.
I skipped over alot in this thread that is covered in the above thread.
I am going to skip the tear down and tech, and start, a basic clean casting.
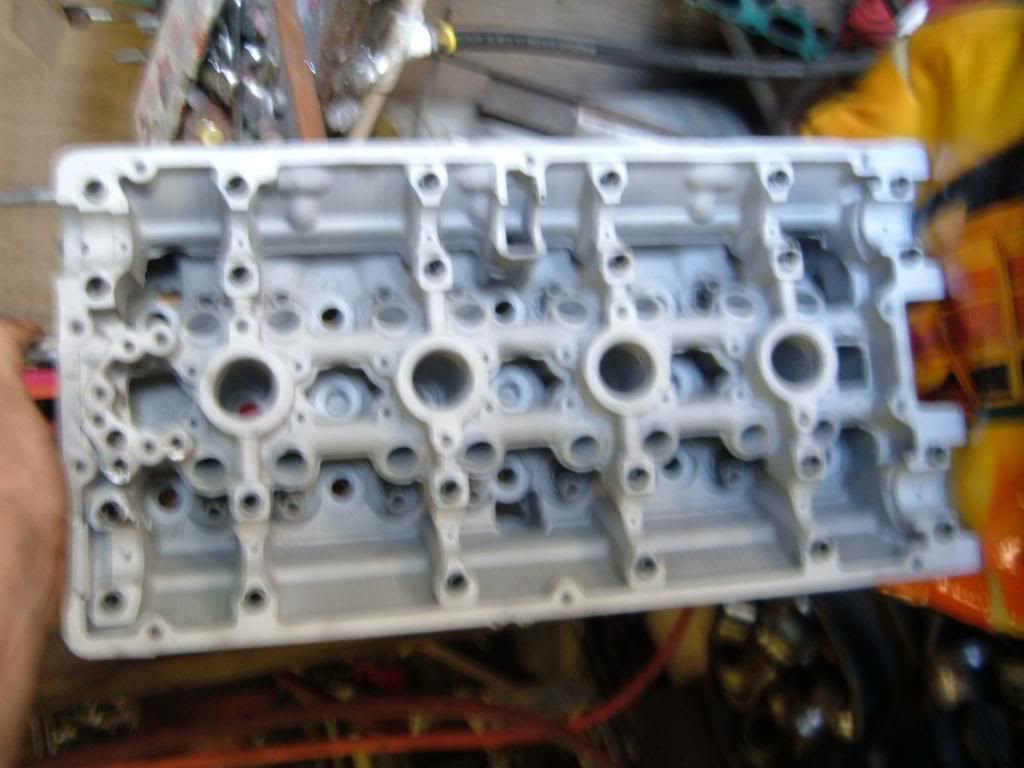
The guides are good, and I am going to use the customer-supplied parts.
>Manley single springs, Spec sheet 66 lbs @ 1.580
>EPN-Engnbldr Std size Stainless Steel valves
This head was also Belt surfaced, So I have to do a corrective mill to square the head.
I set it up on the grinding bench
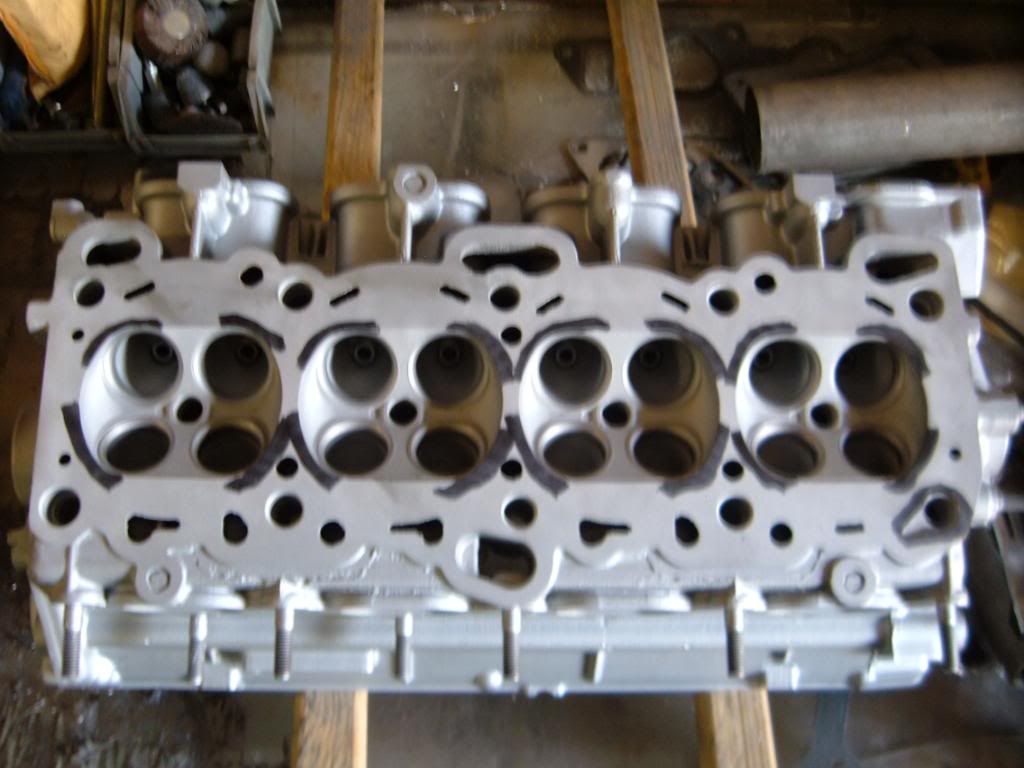
I know this head will see turbo use.
I inked parts around the combustion chamber and etched with a head gasket.
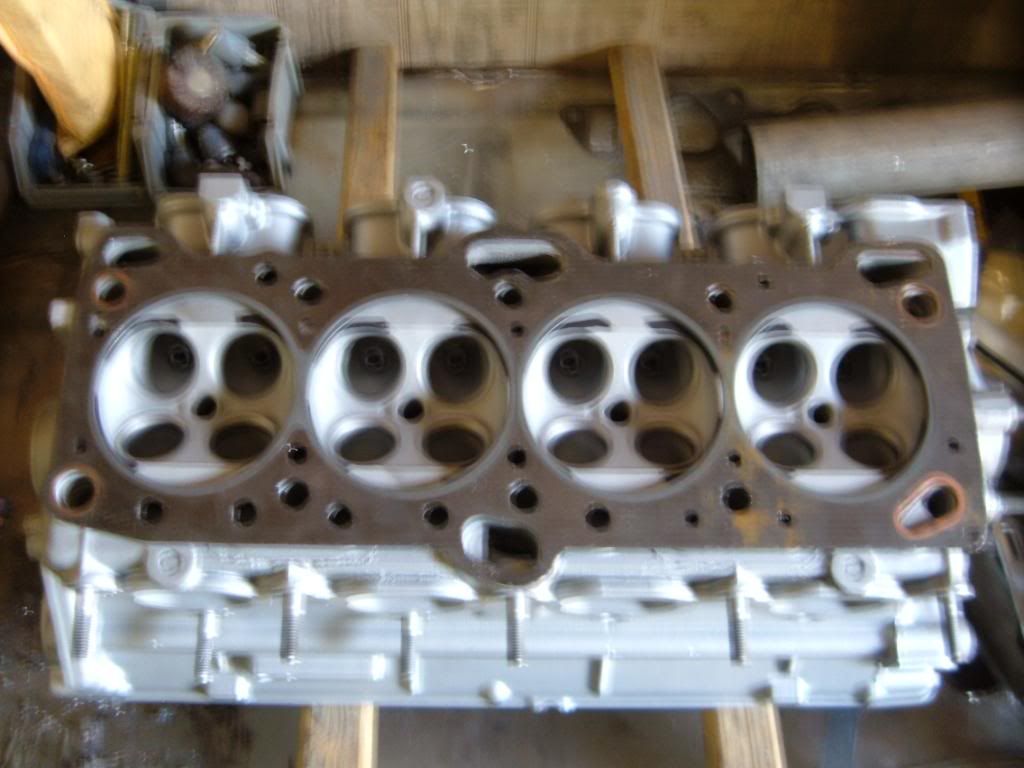
Did oil port Mod 1
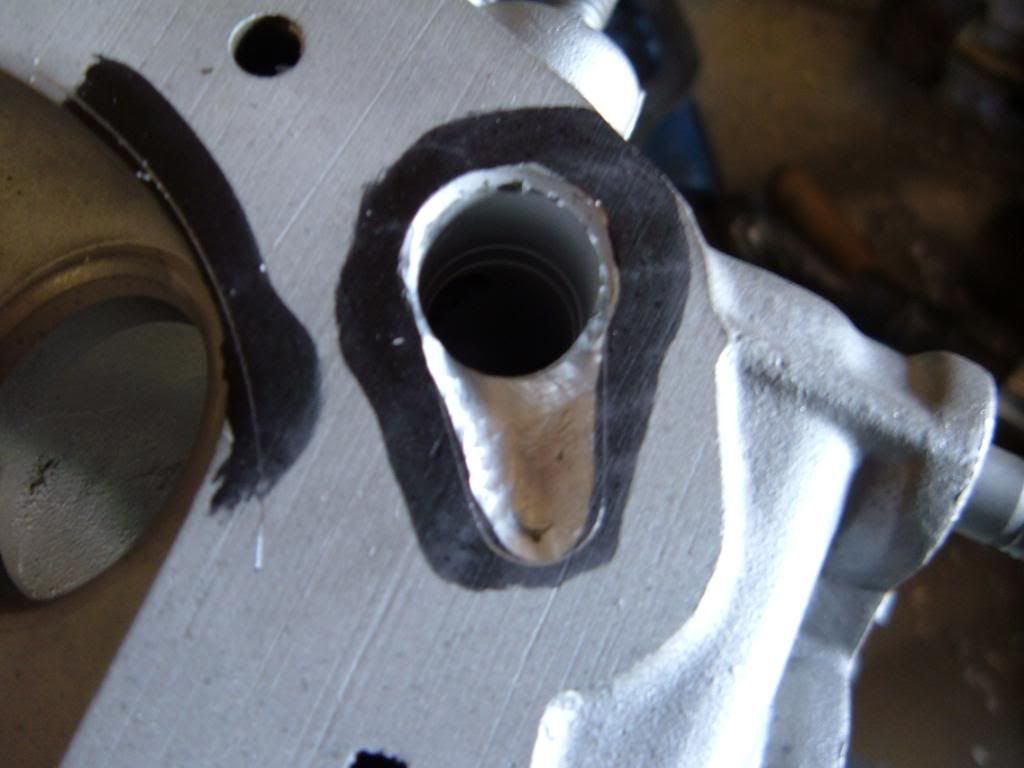
The sharp edge of the combustion chamber was beveled down
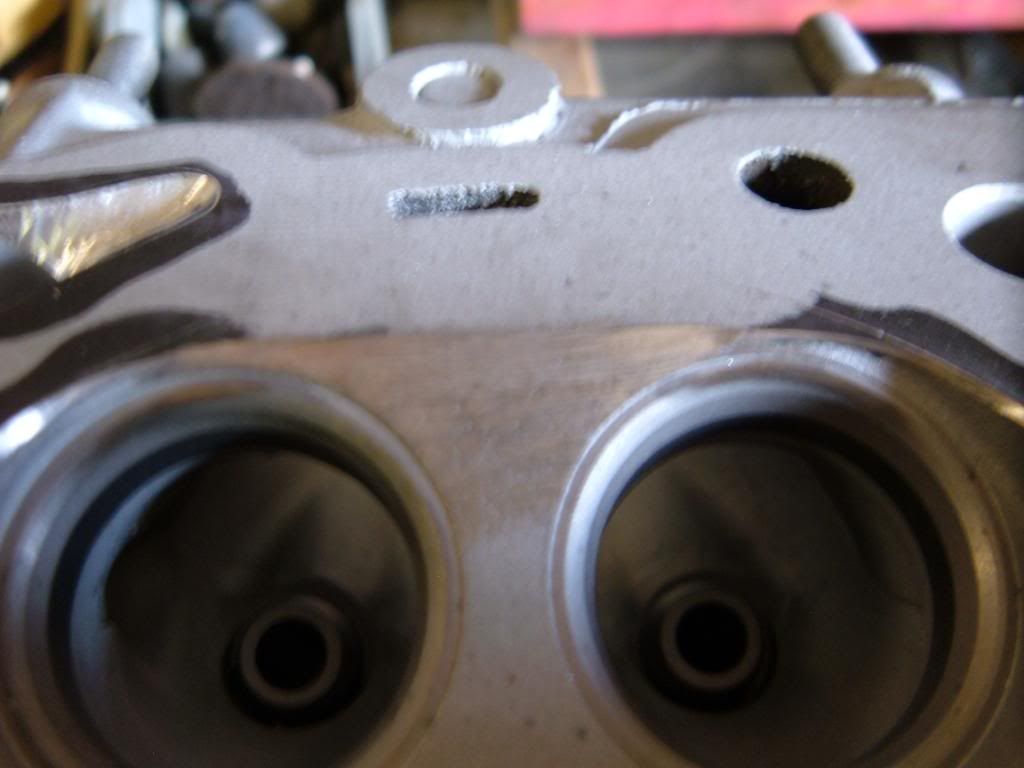
A slight champher was done around the rest of the combustion chamber
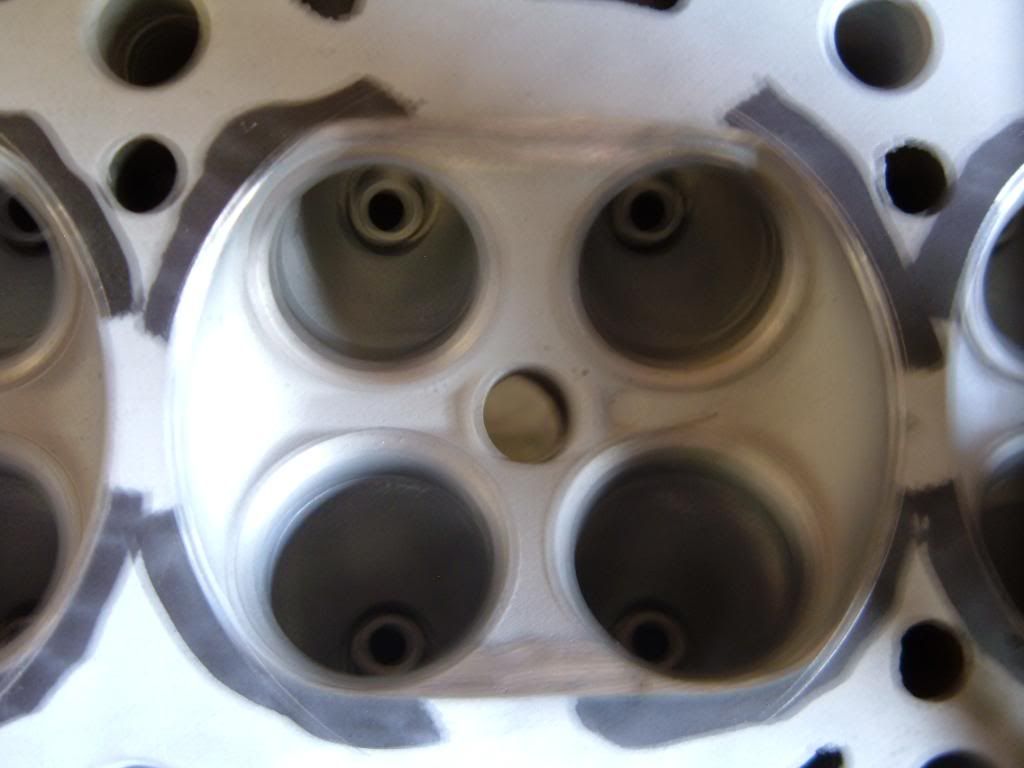
The runners had some cast flashing removed
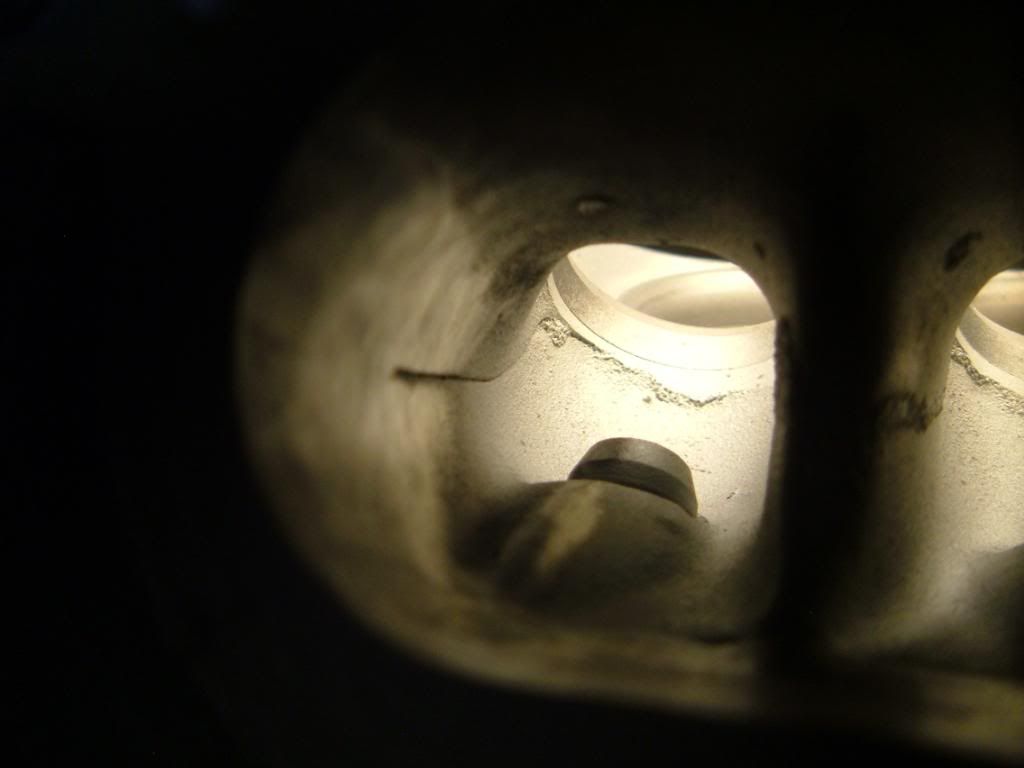
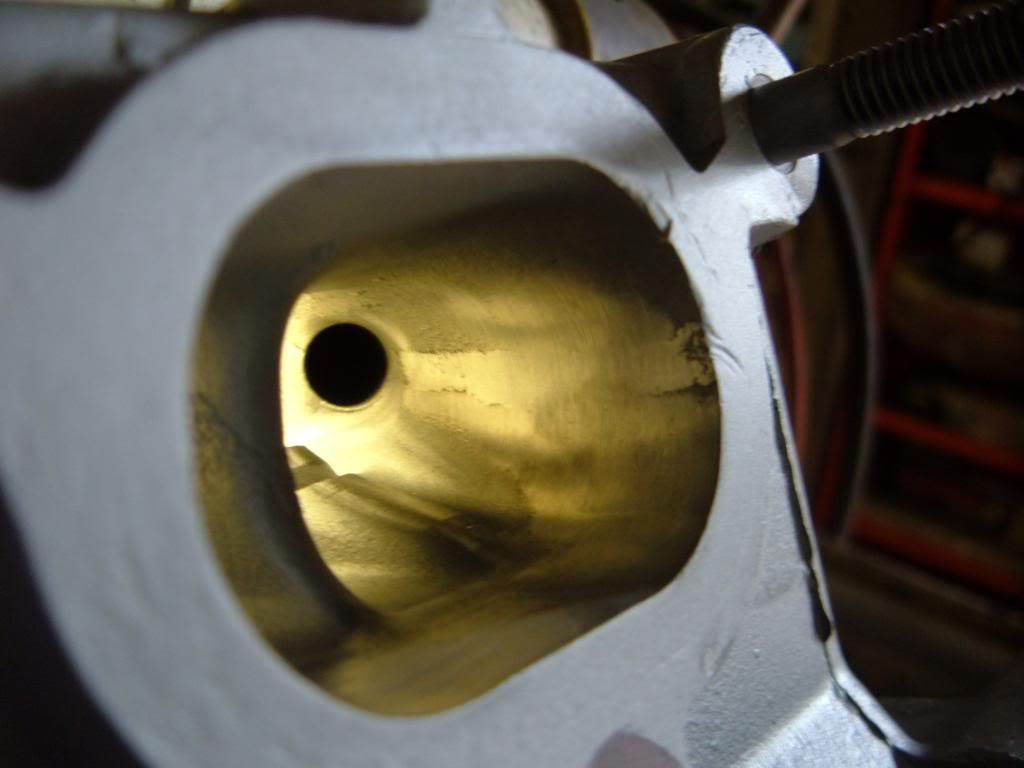
Now was time for the valve job, start with a basic 3 angle valve job
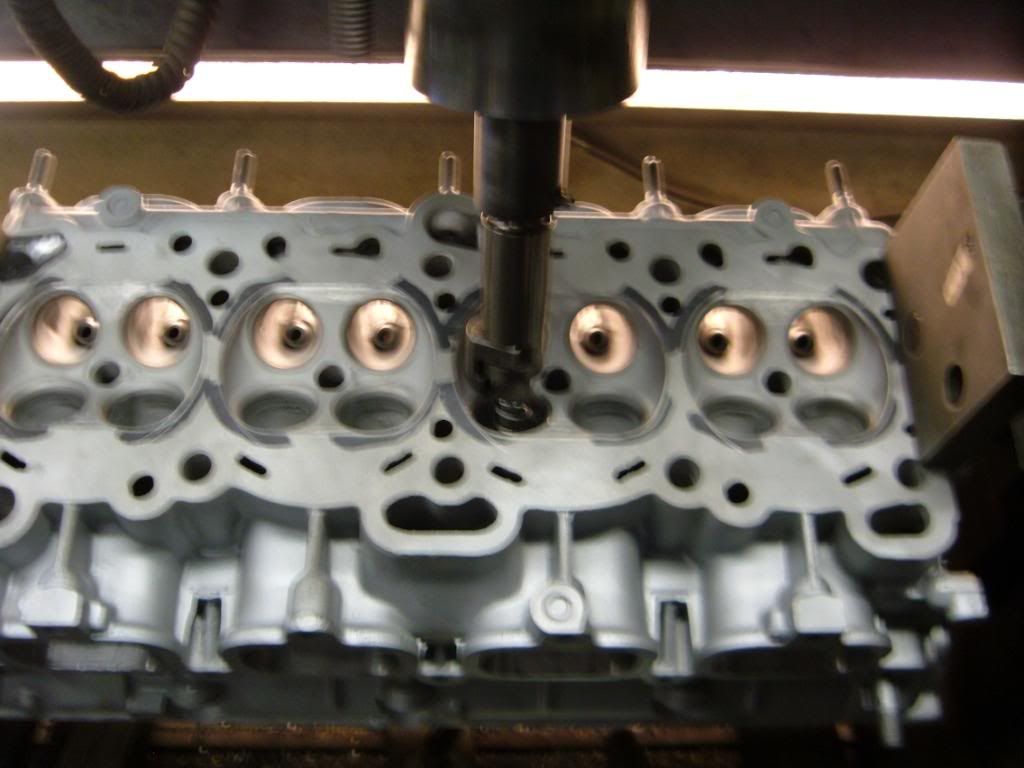
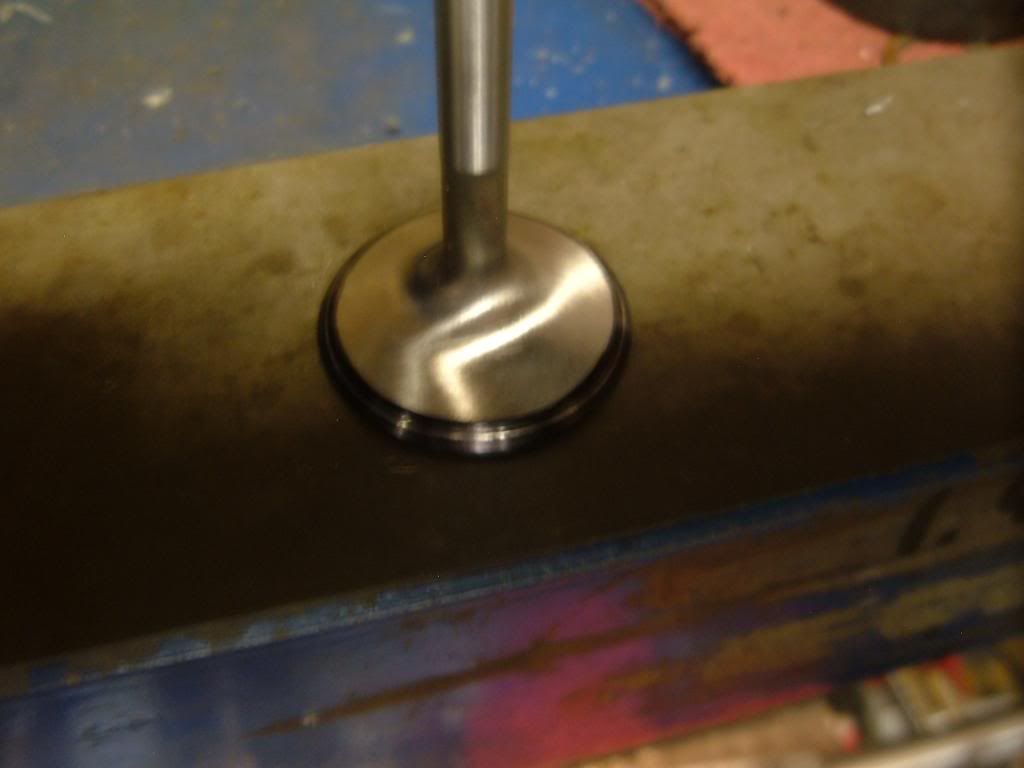
Checking seat placement on the valve.
Now I will do a throat cut.
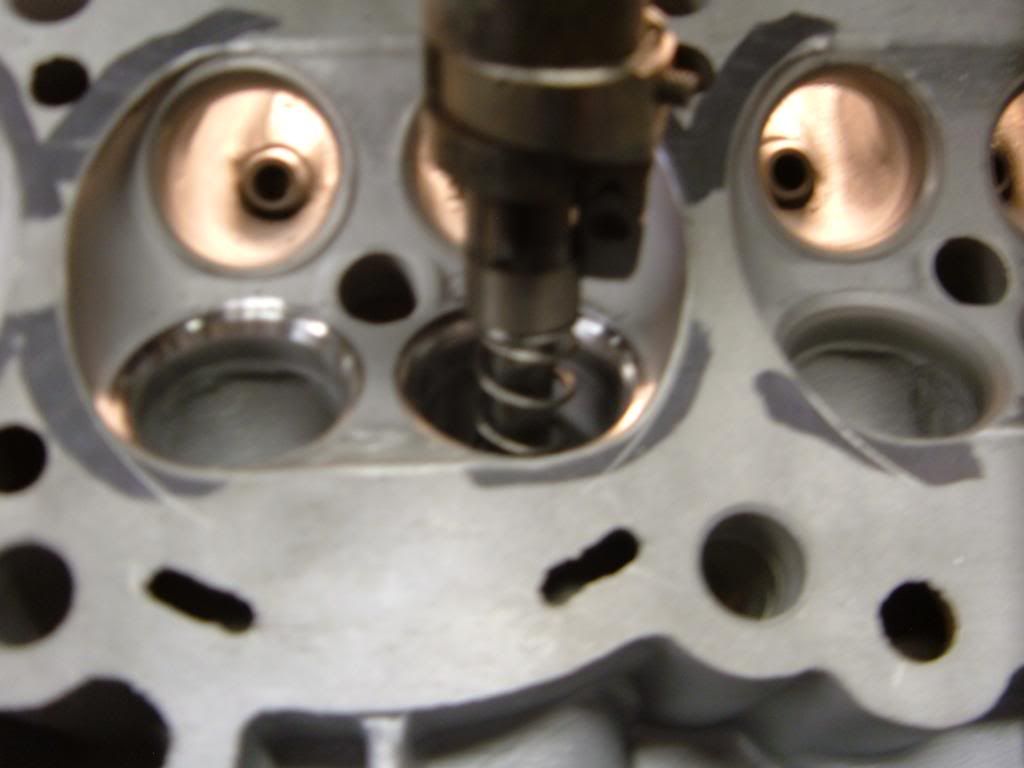
Notice the difference this makes, See the lip under the seat insert with the rough casting, (left bowl)
The bowl on the right had the throat cut.
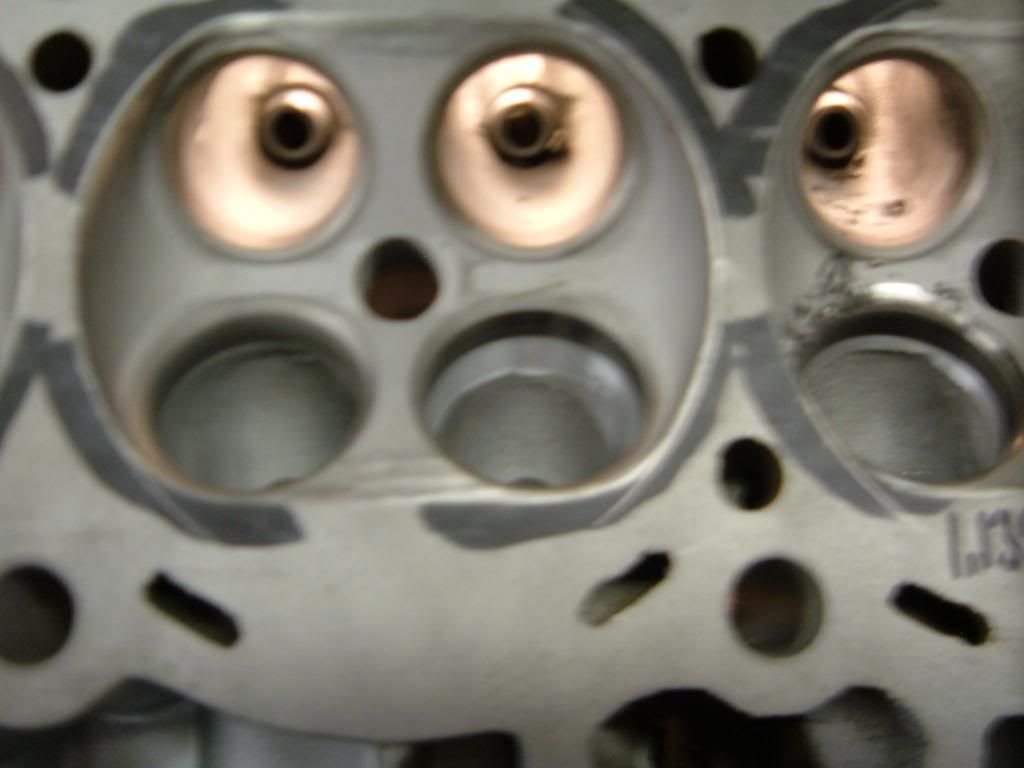
This leaves a lip also
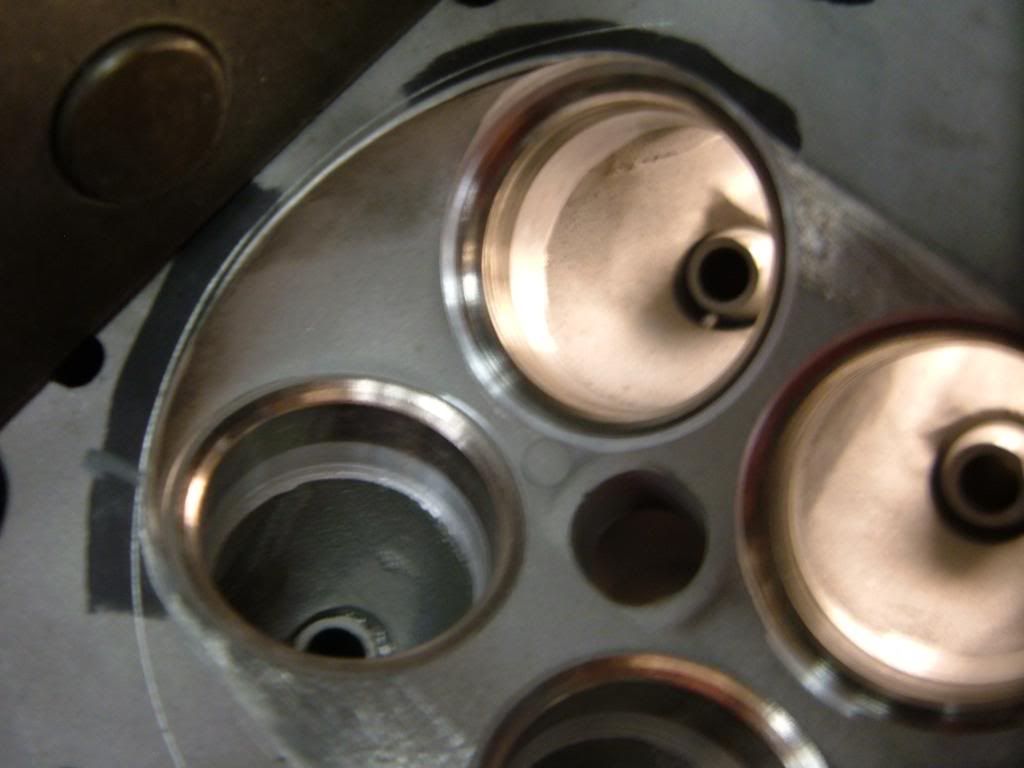
Now the lip needs remove and blended in.
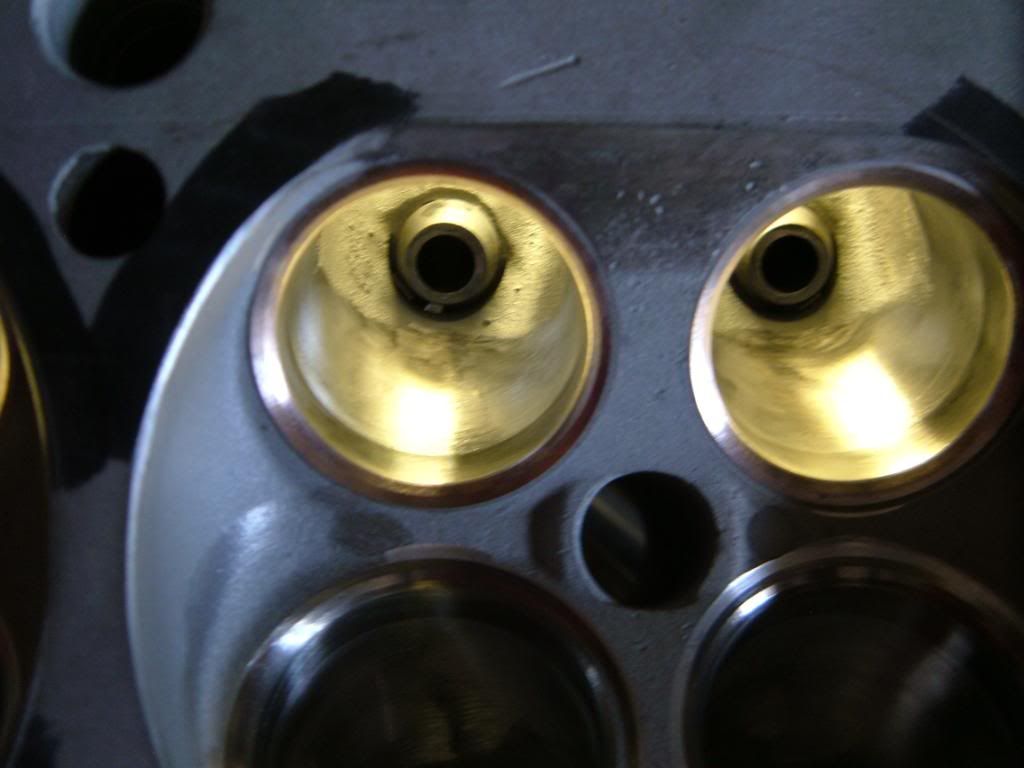
The valves are ground.
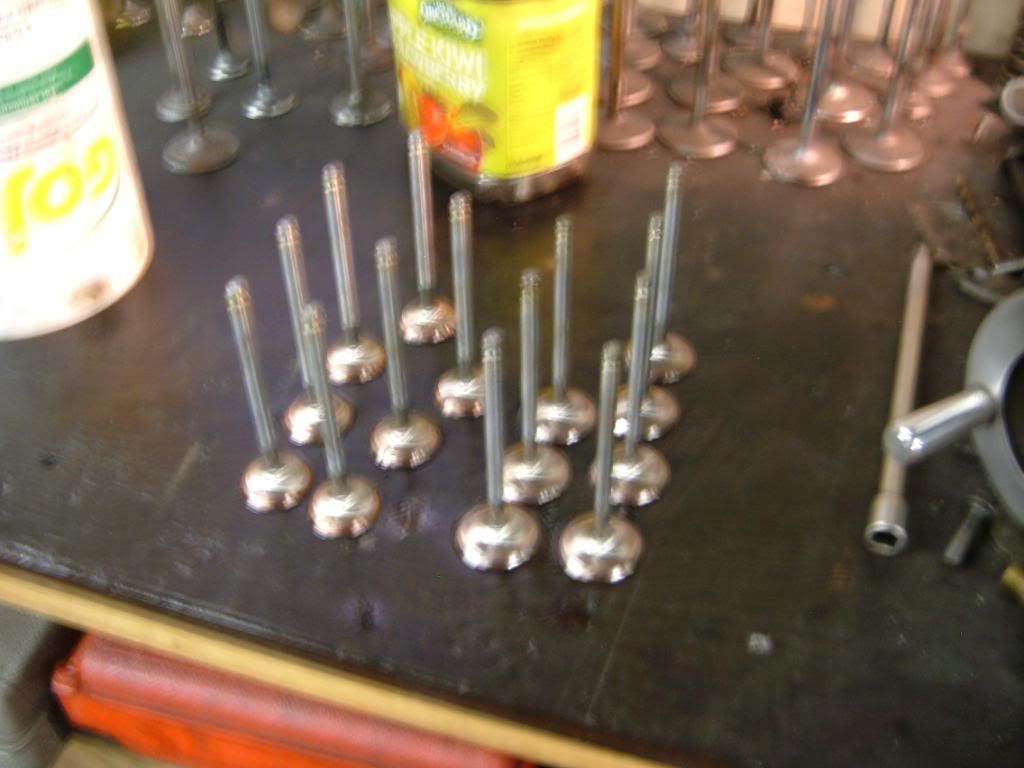
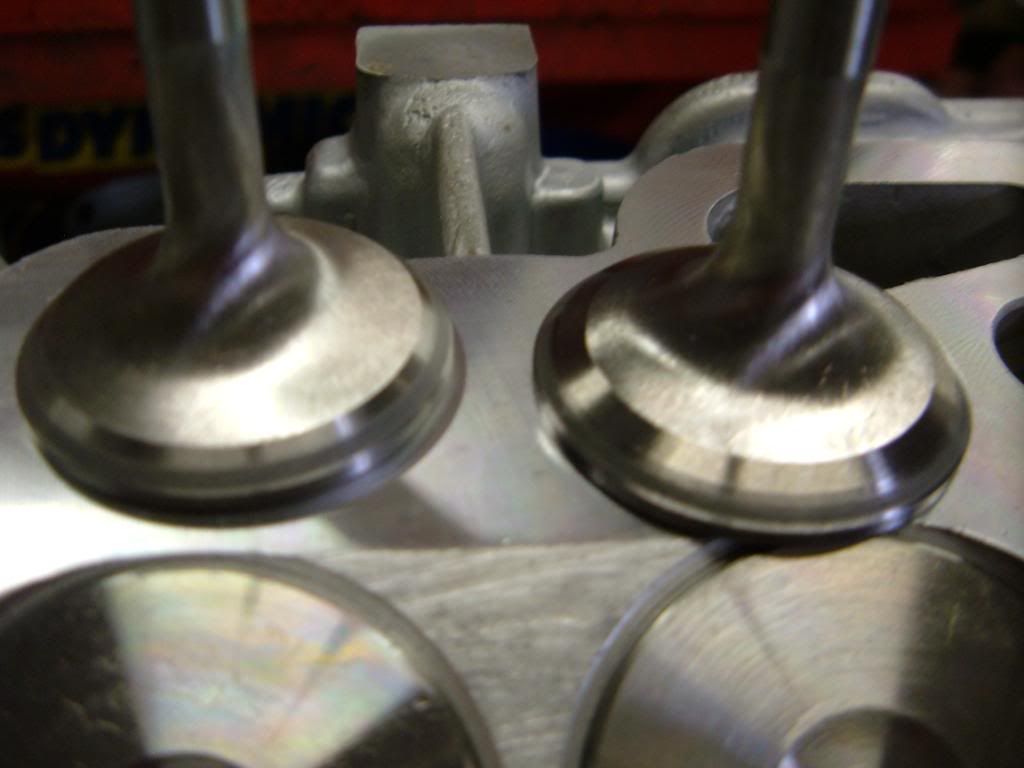
Then lapped in and back cut
The head is CBN milled
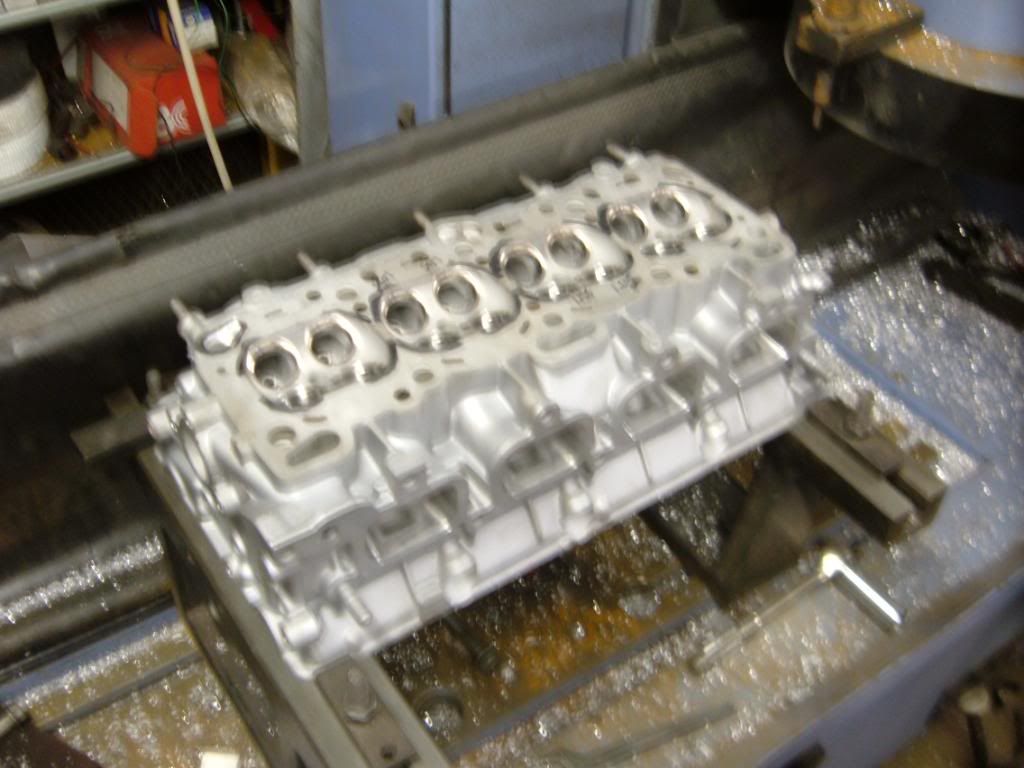
First cut .003
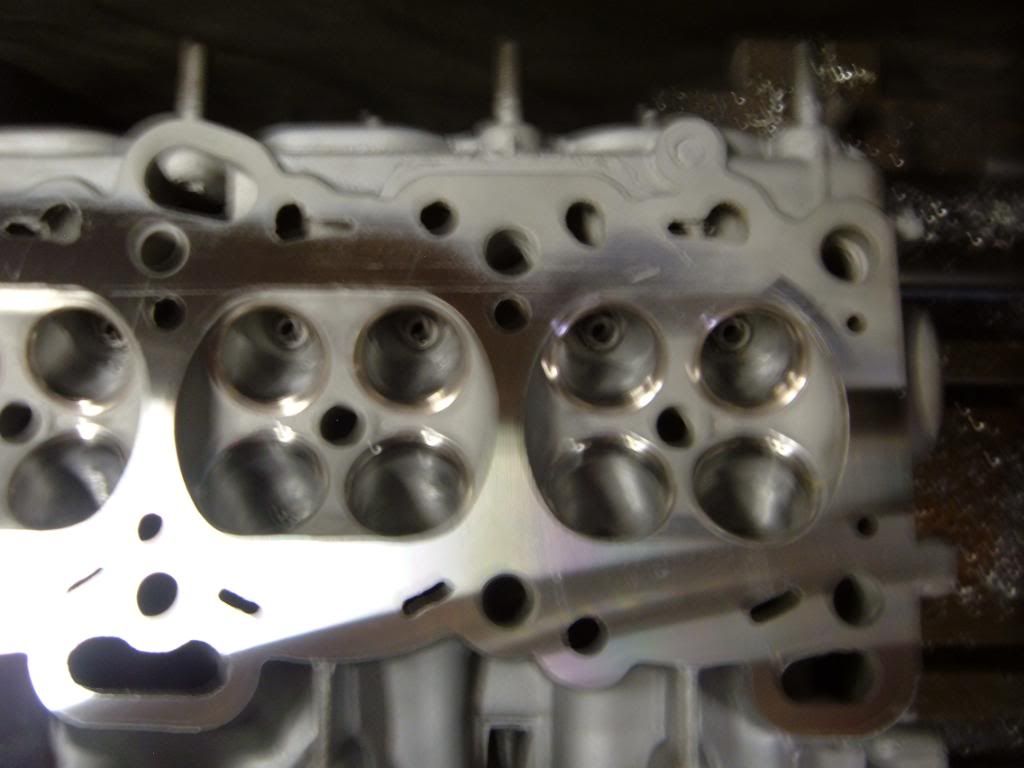
Another .004
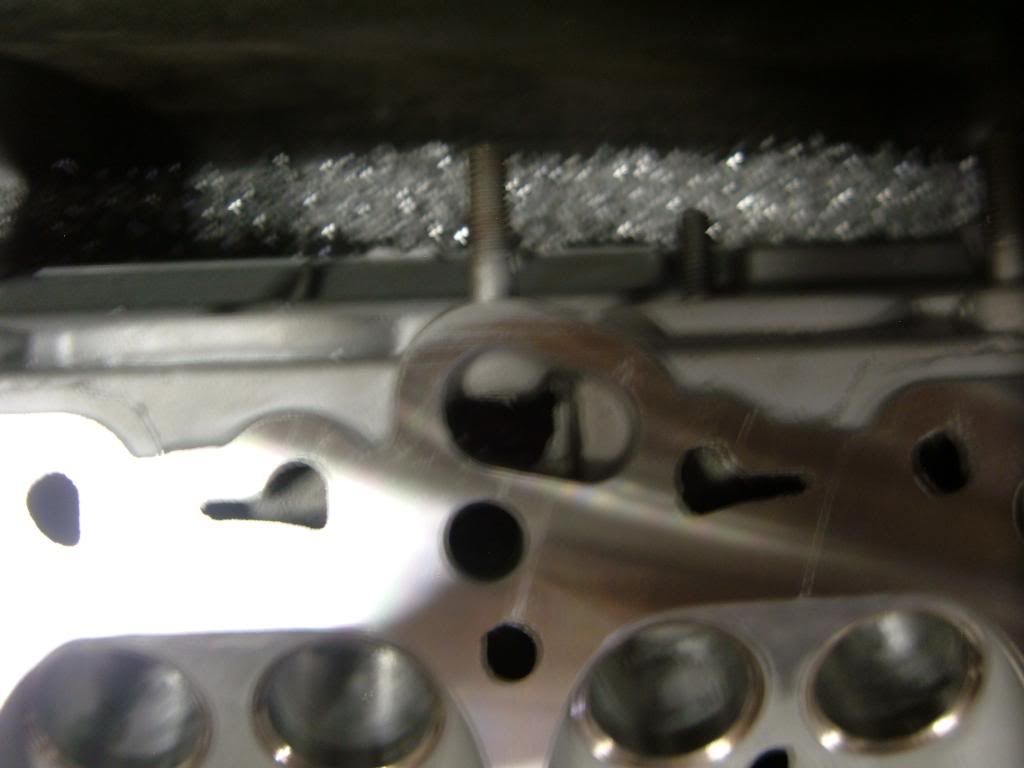
I milled another .002 to finish square the head.
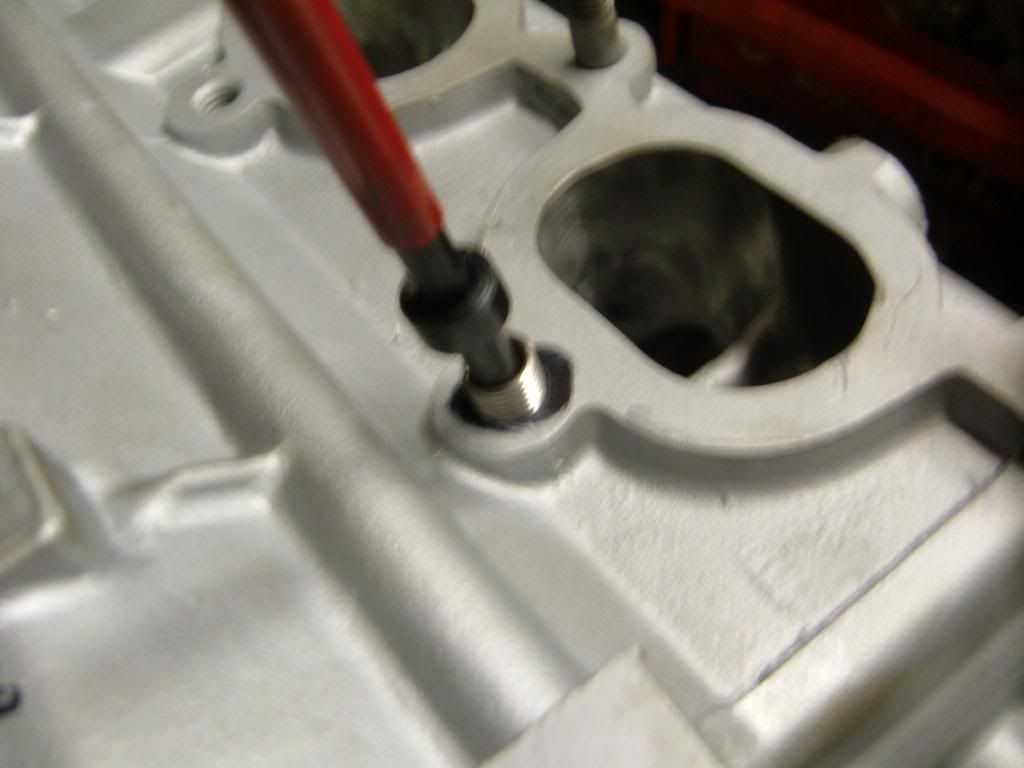
Had a bad exhaust stud hole, so a heli-coil fixed that.
Valve tip height is checked,
The springs are checked
Spring installed height is measured.
Springs will be installed at 1.530 @ 80lbs
Shims are placed on the head.
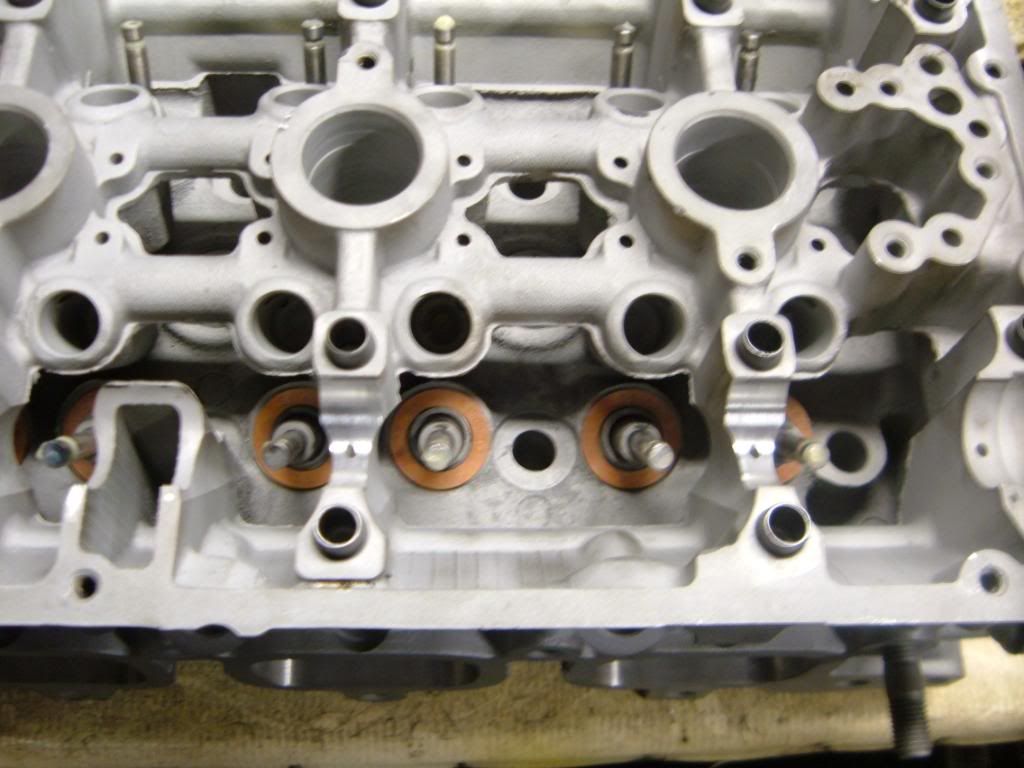
Then the stock spring pad and Vition blue stem seals.
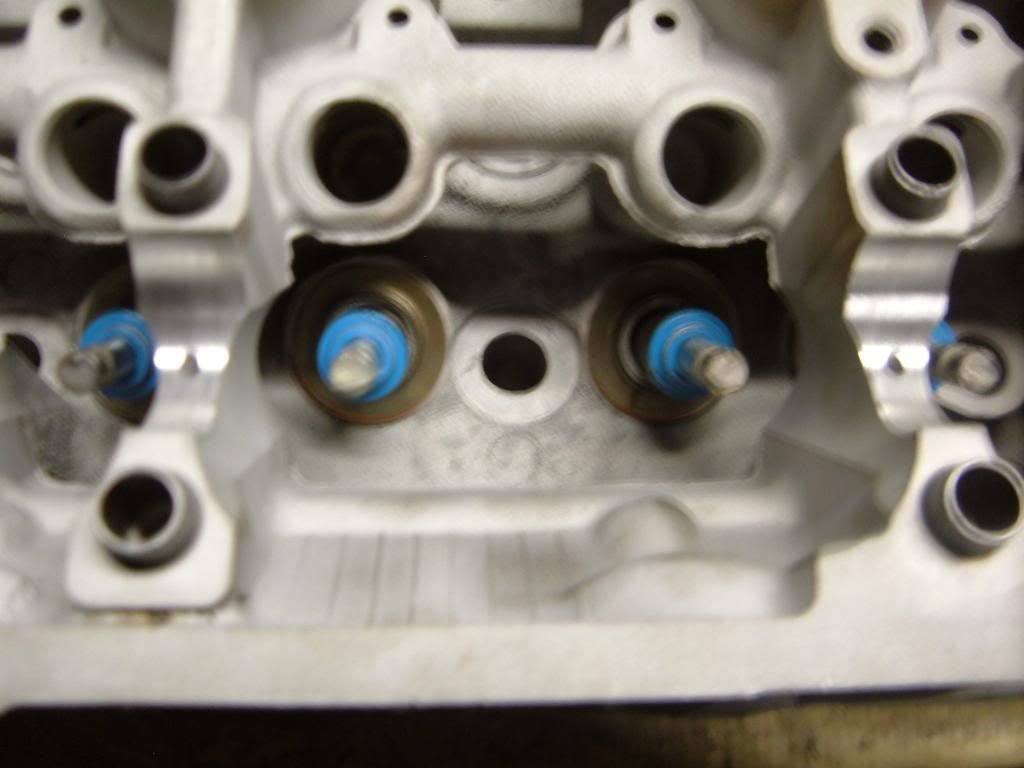
Springs are then buckled up .

The head is now ready for HLAs, followers, and cams and cam caps.
To have a better understanding, you should read this thread first.
I skipped over alot in this thread that is covered in the above thread.
I am going to skip the tear down and tech, and start, a basic clean casting.

The guides are good, and I am going to use the customer-supplied parts.
>Manley single springs, Spec sheet 66 lbs @ 1.580
>EPN-Engnbldr Std size Stainless Steel valves
This head was also Belt surfaced, So I have to do a corrective mill to square the head.
I set it up on the grinding bench

I know this head will see turbo use.
I inked parts around the combustion chamber and etched with a head gasket.

Did oil port Mod 1

The sharp edge of the combustion chamber was beveled down

A slight champher was done around the rest of the combustion chamber

The runners had some cast flashing removed


Now was time for the valve job, start with a basic 3 angle valve job

Checking seat placement on the valve.

Now I will do a throat cut.

Notice the difference this makes, See the lip under the seat insert with the rough casting, (left bowl)
The bowl on the right had the throat cut.

This leaves a lip also

Now the lip needs remove and blended in.

The valves are ground.

Then lapped in and back cut

The head is CBN milled

First cut .003

Another .004

I milled another .002 to finish square the head.
Had a bad exhaust stud hole, so a heli-coil fixed that.

Valve tip height is checked,
The springs are checked
Spring installed height is measured.
Springs will be installed at 1.530 @ 80lbs
Shims are placed on the head.

Then the stock spring pad and Vition blue stem seals.

Springs are then buckled up .

The head is now ready for HLAs, followers, and cams and cam caps.


Comment