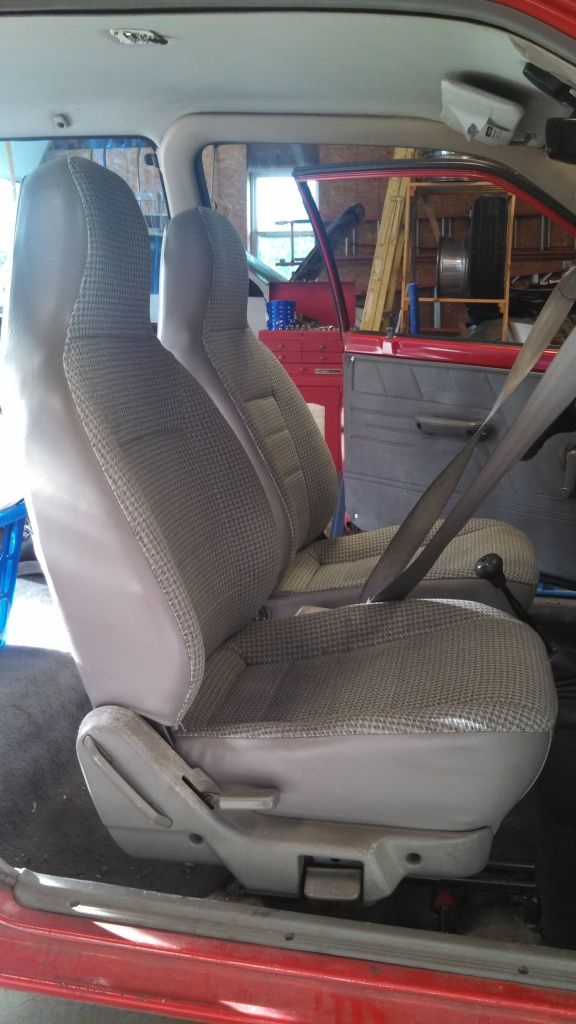
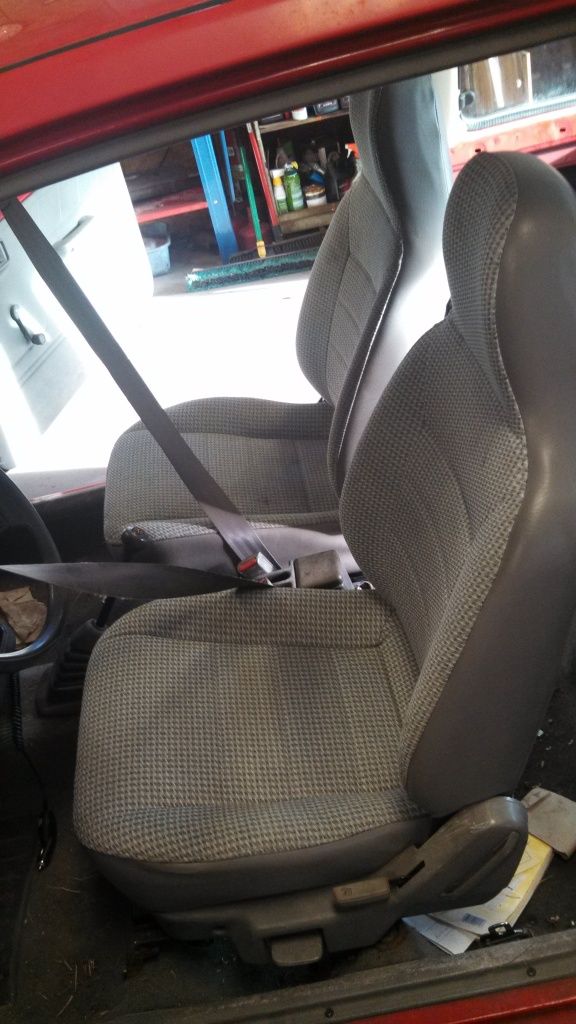
Here is the easiest way to do an Aspire front seat swap. This gives you better cushioning and side support, plus generally nicer covers in terms of wear and style.
Definitions: inboard means the side of the seat next to the central hump on the floor; outboard means the side of the seat next to the door. This is true for both front seats, since they are basically a mirror of each other.
Tools needed:
14mm socket.....8mm hex wrench or socket.....#2 phillips screwdriver
needle-nose pliers.....normal flat-nose pliers.....10 blue zip ties.....1 beer
Step one: Remove Festy seat from car, using 14mm socket; three bolts and one nut.
Step two: Remove both (Festy and Aspire) seatbacks. Remove the plastic recliner mechanism cover; two phillips screws. Then do the inboard side; one phillips screw. On the outboard side, you need to remove the two 8mm hex bolts down where the reclining mechanism is. The front one is easily accessible with the seatback in the normal position; for the rear one, you need to recline the seat fully, so that the semi-circular ratcheting part of the recliner mechanism is out of the way. The Aspire seatback with recliner mechanism is installed as a whole.
Step three: Remove both seat cushions and covers. On the left and right sides are five plastic pins holding the cover on. They either pull out easily or you might need the needle-nose to persuade them. Now turn the cushion over; on the bottom are ten hog rings (circular metal pieces). Use whichever pliers works better to remove them.
Step four: Put the Aspire seat cover and foam on the Festiva metal seat bottom pan. Re-insert the five plastic pins on the left and right, and use the ten blue zip-ties in place of the hog rings (just because they are easier--you can use the hog rings if you want).
Step five: Install the Aspire seatback onto the Festiva bottom. Do the inboard side first. Note that you have a flattish plastic piece; this goes on first, to prevent wear of the seat cover. Then the metal tube, then the hat-shaped grommet, then the screw. After that, do the outboard side. You know how.
NOTE: If you have a separate lap belt and the automatic shoulder belt, you might want to re-use the plastic recliner cover from the Festiva, since it has a place to insert the lap belt, so you don't have to reach all the way to the floor to get at it. Aspires used integrated belts, so don't have this feature.
This process took 30 minutes or less. Congratulate yourself on a simple and very useful upgrade by drinking half the beer. Now do the other seat.


 Huge upgrade indeed ^


Comment