from the makers that bought you: "how to make your rear wiper stop in the down position" now brings you: "how to make your stock headlights look awesome" :p
ok this is how to make your stock headlights look awesome
what you will need:
your stock headlights
an oven
tools to take them out (10mm, phillips screw driver)
med sized flat head screwdriver for prying
pair of gloves and a sweater that wont light on fire
face shild
needle nose plyers
can of flat blacl spray paint
sand paper (120 grit is what i used)
masking tape
razor blade/exacto knife
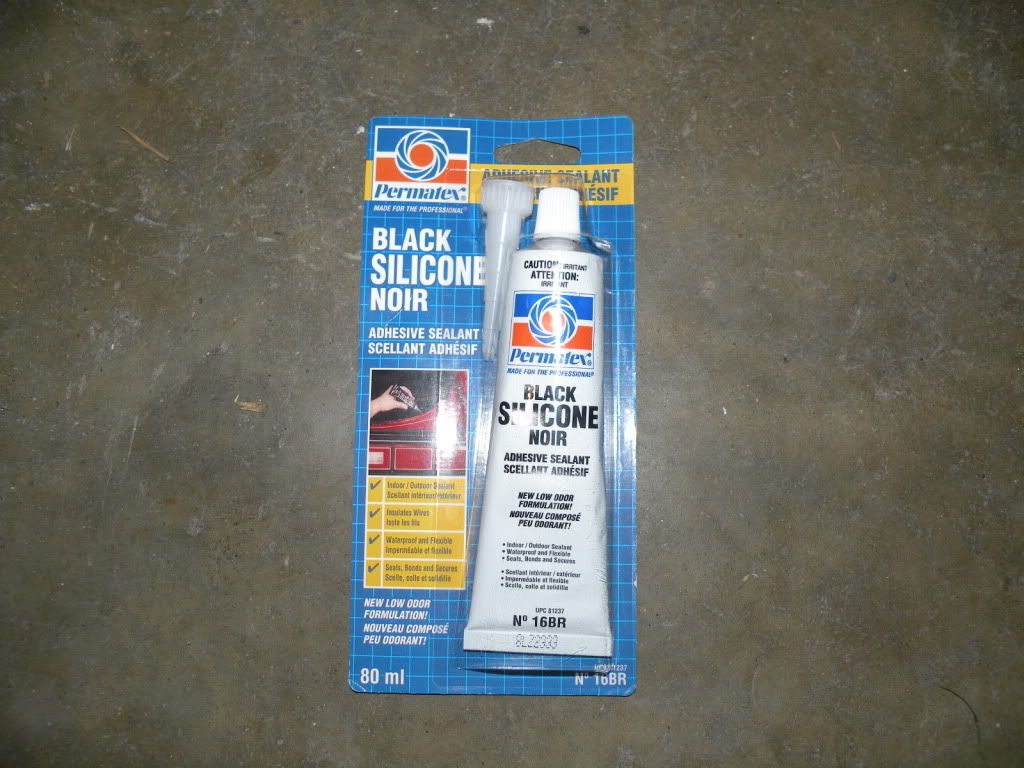
tube of black silicone
drill with wire wheel, to get all the goop off and not take forever to do it
ok first step is to take the headlights off and get the frames off the back, take off the spring with some needle nose plyers or your fingers if you can...
take out the bulbs and clean off any grease from the housing so it dosnt burn and smoke in the oven lol...
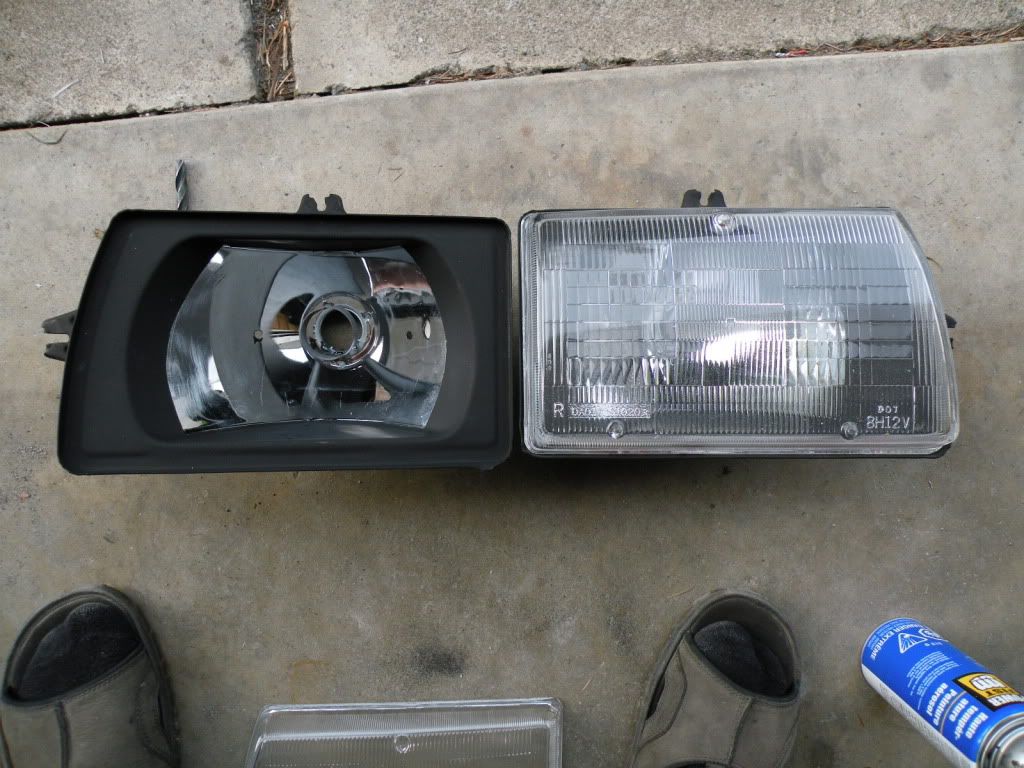
then you should have somthing that looks like this...
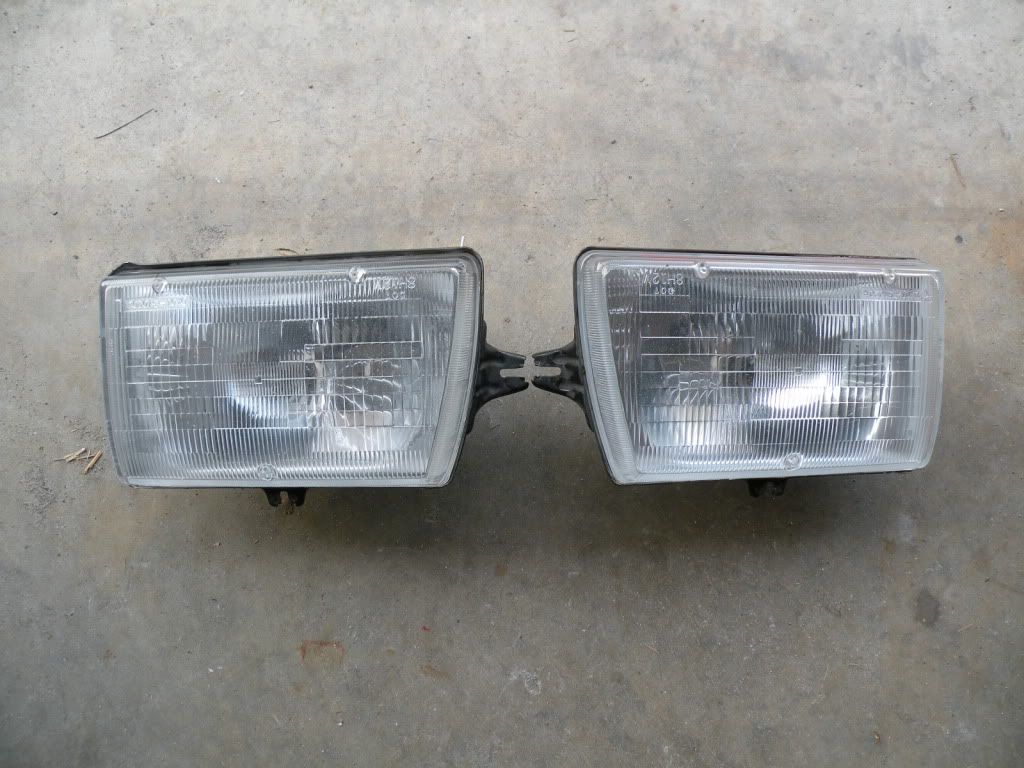
then you stick them in the oven for a bit... i put them in for about 15 min at 275deg then got impatient and bumped it up to 350 for about 5 min and then the things started to smoke and stunk up the kitchen... so i somewhere between there is the sweet spot, youll have to find it lol...
ok once the glue is nice and hot get your gloves, flat head screw driver, face shild and your sweater that wont catch on fire... take them out of the oven and GENTLY and SLOWLY pry the glass off the metal housing, i used my sweater to keep the heat off my body so i could hold the headlight against my body and hold it steady so i dont crack the glass... and use the face shild so IF you do get little pieces of glass glass cracking off they wont go in your eyes....
once you have the covers off you will have a bunch of grey goop stuck on the metal and glass... use a sharp knife to cut the stuff off the glass, get as much as you can off so it will seal good when you put them back together... on the metal side i cut out the big stuff and then took the drill and wire wheel to get the last of it out... use the face shild....
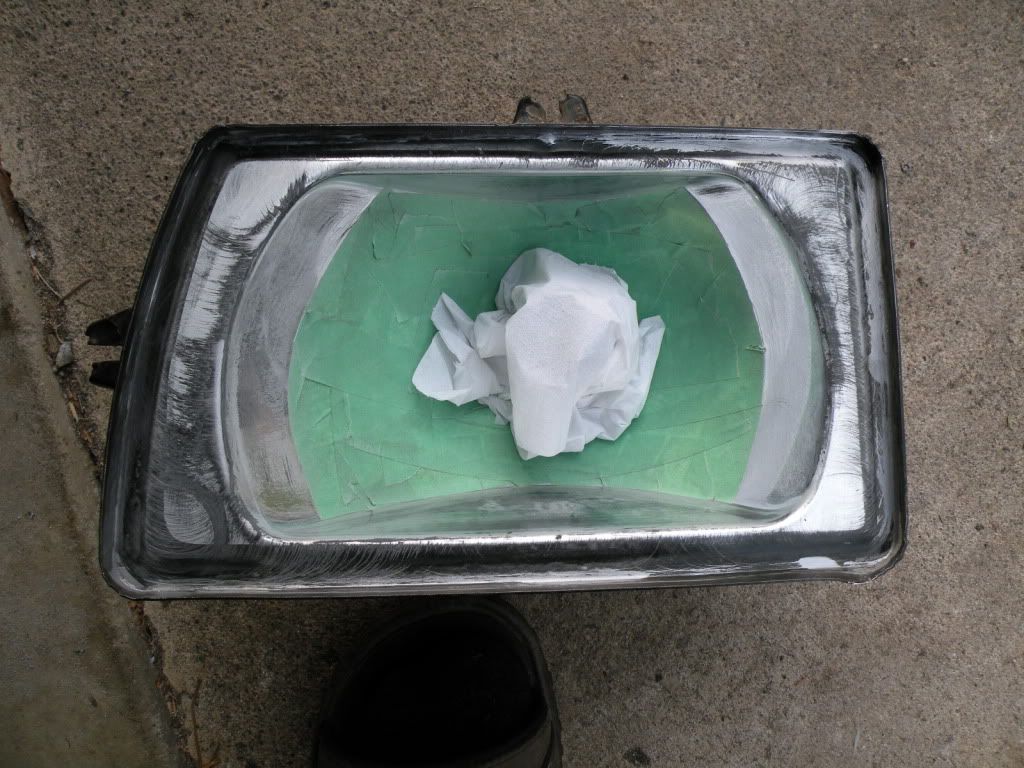
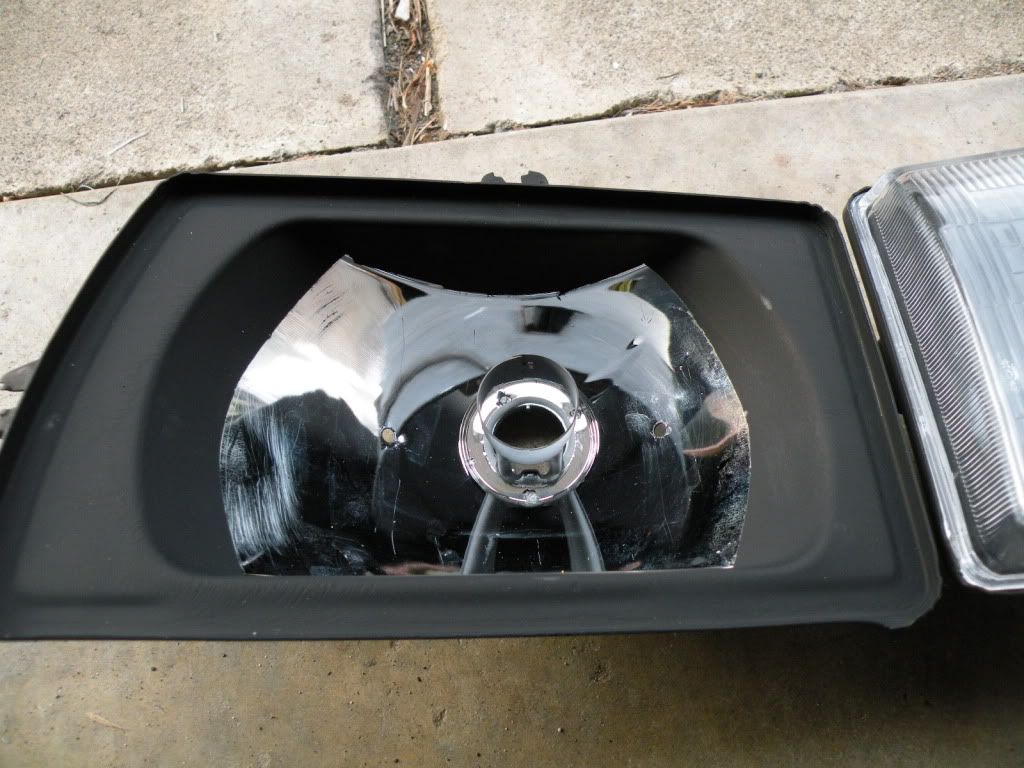
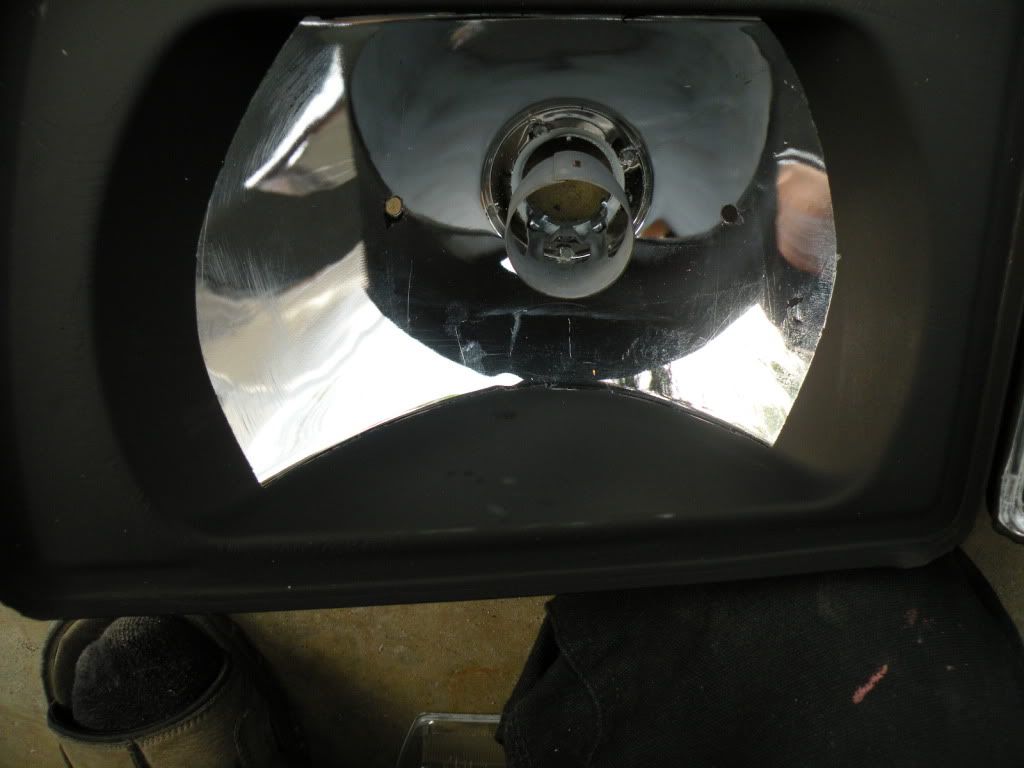
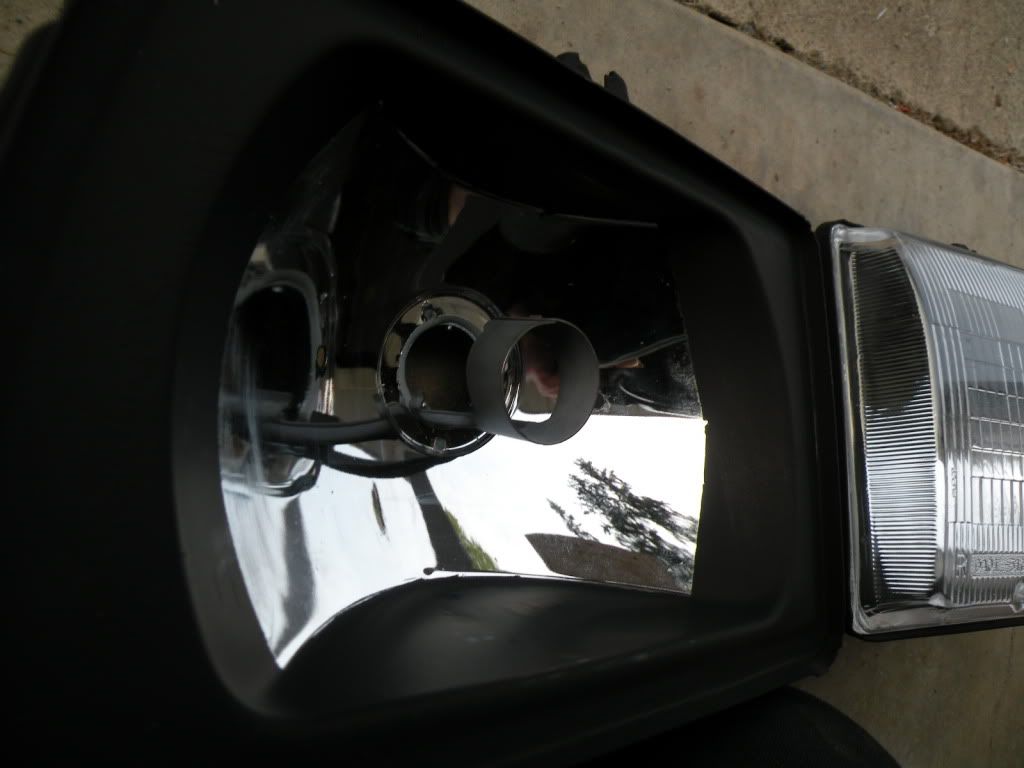
now you can start masking the spots where you dont want the paint, i wanted the headlight as dark as possible so i went inside the headlight reflector about 1 inch... i used a drill bit and my finger as guide to scratch a line where the masking tape should stop so it looked the same on both sides... once your done you should have somthing that looks like this...
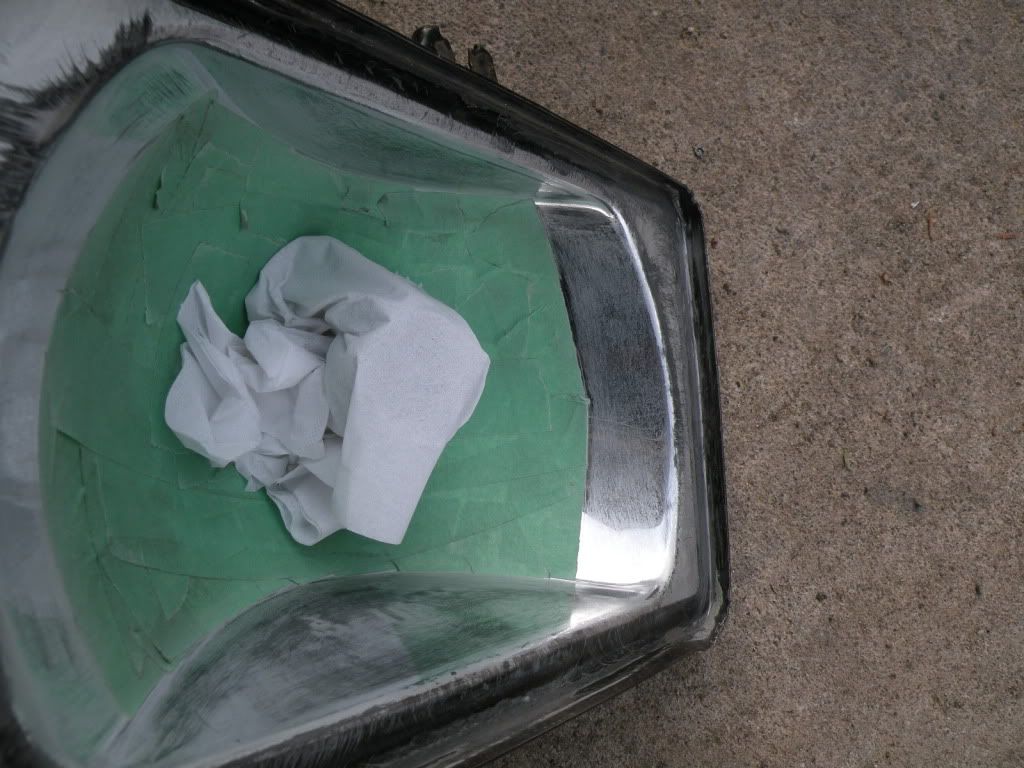
here is the lip i made using the drill bit...
then once you have it all masked off give the exposed stuff a quick sand... try not to mess the masking tape up to much...
then give them a few coats of paint and let them dry...
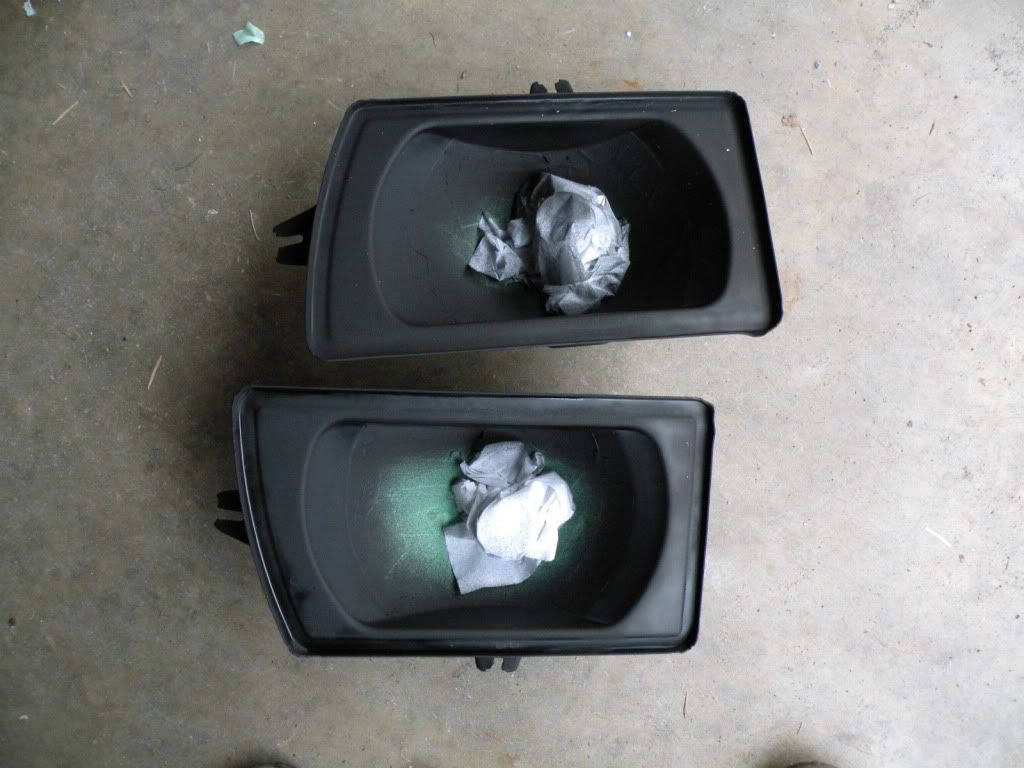
the holes in the reflector are from some LEDs i had in there... i took them out cause they looked stupid lol...
then once thats done, get your tube of silicone and seal them back up, make sure that you use enough goo so it dosnt leak of fall out...
this is the stuff i used
then let them sit in a nice place to dry...
then you can put them on your car
the way the sun was shining the drivers side leadlight was getting more sun so it looks brighter on camera.... but in real life its the same darkness on both sides...
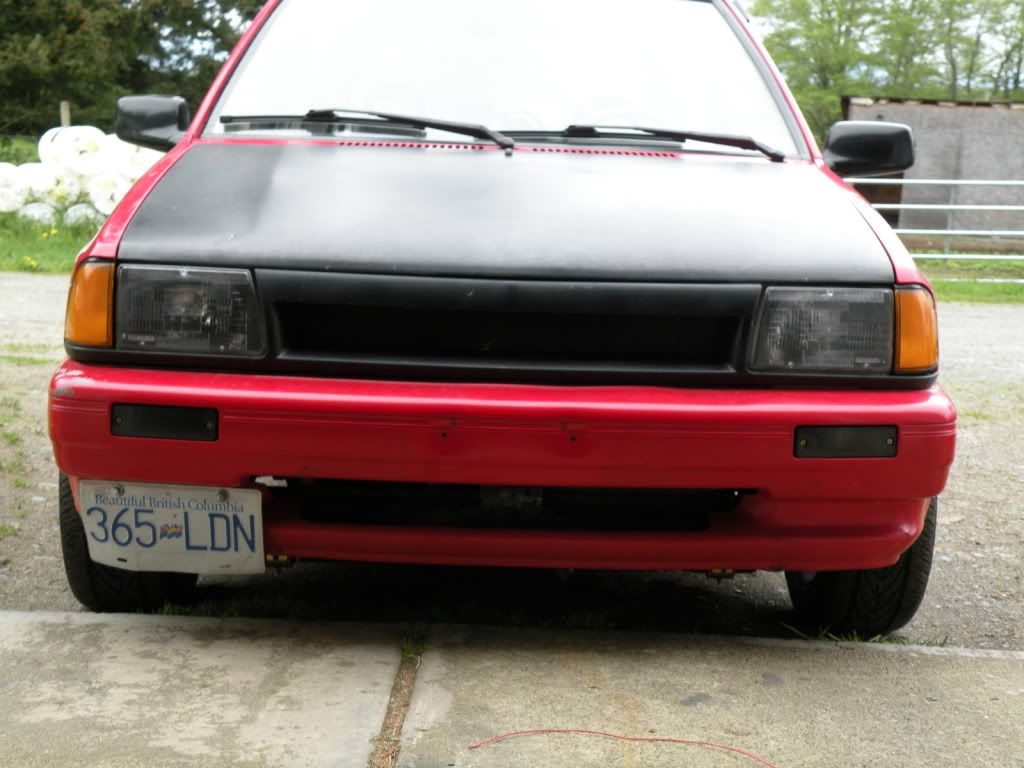
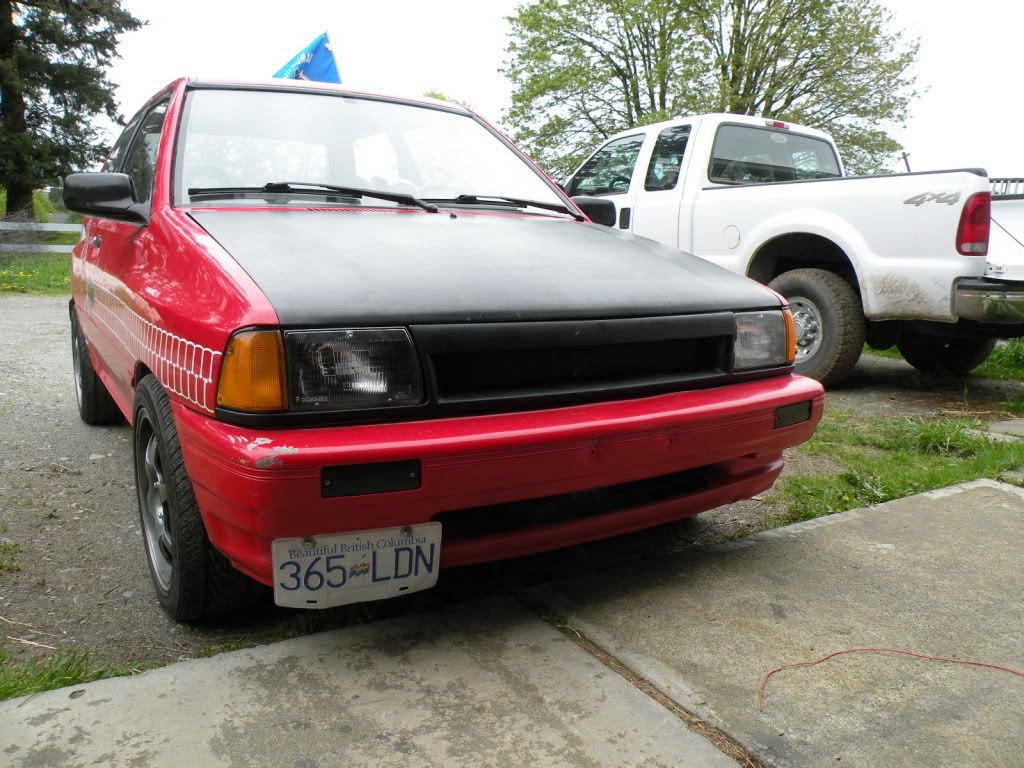
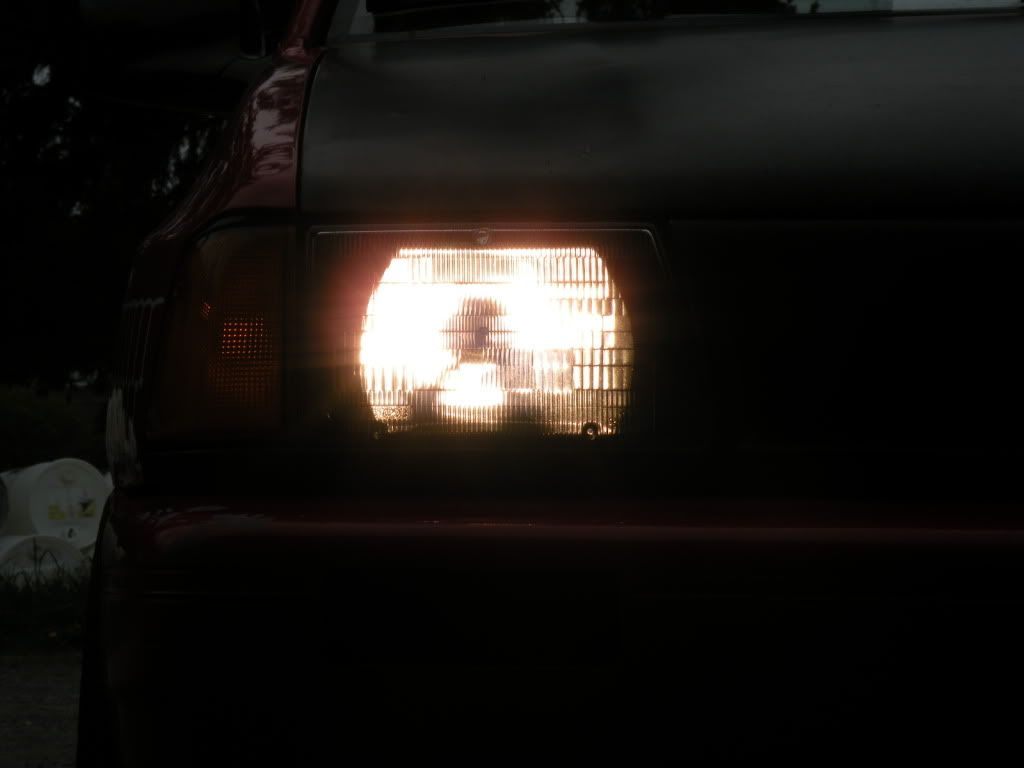
and your done i still havnt driven at night with them cause i just got them done this morning... im gonna take them out tonight and see if the paint dimmed the headlight... it shouldnt have cause the way the light comes out of it, there is no paint in those spots...
any questions? just ask
and if a mod wants to add this to the "how to's" thats fine with me...
ok this is how to make your stock headlights look awesome

what you will need:
your stock headlights
an oven
tools to take them out (10mm, phillips screw driver)
med sized flat head screwdriver for prying
pair of gloves and a sweater that wont light on fire
face shild
needle nose plyers
can of flat blacl spray paint
sand paper (120 grit is what i used)
masking tape
razor blade/exacto knife
tube of black silicone
drill with wire wheel, to get all the goop off and not take forever to do it
ok first step is to take the headlights off and get the frames off the back, take off the spring with some needle nose plyers or your fingers if you can...
take out the bulbs and clean off any grease from the housing so it dosnt burn and smoke in the oven lol...
then you should have somthing that looks like this...

then you stick them in the oven for a bit... i put them in for about 15 min at 275deg then got impatient and bumped it up to 350 for about 5 min and then the things started to smoke and stunk up the kitchen... so i somewhere between there is the sweet spot, youll have to find it lol...
ok once the glue is nice and hot get your gloves, flat head screw driver, face shild and your sweater that wont catch on fire... take them out of the oven and GENTLY and SLOWLY pry the glass off the metal housing, i used my sweater to keep the heat off my body so i could hold the headlight against my body and hold it steady so i dont crack the glass... and use the face shild so IF you do get little pieces of glass glass cracking off they wont go in your eyes....
once you have the covers off you will have a bunch of grey goop stuck on the metal and glass... use a sharp knife to cut the stuff off the glass, get as much as you can off so it will seal good when you put them back together... on the metal side i cut out the big stuff and then took the drill and wire wheel to get the last of it out... use the face shild....
now you can start masking the spots where you dont want the paint, i wanted the headlight as dark as possible so i went inside the headlight reflector about 1 inch... i used a drill bit and my finger as guide to scratch a line where the masking tape should stop so it looked the same on both sides... once your done you should have somthing that looks like this...

here is the lip i made using the drill bit...

then once you have it all masked off give the exposed stuff a quick sand... try not to mess the masking tape up to much...
then give them a few coats of paint and let them dry...

the holes in the reflector are from some LEDs i had in there... i took them out cause they looked stupid lol...


then once thats done, get your tube of silicone and seal them back up, make sure that you use enough goo so it dosnt leak of fall out...
this is the stuff i used

then let them sit in a nice place to dry...
then you can put them on your car

the way the sun was shining the drivers side leadlight was getting more sun so it looks brighter on camera.... but in real life its the same darkness on both sides...


and your done
 i still havnt driven at night with them cause i just got them done this morning... im gonna take them out tonight and see if the paint dimmed the headlight... it shouldnt have cause the way the light comes out of it, there is no paint in those spots...
any questions? just ask

and if a mod wants to add this to the "how to's" thats fine with me...


 I have a spare set of headlights, i might just have to try that! Thanx for sharing and doing the writeup with pictures!!




Comment