 Tweet
Tweet
Saturday william came over and installed a hitch in my Festy bumper. It is actually a hitch receiver adaptor from 2" square to 1.25" square, available on Amazon.
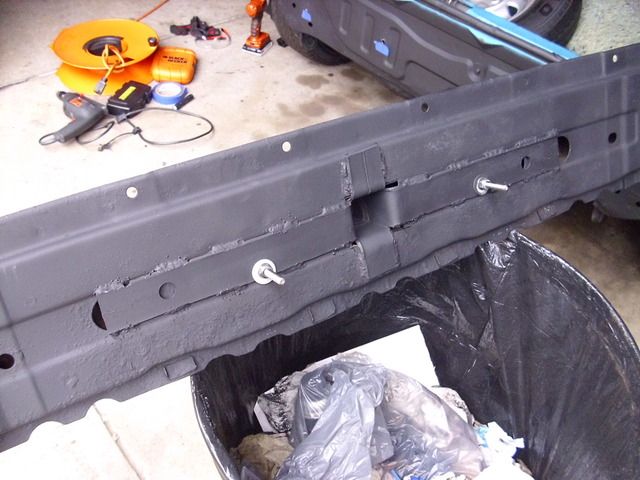
Inside of bumper. He used a grinder to peel the adaptor tube like a banana; then after it was installed in the bumper from the front, the top sections were cut down, and all four sections were hammered flat, then welded on. From the front, I installed the two stainless bolts you see in the pic, for added attachment to the body. I painted it in Rustoleum Rust Reformer, and will spray it with flat black Plasti-Dip for added protection. You can see where I cut off the lower bumper cover mounts.
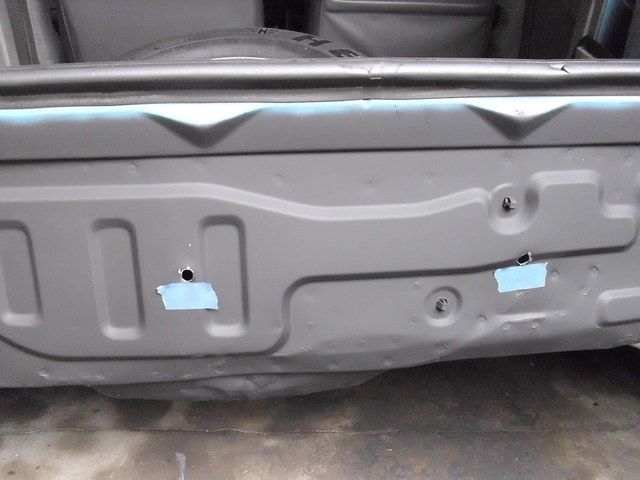
Here are the two holes drilled in the body for the two bolts.
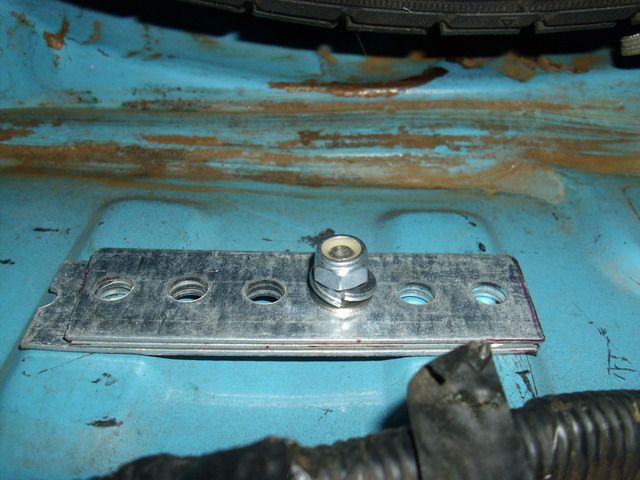
On the inside, I held the two center bolts in like this, to spread the load. That's a nylock nut.
It is possible to drill another hole to put another bolt thru the bumper and body here (and on the right side), but I felt it was not needed. That little hole is slightly high. From under the car, that looked like the place to drill, but it was high.
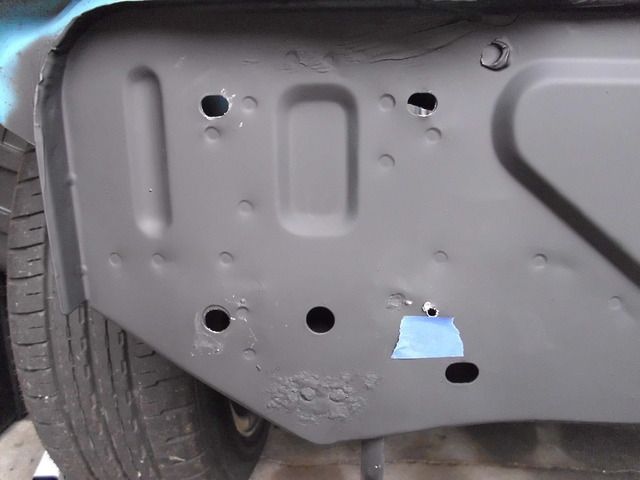
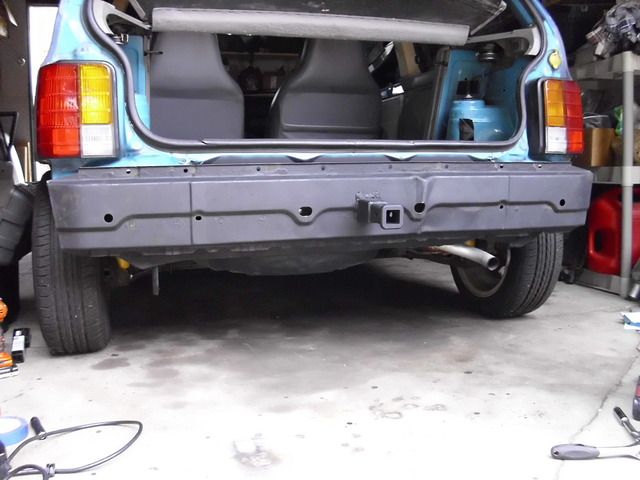
The naked bumper beam, mounted. Note the owie it got at some point. Those holes on either side of the hitch are where I drilled the two bolt holes. I still have to put on some mounts for the safety chains, on the bottom of the bumper.
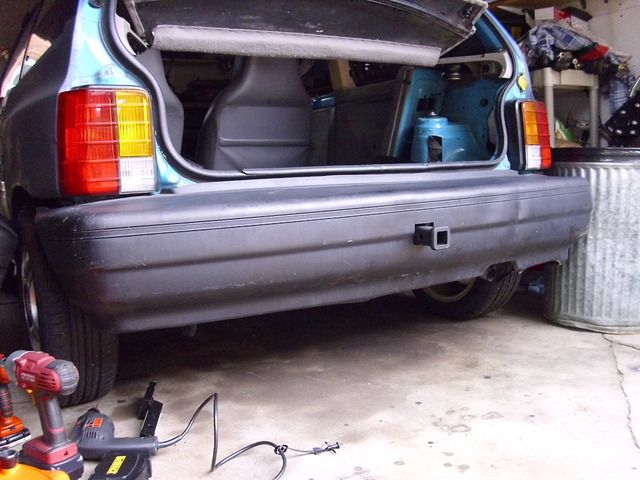
With the styrofoam and cover just placed on loosely. I plan to run it without the cover, and will only install it for inspections if needed.
Inside of bumper. He used a grinder to peel the adaptor tube like a banana; then after it was installed in the bumper from the front, the top sections were cut down, and all four sections were hammered flat, then welded on. From the front, I installed the two stainless bolts you see in the pic, for added attachment to the body. I painted it in Rustoleum Rust Reformer, and will spray it with flat black Plasti-Dip for added protection. You can see where I cut off the lower bumper cover mounts.

Here are the two holes drilled in the body for the two bolts.

On the inside, I held the two center bolts in like this, to spread the load. That's a nylock nut.

It is possible to drill another hole to put another bolt thru the bumper and body here (and on the right side), but I felt it was not needed. That little hole is slightly high. From under the car, that looked like the place to drill, but it was high.

The naked bumper beam, mounted. Note the owie it got at some point. Those holes on either side of the hitch are where I drilled the two bolt holes. I still have to put on some mounts for the safety chains, on the bottom of the bumper.

With the styrofoam and cover just placed on loosely. I plan to run it without the cover, and will only install it for inspections if needed.


Comment