 Tweet
Tweet
DIY CRASH BEAM/ UPPER SUPPORT BOLT ON/ WELDED
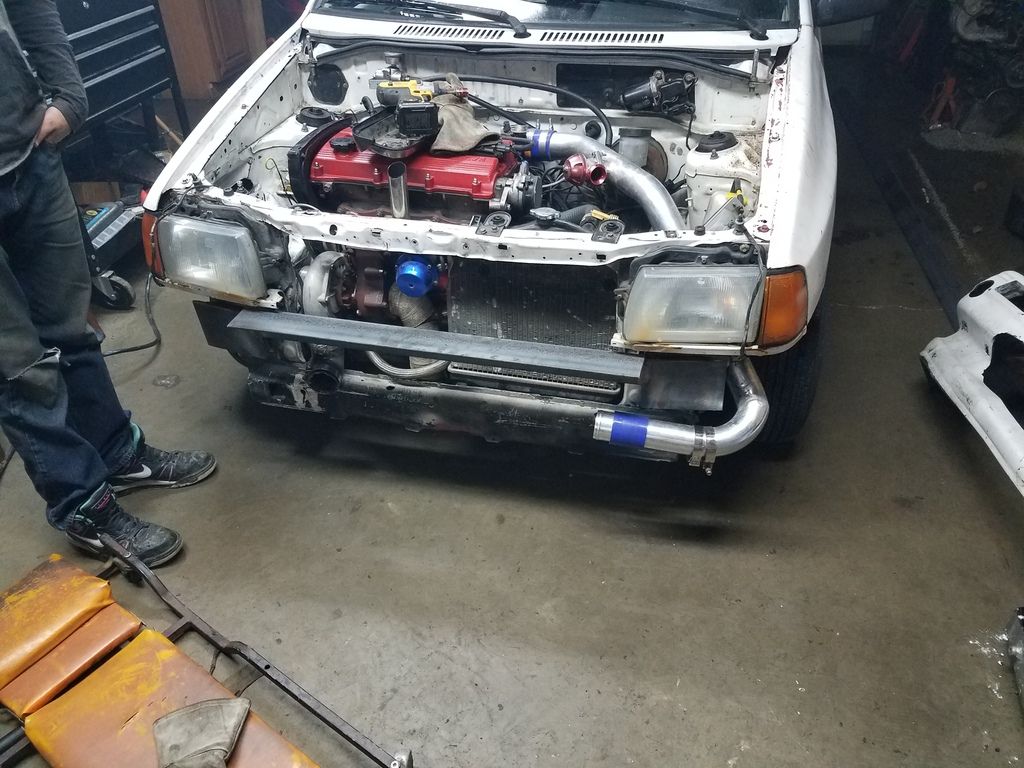
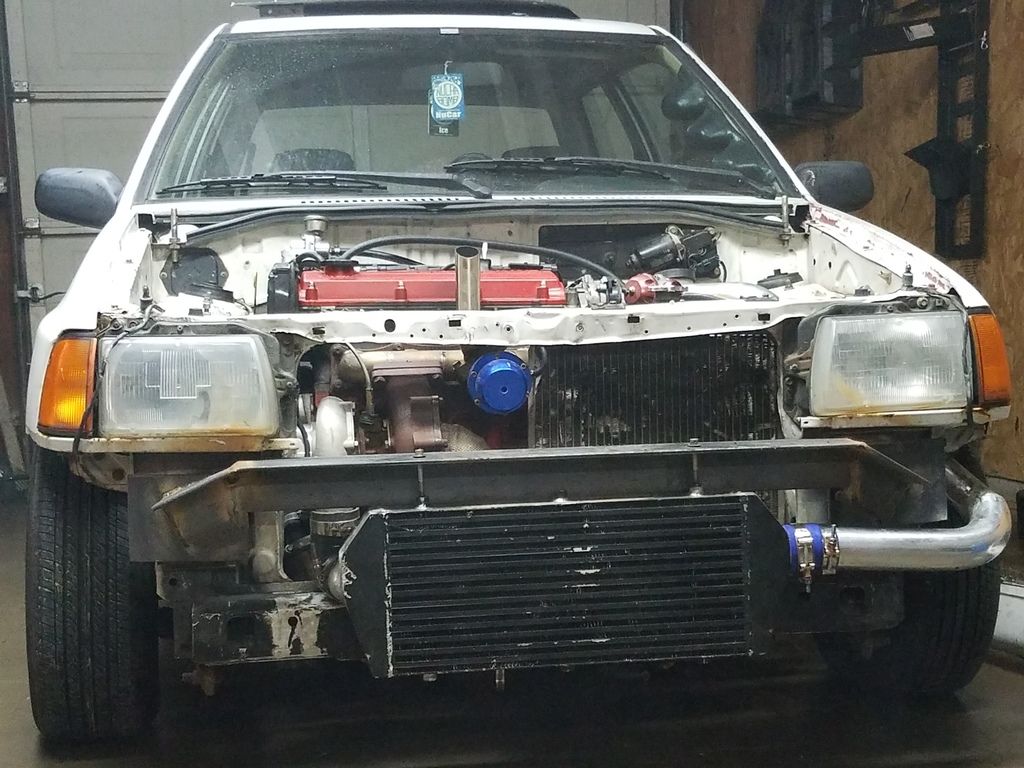
The Crash Beam on the Festiva is good when left stock. However mine was far from stock. My car is a BPT with a big front mount intercooler. My stock crash bar was cut down to make room for the intercooler. My car had very bad torque steer. I decided to remake the crash bar due to it being cut and looking bad. Some say that the crash bar does not need to be redone but in my case i wanted to fix it anyway. You may or may not want to do this depending upon you situation. It simply made sense in my case.
Long story short my car would torque steer so bad that i have to fight it just to stay on a 2 lane road. I could not go past 15psi or i would be in a ditch. After the crash bar rebuild my torque steer was down to about 20%. The Crash bar has made my car night and day different!
In a nut shell i took the old crash bar off. I cut the mounting brackets off the sheet metal. I welded plate to the brackets. I reinstalled the brackets. I welded angle iron across the plates. I cut some supports brackets to tie the main beam to the plates. I then welded the supports onto the plates/main beam. This makes the new beam a bolt on style beam just like stock. It adds a good bit of weight to the front over the axles which is a good thing. bumper mounting holes will have to be drilled/ other modifications may need to be made to properly fit the bumper back onto the car.
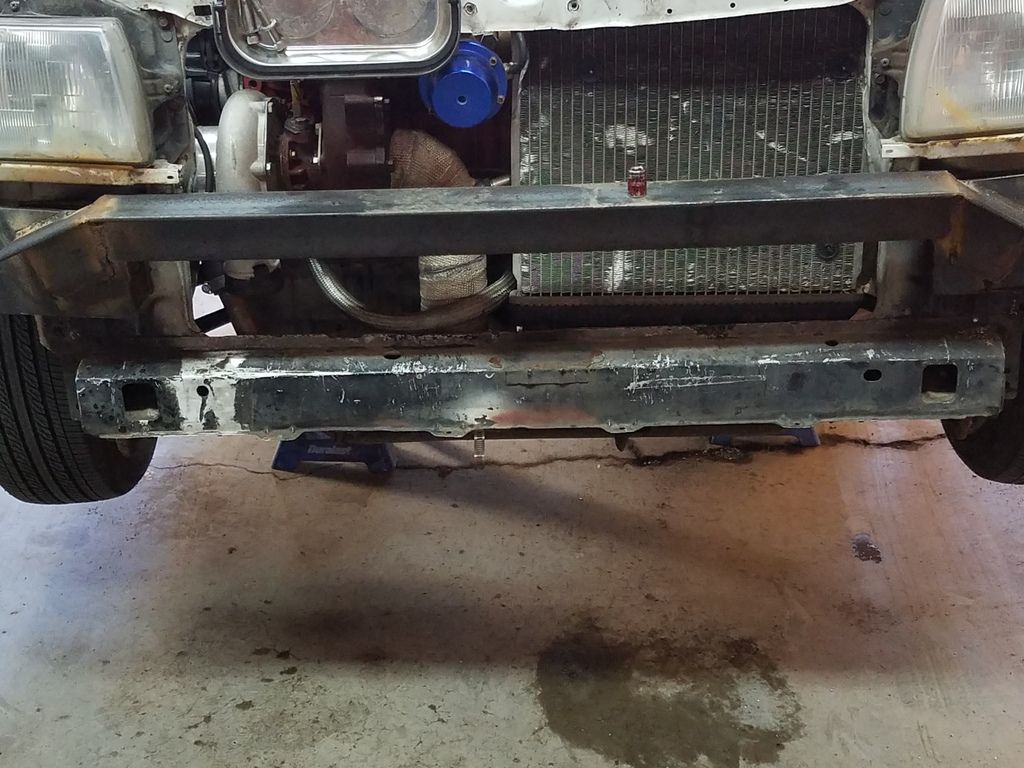
1. Remove the crash bar from the car.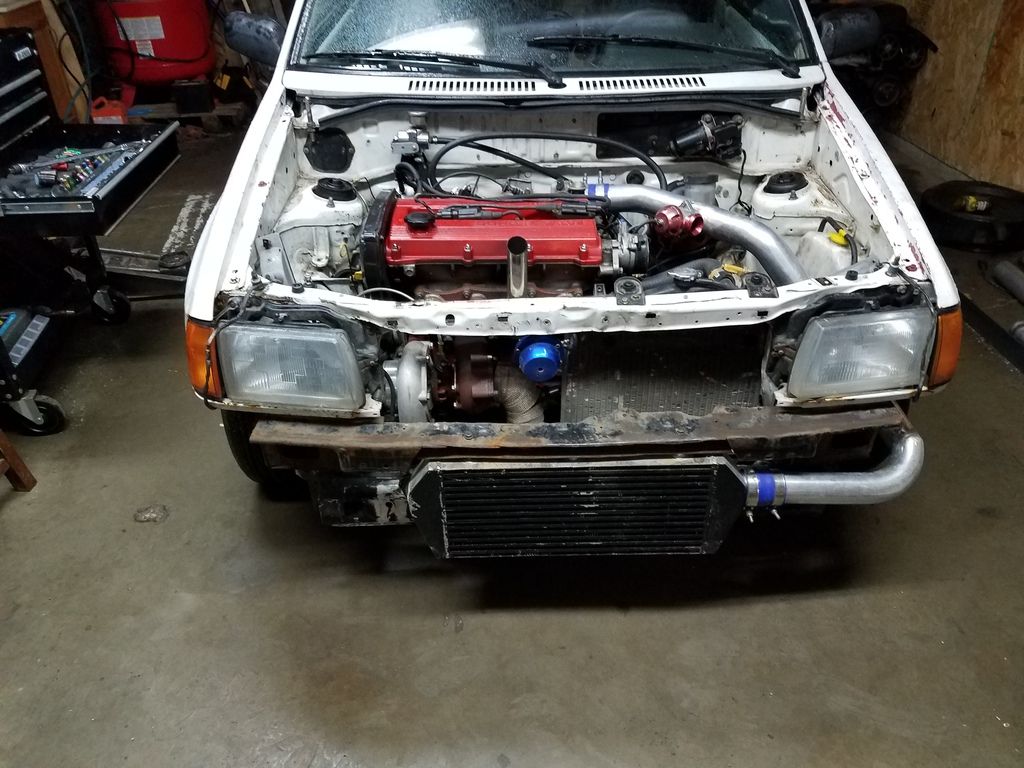
2. notice the crash bar has a bracket spot welded to the sheet metal beam on each side. You will need to drill out or grind off the sheet metal leaving just the individual brackets. My drill bits suck so i cut the center of the metal out leaving the two side sections. I then used a cut off wheel to slowly cut off the sheet metal. it was slow and ugly but got the job done.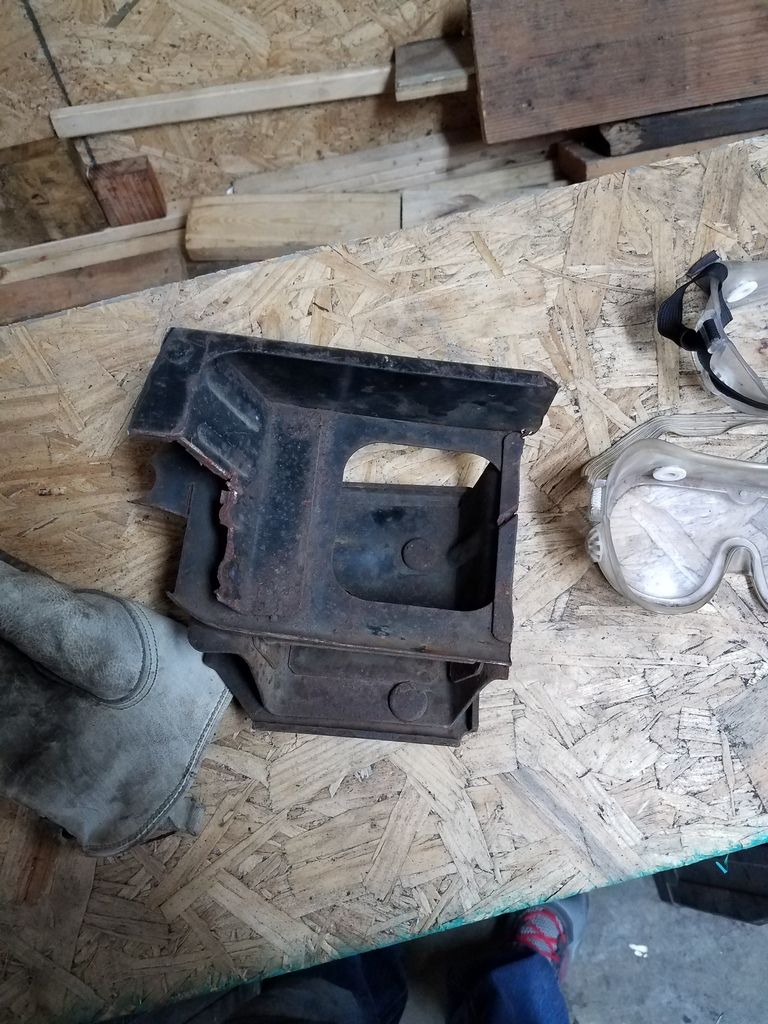
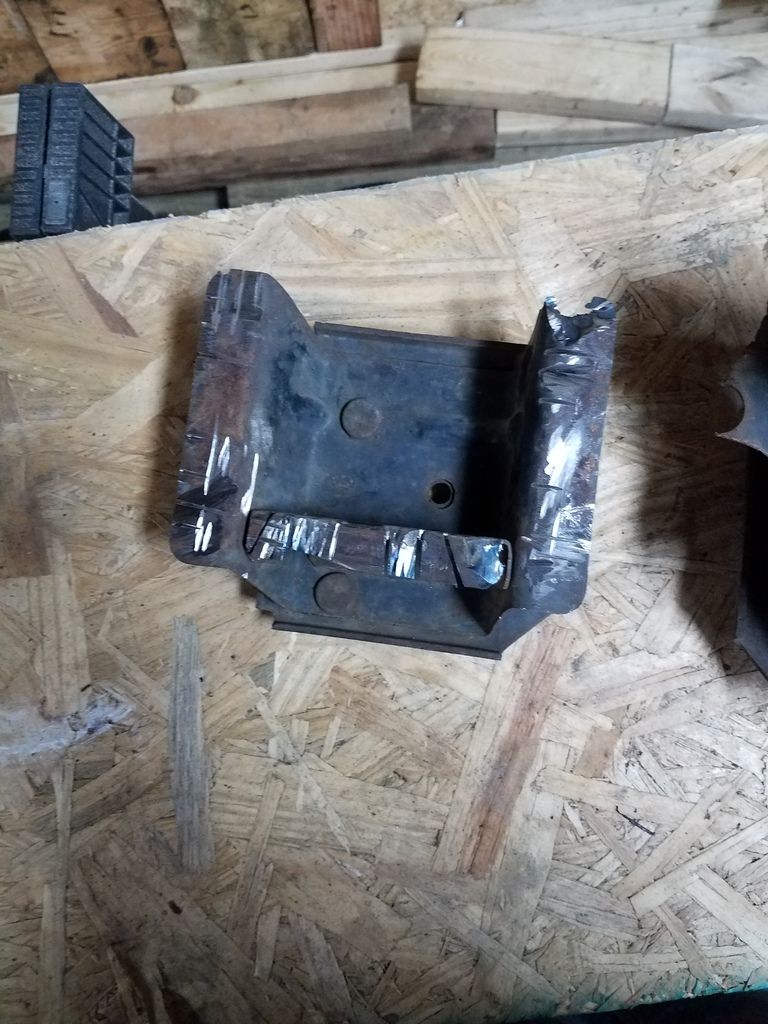
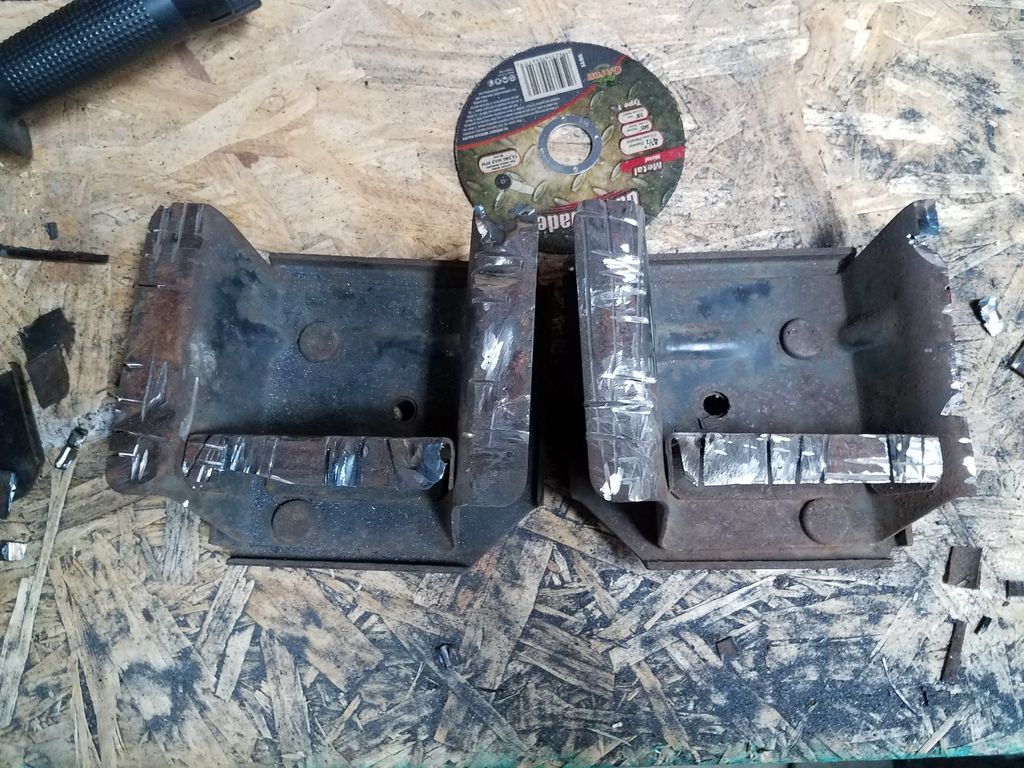
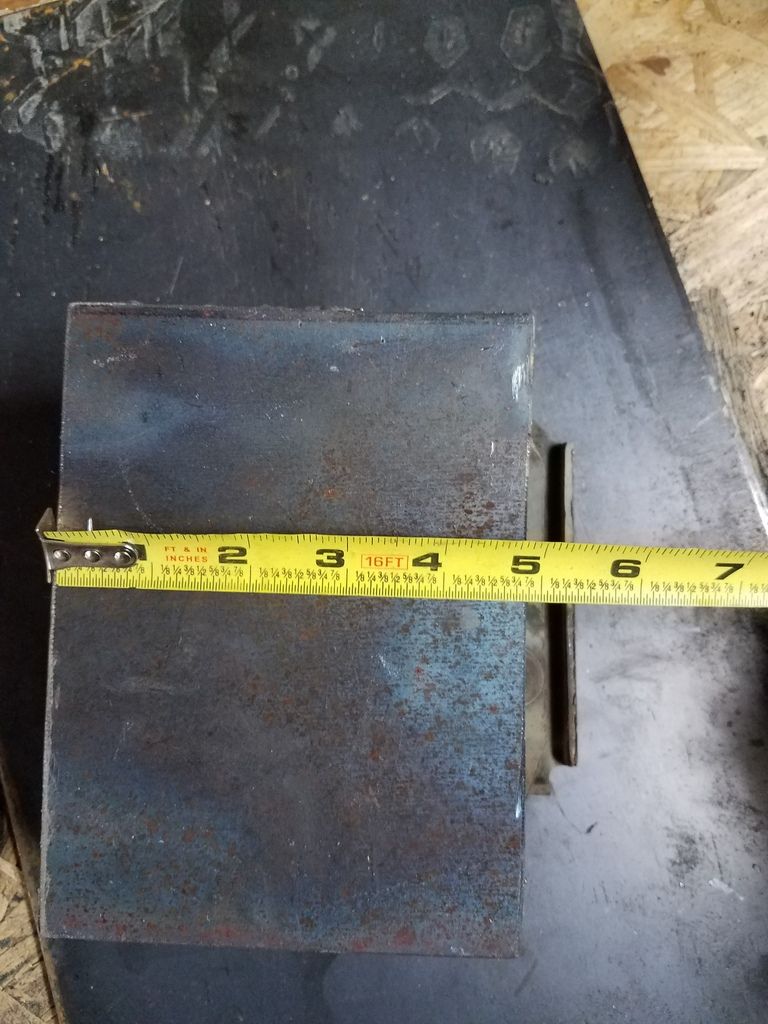
3. Once you have the brackets lose you can cut some plate to fit them. I happen to have some 1/4" plate on hand so thats what i used. i cut the plate to about 4 7/8" x 6 1/2"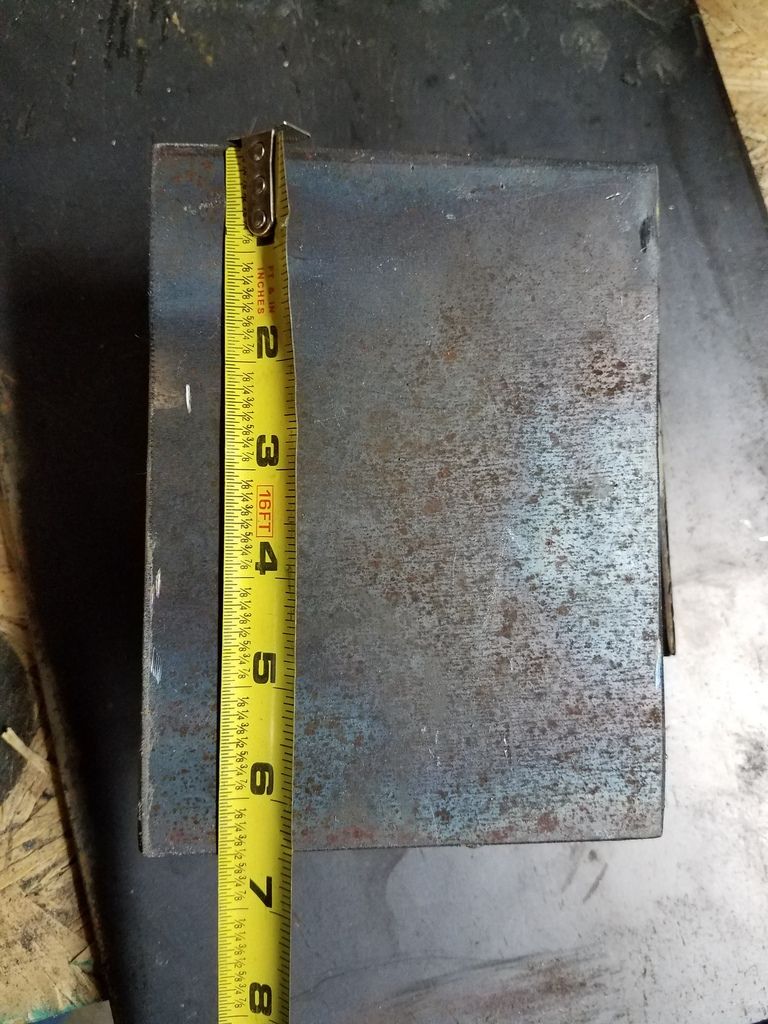
4. Weld the plates on top of the bracket. This will be your base that the main beam will be welded to. I welded all the way around the plate in any spot i could reach.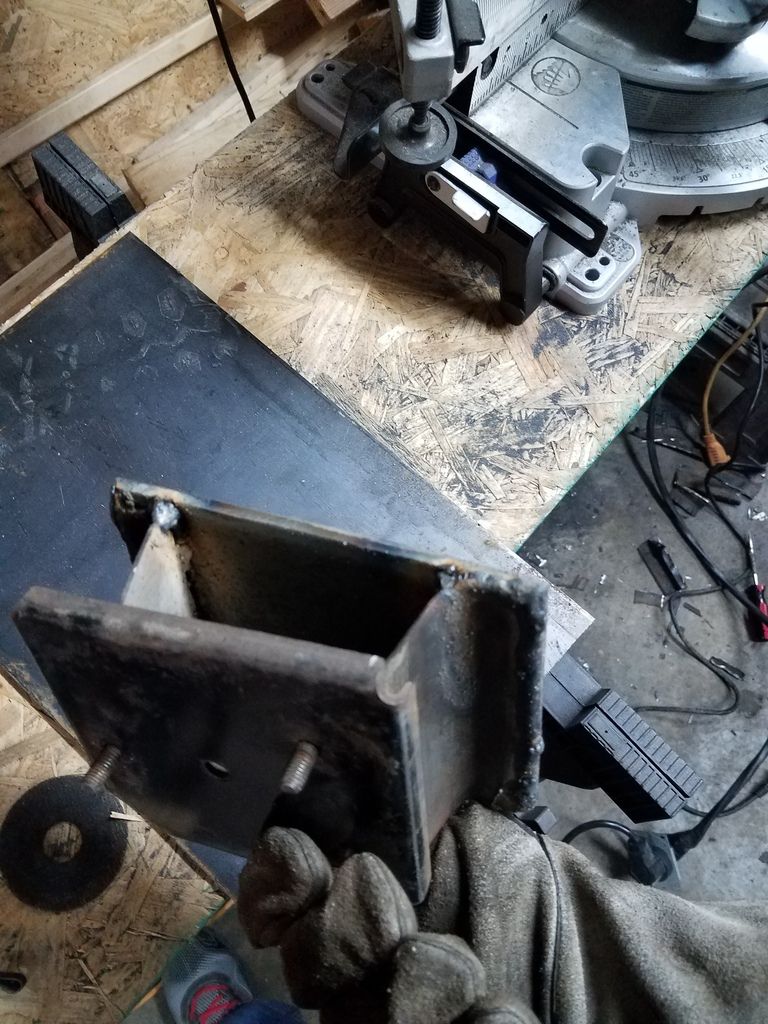
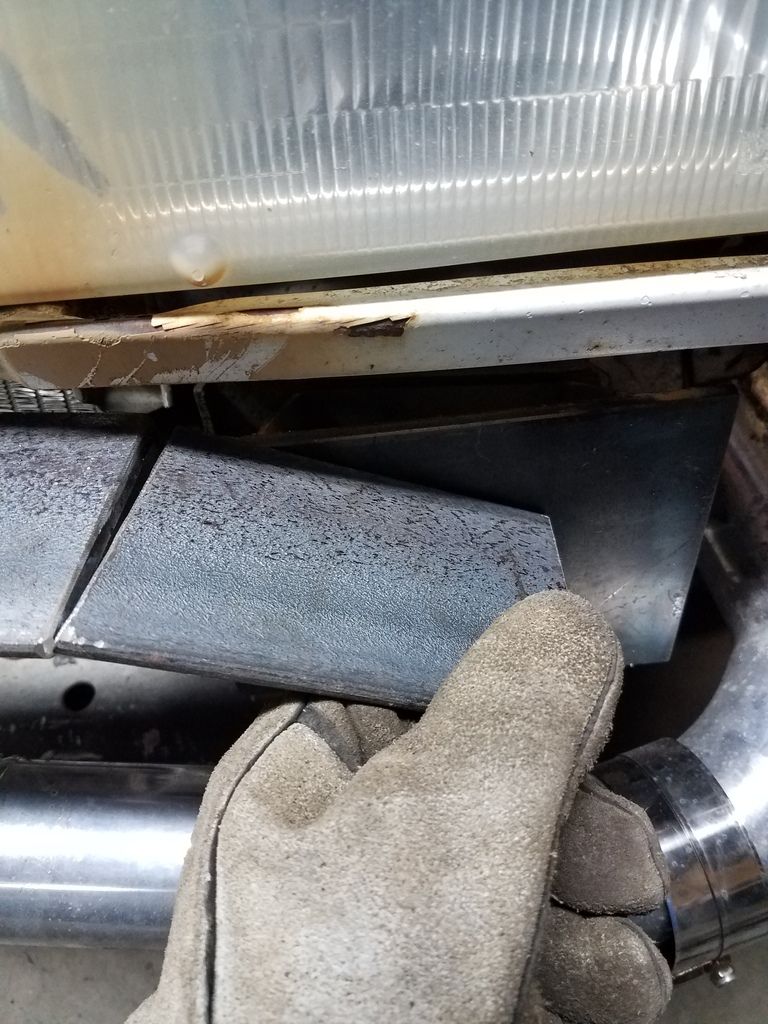
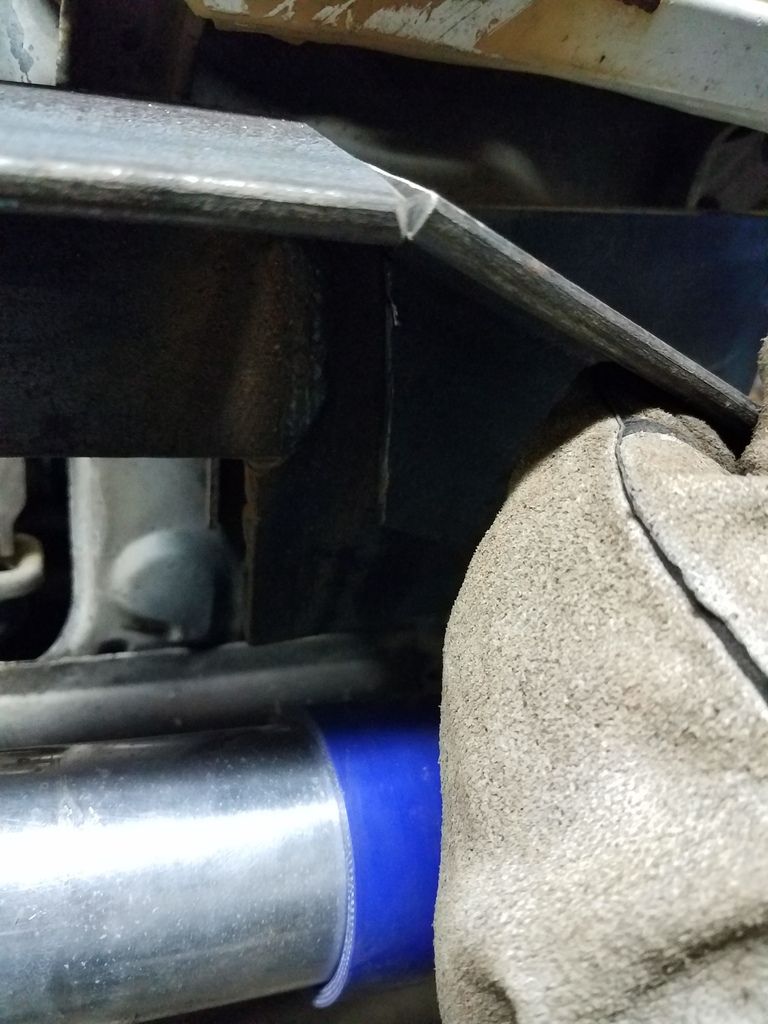
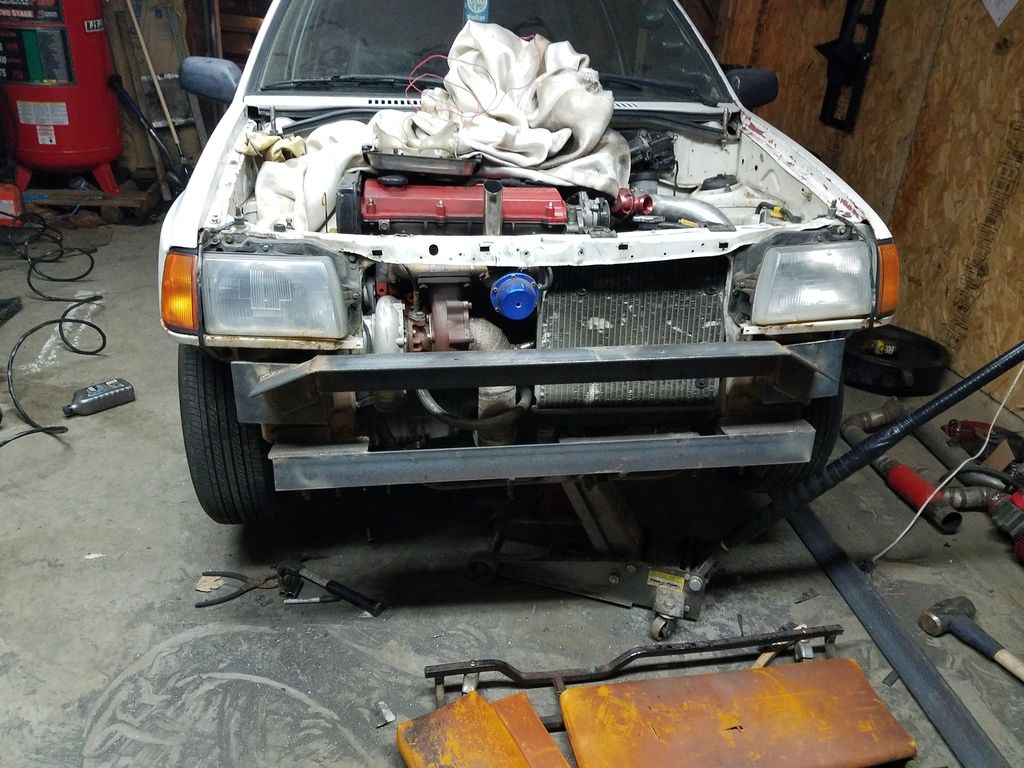
5. I bolted the new bracket back the car to get a measurement on how long to cut the center beam to. I cut mine to about 35 1/4". I cut it very close to the edge on my brackets. The brackets have an angle to them. I cut the center beam just long enough to reach each plate but not so long that i get big angles to weld up. Supports will be made to tie it all together. I tack welded the beam to the plates. Then took the assembly off the car to fully weld it together. I tacked the beam to the plates about 1/2 an inch below the headlight trim part.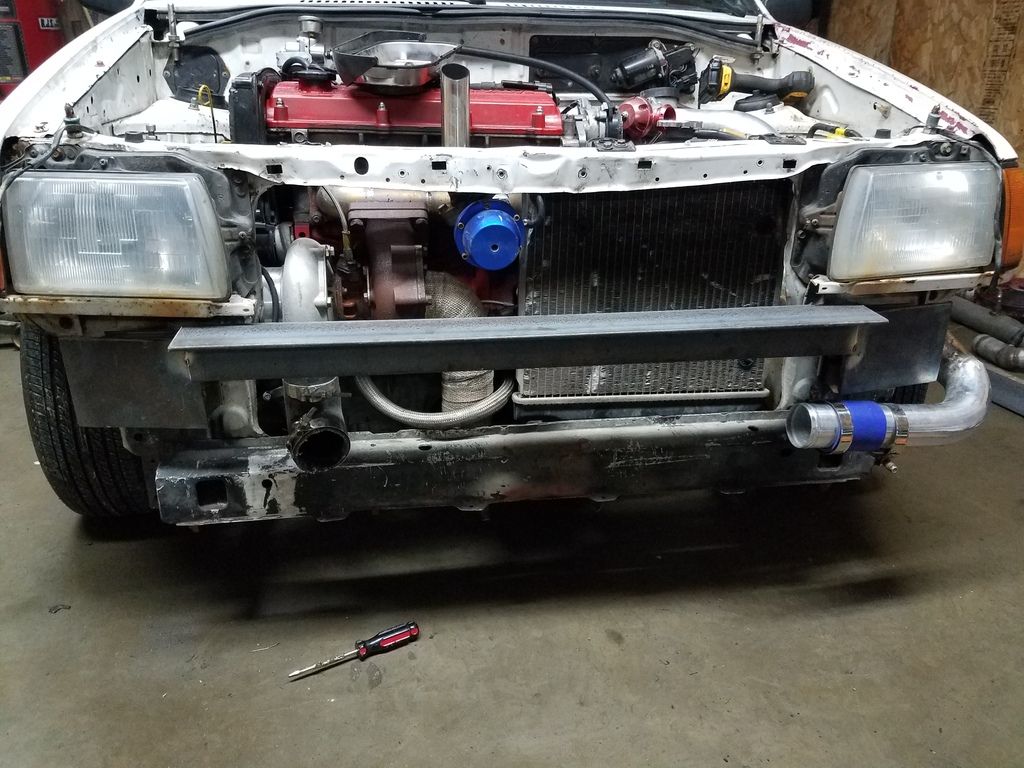
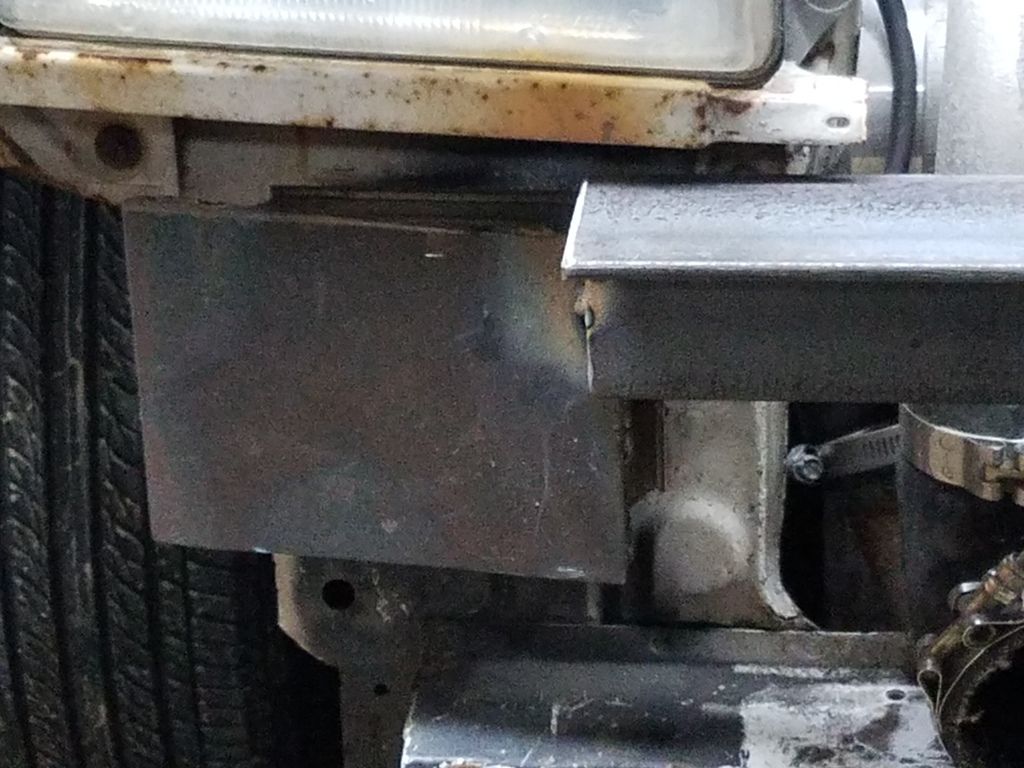
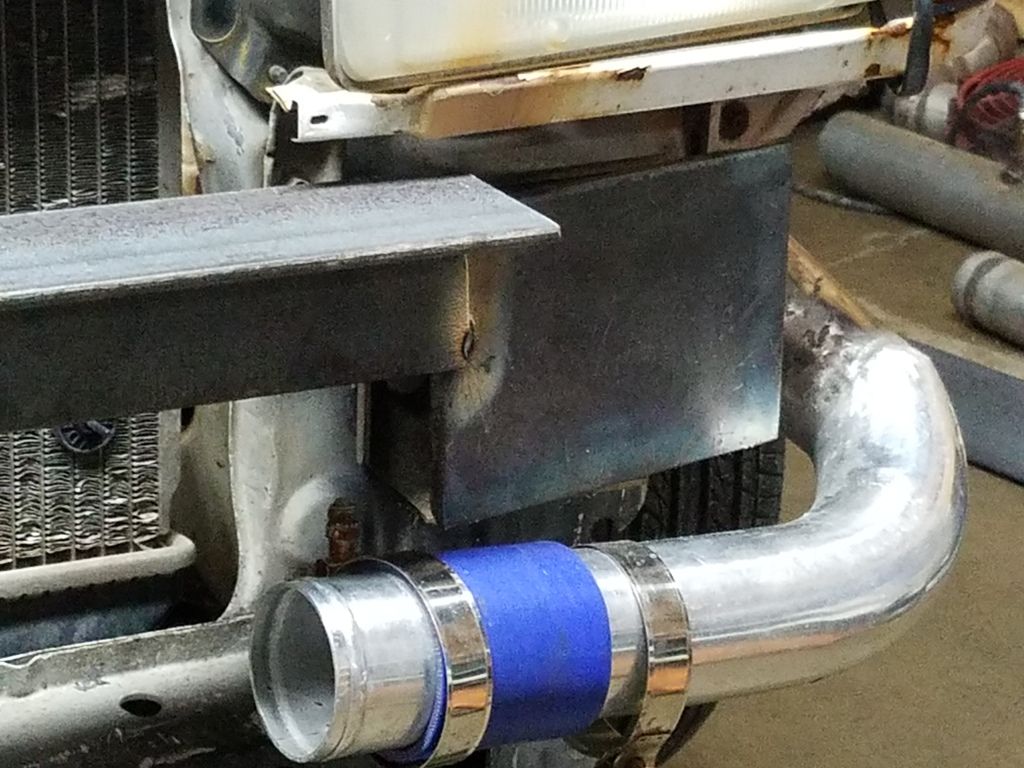
notice the angle from the beam to the plate!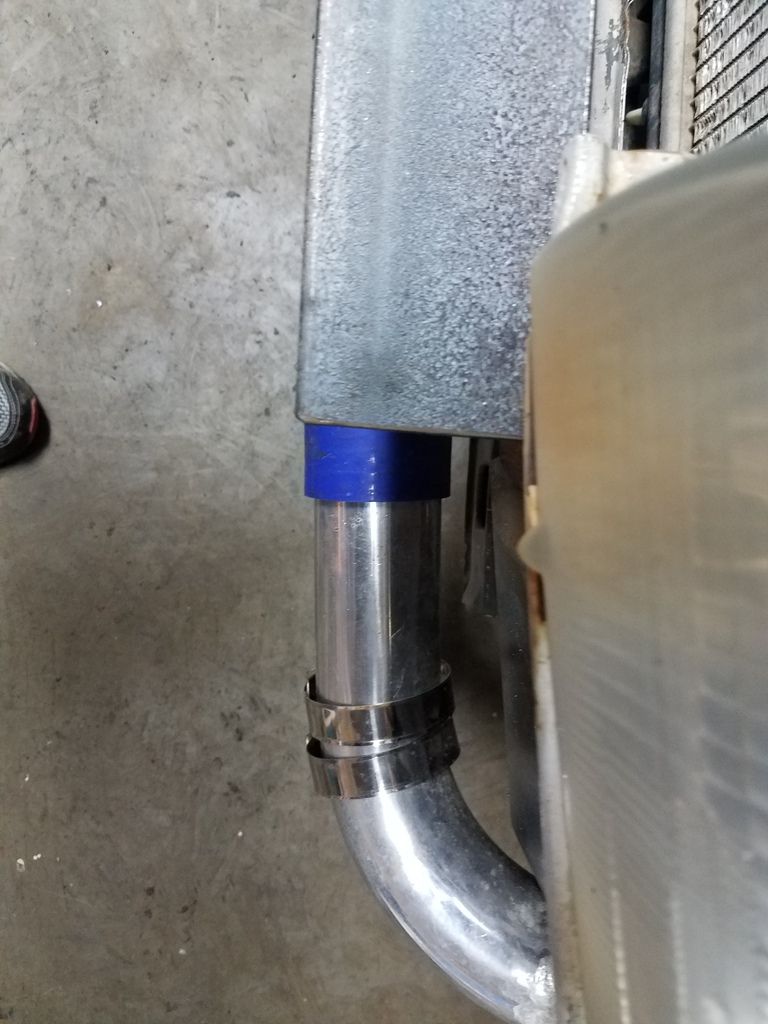
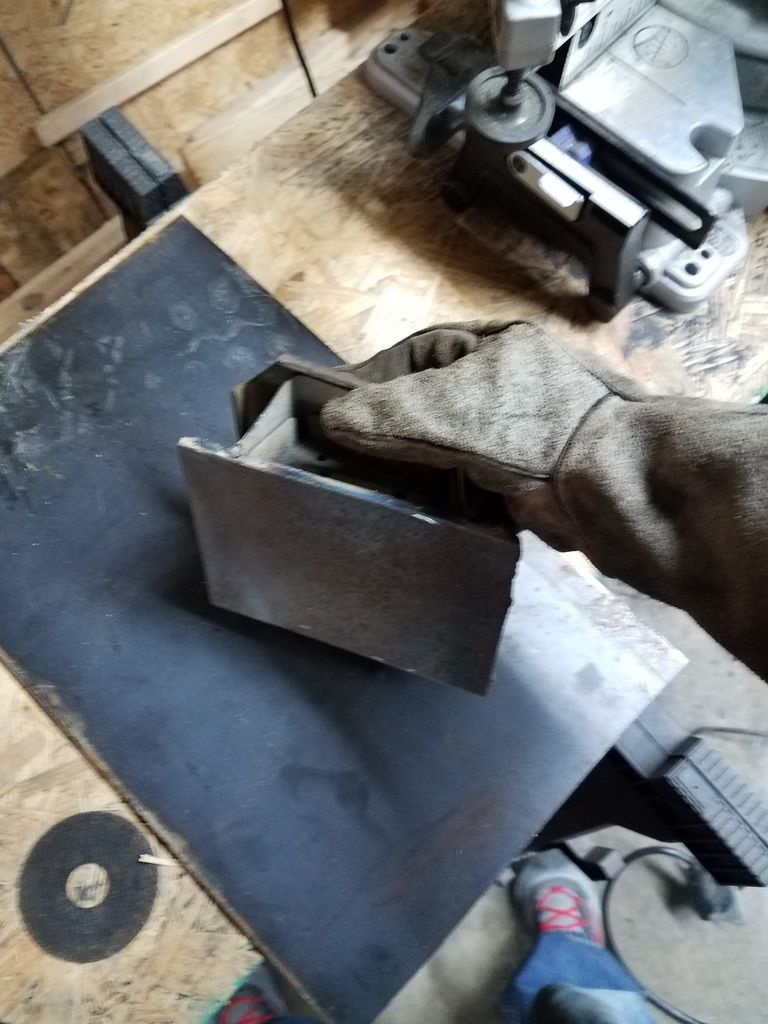
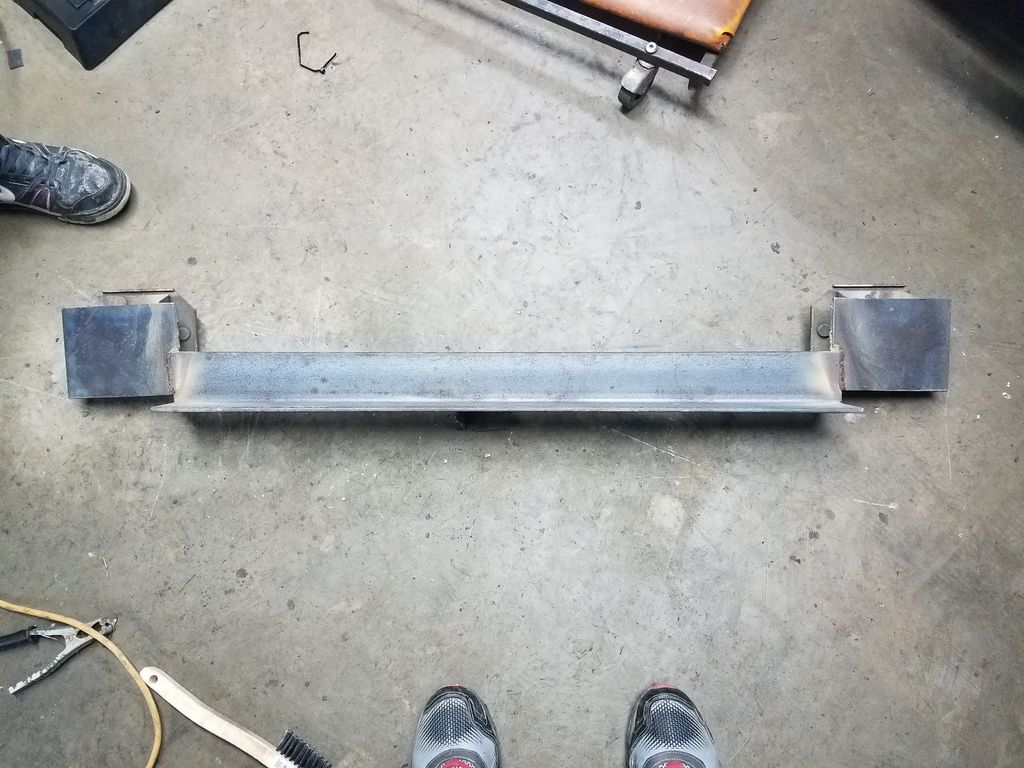
6. Next i cut down a section of angle iron to make the brace from the plate to the beam. I really didnt measure this all that much i just kinda cut it up to fit. I have to cut an angle to make it line up to the plate to beam. I then had to cut a relief in the plate side to allow space for the weld. This part is all up to you. Just gotta tie the plate to the beam so they done bend and snap.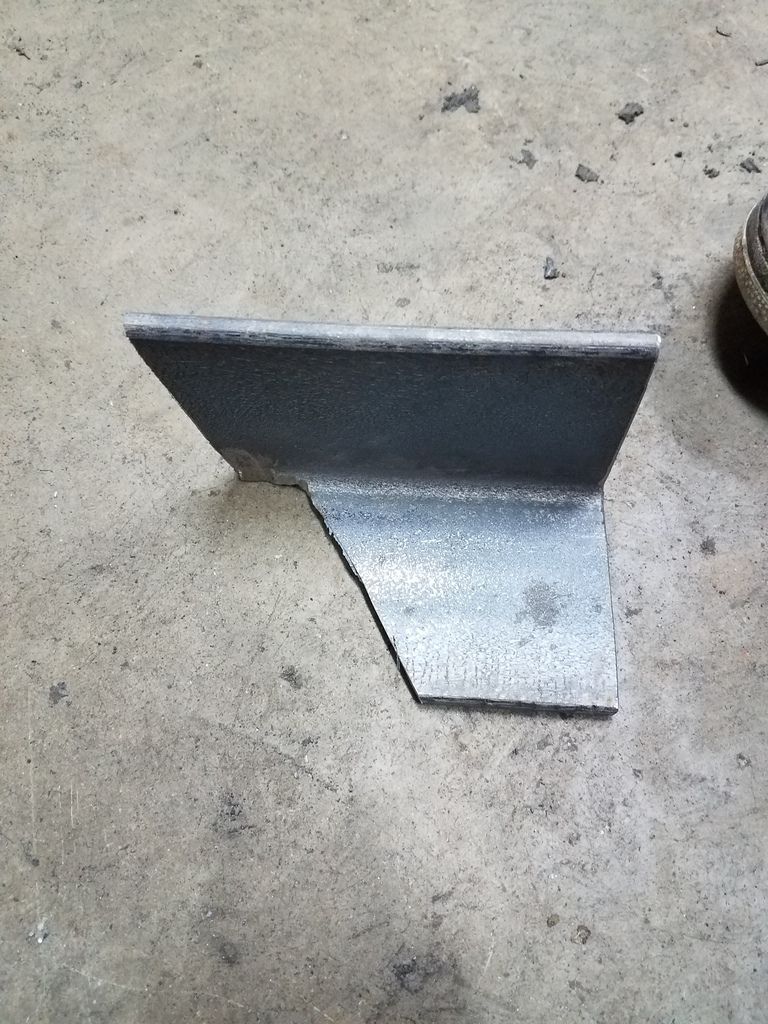
7. fully weld up the brace on each side and your done. Not much to it really.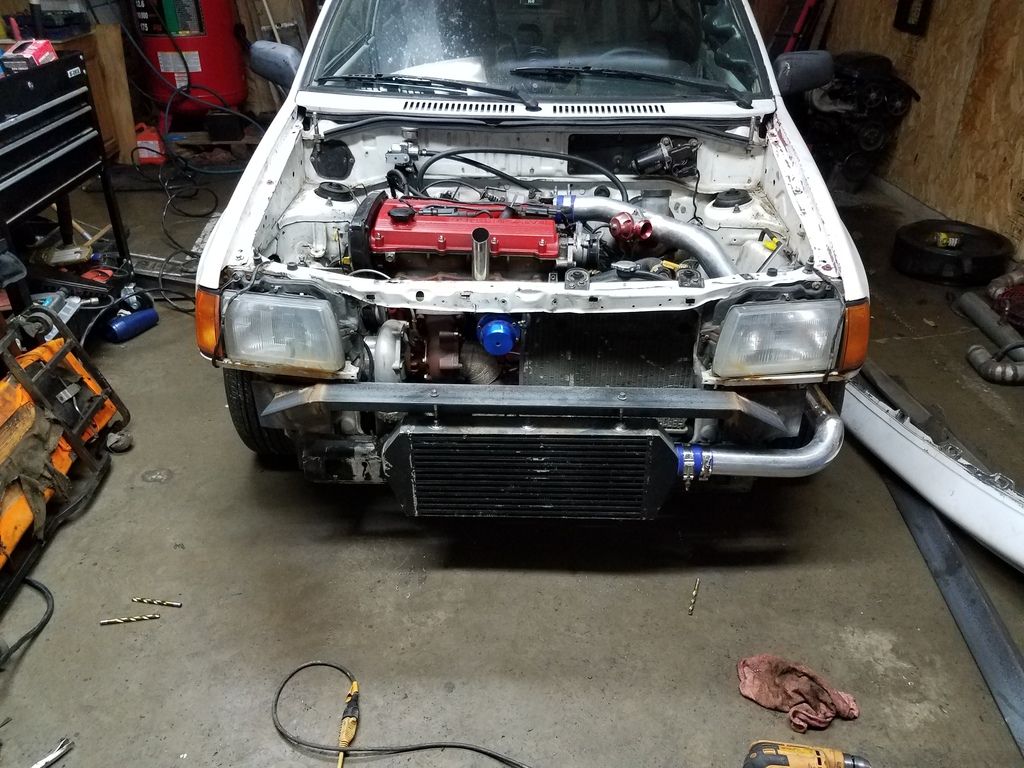
The Crash Beam on the Festiva is good when left stock. However mine was far from stock. My car is a BPT with a big front mount intercooler. My stock crash bar was cut down to make room for the intercooler. My car had very bad torque steer. I decided to remake the crash bar due to it being cut and looking bad. Some say that the crash bar does not need to be redone but in my case i wanted to fix it anyway. You may or may not want to do this depending upon you situation. It simply made sense in my case.
Long story short my car would torque steer so bad that i have to fight it just to stay on a 2 lane road. I could not go past 15psi or i would be in a ditch. After the crash bar rebuild my torque steer was down to about 20%. The Crash bar has made my car night and day different!
In a nut shell i took the old crash bar off. I cut the mounting brackets off the sheet metal. I welded plate to the brackets. I reinstalled the brackets. I welded angle iron across the plates. I cut some supports brackets to tie the main beam to the plates. I then welded the supports onto the plates/main beam. This makes the new beam a bolt on style beam just like stock. It adds a good bit of weight to the front over the axles which is a good thing. bumper mounting holes will have to be drilled/ other modifications may need to be made to properly fit the bumper back onto the car.
1. Remove the crash bar from the car.

2. notice the crash bar has a bracket spot welded to the sheet metal beam on each side. You will need to drill out or grind off the sheet metal leaving just the individual brackets. My drill bits suck so i cut the center of the metal out leaving the two side sections. I then used a cut off wheel to slowly cut off the sheet metal. it was slow and ugly but got the job done.


3. Once you have the brackets lose you can cut some plate to fit them. I happen to have some 1/4" plate on hand so thats what i used. i cut the plate to about 4 7/8" x 6 1/2"


4. Weld the plates on top of the bracket. This will be your base that the main beam will be welded to. I welded all the way around the plate in any spot i could reach.


5. I bolted the new bracket back the car to get a measurement on how long to cut the center beam to. I cut mine to about 35 1/4". I cut it very close to the edge on my brackets. The brackets have an angle to them. I cut the center beam just long enough to reach each plate but not so long that i get big angles to weld up. Supports will be made to tie it all together. I tack welded the beam to the plates. Then took the assembly off the car to fully weld it together. I tacked the beam to the plates about 1/2 an inch below the headlight trim part.


notice the angle from the beam to the plate!

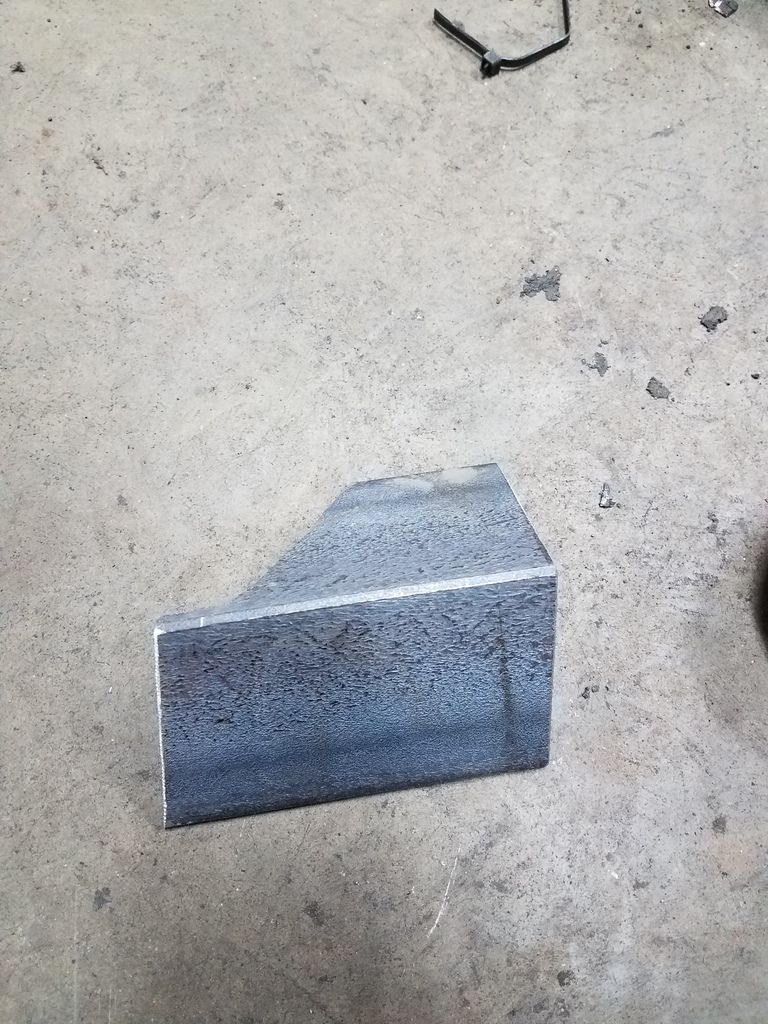
6. Next i cut down a section of angle iron to make the brace from the plate to the beam. I really didnt measure this all that much i just kinda cut it up to fit. I have to cut an angle to make it line up to the plate to beam. I then had to cut a relief in the plate side to allow space for the weld. This part is all up to you. Just gotta tie the plate to the beam so they done bend and snap.


7. fully weld up the brace on each side and your done. Not much to it really.


Comment