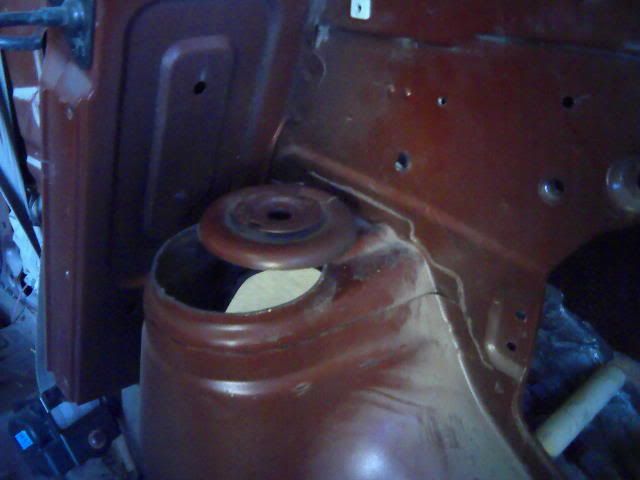
Started this project lowering the car as much as I could with the wheels that I have currently. ( 15x6 ... 5" backspace ... 195/50/15 ) Did a write up on the new rim detail here.http://www.fordfestiva.com/forums/sh...ad.php?t=27259 This evolved clearancing inner fender wells front and rear, and making a set of flares for the front. Flare write up detailed here.http://www.fordfestiva.com/forums/sh...ad.php?t=28207 Clearanced the rear inners up to the main structure of the strut support. Didn't get a pic of this but if you take out your tail light and look into that area you can easily see what would have to be removed. This work allowed me to get this...
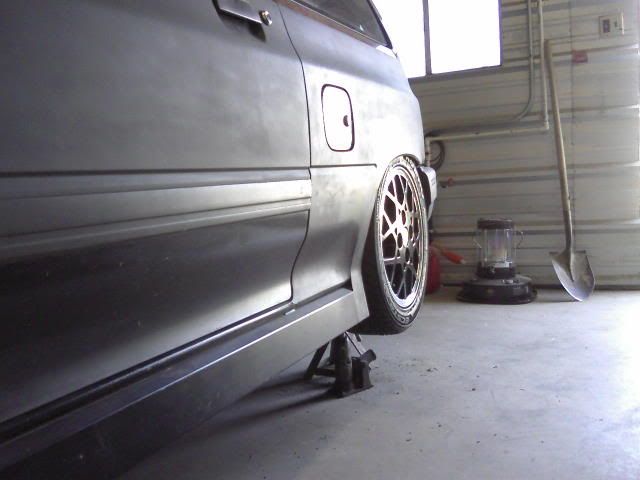
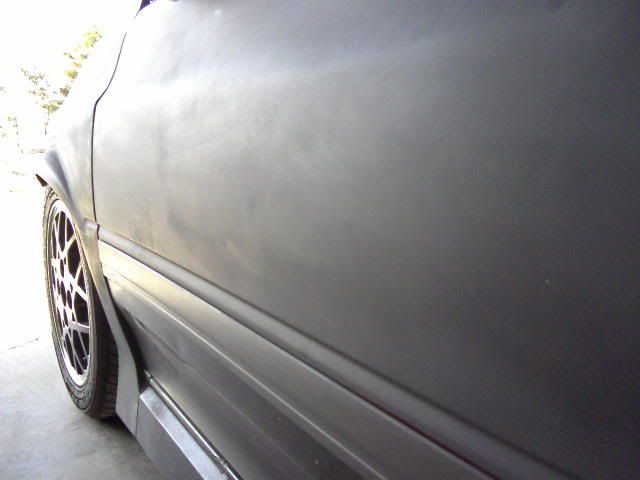
(If your wandering about the side skirts...they will be detailed later)
The inner fender was then rebuilt with fiberglass.
The fronts are next and a little more involved. On the front the problem lies with the tires hitting the inner wheel well at lock to lock. To remedy this I removed the offending material.
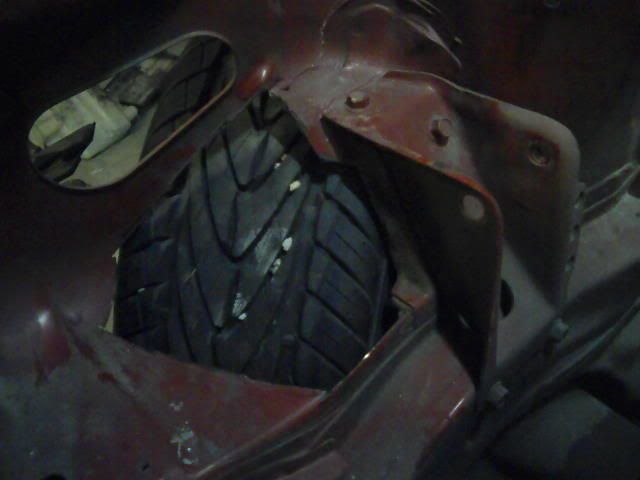
Passenger side engine bay...
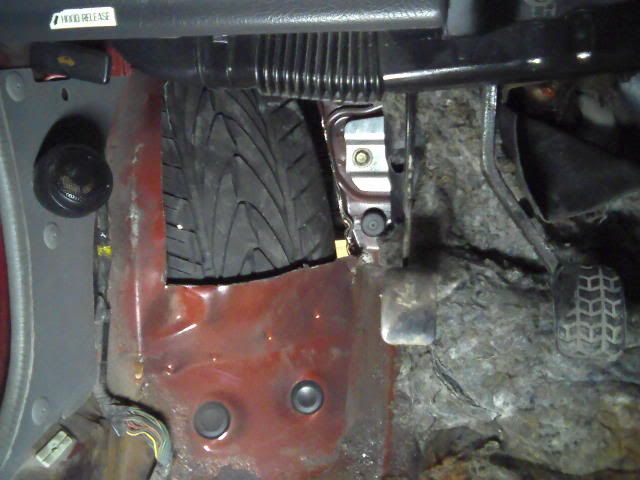
Drivers side inside cabin.....
Obviously it's the same on both side, I just don't have those pics. For the cabin side I put 1/2" worth of shop rags on the wheel ( which remember is in max bury mode ) covered that with a plastic bag, and turned the wheel into the locked position. Then covered the whole thing with 3 layers of fiberglass to seal it back up. Once the glass set, I removed the bag and rags and the end result is ...Clearance
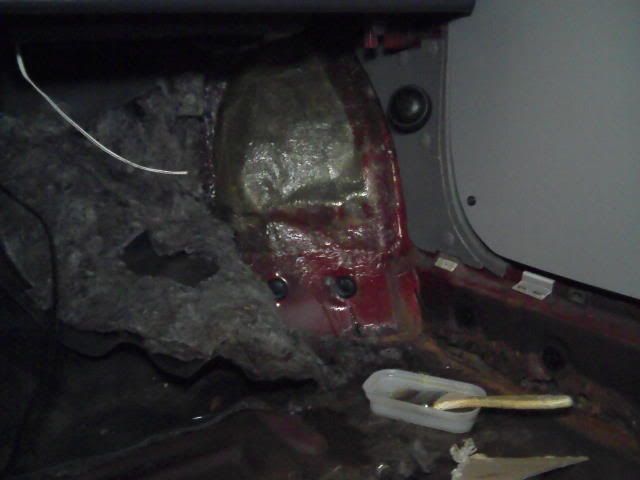
Passenger side cabin...
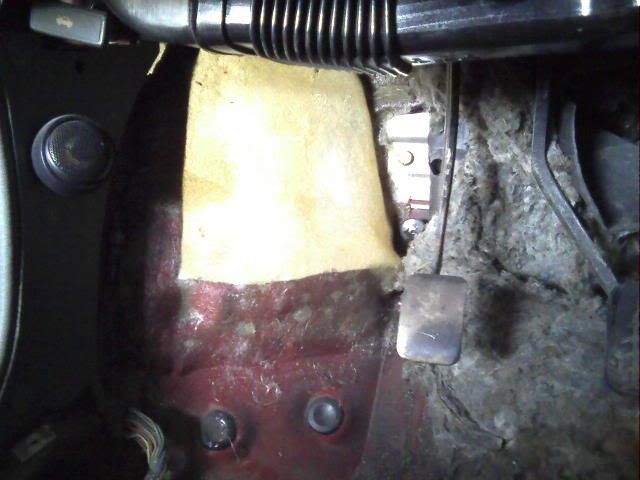
Drivers side cabin ( No wheel on with light coming thru fiberglass )
On the engine bay side of things I thought it would look better to patch in with metal.
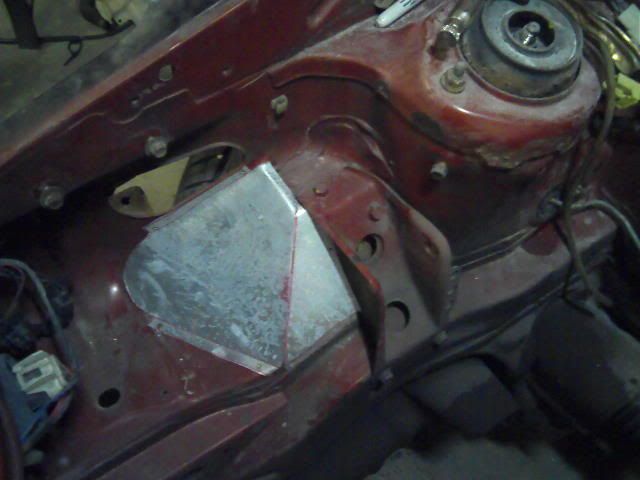
Don't worry this galvanized patch gets paint..
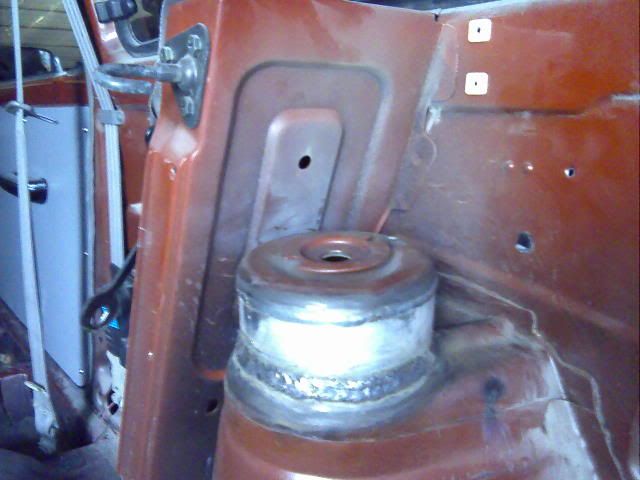
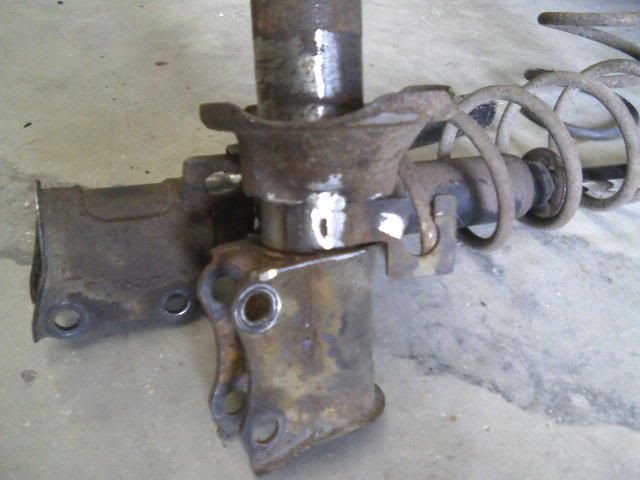
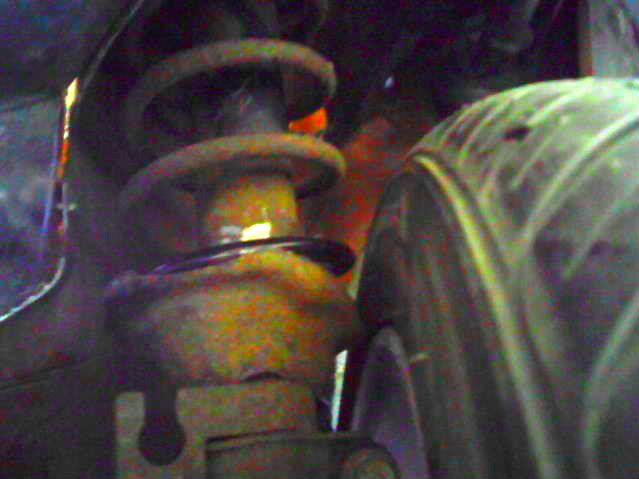
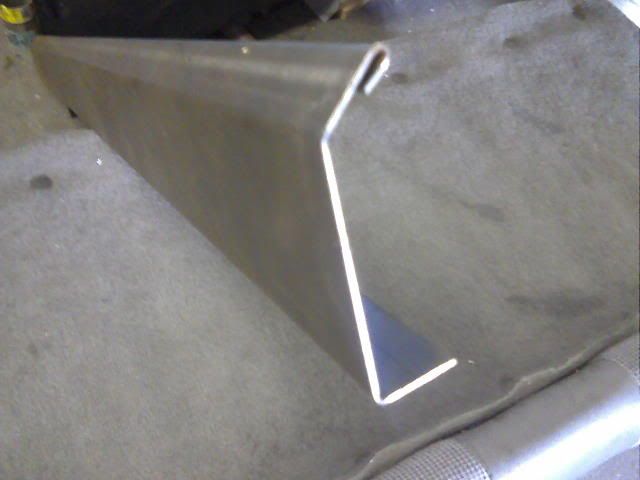
Up next is suspension.....!

(If your wandering about the side skirts...they will be detailed later)
The inner fender was then rebuilt with fiberglass.
The fronts are next and a little more involved. On the front the problem lies with the tires hitting the inner wheel well at lock to lock. To remedy this I removed the offending material.

Passenger side engine bay...

Drivers side inside cabin.....
Obviously it's the same on both side, I just don't have those pics. For the cabin side I put 1/2" worth of shop rags on the wheel ( which remember is in max bury mode ) covered that with a plastic bag, and turned the wheel into the locked position. Then covered the whole thing with 3 layers of fiberglass to seal it back up. Once the glass set, I removed the bag and rags and the end result is ...Clearance

Passenger side cabin...

Drivers side cabin ( No wheel on with light coming thru fiberglass )
On the engine bay side of things I thought it would look better to patch in with metal.

Don't worry this galvanized patch gets paint..
Up next is suspension.....!

 cant wait to see how low it goes...



Comment