 Tweet
Tweet
Installation of Universal Ball Joint DUST BOOT (PICS)
�. Not knowing what to expect since this is NOT a direct replacement part means that I would be experimenting with FORM, FIT, and FUNCTION. I took the entire ball joint assy. off the car. Removed the old, torn and shredded boot and cleaned up the ball joint. Used the two pack from Dorman, product part # 13567. Used the larger of the two boots in the package, sized up the larger BOOT and trimmed it with the BANDSAW (in the future I think I will use a miniature HACKSAW, easier to make the cut and it doesn�t grab the rubber). I fitted the BOOT to the ball joint and LOCKWIRED it in to position. Placed a small thin aluminum 5/8� washer over the shaft of the ball joint and on top of the rubber BOOT (greased the washer on both sides).
�. On the shaft of the ball joint, there is a small amount of flaring of the shaft about half way down (what this means is you MUST open up the inside diameter of the washer so it will move freely up and down the shaft and have NO rough edges to catch the rubber). Since the BOOT is about 1/16� larger than the ball joint shaft, I used my needle grease injector and pumped 3 shots of wheel bearing grease inside of the rubber BOOT and on top of the existing grease. Put it all back together and took a 15 mile ride. Brought it back and put it back on the lift and examined the results. The outside diameter of the original washer was TOO small (in the flexing of the joint the hole in the top of the BOOT elongated enough that it swallowed half the washer on the inboard side). So I replaced the washer with a bigger flange and that cured the problem. See pics. for all of the above.
�. Now that I have an idea of how to do this, when I do the other side I�ll show the pics that I didn�t show this time (from the beginning).
�. Just a side note: I haven�t decided yet if I like this particular product or not. The walls of the rubber BOOT are thick their NOT a flexible as the original BOOTS and for that matter they are about the stiffest BOOTS I�ve seen. I would say these BOOTS are about 1/3 thicker than standard BOOTS.
.
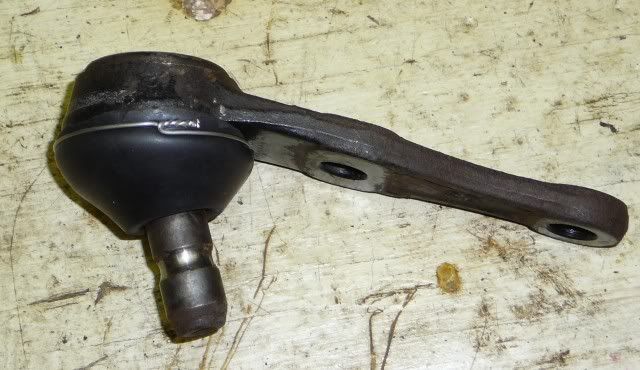
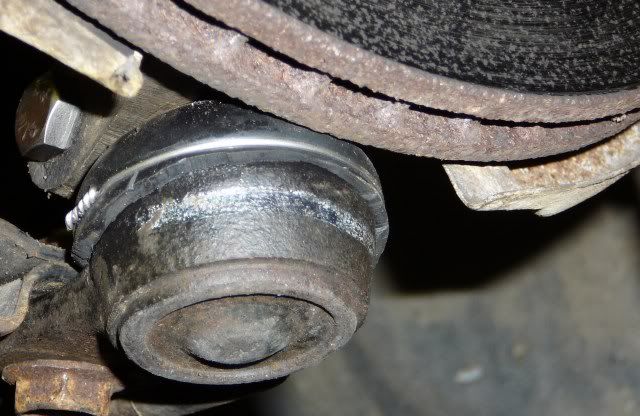
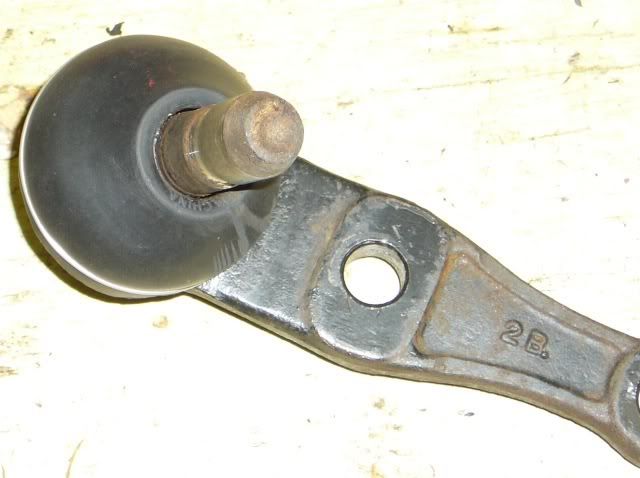
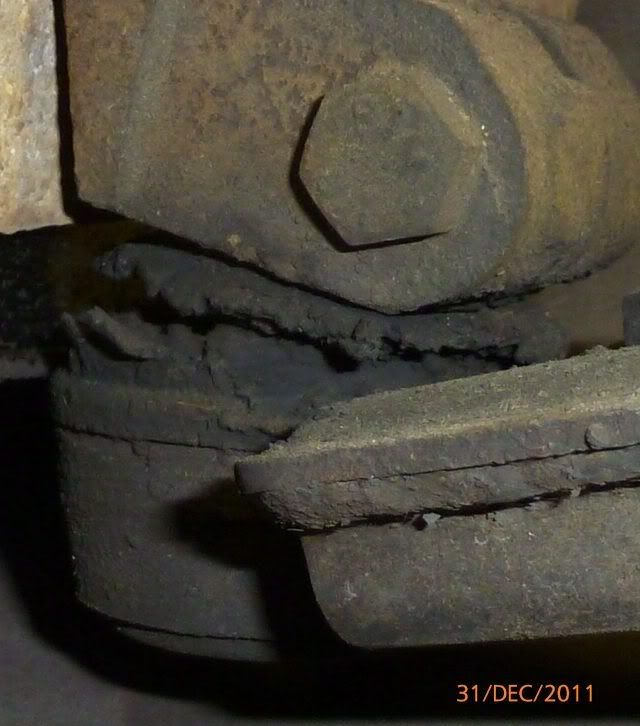
Cleaned up, Trimmed and LOCK-WIRED
.
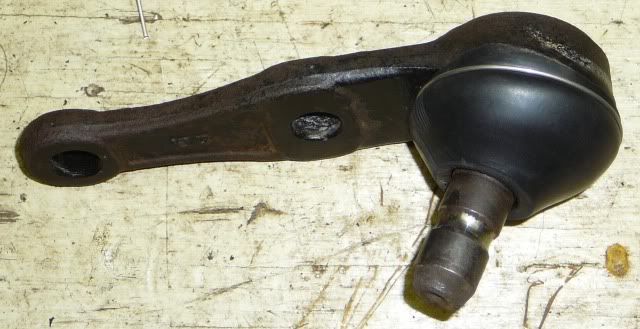
Opposite side
.
.
.
.
.
�. Not knowing what to expect since this is NOT a direct replacement part means that I would be experimenting with FORM, FIT, and FUNCTION. I took the entire ball joint assy. off the car. Removed the old, torn and shredded boot and cleaned up the ball joint. Used the two pack from Dorman, product part # 13567. Used the larger of the two boots in the package, sized up the larger BOOT and trimmed it with the BANDSAW (in the future I think I will use a miniature HACKSAW, easier to make the cut and it doesn�t grab the rubber). I fitted the BOOT to the ball joint and LOCKWIRED it in to position. Placed a small thin aluminum 5/8� washer over the shaft of the ball joint and on top of the rubber BOOT (greased the washer on both sides).
�. On the shaft of the ball joint, there is a small amount of flaring of the shaft about half way down (what this means is you MUST open up the inside diameter of the washer so it will move freely up and down the shaft and have NO rough edges to catch the rubber). Since the BOOT is about 1/16� larger than the ball joint shaft, I used my needle grease injector and pumped 3 shots of wheel bearing grease inside of the rubber BOOT and on top of the existing grease. Put it all back together and took a 15 mile ride. Brought it back and put it back on the lift and examined the results. The outside diameter of the original washer was TOO small (in the flexing of the joint the hole in the top of the BOOT elongated enough that it swallowed half the washer on the inboard side). So I replaced the washer with a bigger flange and that cured the problem. See pics. for all of the above.
�. Now that I have an idea of how to do this, when I do the other side I�ll show the pics that I didn�t show this time (from the beginning).
�. Just a side note: I haven�t decided yet if I like this particular product or not. The walls of the rubber BOOT are thick their NOT a flexible as the original BOOTS and for that matter they are about the stiffest BOOTS I�ve seen. I would say these BOOTS are about 1/3 thicker than standard BOOTS.
.
Cleaned up, Trimmed and LOCK-WIRED
.
.
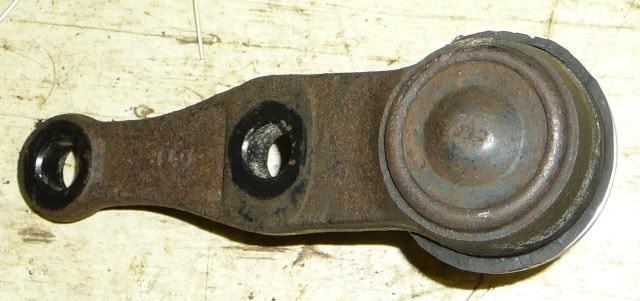
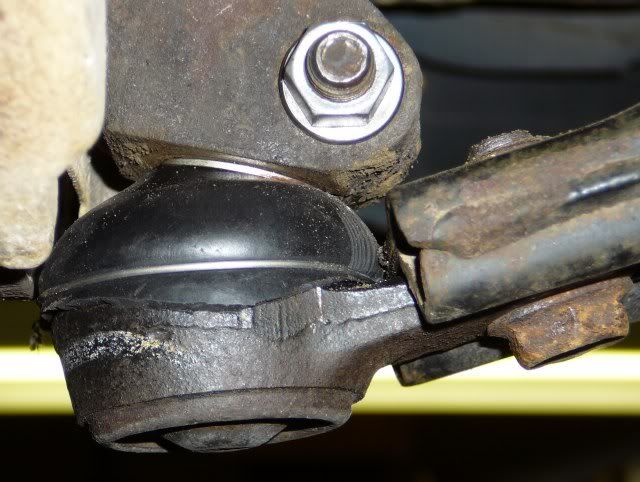
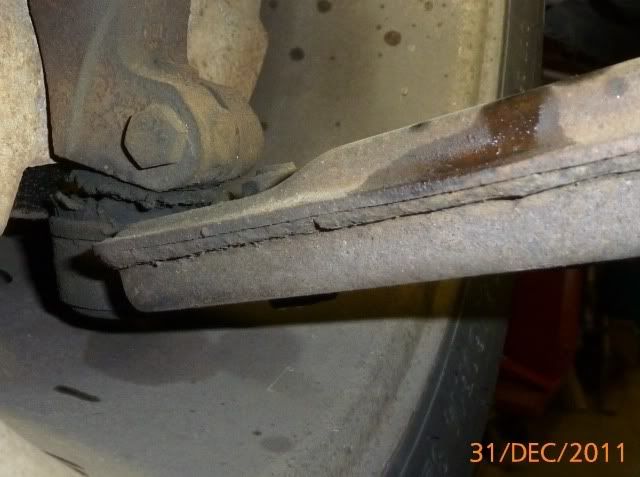
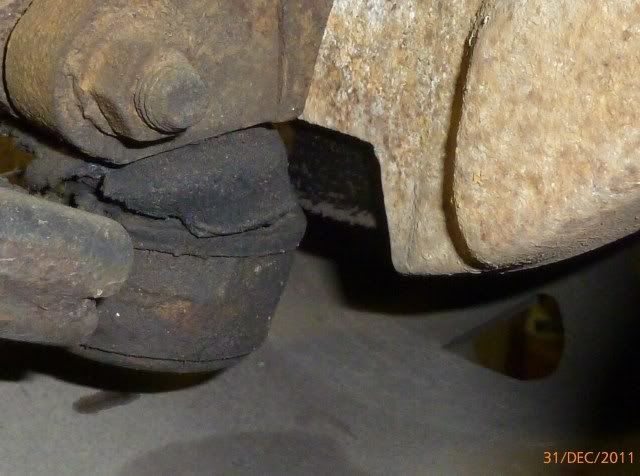
Bottom View Showing Rubber around edges.
.
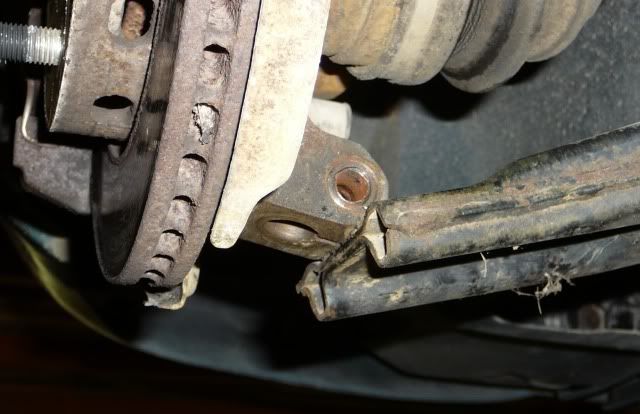
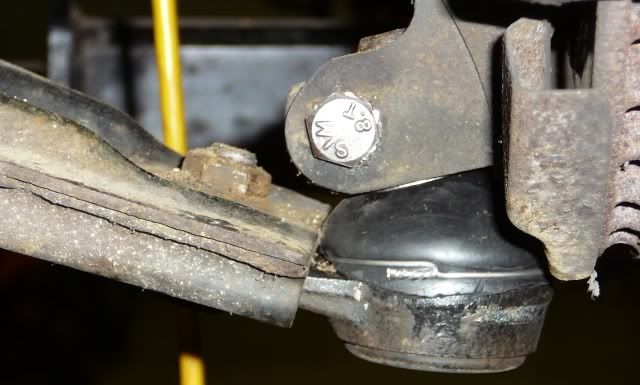
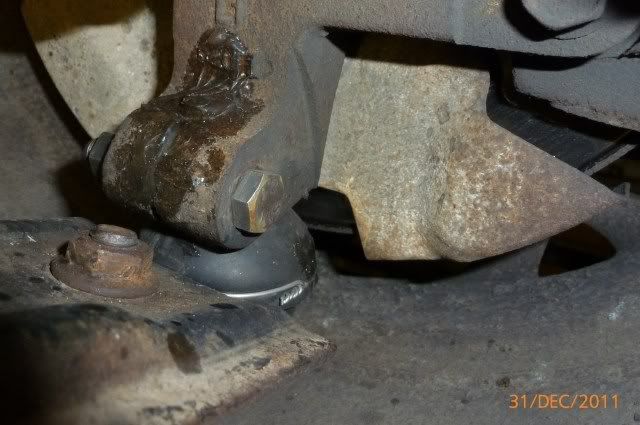
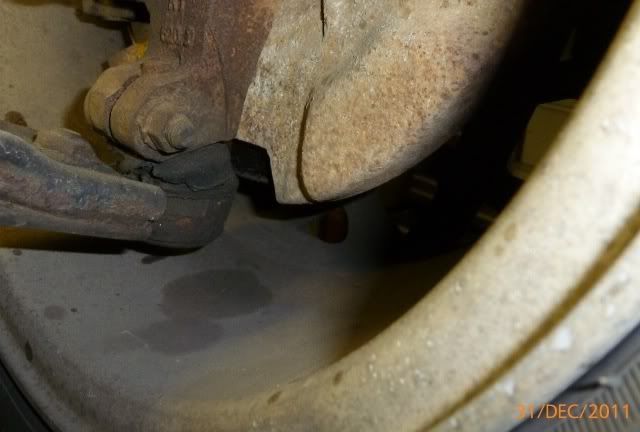
And of course FINAL assembly
.
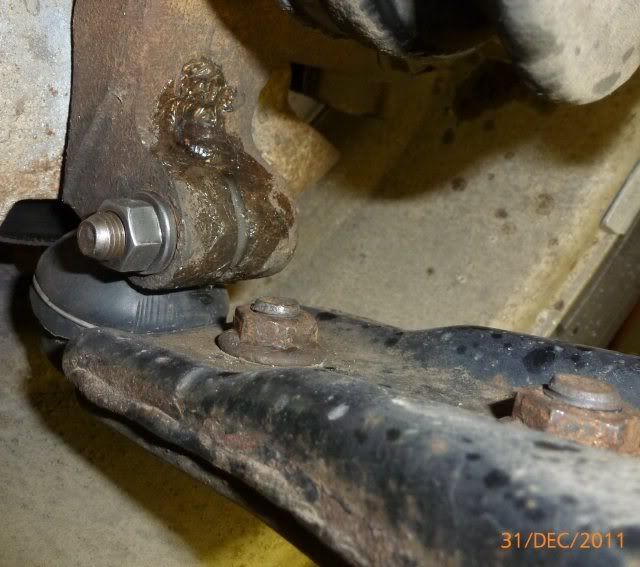
Aluminum Washer on BOOT which was replaced with a larger FLANGE.
.
.
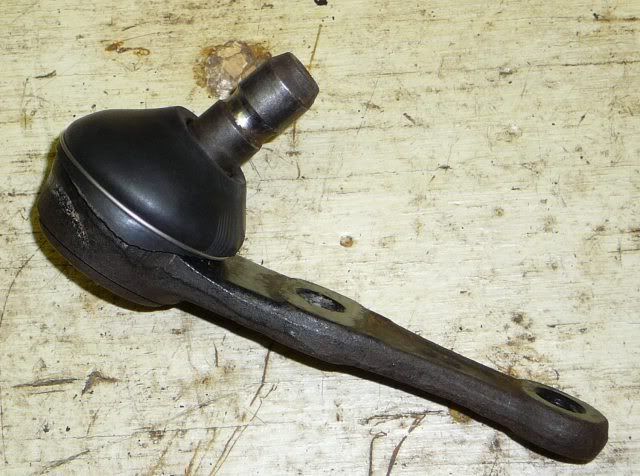
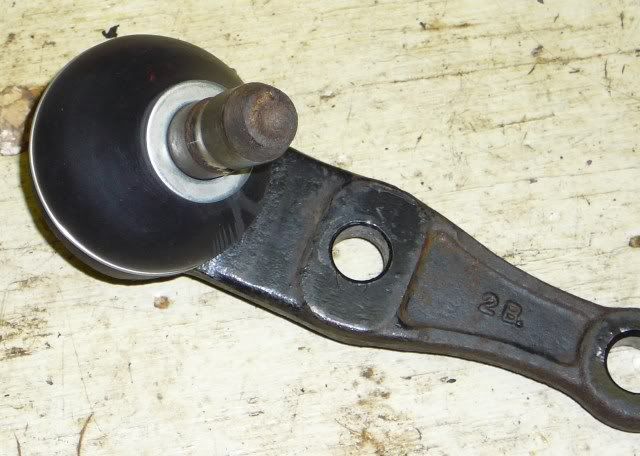
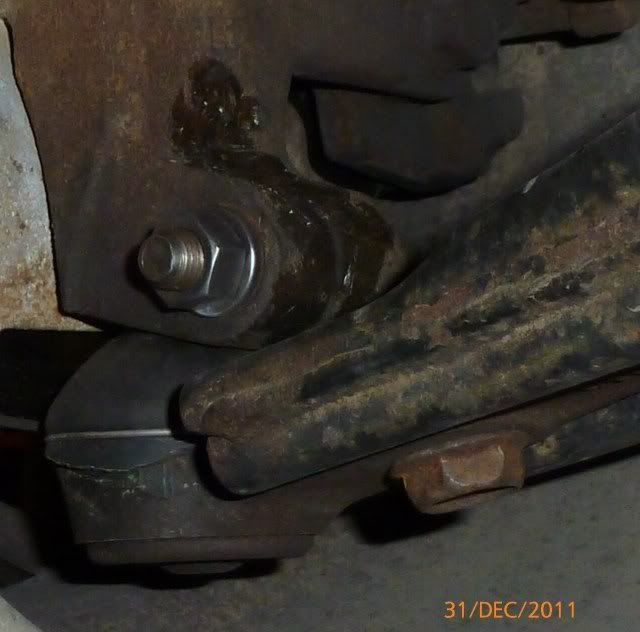
BOOT without Aluminum WASHER
.
.
And of course FINAL assembly
.
.
.
. .
.
.
..


Comment