 Tweet
Tweet
nice! clears up some confusion i had about compatibility of various components. did you mean large/small diameter crank end or are there long/short crank ends?
-
-
Wow, thanks for taking the time to write all that out... Hopefully it will help people understand a little more of the simple subtle differences and save you a lot of time answering questions lol2008 Kia Rio- new beater
1987 F-150- revived and CLEAN!!!
1987 Suzuki Dual Sport- fun beater bike
1993 Festiva- Fiona, DD
1997 Aspire- Peaspire, Refurb'd, sold
1997 Aspire- Babyspire, DD
1994 Aspire - Project Kiazord
1994 Aspire- Crustyspire, RIP

"If it moves, grease it, if it don't, paint it, and if it ain't broke don't fix it!"Comment
-
The actual snout of the crank is longer in the later cars and the timing and accessory pulley are different as well. The diameter of the oil pump drive and front main seal is larger on the long nosed crank as well, so yes. This is also true on the b3 and BP engines. The easiest way to tell what crank an engine has, without taking it apart (say your at the salvage yard and want a big nosed crank) is by the bolt pattern on the front accessory pulley. The earlier, short nosed crank pulley has a rectangle pattern, and the later crank has a square bolt pattern.Originally posted by F3BZ View Post
Tech Note: The front crankshaft bolt (that holds on the lower timing pulley and the hub that the accessory pulleys mount to) is known by many to come loose easier on the small nosed cranks. This topic has been widely covered in every Mazda forum on the web. I personally have never had a problem with this, and have run small nosed cranks about as hard as anyone. The key is to properly TQ the front bolt, and I use a little red loc-tite on the threads. I also buy a new bolt and key every time I have it apart. Just cheap insurance. Most of the time, when the bolt comes loose, it ruins the crankshaft.Last edited by Advancedynamix; 03-07-2015, 09:26 AM.Driving for me is neither a right nor a privilege. Driving is my passion, as it was for the people who invented the automobile, the people who paved the first roads and the people who continue to improve the automobile. Please respect this passion.Comment
-
That's a good idea, now if only I had a scope lolOriginally posted by Advancedynamix View Post
1988 323 Station Wagon - KLG4 swapped
1988 323 GT - B6T Powered
2008 Ford Escape - Rollover Survivor
1990 Festiva - First Ever Completed KLZE swap (SOLD)
If no one from the future stops you from doing it, how bad of a decision can it really be?Comment
-
No need. I know the answer. I stand corrected. AZGTX told me tonight that ALL pre 1990 B6T engines came with the fatty rods. That means GT and GTX versions of the 323 have the stout rods. I don't think there is a benefit to running the thicker rods though, because rod weight is a bad thing and if you are building an engine that needs rods that strong you can spring 300 bucks on a set of chromoly H beams. The BP engines came with the thinner rods, The rod bolts let go long before the rods bend.Driving for me is neither a right nor a privilege. Driving is my passion, as it was for the people who invented the automobile, the people who paved the first roads and the people who continue to improve the automobile. Please respect this passion.Comment
-
Ahh. Mine was an 88. Makes sense now. Cool stuff.Any difference that makes no difference is no difference.
Old Blue- New Tricks
91 Festiva FSM PDF - DropboxComment
-
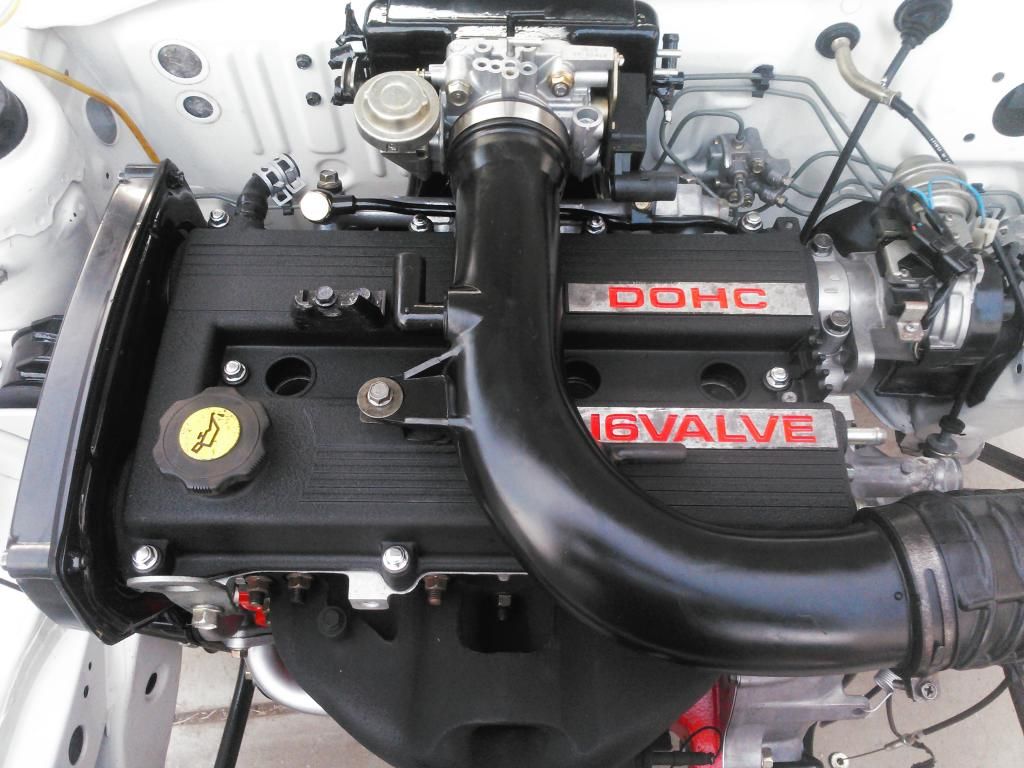
Some more DOHC facts.
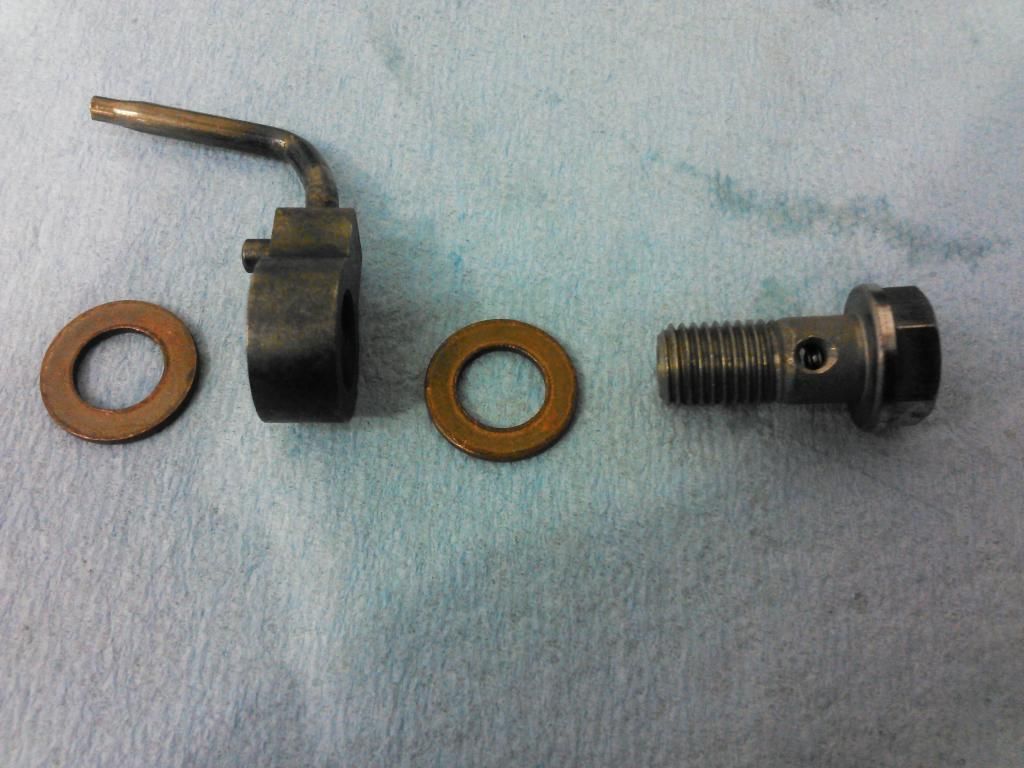
This is an oil squirter. The DOHC b6 and BP both have these. They have a spring and ball check valve in them so that they only flow oil above a certain oil pressure.
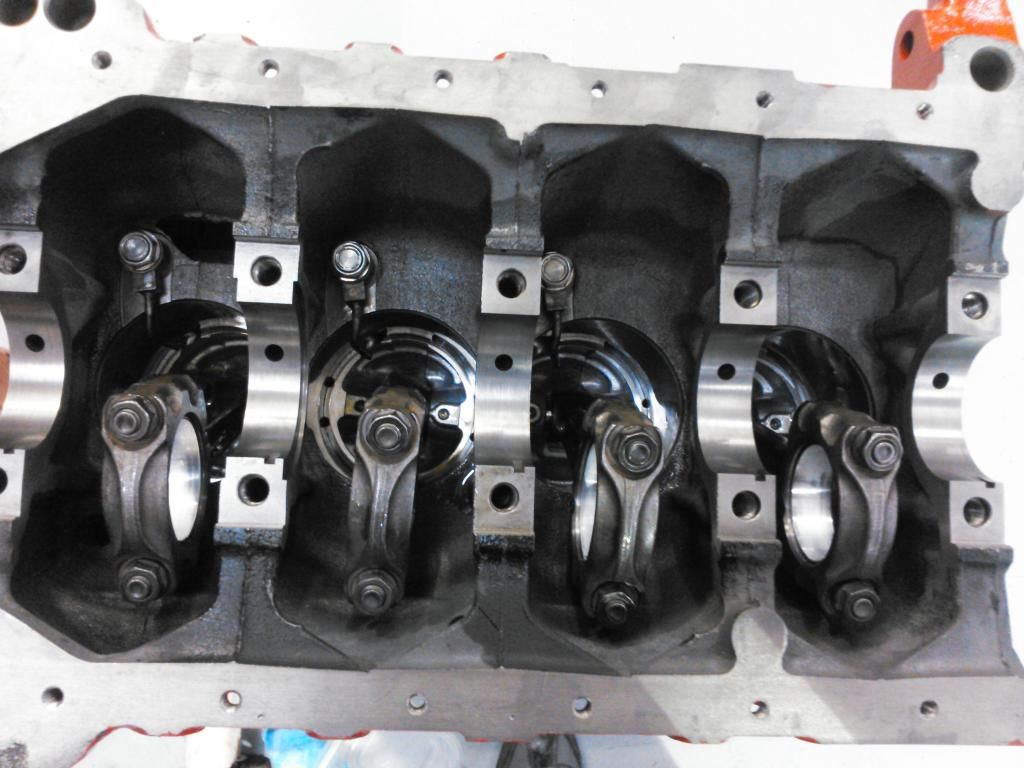
They help to cool the pistons, as well as lubricate the small end rod bearing, the wrist pin, and the cylinder walls. I have a theory that they also help harmonically stabilize the pistons as well, since coating a piece of metal with oil will dampen it's harmonic response. The drawback to the squirters is parasitic losses from the pistons hitting the oil as they move down from TDC, and the vaporization of the oil as it spashes around in the engine. A well designed air/oil separator is recommended for these engines when used in extreme conditions.Driving for me is neither a right nor a privilege. Driving is my passion, as it was for the people who invented the automobile, the people who paved the first roads and the people who continue to improve the automobile. Please respect this passion.Comment
-
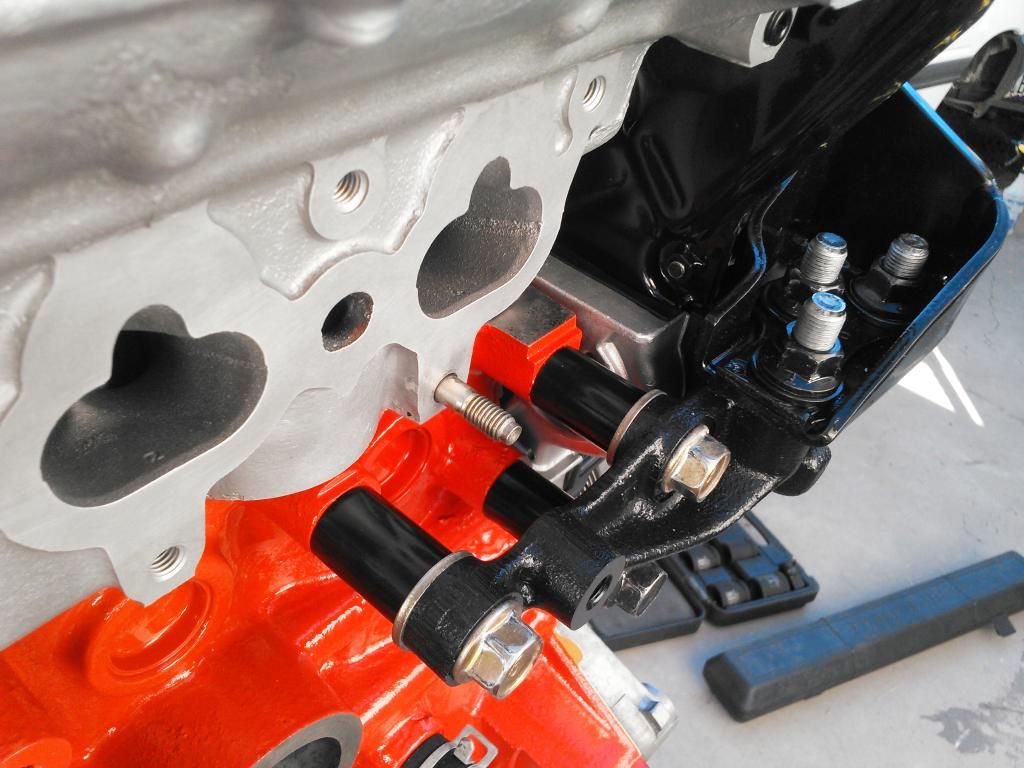
Another difference between the B6ze and the B6d/t is where the coolant exits the head.
The miata was not engineered with appropriate clearance for the thermostat housing on the correct side of the head, so they stuck it between the cam sprockets on the same side of the engine as the water pump. You don't need a degree in thermal dynamics to see why this was not a good plan and why Miata's are known for burning down cylinders 3 and 4. To convert the b6ze head back to a properly routed cooling system, for the transverse applications, you simply press in a 30mm (iirc, check it first!) freeze plug. The head is exactly the same, they just left the freeze plug out so they could bolt that worthless contraption on to the front.
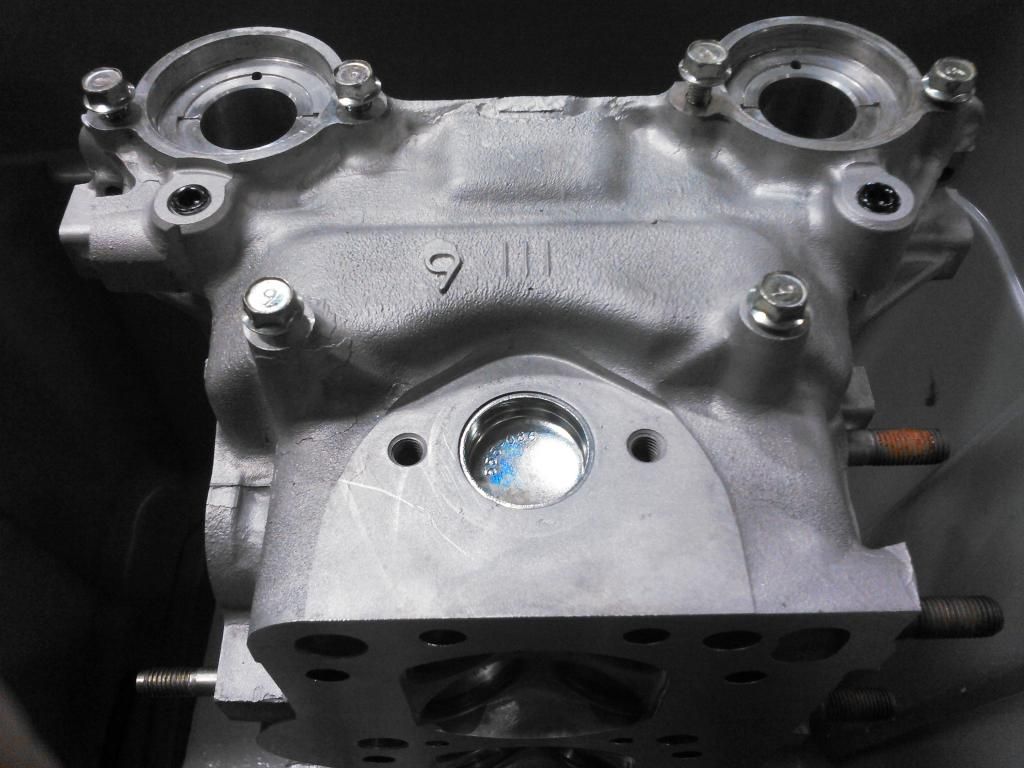
Fixed!Last edited by Advancedynamix; 03-09-2015, 01:53 AM.Driving for me is neither a right nor a privilege. Driving is my passion, as it was for the people who invented the automobile, the people who paved the first roads and the people who continue to improve the automobile. Please respect this passion.Comment
-
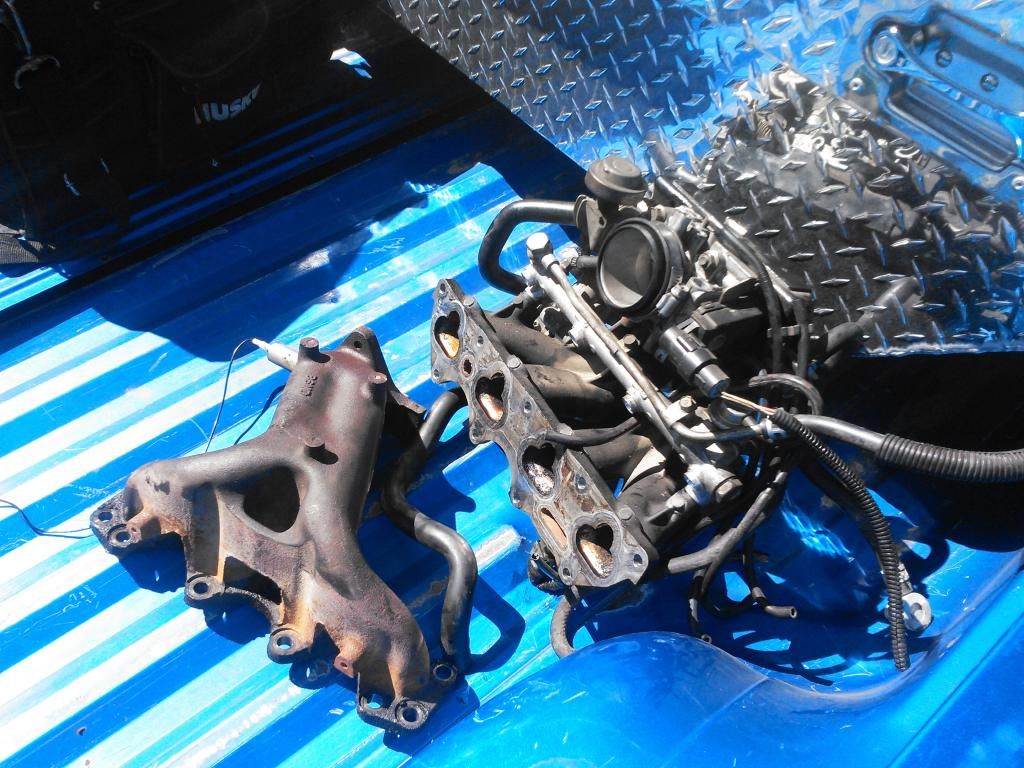
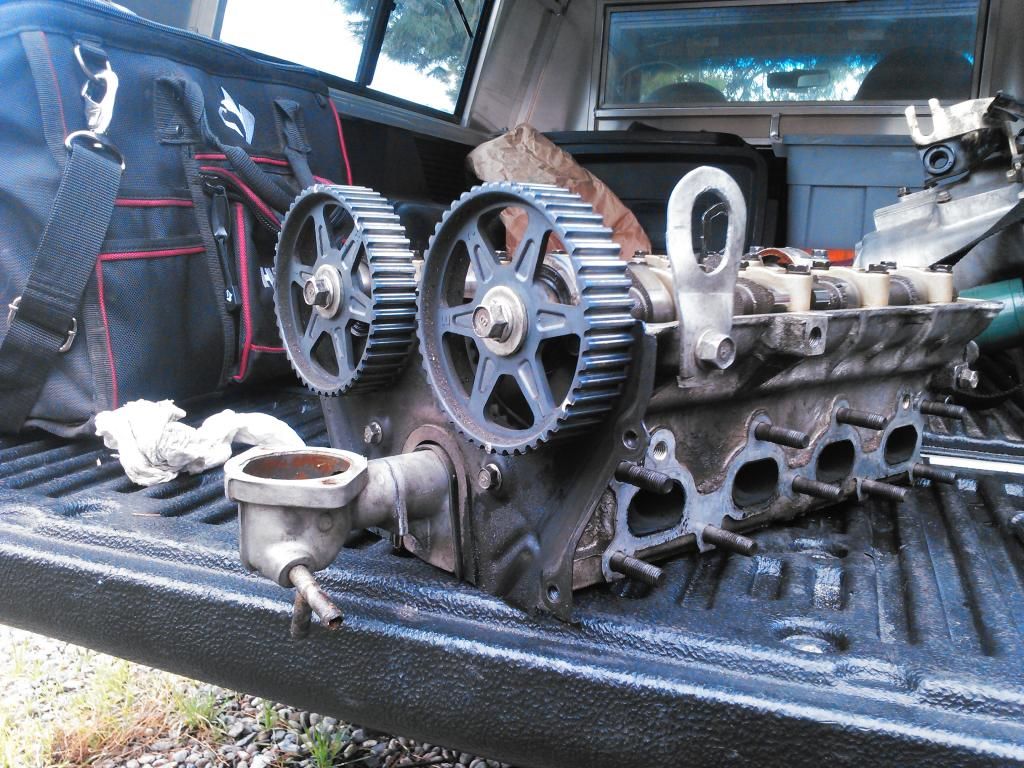
Here are the Capri B6d intake and exhaust manifolds. With these and a capri or 323 gtx/gt valve cover you have most of what you'll need to swap a Miata 1.6 into your Festiva. a good solid b6d will give you 100hp with ease to the wheels in stock trim. I have scored these engines from Miata enthusiasts for as little as 100 dollars on several occasions. They like to swap BP engines into their early miatas and then the little b6 just collects dust in their parents garage until dad tells them to get it out of there. This is happening right now in a town near you!
The b6D looks like it was meant for the Festiva. It is the same engine as the JDM Festiva GTX, but with a stroker crank, basically.Last edited by Advancedynamix; 03-09-2015, 02:04 AM.Driving for me is neither a right nor a privilege. Driving is my passion, as it was for the people who invented the automobile, the people who paved the first roads and the people who continue to improve the automobile. Please respect this passion.Comment
-
Excellent job and thank youComment
-
Your attention to detail is amazing .New build on the way .Comment
-
Here is an example of the 1 3/8" spacers needed to fit the Festiva engine mount on with the 16v head.
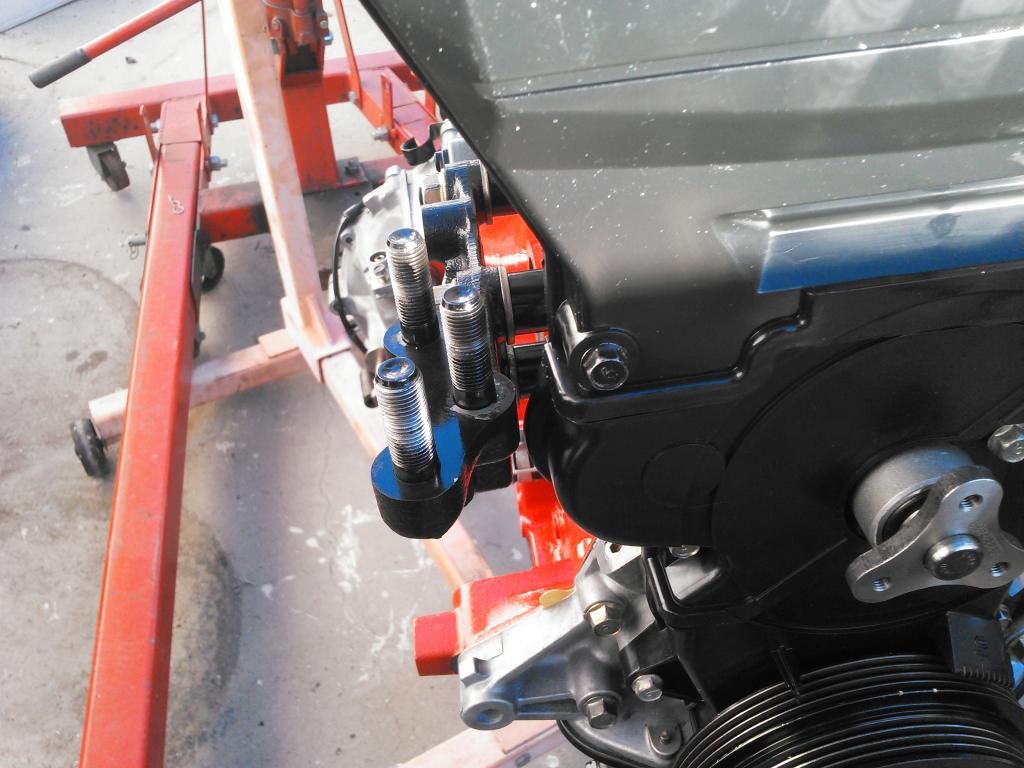
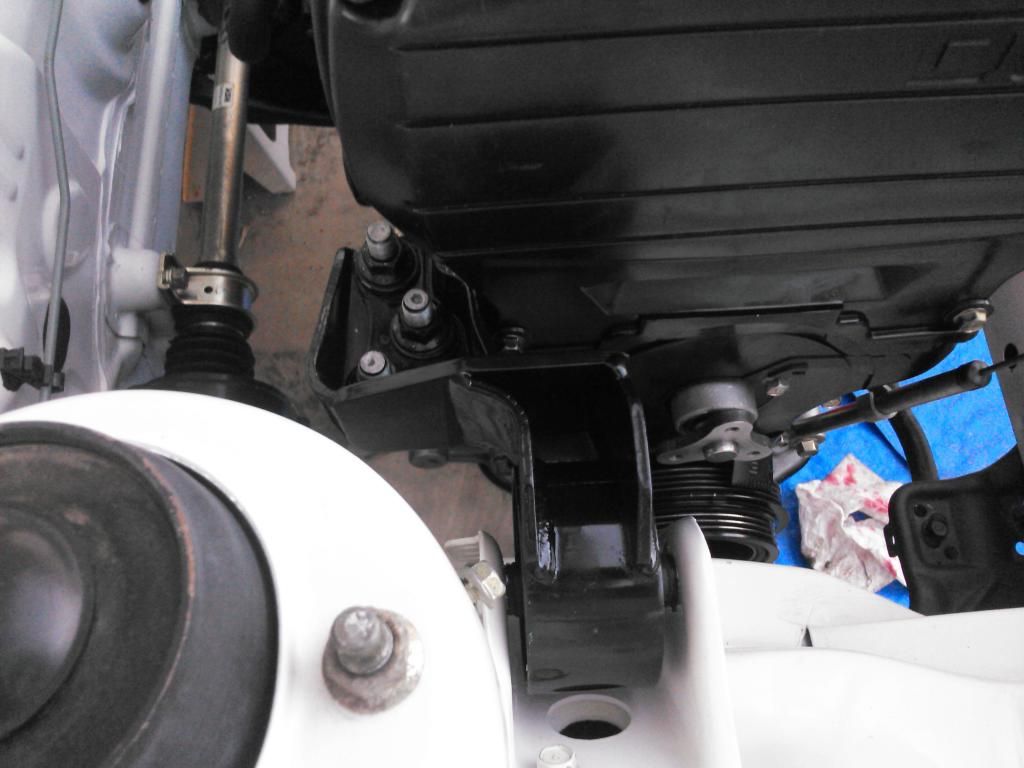
I cut the stock Festiva mount in half and welded in piece of steel to space the mount 1 3/8". I also made this mount lower the engine 3/8" for more hood clearance. This allows stock Festiva transmission mounts, and the crossmember can be lowered with 1/2" fender washers to lower the tranny side of the engine. With this setup, you can use the stock Festiva intake pipe and air box.
There are other ways to do this without cutting and welding the mount. This is just the easiest way for me to do it. There are factory Mazda mounts that can be used, and there is a slotting technique.
NOTE: When moving the engine forward (I.e. to use a large transmission) the factory mount can be left uncut. The transmission mounts can be made to move the tranny forward the same amount as the spacers between the block and engine mount. This same technique is used to mount a BP engine as well, but the holes in the mounts must be slotted for the longer block.Last edited by Advancedynamix; 03-09-2015, 11:00 AM.Driving for me is neither a right nor a privilege. Driving is my passion, as it was for the people who invented the automobile, the people who paved the first roads and the people who continue to improve the automobile. Please respect this passion.Comment
-
Is it safe to assume that the same spacer method could be used for the A/C idler pulley bracket the other side of the block?Ian
Calgary AB, Canada
93 L B6T: June 2016 FOTM
59 Austin Healey "Bugeye" Sprite
"It's infinitely better to fail with courage than to sit idle with fear...." Chip Gaines (pg 167 of Capital Gaines, Smart Things I Learned Doing Stupid Stuff)
Link to the "Road Trip Starting Points" page of my Econobox Caf� blogComment
-
very beautiful build but will you have to pull the engine to change the timing belt lol jkComment
-
I'd like to know how the spray pattern on those oil squirters lookComment


Comment