Originally posted by Switch
View Post
Announcement
Collapse
No announcement yet.
My '91 Hot Hatch Progress Thread
Collapse
X
-
You beat me to the punch. Good use of the application. How did you wire the 12v, and how did you run it? I'd like to know, as I plan to do it myself.In love with a MadScientist!:thumbright:
There's a fine line between breathtaking ingenuity and "That's the stupidest thing I've ever seen!"

-
thats what i want the interior on my red festy to look like!
nice and clean93L sold. First FESTY!
91L blue monster "BP swapped!" Robbed of its Heart for other Festy!
91GL blue bandit(thanks to sparky) Sold twice! lol
89L (thanks again to sparky) "SCRAPPED without my permission!!!!:nono:
93L Clean Green Machine! (Thanks to Sedat)-Sold to other member!
89 Auto LX Wrecked and stripped. violin
93GL Sold Too Soon!
91GL BP powered, ALL OPTIONS! banana time

Comment
-
Yea, but Arizona drivers suck and I want to make sure that my vehicle is noticed. Later I am going to see about changing it over to LED and adding a tail light modulator to make the third brake light flash when the brakes are applied. I did this mod to the third brake light on my Subaru and it makes the third brake light much more noticeable.Originally posted by hofficergrover View PostMine was blocked to so i just removed it since it isn't illegal to not have one if car was made before 95 then it is mandatory to have it. I like the look of them with out it.
I still have to finish it, when I took that pic it was held in with 3m tape so I could see how it would look.Originally posted by skimsucka View Postwow awesome job man loving everything your doing so far! nice and clean definatly need a short write up of the brake light what its from how did you mount .
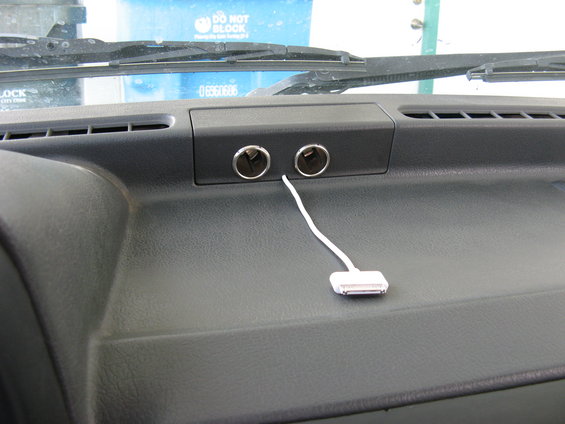
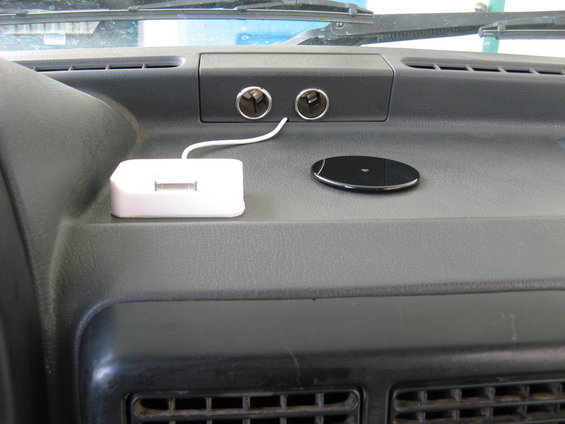
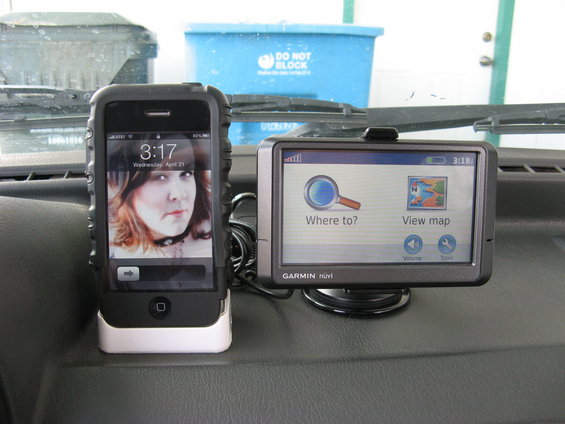
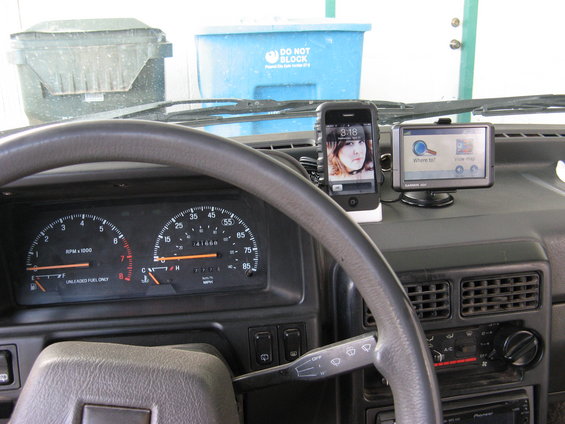
I tapped both of them into the dash cigarette lighter, just ran the wires down into the dash.Originally posted by DriverOne View PostYou beat me to the punch. Good use of the application. How did you wire the 12v, and how did you run it? I'd like to know, as I plan to do it myself.
Thanks, I pulled the interior out of a used Festiva at one of the u-pull it yards. I couldn't believe the interior was still in such good shape after so many years.Originally posted by gestiva View Postthats what i want the interior on my red festy to look like!
nice and cleanJames
Phoenix, Arizona
--------------------------------------The Stable-----------------------------------------------------
'91 Ford Festiva L, Mostly Smurf Blue with some white and dark blue as well. For Sale
'10 Subaru Legacy GT Limited, Ruby Red Pearl <~~~ Wife's car
'13 Hyundai Accent SE, Ironman Silver <~~~My Car
My SuperMotors Page

Comment
-
I don't know how to embed on this site, but here is a link that shows my third brake light mod on my Subaru. The third brake light on the Subaru is already made of LED's so it works perfect.
http://www.youtube.com/watch?v=9JoGmnYNWxoJames
Phoenix, Arizona
--------------------------------------The Stable-----------------------------------------------------
'91 Ford Festiva L, Mostly Smurf Blue with some white and dark blue as well. For Sale
'10 Subaru Legacy GT Limited, Ruby Red Pearl <~~~ Wife's car
'13 Hyundai Accent SE, Ironman Silver <~~~My Car
My SuperMotors Page

Comment
-
Hard to believe it's been almost a year since I have updated this thread. Haven't had much time until recently to work on the Festiva, been busy with two temp jobs in the last 18 months, one of which just turned permanent and family issues.
Other updates, I sold my '05 STi for personal reasons and have started working on my Festiva again. I mounted my PIAA lights from my STi to the front of the Festiva giving it an early rally look. Also I found in the U-Pull It Yard last weekend a roof rack which looks very similar to the one Freshtiva made a post on of a factory roof rack but mine didn't come from a Festiva. I will have pics of the rack installed and the lights tomorrow after I finish the roof rack install (and what it came off of )
James
Phoenix, Arizona
--------------------------------------The Stable-----------------------------------------------------
'91 Ford Festiva L, Mostly Smurf Blue with some white and dark blue as well. For Sale
'10 Subaru Legacy GT Limited, Ruby Red Pearl <~~~ Wife's car
'13 Hyundai Accent SE, Ironman Silver <~~~My Car
My SuperMotors Page

Comment
-
Very nice work you're doing Switch!90 Festy (Larry)--B6M (Matt D. modified B6 head), header, 5-speed, Capri XR2 front brakes, many other little mods
09 Kia Rondo--a Festy on steroids!
You can avoid reality, but you can't avoid the consequences of avoiding reality--Ayn Rand
Disaster preparedness
Tragedy and Hope.....Infowars.com.....The Drudge Report.....Founding Fathers.info
Think for yourself.....question all authority.....re-evaluate everything you think you know. Red-pill yourself!
Comment
-
Been a busy morning so far. Got the roof rack installed, put on a factory battery tie down, and am working on replacing my rear bearings (waiting for my wife to get off work so she can pick up some rear seals that I forgot to pick up ).
).
So here is a pic of my PIAA lights on the front of my Fesitva. The top lights are the 40 series pencil beam, and the lowers are the 510 series fogs.

I still have to wire them up, I have all the relays and fuses from my STi so it' won't be too difficult. As for the mounting holes, the bottoms were really easy, I just took out two of the plastic screws for the bumper cover an bolted them on there. For the top bolts I drilled two 1/2" holes and used steel rivet nuts.
And now for my roof rack. I found this rack on a '89 or '90 Toyota Corolla wagon. It had a mid '89 build date so I'm not too sure on the year. I'm pretty sure this was a factory rack as the hardware holding it on was 5mm and used aluminum rivet nuts in the roof. I can easily get metric replacement hardware, but not metric rivet nuts. So I swapped the hardware to 10-24 stainless with aluminum rivet nuts so that I don't have to worry about the hardware rusting. Also on a side note, I currently do not have a headliner installed so this made installation that much more easy.
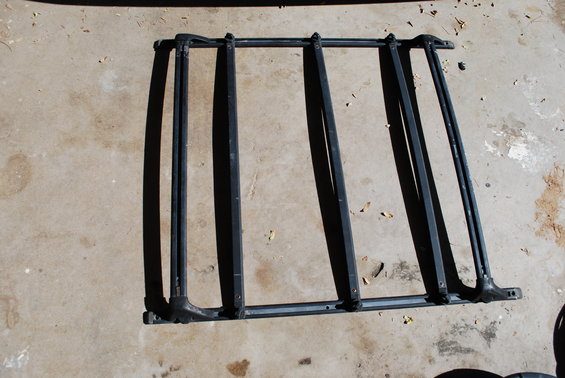
Here is a picture of the roof rack.
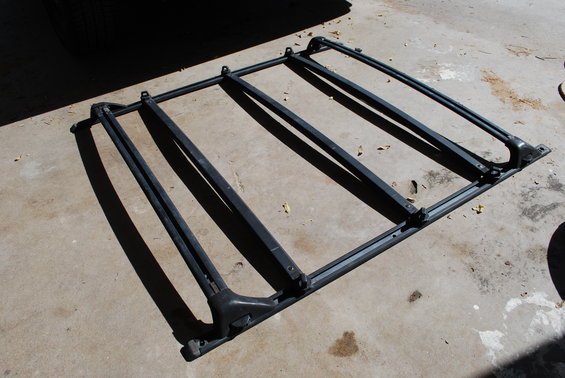
Another shot of the roof rack.
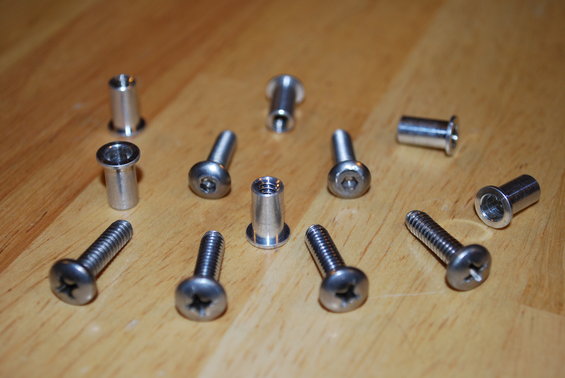
This is the hardware I used to install the rack. Six aluminum rivet nuts, four phillips head machine screws, and two button head allen head machine screws. The outer four screws used originally were 5 mm machine screws and the two inner ones were a stepped screw for clearance reasons.
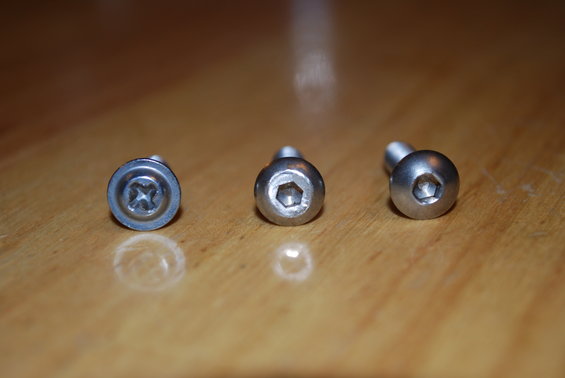
Here you can see the face of the original center screw and the button screws I replaced them with. On the left is the original screw, the center is the shaved down button head screw, and the right is the button screw in its original form.
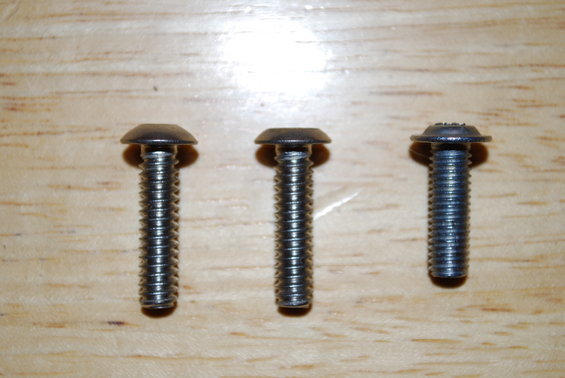
A top shot of the center screws, left is the original button screw, center is the shaved down button screw, the the right is the original stepped screw.
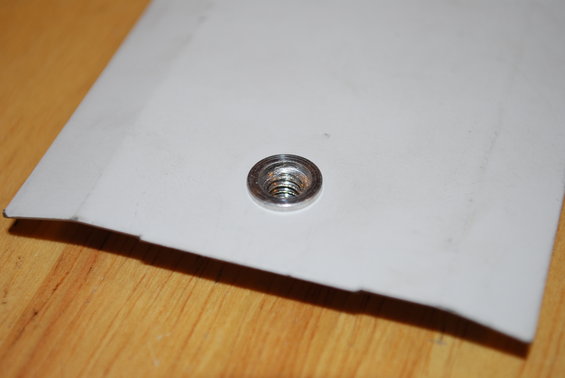
A scrap piece of sheet metal I tested one of the rivet nuts on.
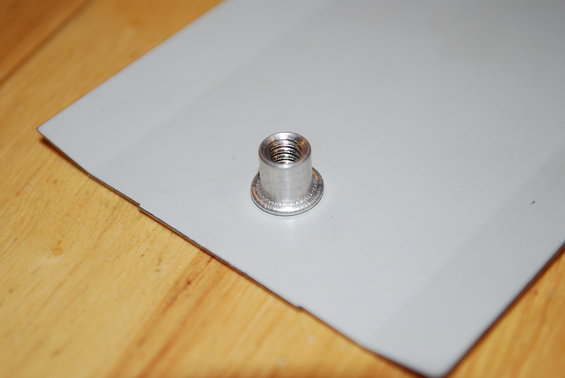
A back side shot of the installed rivet nut.
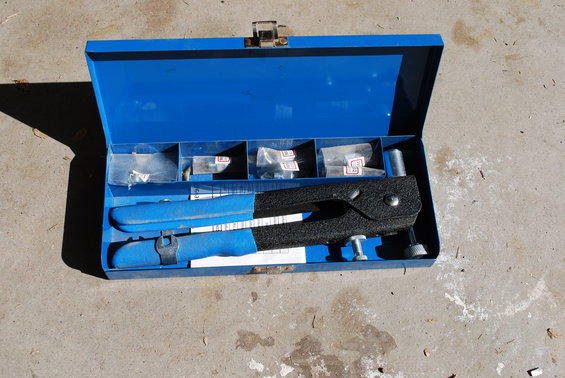
My rivet nut install tool.

Here is a picture of the roof with the holes marked in purple before drilling.
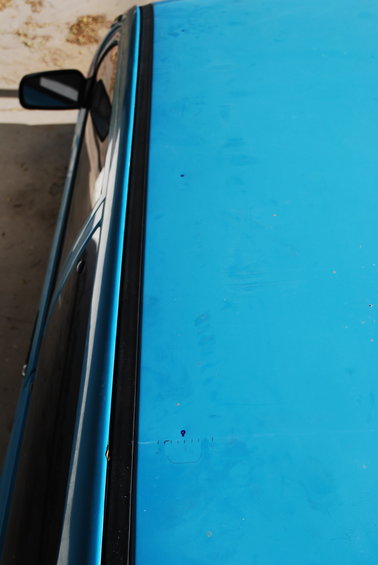
Left side of marked holes.
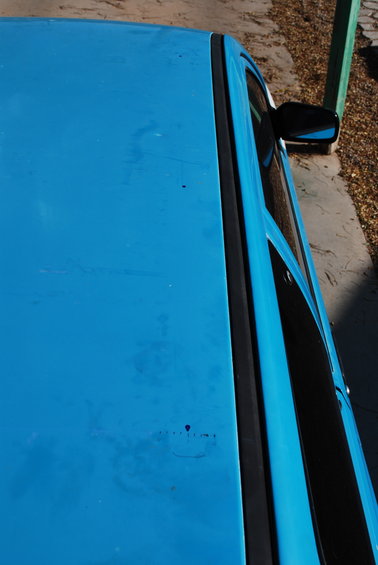
Right side of marked holes.
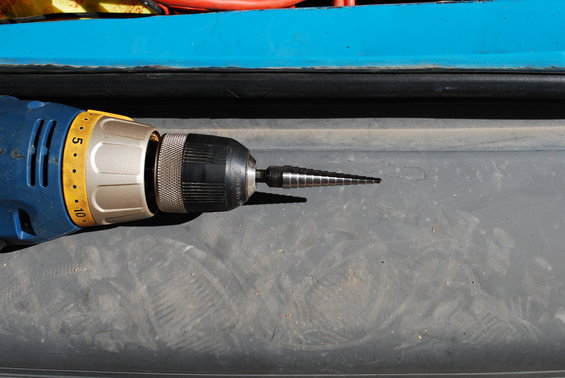
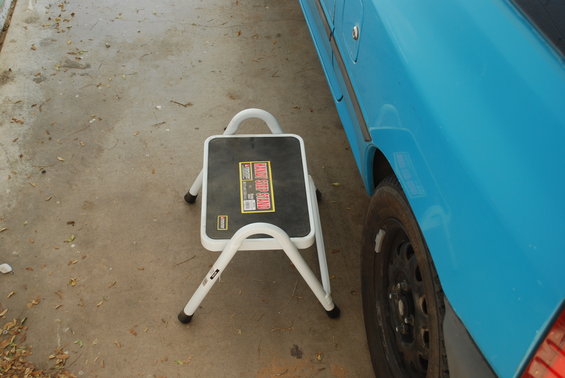
I used an Irwin Unibit to drill the 1/4" holes needed for the rivet nuts and a little step stool to help reach the roof easier.
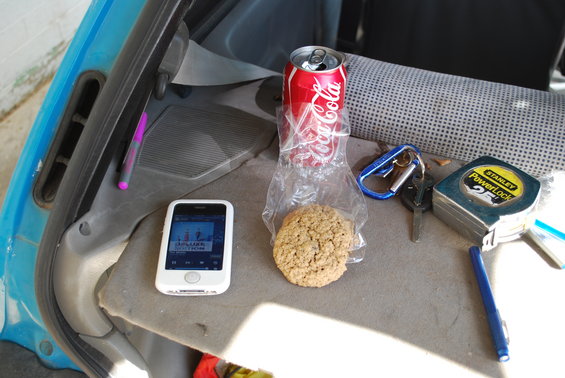
Optional tools include homemade oatmeal raisin cookies, Coca-Cola, and streaming slacker radio.
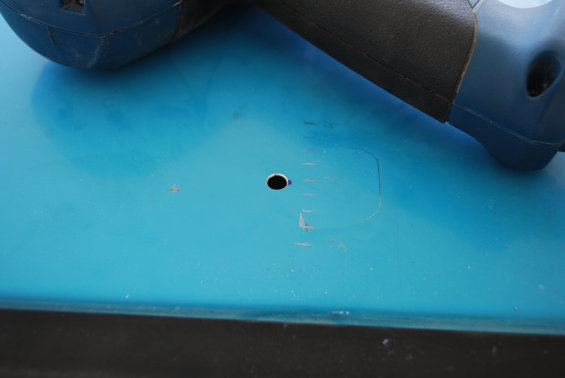
Top view of the first hole drilled.
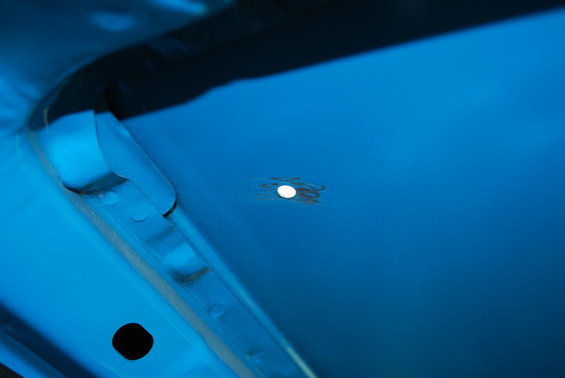
Bottom view of the first hole drilled.
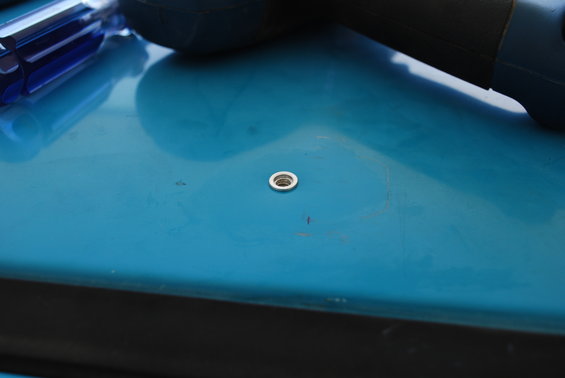
Top view of first rivet nut installed.
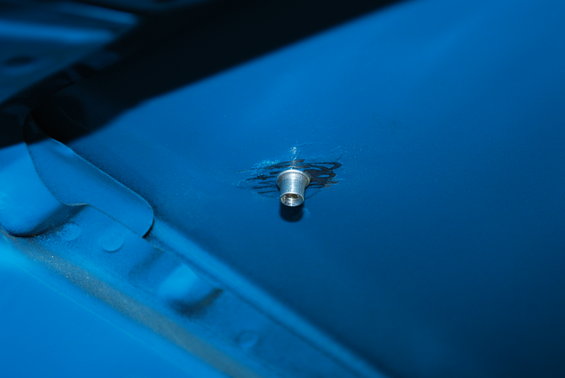
Bottom view of the first rivet nut installed.
After doing the first hole and rivet nut, the other five went very smoothly. I also put a small amount of silicone sealant around the top and bottom of the hole before installing each rivet nut and also put anti seize in the threads before installing each screw to prevent leakage or corrosion.
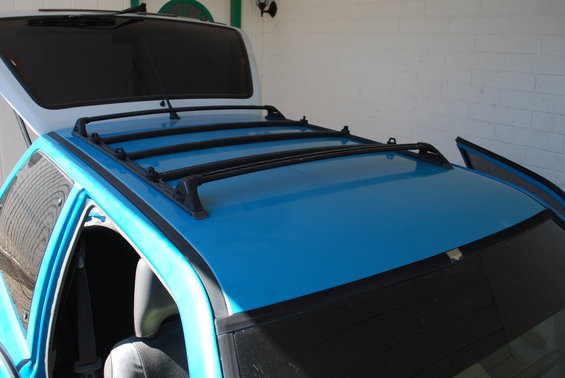
And here is a final picture of the roof rack installed. It will be a nice addition to use for some little things rather then always having to hook up the trailer to my wife's car.
Hope this helps anyone else looking for a low cost factory looking roof rack for their Festiva. James
James
Phoenix, Arizona
--------------------------------------The Stable-----------------------------------------------------
'91 Ford Festiva L, Mostly Smurf Blue with some white and dark blue as well. For Sale
'10 Subaru Legacy GT Limited, Ruby Red Pearl <~~~ Wife's car
'13 Hyundai Accent SE, Ironman Silver <~~~My Car
My SuperMotors Page

Comment
-
More of a distraction actually.Originally posted by thered56 View PostRight on. I like the lights. Do the optional tools speed up the install? James
James
Phoenix, Arizona
--------------------------------------The Stable-----------------------------------------------------
'91 Ford Festiva L, Mostly Smurf Blue with some white and dark blue as well. For Sale
'10 Subaru Legacy GT Limited, Ruby Red Pearl <~~~ Wife's car
'13 Hyundai Accent SE, Ironman Silver <~~~My Car
My SuperMotors Page

Comment
-
I like the look of the roof rack and the lights. It's looking really good!-------------------------------------------------------------------------------------------
Nancy- 1.8L BP, aspire swap, g-trans
The Adventures of Nancy! Build Thread
-------------------------------------------------------------------------------------------
My Musica! Click me!
Comment
-
nice!Originally posted by Switch View PostJust a little update, I pretty much have all of the interior in now, I just need to finish the headliner and re-cover the cargo cover.
Also I wanted to share some pics of my new 12v accessory plugs. I wanted to mount my gps in the Festiva but didn't want cords hanging down the front of the dash.
Also today at the u-pull it I managed to find a white intermittent wiper stalk. =)Never Hire a Boy to do a Man's Job!!
Comment

Comment