-
[URL=http://smg.photobucket.com/user/Hot_Wheels/media/Mobile%20Uploads/20160505_193552_zps0putxifu.jpg.html]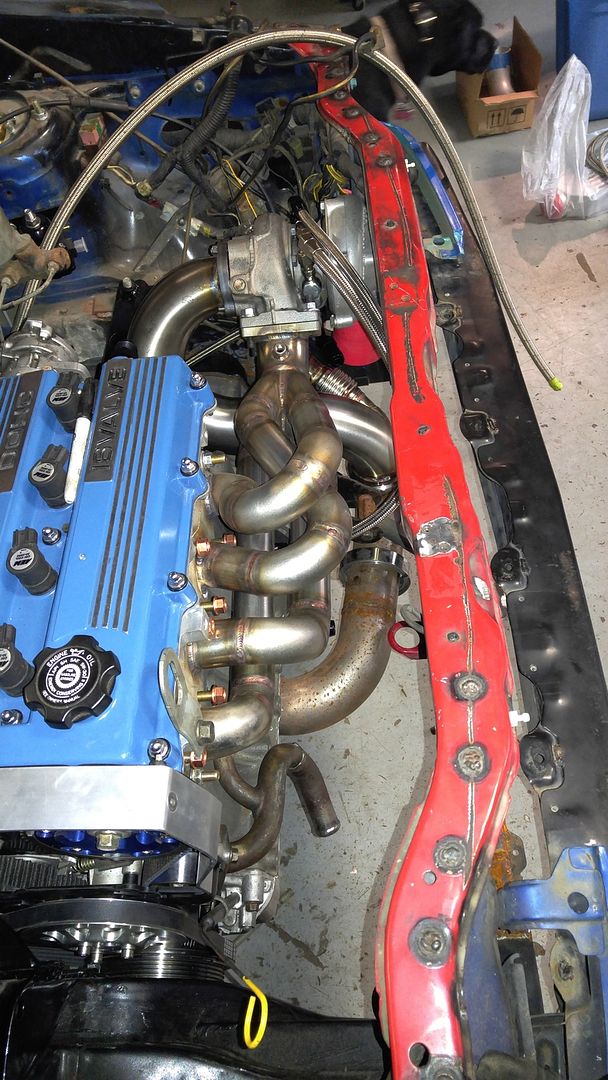 [/URL
[/URL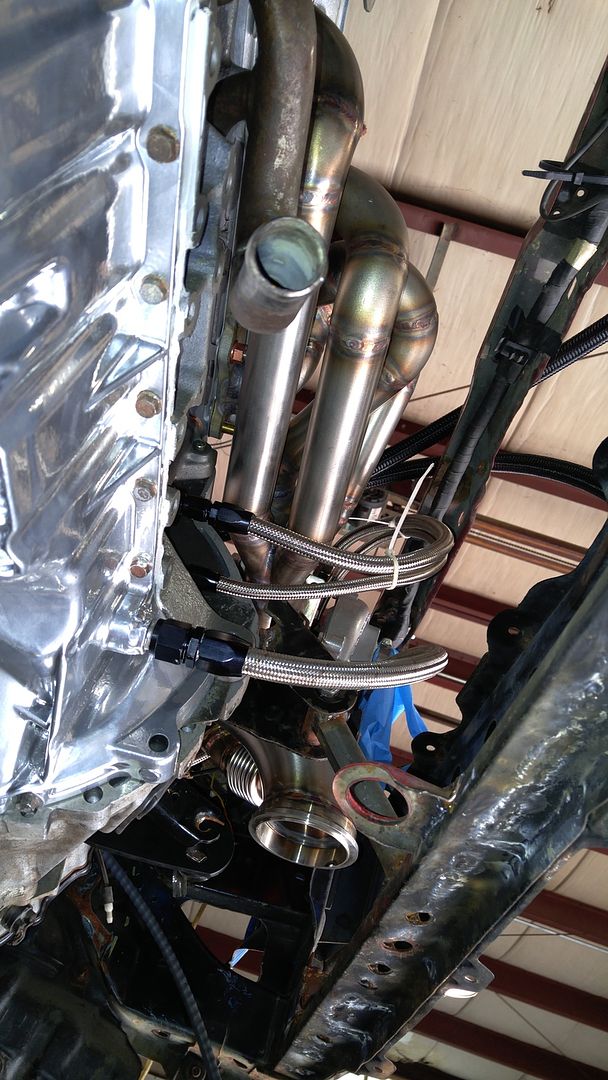
Leave a comment:
-
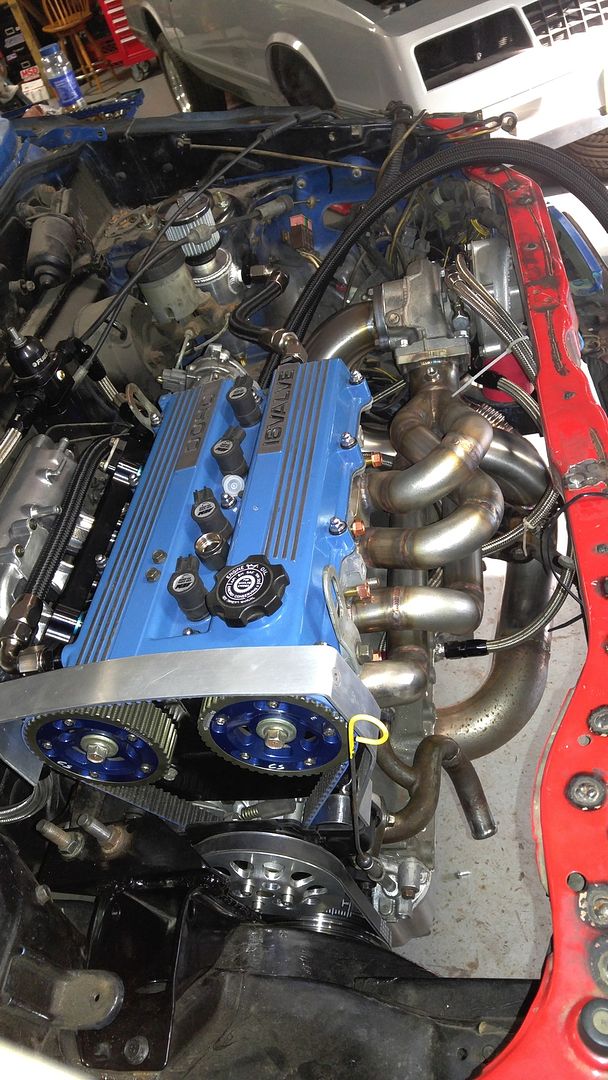
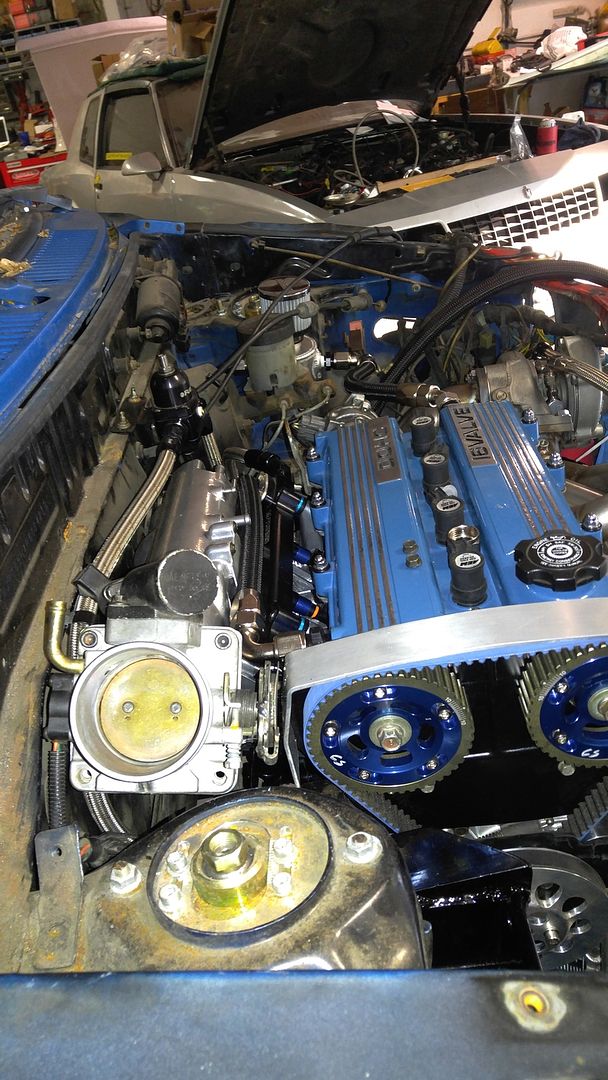
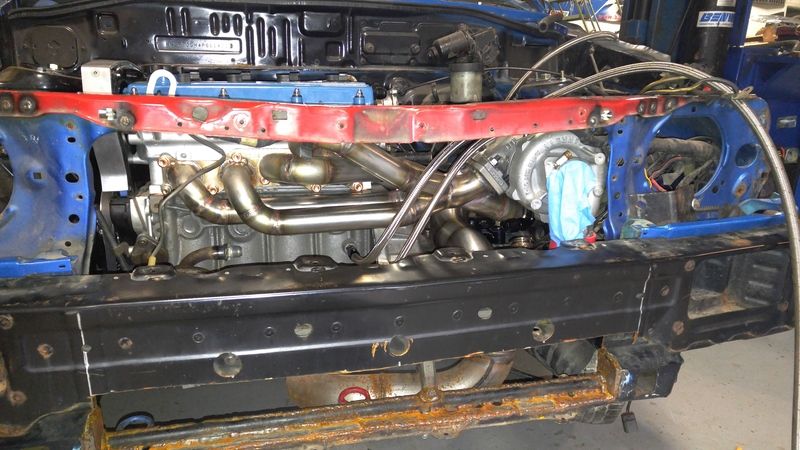
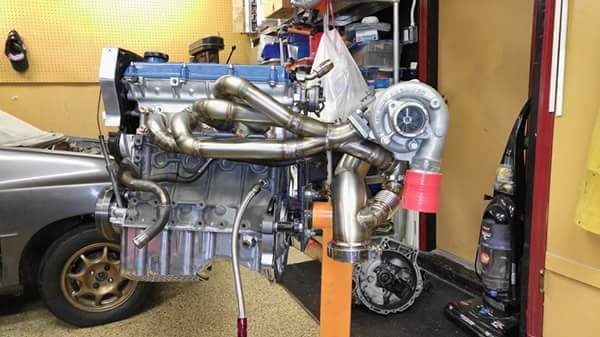
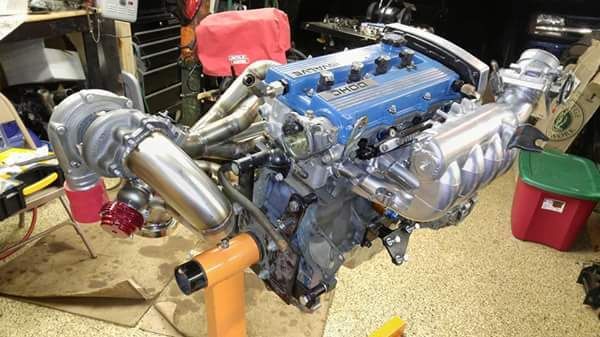
Here are the updates. Wastegate was welded shut. We went to install the motor back in anfter all the detail work however everyrhing was a challenge. First off the oil pan had to be notched to clear the jackshaft. I used a different oil pan and i didnt realize the other one bad been modified for clearing on the hydro trana. It wasnt a big deal a little hair cut with sawzall and everything was good. We had to make a little clerance in frame again to allow space for the torque wrench when setting the crank pulley. The intake studs had to be removed from the top portion of the head to allow the intake to fit. So bottom has studs and top will have alen cap bolts. Most of ll the plumbing is done accept oil cooler.
List of what is left
Plumb oil cooler (get Peterson primer)
Run a longer positive cable to passanger side
Make throttle cable bracket
Install aspire or or egt master cylinder (should i leave stock booster?)
Probably install proportioning valve for rear disc, need to figure out how to plumb
Finish coolant crossover tube to heater core
Find a line to connect from block to heatercore inlet
Plumb intercooler piping again.
Wire up
Install gauges
Put fenders on
Trim bumper and fit
Set hood
Fill fluids
Leave a comment:
-
A brace to the trans would work fine. The more support the better here. When I build the turbo bracing I make sure it'll hold the turbo, downpipe and wastegate up securely without the header in place (obviously after it's made with the header in place). This way your not asking the header to support any load.
Your definitely going to have to get creative with your heater bypass. I would run the heater cuircut around the front (crank nose end) of the engine. Use the space where the Capri/gtx mount bracket used to go (between the head and timing tin). You could bend up a nice hard line and weld a bung on to whichever pump inlet that you choose. Then weld a -6 to the existing return bung and run a -6 coolant return from the turbo. There are lots of different pump inlet options. The miata one is a weird shape that might leave you plenty of options. They seem to weld okay. I use 356 rod on the cast aluminum ones.
You could also run your coolant like a miata does, but this is not ideal. That was an afterthought by mazda, and it's been the death of many engines.Last edited by Advancedynamix; 04-30-2016, 08:21 AM.Leave a comment:
-
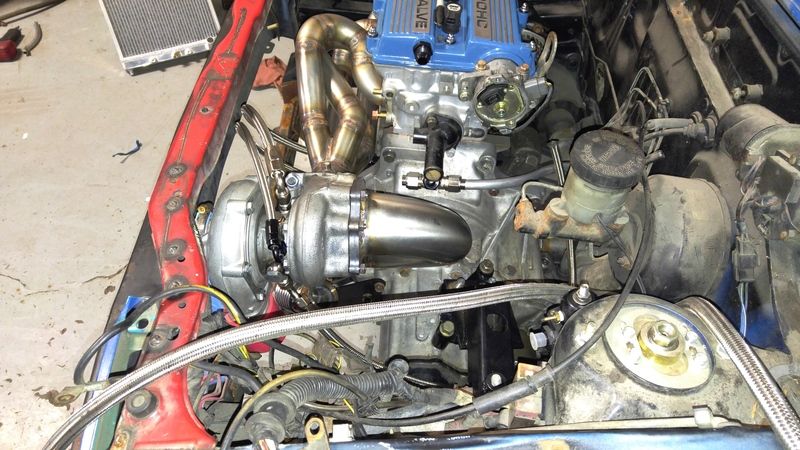
Not yet charlie. I got to put it back in and see where I can add a brace. Maybe from the turbo to trans? Or maybe from one of the open bolt holes on the block by the oil pan? My other concern is coolant to heater core. The crossover Tube touches the manifold. I'm thinking of welding a AN fitting at the outer running some -8 stainless to T to connect the turbo coolant back to the -8 T and head back to the heater core?Leave a comment:
-
Rick, is there bracketry to support and stabilize the turbocharger? The header should never be used to hold the weight of the turbo, that's one of the main reasons they fatigue. That turbo will vibrate like a tuning fork way out there and stainless steel doesn't withstand that type of load without fatigue issues.
Things are looking awesome. It looks like the car will be together soon.Last edited by Advancedynamix; 04-27-2016, 04:45 PM.Leave a comment:
-
I just looked it all over! This build is a bit more then what i can do!Leave a comment:
-
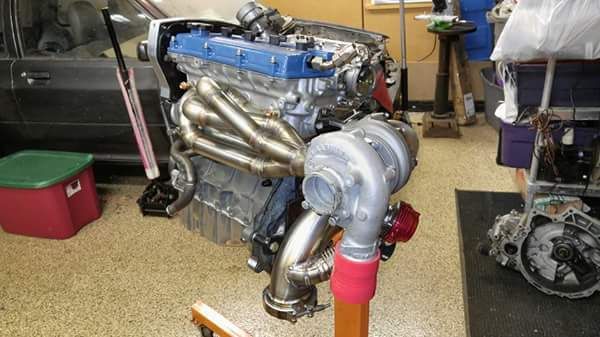
Check a few pages back it should all fit. I had Hellafab use the orginal manifold as template. Radiator will be on passenger side.Originally posted by Icedawg View PostLeave a comment:
-
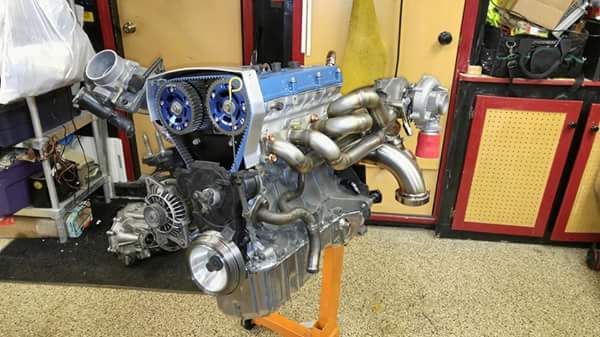
That looks like a really awesome manifold. But I don't see how you plan to fit it all in the engine bay. It seems to extend much farther forward of the block than the stock B6T parts, and fully occupy the location of the radiator. Will you mount the engine further back towards the firewall? Shift the rad in front of the block? Is this layout all discussed much earlier in the thread, and I just missed it?Leave a comment:
-
The manifold made it on my birthday! Lots of stuff to do. I'm waiting on my garage star under drive pulleys and I think I'm going to take my alternator apart for powder coating.
Leave a comment:
-
That is some impressive fab work. That manifold is definitely going to be the center piece of the engine bay once everything is together.Leave a comment:


Leave a comment: