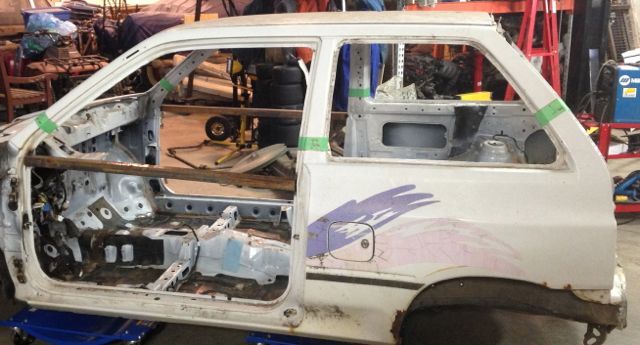
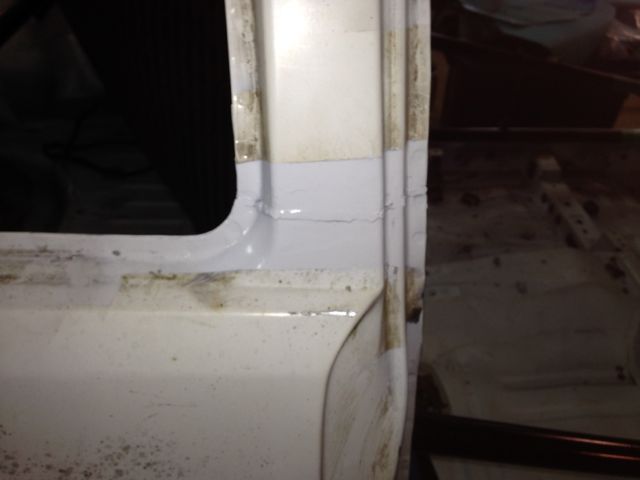
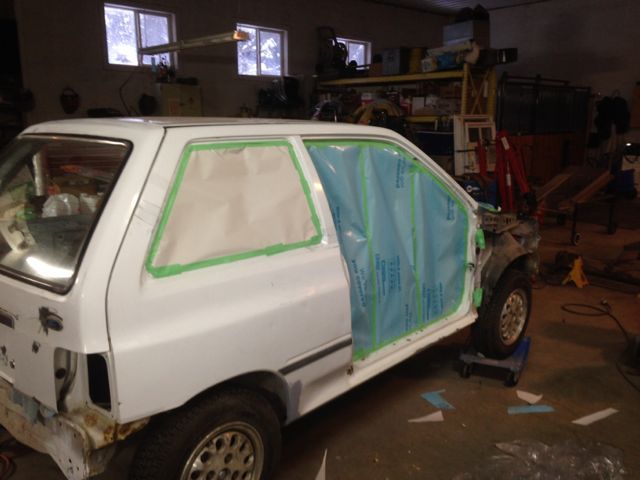
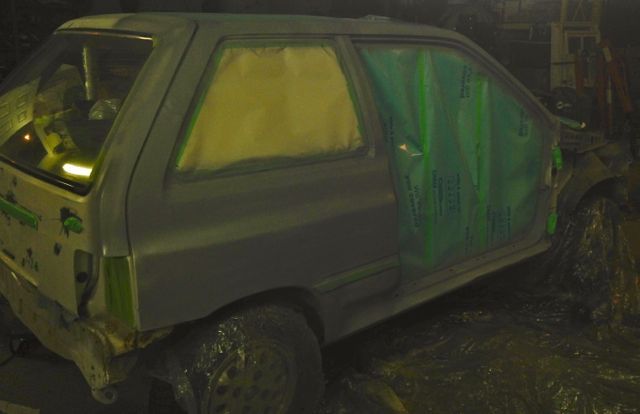
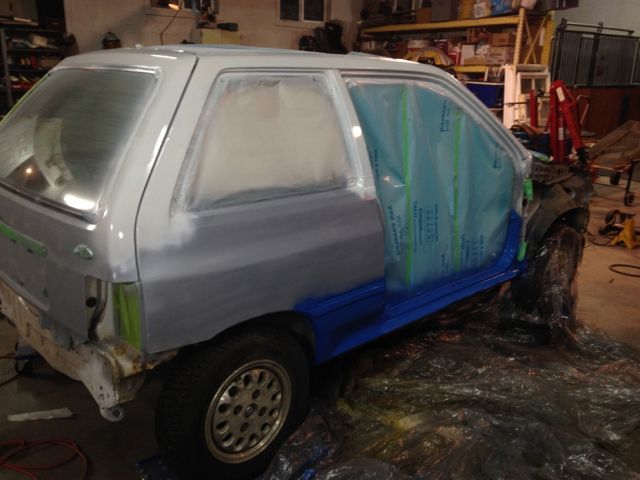
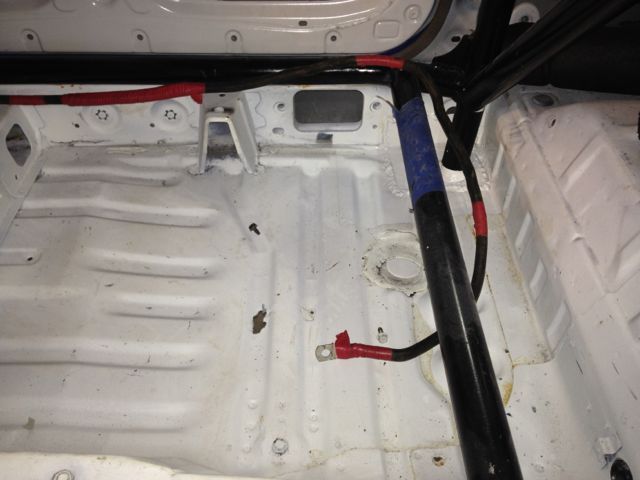
Announcement

Collapse
No announcement yet.

Icetiva 3 race car build

Collapse
X
 
  • Filter
  • Time
  • Show
Clear All
new posts

  • #31
    A blank canvass

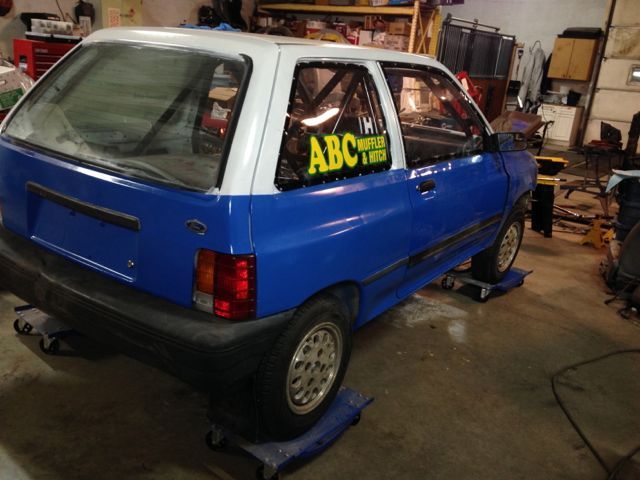
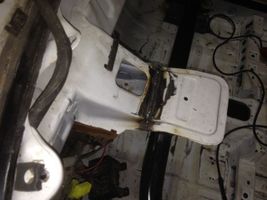
    Finally time to tackle the interior, and put wiring, heater core and dash back in.
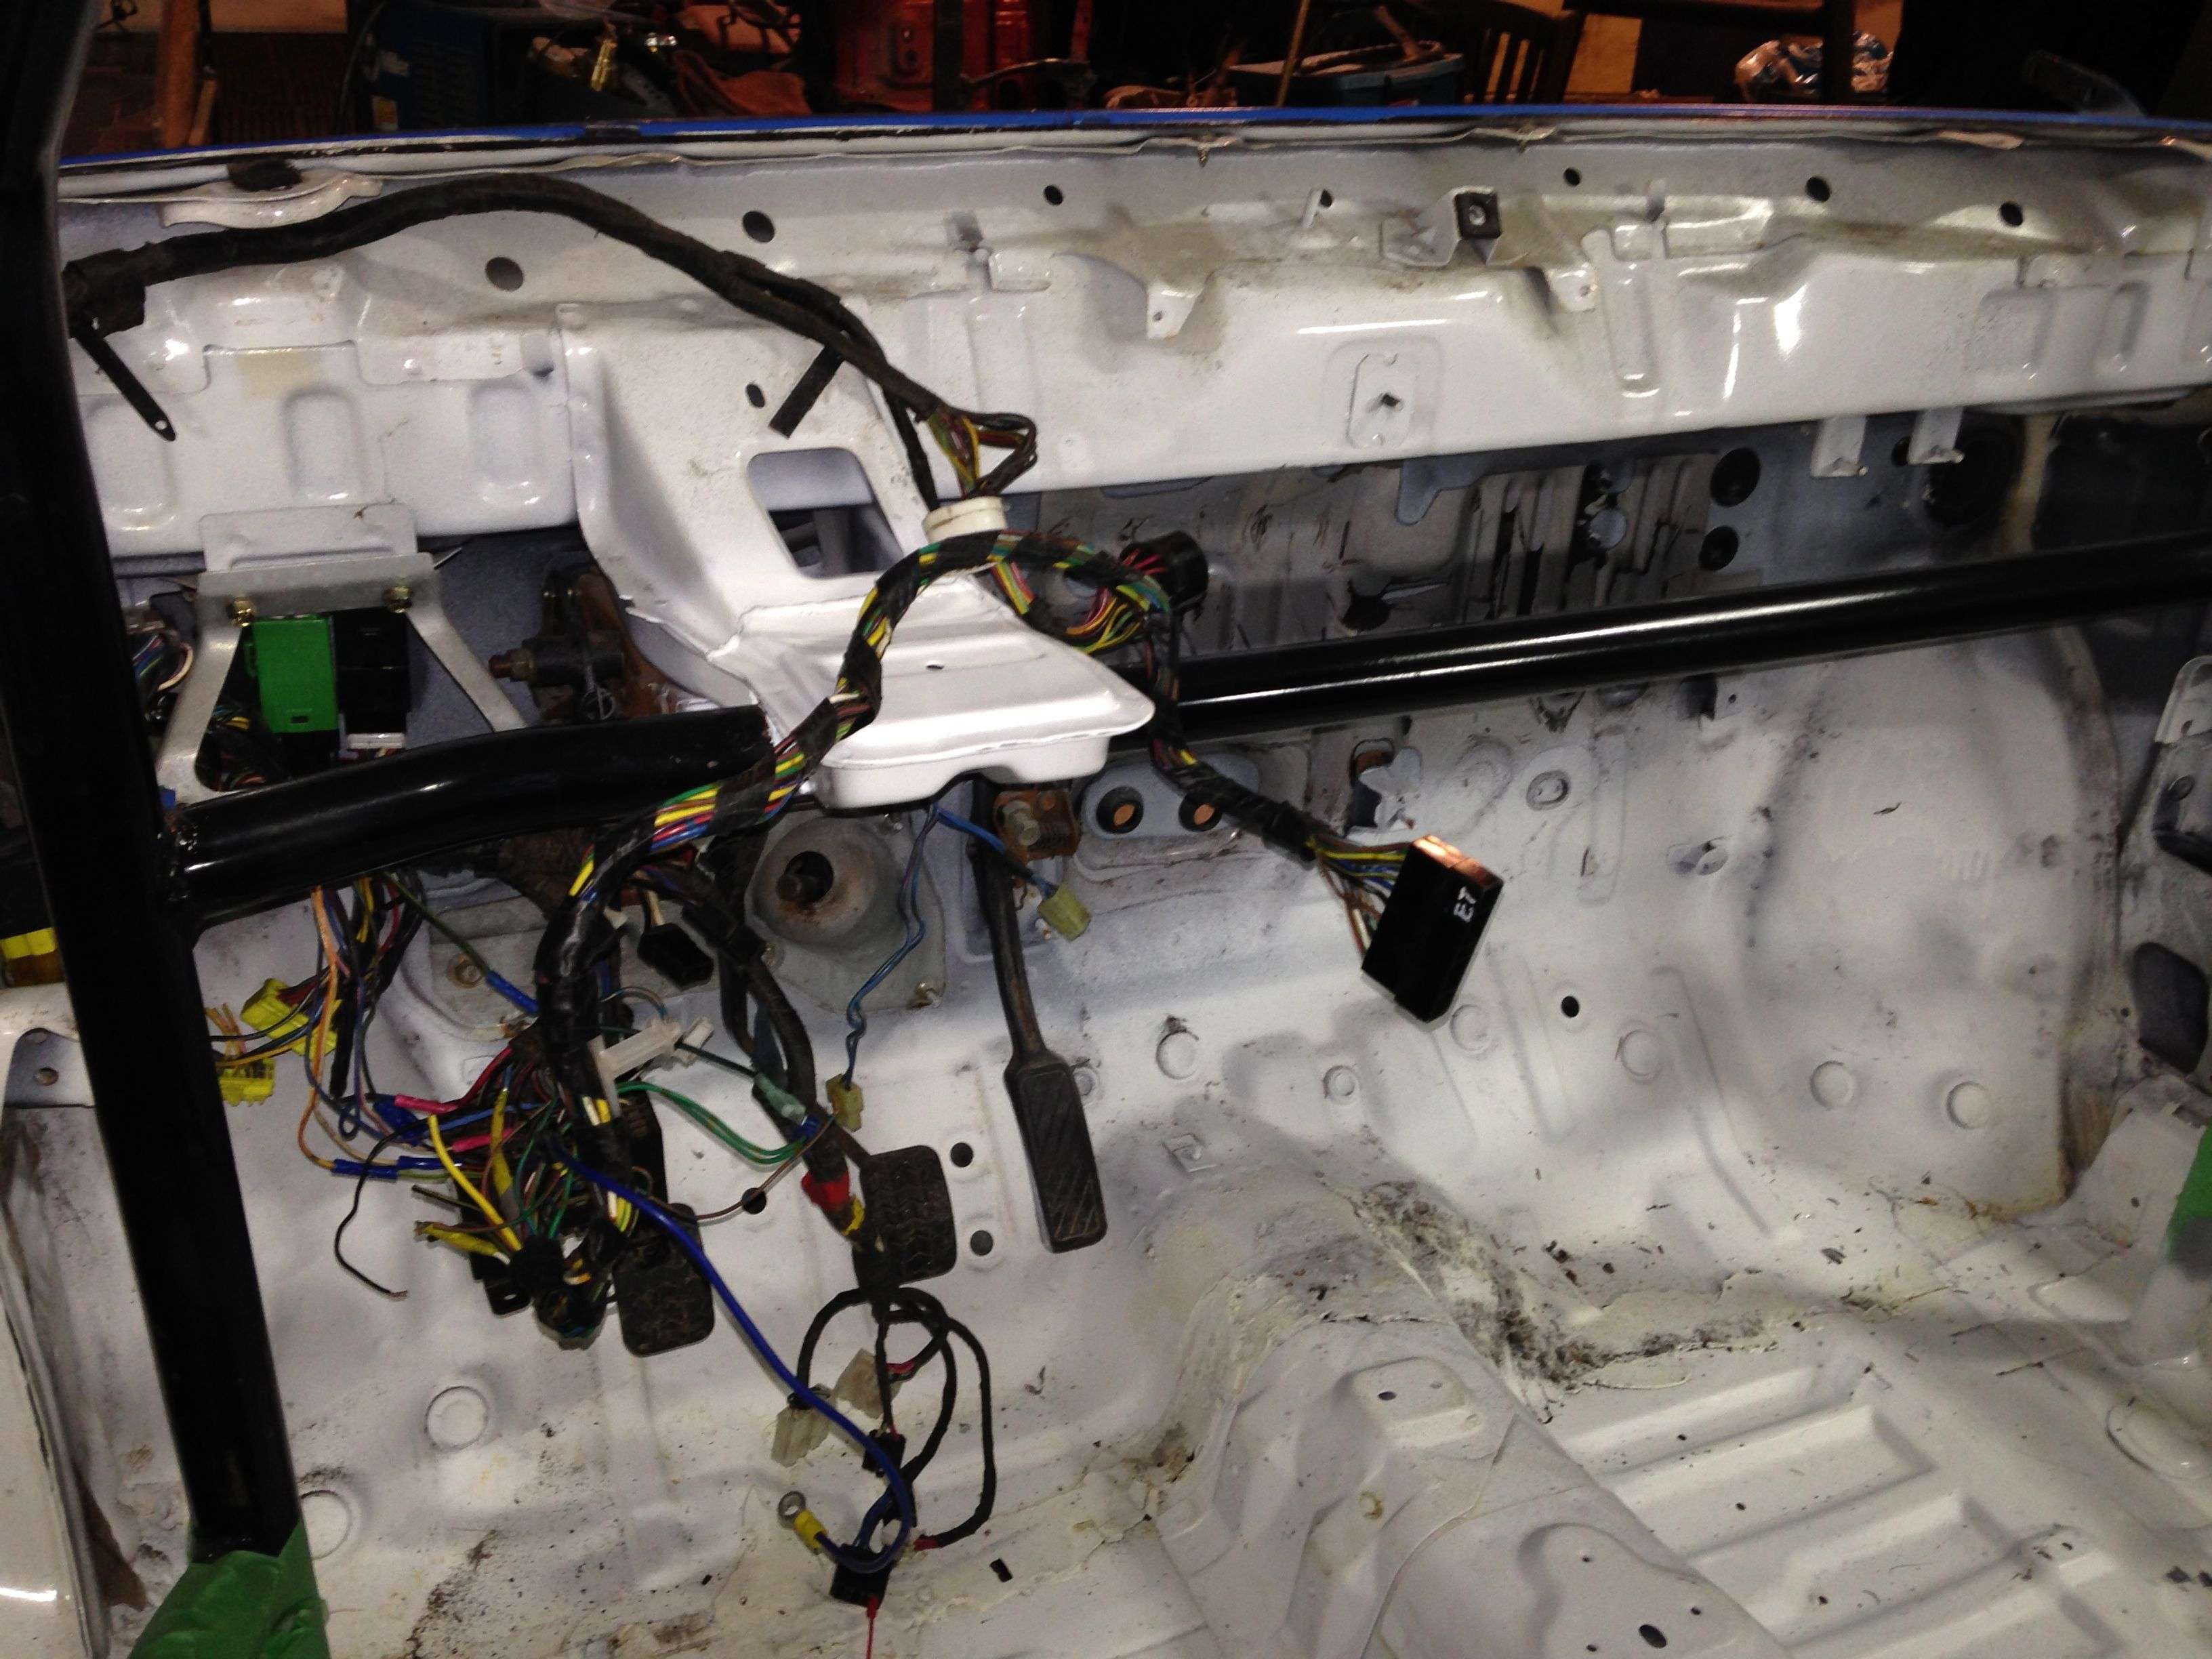
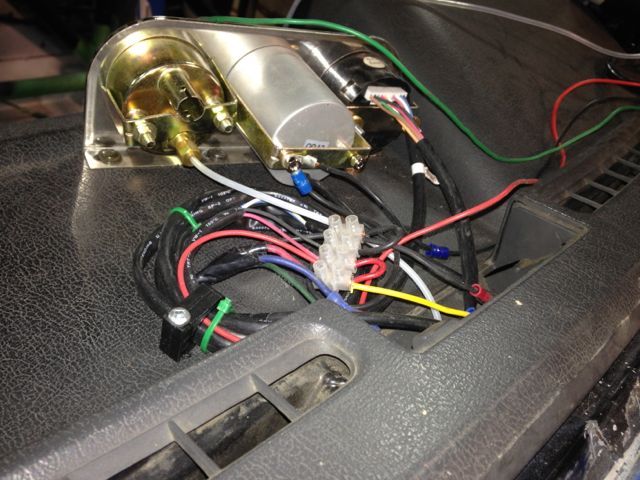
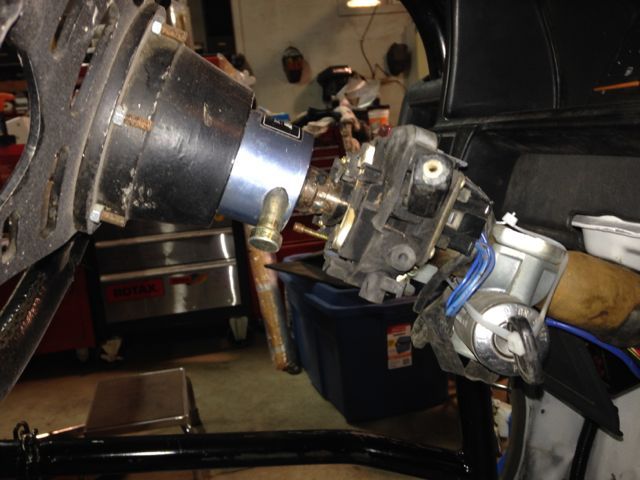
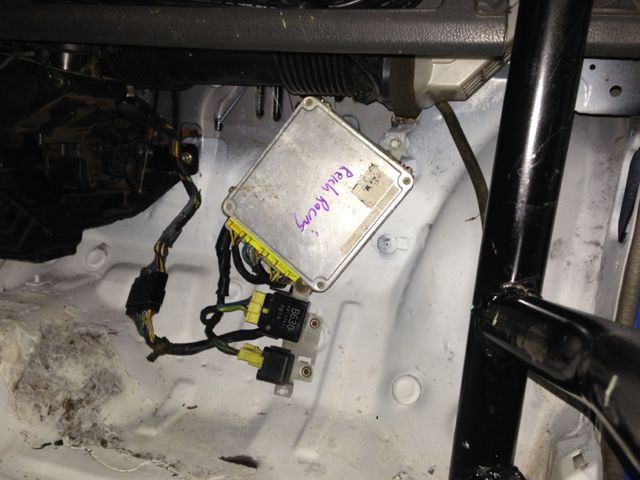
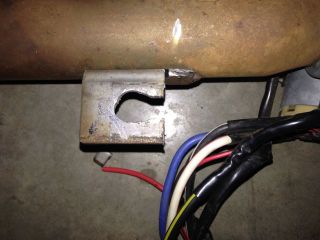
    Before, with newly trimmed Festi wiring and connector to B6T ECU installed.

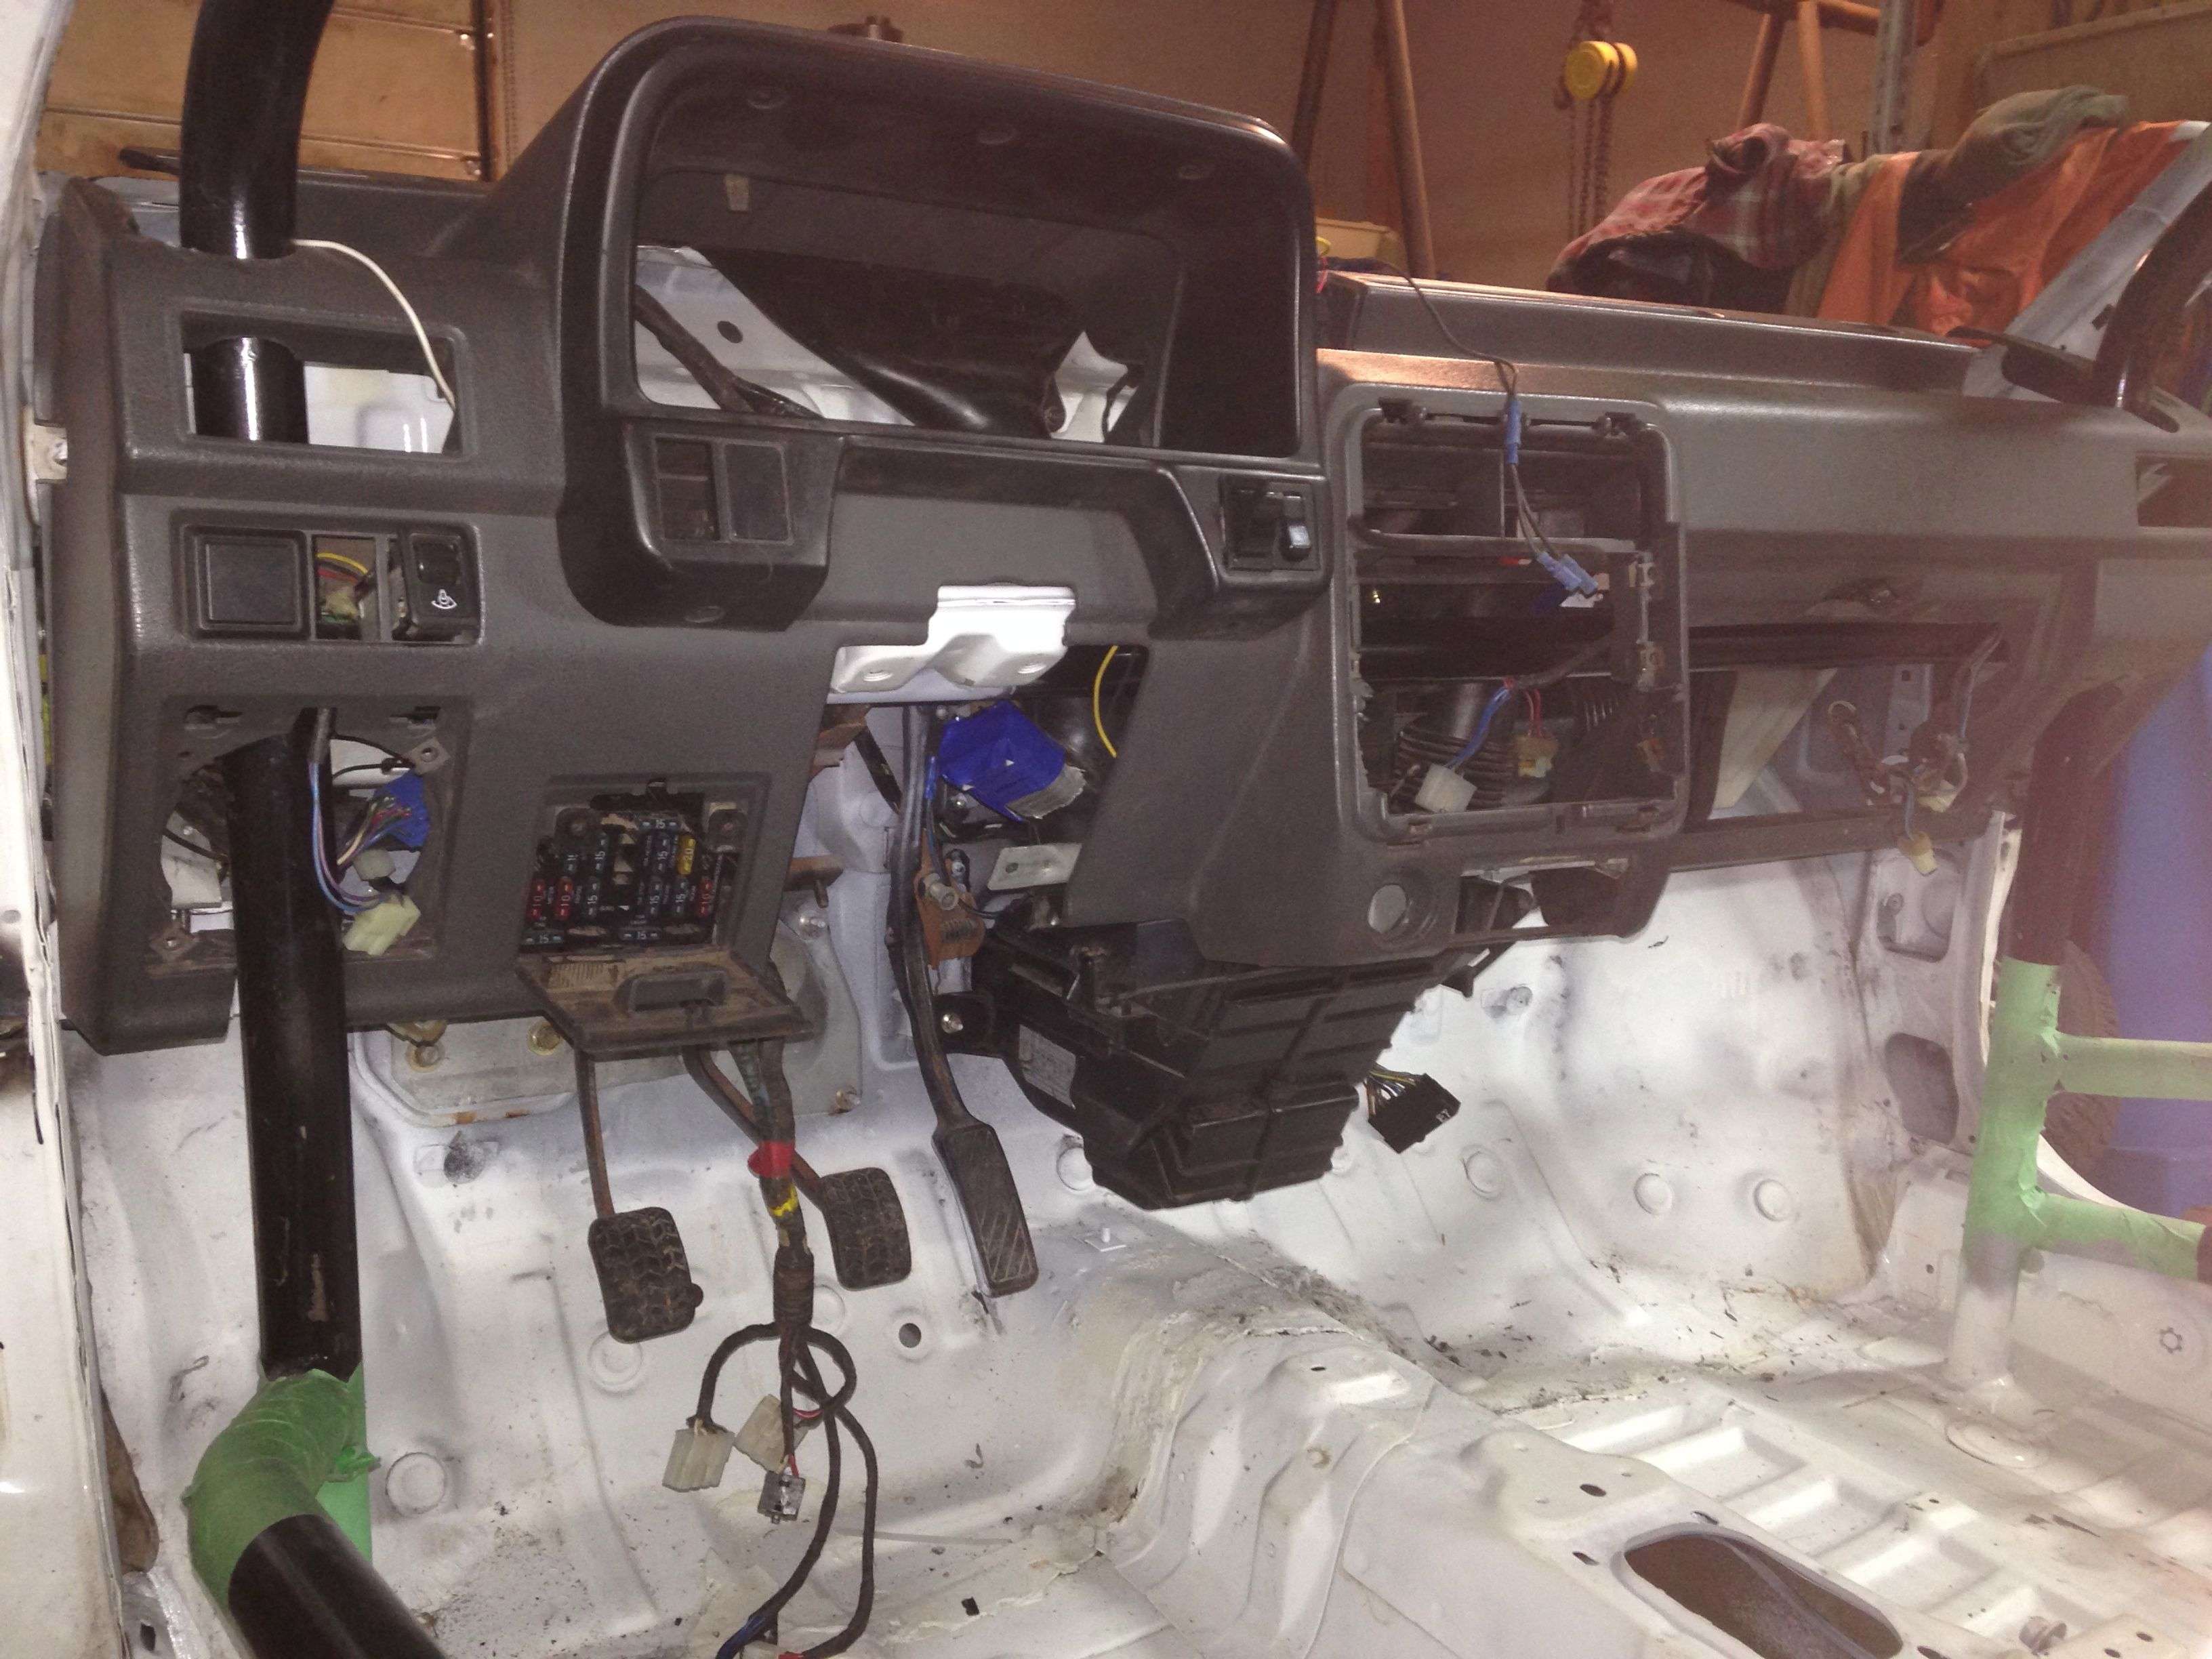
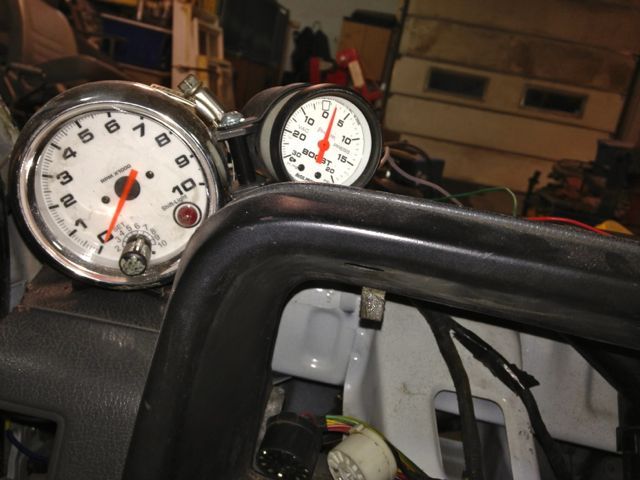
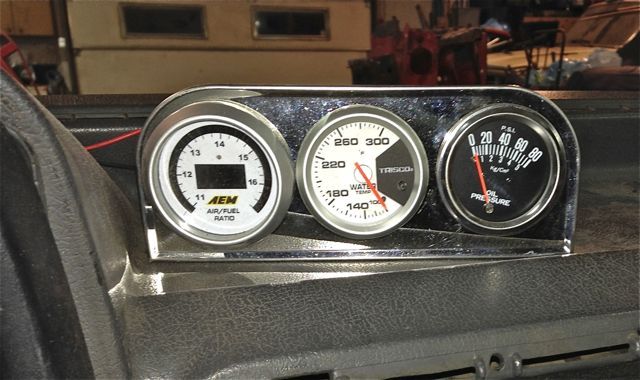
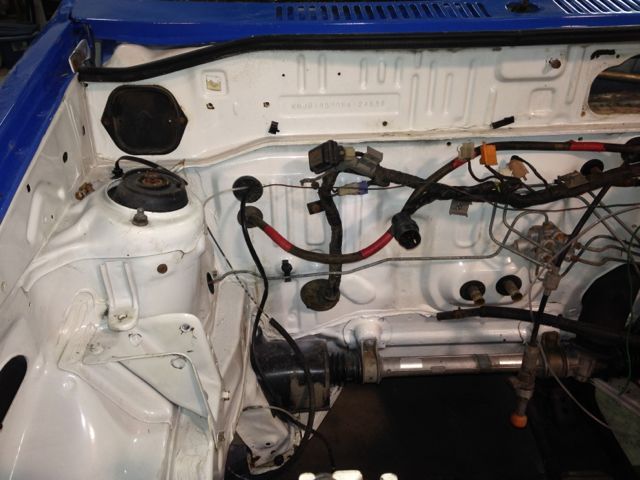
    And after, with heater core and wiring back in, and dash placed. It needs to be clearanced a bit more, as it looks like the roll cage is 1/4 inch further back in this car, so that it can be bolted in place. But it now looks a bit closer to a car. The dash is so darn light it makes no sense to get rid of it and fab up mounts for the heater controls and gauges, so back in it goes, even if it is a race car.
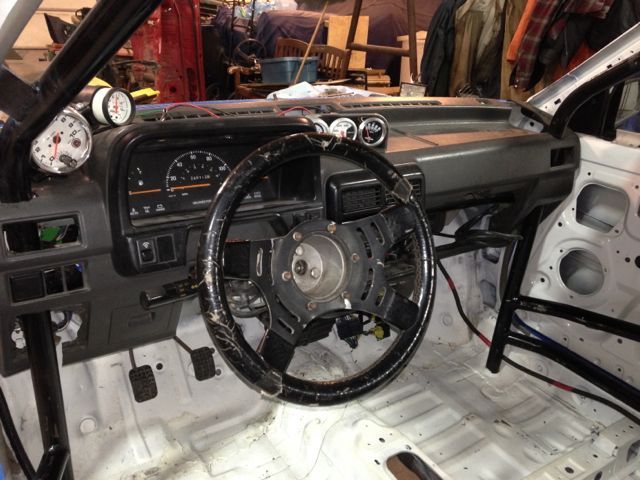
    Last edited by Icedawg; 01-10-2014, 06:48 PM.
    Thricetiva replaced Icetiva as the new ride
    Icetiva-3-race-car-build
    http://www.cardomain.com/ride/2533299

    Comment


    • #32
      That is a huge amount of time and effort and meticulous work you're doing there! Going to be difficult to laugh off a t-bone or similar crack incurred during a race. Hardly what I would call an expendable car with that amount of work done to it.
      Wonderful thread with lovely descriptions and pictures.
      I hope you guys do well this season and still have an intact car to show for it in April.

      Comment


      • #33
        PS: what do you folks do to address windshield defrost over and above the inherently lousy OEM blower/heater core assembly?

        Comment


        • #34
          Originally posted by Bert View Post
          PS: what do you folks do to address windshield defrost over and above the inherently lousy OEM blower/heater core assembly?
          Possibly install defrost conductive wiring on windshield and do front and rear windows ... I've seen it done and seems to work a treat for most Motorsport cars.

          sent from the depths of hell.
          Last edited by jawbraeka; 01-11-2014, 10:14 AM.
          Ford Festiva 1991 WA Model (5 Door)
          Nicknamed the car 'The Chiva' (Chilli Festiva)

          Avg Economy:
          Highway - 7.32L/100km
          City - yet to be determined.

          Comment


          • #35
            Originally posted by Bert View Post
            That is a huge amount of time and effort and meticulous work you're doing there! Going to be difficult to laugh off a t-bone or similar crack incurred during a race. Hardly what I would call an expendable car with that amount of work done to it.
            Wonderful thread with lovely descriptions and pictures.
            I hope you guys do well this season and still have an intact car to show for it in April.
            There really is no "laughing off" a race wreck, but there is walking away from one! I have to say I have been pretty unhappy each time I wrote off a chassis. But it is part of the sport. You have to take stock of how you are, if you can salvage the chassis, and then what you can salvage from the car for the next tub. Lots of both the red and blues cars is going into the new one. Engine and tranny mounts for the B6T, G25mr tranny, axles, wiring harness, dash, gauges, plexiglass windows, modified axles, struts and springs, fresh brakes, removable steering wheel, race seat, the list of already modded parts goes on and on. Old cars don't die, they transmogrify!
            Thricetiva replaced Icetiva as the new ride
            Icetiva-3-race-car-build
            http://www.cardomain.com/ride/2533299

            Comment


            • #36
              Originally posted by Bert View Post
              PS: what do you folks do to address windshield defrost over and above the inherently lousy OEM blower/heater core assembly?
              Actually the defroster seems to work fine on the front window. And the side defrost vents are plugged off, which probably increases flow to the window.
              But with the defroster on, and no dash/face vents it does get cold in the car. My hands have been freezing at then end of a race, since there is no side window.
              The back window is a problem, since the window heater/defroster usually does not work, and in the new car the window will be removed and replaced with plexi. A top spoiler/deflector on the top of the hatch helps a bit to keep the turbulent snow blowing at the back end from depositing on the window, but it is not a complete solution.
              Thricetiva replaced Icetiva as the new ride
              Icetiva-3-race-car-build
              http://www.cardomain.com/ride/2533299

              Comment


              • #37
                Why not run some Snowmobile / ATV handwarmers into your steering wheel?
                - Form should follow function...

                Comment


                • #38
                  ^^^ Interesting idea. Do you think the wiring can take all the turning of the wheel?
                  Thricetiva replaced Icetiva as the new ride
                  Icetiva-3-race-car-build
                  http://www.cardomain.com/ride/2533299

                  Comment


                  • #39
                    Painting time

                    This shell had badly oxidized paint, heavy mold, and lots of rust through, plus a bashed in front fender, and rusted out hood. Plus those lovely "Festiva fun" decals. And white is just not the right colour for a car racing on ice and snow!

                    the decals took a day and a half to erase off, and then de-glue and sand the gunk off!
                    The colour scheme was decided by the already painted parts from the blue race car and this shell- a white car with goodish roof.

                    So the idea was to save work by just painting the rear quarter panels blue, the bottom of the back hatch, and the replacement hood. But the colour matched white did not work out so great on the frakenstein patches on the roof welds. So I decided to repaint the upper side frames as well.

                    Time to start, sanding, cleaning, taping up.

                    I must have put my finger over the flash when shooting the primer coat, oops!

                    White on the top first, base and top coat (gettin' fancy), blue on the bottom

                    And then finishing the sides off, with a little white on the window frame of the door.

                    It's starting to come together.
                    Thricetiva replaced Icetiva as the new ride
                    Icetiva-3-race-car-build
                    http://www.cardomain.com/ride/2533299

                    Comment


                    • #40
                      Looking good! But man did that thing look like it had some sweet 90s graphics or what!
                      -Rafe-

                      Things I have for sale.
                      Random Festiva Parts
                      Festiva Non-Swoopy Power Drivers Mirror

                      Comment


                      • #41
                        Not sure about the handwarmers... I think if you leave enough slack in the wires to allow full turns and run it in the center you should be golden.

                        Congrats on the prep for painting... those stickers must have been a friggin' nightmare to get off. Looking great!
                        - Form should follow function...

                        Comment


                        • #42
                          ^^^ They were nice "fun decals" once, but time and the elements wore them out badly, and getting them off was time consuming. I borrowed a great 4 inch diam 3M rubber eraser wheel, put it on a drill and ground away, using up about 4 Li battery charges on the drill! It took off the vinyl but left the glue. For that I used paint remover and lots of elbow grease, then sanding, and it took all three. There might be a better product for the glue removal, like goo-be-gone, but I used what I could borrow, as it was stored on the shelf in H's shop.
                          Thricetiva replaced Icetiva as the new ride
                          Icetiva-3-race-car-build
                          http://www.cardomain.com/ride/2533299

                          Comment


                          • #43
                            Gauges

                            A weeknight evening was spent plumbing and wiring in the gauges. (For anyone counting the chassis painting above was weekend 7)
                            Tac (medium cost Princess Auto) and boost gauge (Autometer, in nice Autometer side mount casing) side by side where I can quickly see both, rotated so that redline is near vertical, and I might rotate the boost gauge so max boost is near vertical too, making it quicker to assess while matting it at the limit. (Instrument cluster will go back in when the wiring is all done, but it is nice to have that hole to work through.)

                            Broadband Air/Fuel ratio (AEM), water temp (electric send, cheap Princess Auto) and oil pressure (mechanical send, really cheap Princess Auto), in a Princess Auto bracket

                            And the somewhat tamed wiring ratsnest behind the gauges for power and sends. The little white connector block provides a bus for ground and power, making it all a bit tidier, and a wire clamp ties down the excess cable from the AEM gauge that I was too superstitious to cut shorter. (The green wire, and white teflon towards the right are from tac and boost and still need to be fed in to the engine bay, so they will get tidied up.)
                            Last edited by Icedawg; 01-18-2014, 11:51 AM.
                            Thricetiva replaced Icetiva as the new ride
                            Icetiva-3-race-car-build
                            http://www.cardomain.com/ride/2533299

                            Comment


                            • #44
                              Body and Windows

                              Weekend 8: When you take all the parts off a car, it sure takes a long time to put them all back on! The spare door, plexiglass side windows, rear bumper, tailights, steering column with removable wheel, instrument cluster and 323 GT wiring harness all went on.

                              The side window glass was deleted and replaced with 1/16 inch plexiglass. I have a plexi-pane for the hatch, but the glass is not removed yet.

                              The door window is secured at the bottom with small aluminum brackets. The interior of the door was re-painted to match the floor.

                              The cluster, steering column and removable wheel in place.


                              The Reich racing ECU was wired into the 323 harness and mated to the Festi harness. The mount is a bit simple, but worked in the past.

                              An extended cable for battery relocation to the passenger seat area was run.

                              Then the 323 GT harness was put through a 2.5 inch hole cut in the fire wall, and the battery cable and sensor leads were run through two plugs already in the fire wall on the passenger side.
                              Thricetiva replaced Icetiva as the new ride
                              Icetiva-3-race-car-build
                              http://www.cardomain.com/ride/2533299

                              Comment


                              • #45
                                Fit after welding

                                We took the roof off and put it back on. It was a breath holding moment when the door went on, to see if it actually fit still. And it did, htd

                                I was not quite so lucky with the rear hatch. It fits, but the latch hits the striker plate catch by a hair. For now the plate is removed and the hatch sits in place, looks fine and opens and closes well. The striker plate mount point actually looks bent up a bit, so maybe persuading it to recess down will work, or maybe it or the catch can be repositioned enough, the bolt holes that hold the hatch to the hinges could be oval-ed out a bit to raise it. I could just delete the door catch, since it also has to be strapped on to meet the ice race car prep rules.
                                Also, when I repositioned the steering column mount and it was welded back in place I did not pay much attention to getting it exactly the same length. So the upper mount flanges on the column had to be oval-ed out, and trimmed a bit to get the bolts to line up. No big deal, just a bit of time lost.

                                Thricetiva replaced Icetiva as the new ride
                                Icetiva-3-race-car-build
                                http://www.cardomain.com/ride/2533299

                                Comment

                                Working...
                                X