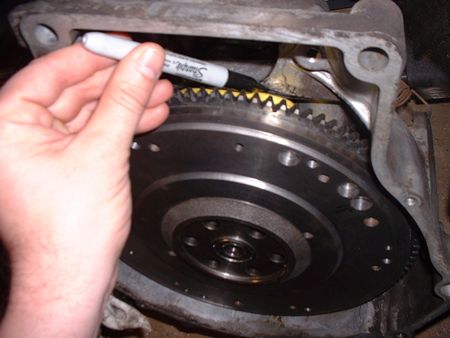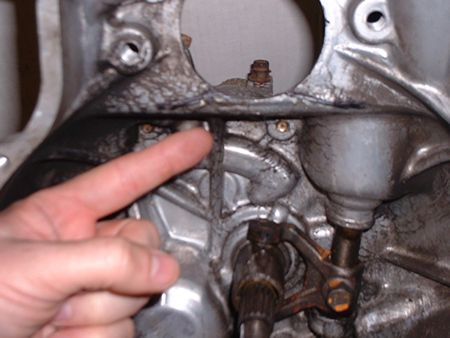

This shows the assembly on the input shaft and marking the semicircle of area that will need to be clearanced with a diegrinder for the clutch to clear and spin freely.

Note how I marked the area with a sharpie, to be clearanced. Once you have that marked (be sure to have your new throughout bearing installed), add the clutch assembly, and lightly spin it to mark exactly where you need to remove material. Then take the diegrinder to the bellhousing lightly. By going slowly, color in the area you have ground with the sharpie, then reattach the assembly, spin and grind away the spots that show where it hits. Do this a little at a time until the assembly spins freely without hitting.

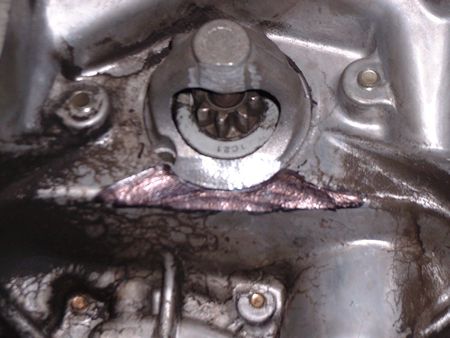
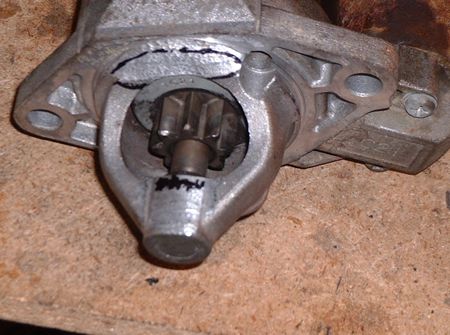
This is the bellhousing clearancing completed. Note you also need to clearance the bottom of the starter. I just shaved off the small ridge at the bottom to match the clearancing on the bellhousing and that was enough. I also took a small amount off the bottom of the starter nose.

This is a close up detail of the clearancing on the starter.
Author: Chris Rummel
Chris's B6T Swap Pg 11 - Chris's B6T Swap Pg 13
Copyright © 2003 Ford Festiva Com- All Rights Reserved
(Except Text and images courtesy of Chris Rummel)