-
-
I can't wait to see how that 4cyl diff and phantom grip hold up. if you have good results i may go that route after a while, but maybe with and Mfactory torsen style LSD.Leave a comment:
-
i think we need a wiring diagram for lazy people like me...looking great, cant wait to see its first day outLeave a comment:
-
this worked the first time so ill try it again....
NO MORE POSTING TILL ITS DONE :p
im tired of waiting...
Leave a comment:
-
^^I'm hoping for the first week of April to be driving it so i can work out all the bugs before i beat the crap out of it at the track :lol: i gotta keep in mind the engine probably hasn't run in a few years at least so i gotta be easy on it at firstLeave a comment:
-
hey hope u have that ready for may the 8 so i can c that thing run down the track
keep up the good workLeave a comment:
-
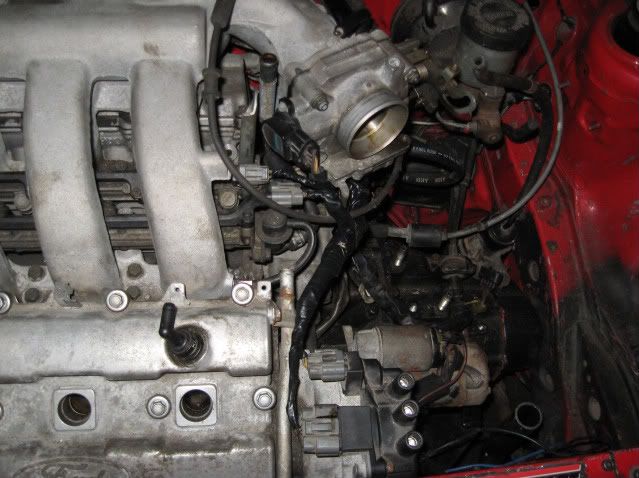
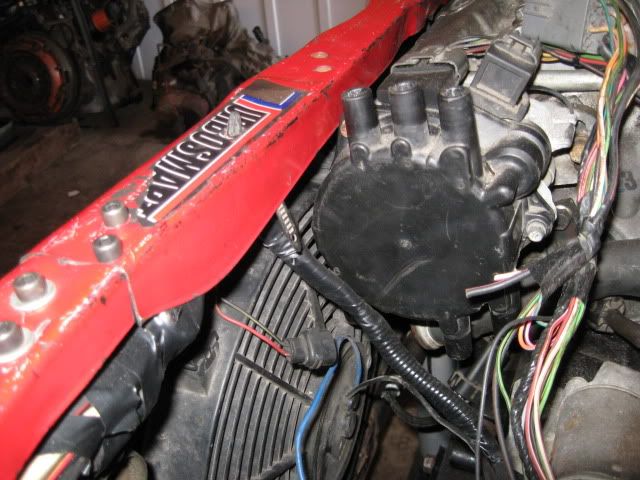
I didn't get to putting the interior back in just yet, i wanted to completely finish the wiring first so i spent the past couple hours doing that
This is as much of the wiring that will be seen, i'm not sure how else i can re-route it to hide it better, but i'll be taking the intake off again so i'll try then to see what else i can do
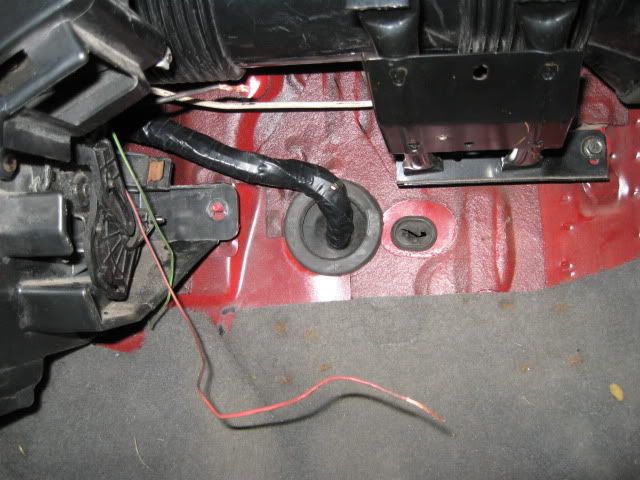
This is where the wiring comes through the passenger side
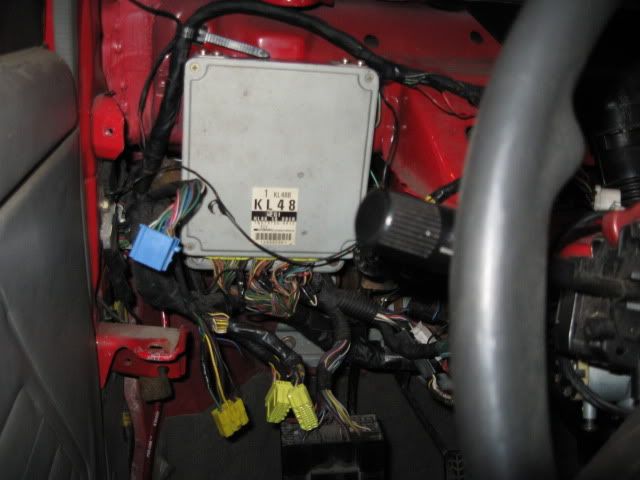
I bolted the ECU into the stock location using the brackets off the stock ECU (they were interchangable ) and i ran the wiring over the heater core to get to the ECU and i think it looks pretty dam good like that, it'll be nice and hidden and out of the way
You can see the stock ECU connectors still hanging un-used, which they'll probably never get used again :lol:

Leave a comment:
-
Its only the angle of the camera that makes the wiring look close, the wiring is basically in the stock location so it will be just fineOriginally posted by DriverOne View Post
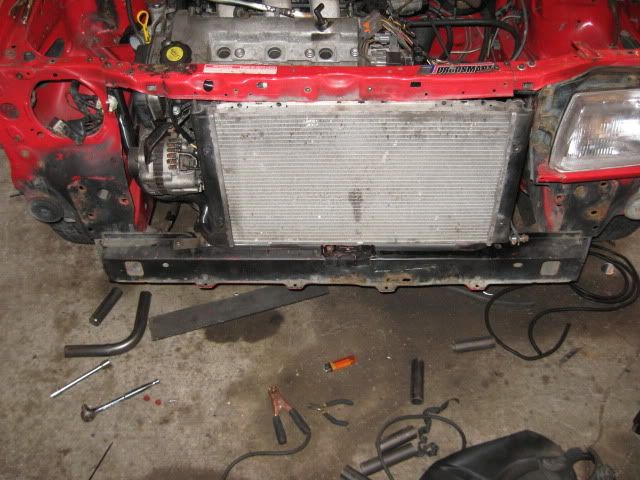
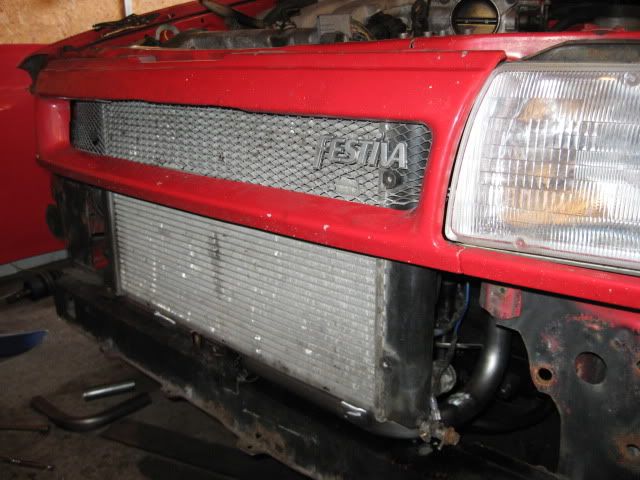
I attached the fan to my rad and test fitted it and well, here's some pics
Tight like the virgin mary pushing out baby jesus lol
And here's how it effects my grille
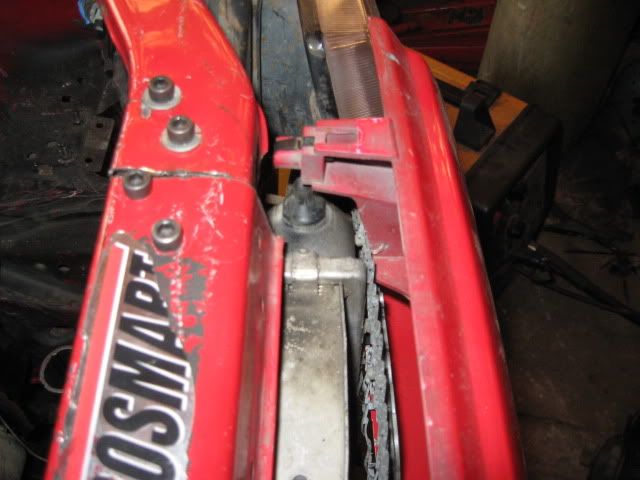
Just not quite enough room so here's what i decided to do about it
Started by taping off a strip
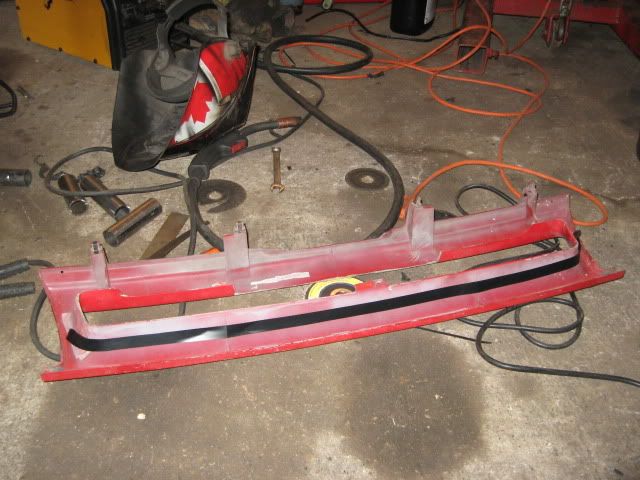
then taking my grinder to it and cutting it off, and here's how much i cut
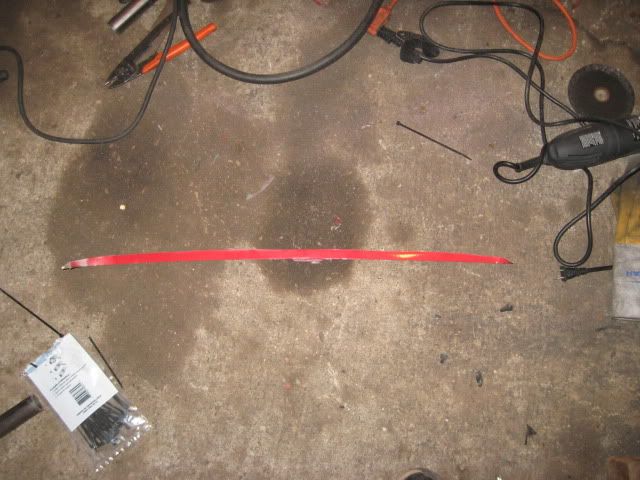
and now it fits so much better
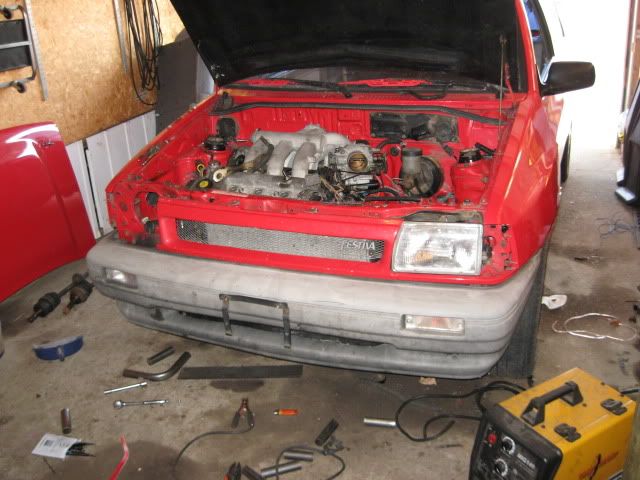
I also test fitted the bumper to make sure it won't have any clearance issues which it doesn't
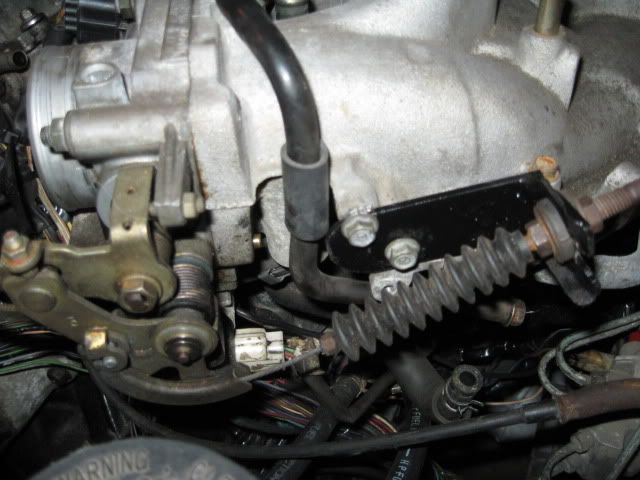
I also made up a throttle cable bracket
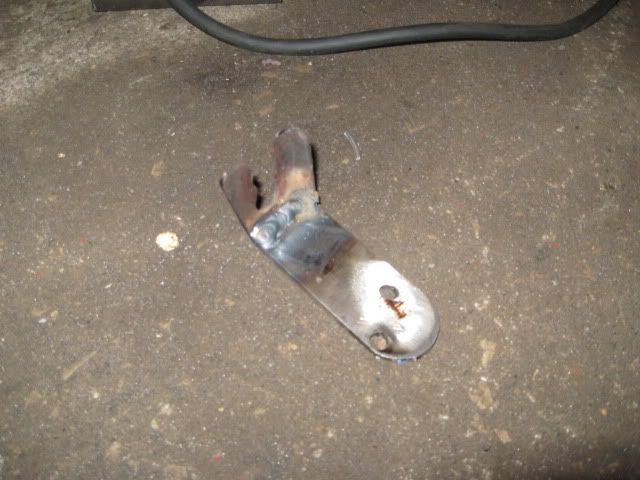
Then painted and installed
Leave a comment:
 :lol:
:lol:
Leave a comment: