Announcement

Collapse
No announcement yet.

Ernie's Build/Modification Log

Collapse
X
 
  • Filter
  • Time
  • Show
Clear All
new posts

  • Ernie's Build/Modification Log

    Ernie is a blue '93-L 5 speed, with dealer A/C and just over 205K on the odometer. No rust, a few dings on the sides, and a dimply roof. She's been a very reliable ride since I bought it a year ago. Now that it's tax season, I figured it was time to pay her back.

    The rear e-brake has no effect while the car is in motion and is minimal insurance while parked on a hill; it holds, but I don't trust it. And just recently I started hearing some noise from the front end. A couple weeks ago I put the car on jacks to do a brake check and find where the noise was coming from and I wasn't happy with what I found. The rotors have seen better days, the guides on the driver's side must be seized because almost all of the wear was on the inner pad, and the noise is coming from the CV's on both axles.

    I'm riding on the spare tire too, the one its replacing has a slow-leaking plug and a slipped belt. I got quoted 75 bucks for a new tire, but the idea of one new tire isn't appealing and $150 for a pair is just painful. So I looked on craigslist for a few days, no tires, but I did find an aspire swap. I picked up the pieces for the swap, and the guy also had power mirrors and a white tach cluster. Ernie's steppin' it up, and it only cost $230 (3 wheels, no tires).

    Turns out the switch to the mirrors is about 20 years old; plastic gets brittle over a couple of decades, it will need replacing. Also, the power mirrors use fine thread screws in their metal housing... I'll have to find a source for those. And the passenger mirror isn't very sturdy in its housing, I can get some wobble from the glass if I wiggle the whole thing. The driver's side works as far as I could tell, but I could only finagle inward for a moment and then all the way down from the switch when I played with it.

    I installed the dash and greased the speedometer cable. Awesome! But it is distracting having these new functions in front of my face. It is so much brighter at night my face hurts from grinning so much! I wish I could add the 20k miles to my new odometer, but I'm not going to spend the time with a drill.

    So, in my hunt for wheels (I only have 3) and tires, I found some new National Band 185/70-R13's mounted on Accord steelies for $85. They started looking bigger as I drove home. I even pulled over to size them up next to the car. They're about 2 inches bigger in diameter and width, I'll probably need some spacers but I think they'll fit. I hope they'll fit. When I got home I discovered that my CV axles arrived from O'Reilly. Man are they purdy!

    I'm a stay-at-home dad right now and my 14 month-old daughter isn't to be trusted in the garage; progress on the build will be piecemeal, until the weekend comes around. So yesterday during her nap I pulled the car into the garage and put the front end on jack stands. I played with my new tires, but the center bore on the wheels won't fit onto the hub of the Festiva bits. I got the important bits soaked in liquid wrench and got everything broken loose except for the tie rod ends and the ball joints. I've heard that the drive gear in the transmission can drop if both axles are pulled, so I'll save myself a PITA and only disassemble one side at a time.

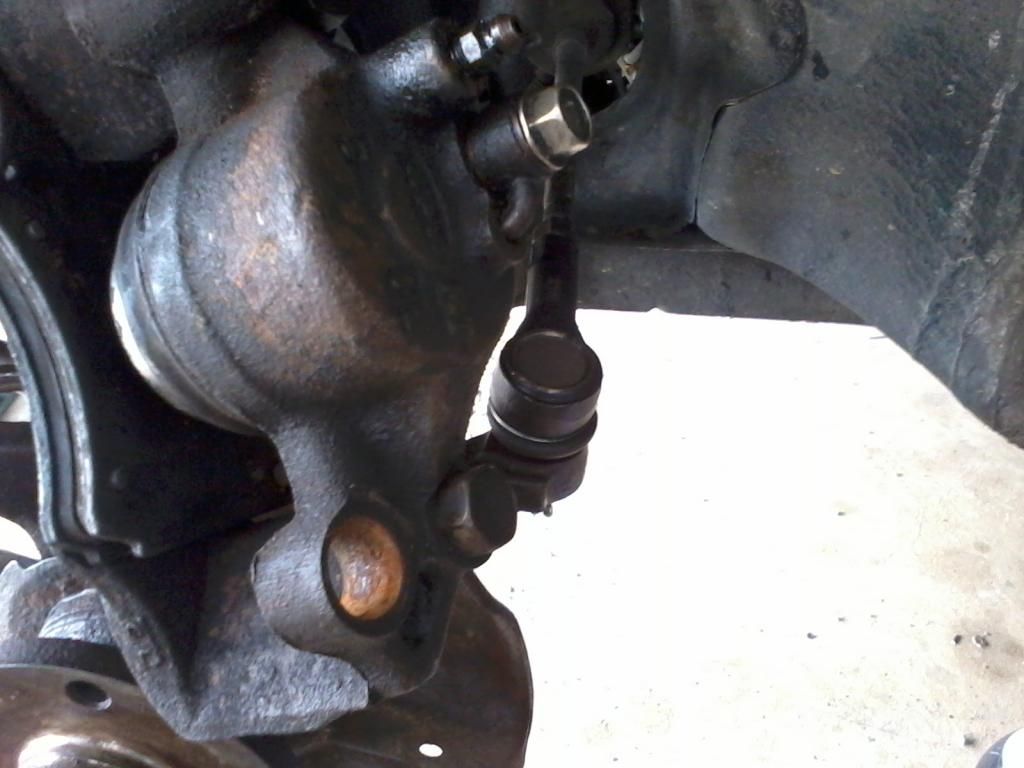
    It appears that someone was a little overzealous when pulling my Aspire parts. I was missing one of the bolts that join the caliper halves as well as both ball joint pinch bolts. Luckily, I discovered that those parts are compatible between the Festiva and the Aspire.

    Aaaaand, it's nap time! Gotta get to work!

  • #2
    Awesome!! How lucky to be a stay at home Dad too!
    Fluffy came with 185 70 13 tires and they did rub if you
    loaded the car. The mustang II wheels were about the right
    offset. The accord wheels would likely need an inch or so of offset.
    Reflex paint by Langeman...Lifted...Tow Rig

    Comment


    • #3
      Thanks Movin! I'll breathe a bit easier knowing that this size has fit a Festiva before. I'll just have to learn how to measure for spacers and roll some fenders. Isn't it hard on the bearings having the wheels moved away from the hubs? I'm thinking there would be more leverage on the system...

      I forgot I'm going to need new transmission fluid. Did a facepalm after I yanked the axle.... I just changed it maybe 5000 miles ago. On the bright side it still looks good! :thumbs_up:

      I cleaned up the new knuckles/hubs a bit. I was planning on just throwing them on, but now I'm not so sure. I can see almost down into the bearings and there was a fair amount of crud and junk on the face before I wiped them off. I wish I had a press...
      Last edited by htc; 02-14-2013, 02:45 PM.

      Comment


      • #4
        On second review, I think I'm just going to start fresh all around - Better safe than sorry, and I won't be worrying about them going out every time I get into the car. The rotors are pitted from rust after sitting for who knows how long, but they're not deep. Is this serious or should I get them turned?

        The rear is going to be a PITA!!! I started tearing down the hubs, and got as far as the axle nut. Those things are frozen solid. I'm going to have to take them over to a buddie's house, he's got a shop full of real tools. I figured I could at least remove the brake lines. I started to round over one nut and decided to remove the bleeder to get better access... Any tips on removing a bleeder that has broken off flush with the hole? I don't think I'm going to touch anything else back there without heating around the fastner with a torch.

        Comment


        • #5
          If you are doing new brake pads you should always turn your rotors. You dont have to and alot of people dont but the thing is there may be slight warpage and what not, and turning assures you have a good surface and dont ruin your new pads also. Plus if you are going as far as replacing the bearings your already gonna have the hard part done and the rotors off mine as well get them turned... plus they can tell you if they are still in spec or not.

          Comment


          • #6
            The tires didn't touch the fenders, they hit the plastic fender liner up inside.

            Any tips on removing a bleeder that has broken off flush with the hole? I don't think I'm going to touch anything else back there without heating around the fastener with a torch.

            whack em, soak em and heat em! If they break off remove the cylinder or caliper, drill the hole a little for your easy out size, heat it, extract it.
            Reflex paint by Langeman...Lifted...Tow Rig

            Comment


            • #7
              Tried this on the brake lines after I rounded over one set of corners on the hex head. Works like a charm! I think its also important to impact the wrench like he does at the end.
              Removing a Seized Bleeder the Easy Way.

              I picked up my bearings and seals last night, and the guy at O'Reilly reminded me that the bleeder nipple just screws into the wheel cylinder. Those are around $10 apiece on RockAuto, so I'm not as concerned as I was yesterday.

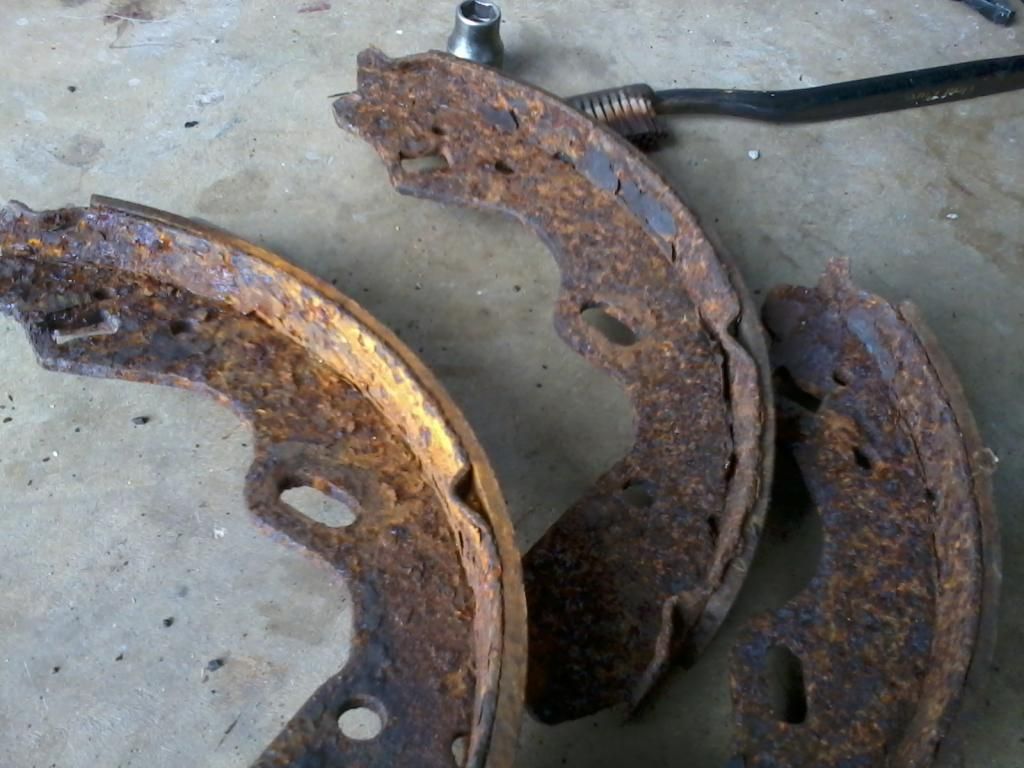
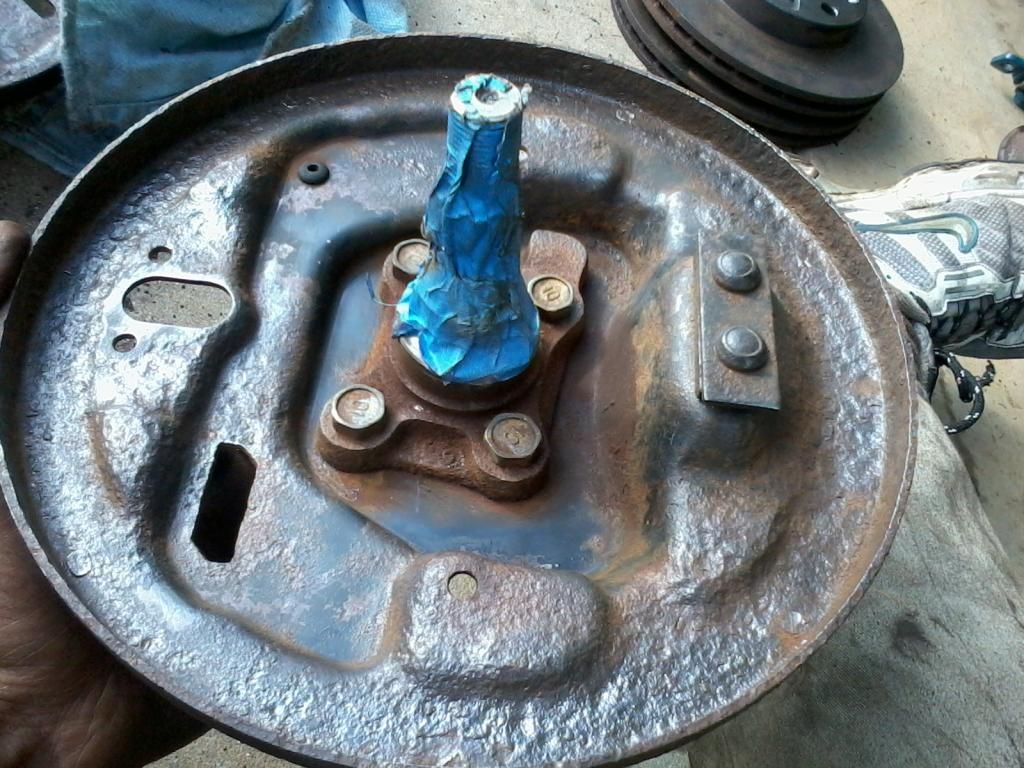
              So I spent two hours today beating the rear hubs off of the brake pads. One side was especially stubborn so I used the torch to heat it up somewhat (dunno if it helped much but it did come loose shortly after). Now, I've got a couple good sized piles of rust chips on the ground. RockAuto is going to name me customer of the month because the wheel cylinder, linkages and springs look like they'll need replacing on both sides. I'm going to sandblast everything to see what I can salvage, but I don't expect the broken bleeder will be an issue. I'd take pictures, but that would just be depressing. The camera will come out when I start putting things back together.

              Comment


              • #8
                It doesn't look like the linkage assembly that actuates the brake shoes is available. Anybody know of a source for this part - 2N511 on This Diagram

                Oh, and here's The Diagram for the Front Brakes if anybody needs it.

                Comment


                • #9
                  Replaced the front wheel bearings yesterday following This Example I'd have to say the hardest part was using a hacksaw to cut a slit in the old race and bearing inner piece (we used those to press the new ones on). Being overly cautious with assembly, the first set took about an hour. We whipped the second set together in something like 15-20 minutes. Easy Peasy. The only tools we used were a bench vice, ball peen hammer, round punch, 2 jaw puller, some random sockets and our custom made dies to drive the bearings, and a flat screwdriver to "press" the outer seal.

                  Comment


                  • #10
                    Long time Coming

                    Alright, I finally have some time to throw an update up here! I promised pics, so I hope you have decent internet speed.

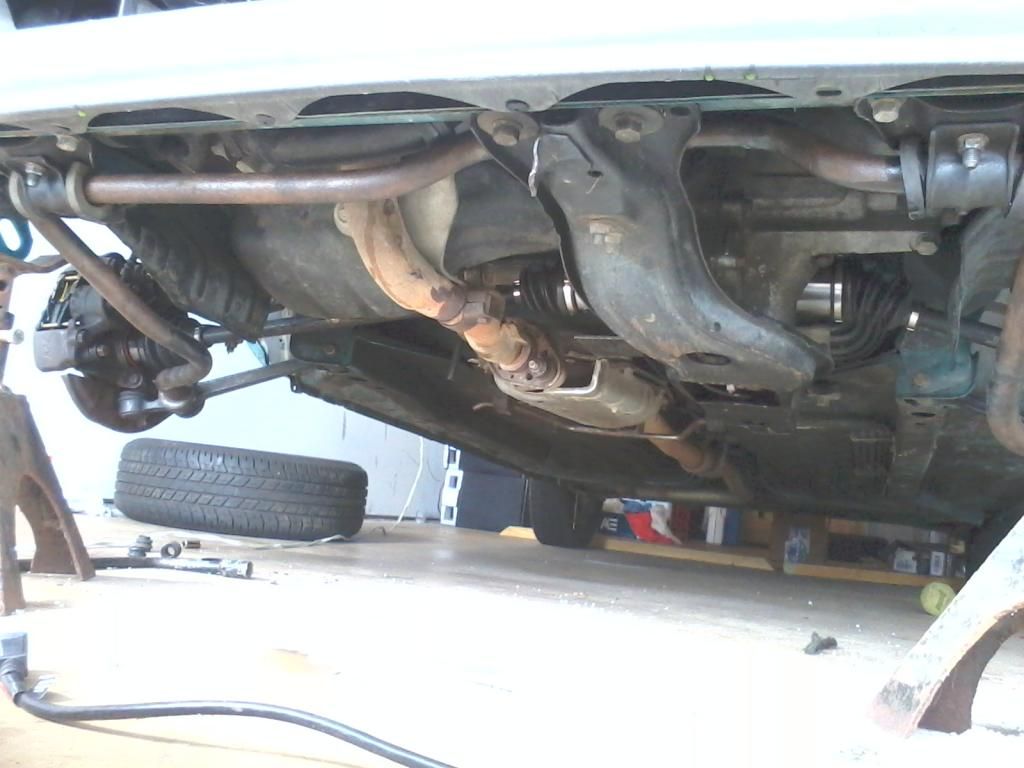
                    I see all these builds on TV and there's no rust, grease, grime, confined spaces or lack of tools... bollocks.

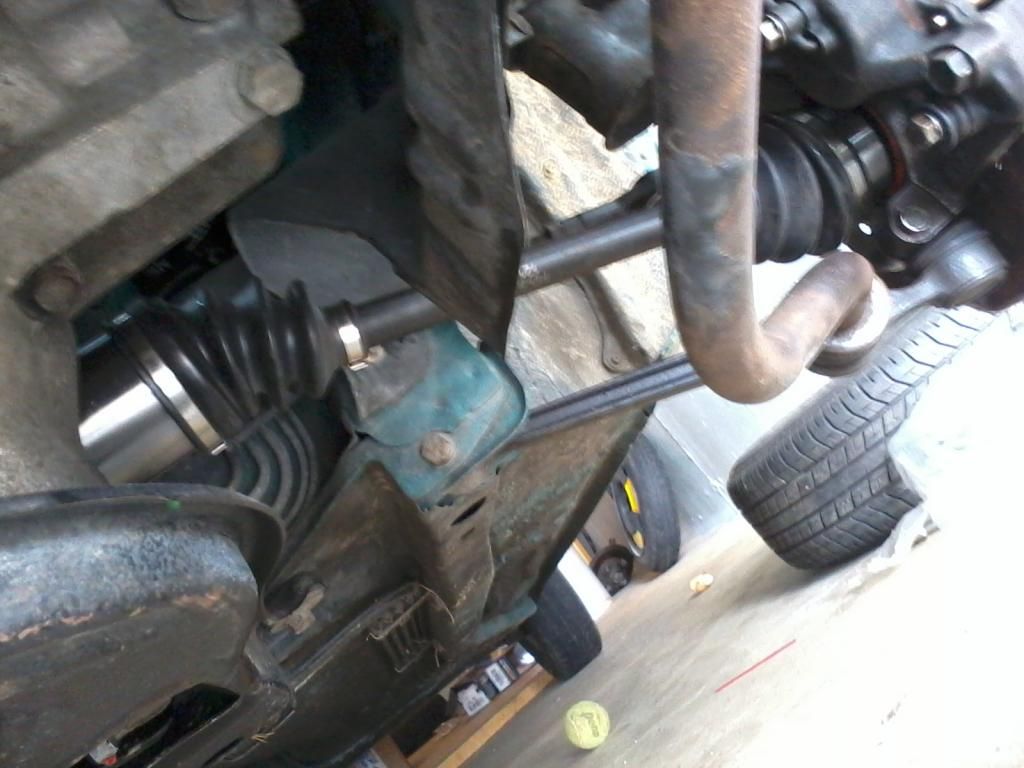
                    My new CV axles... No noise anymore!


                    Here's my "shop..." err fiance's parking space


                    Rust


                    Whatever works...


                    Aint that a beautiful sight...


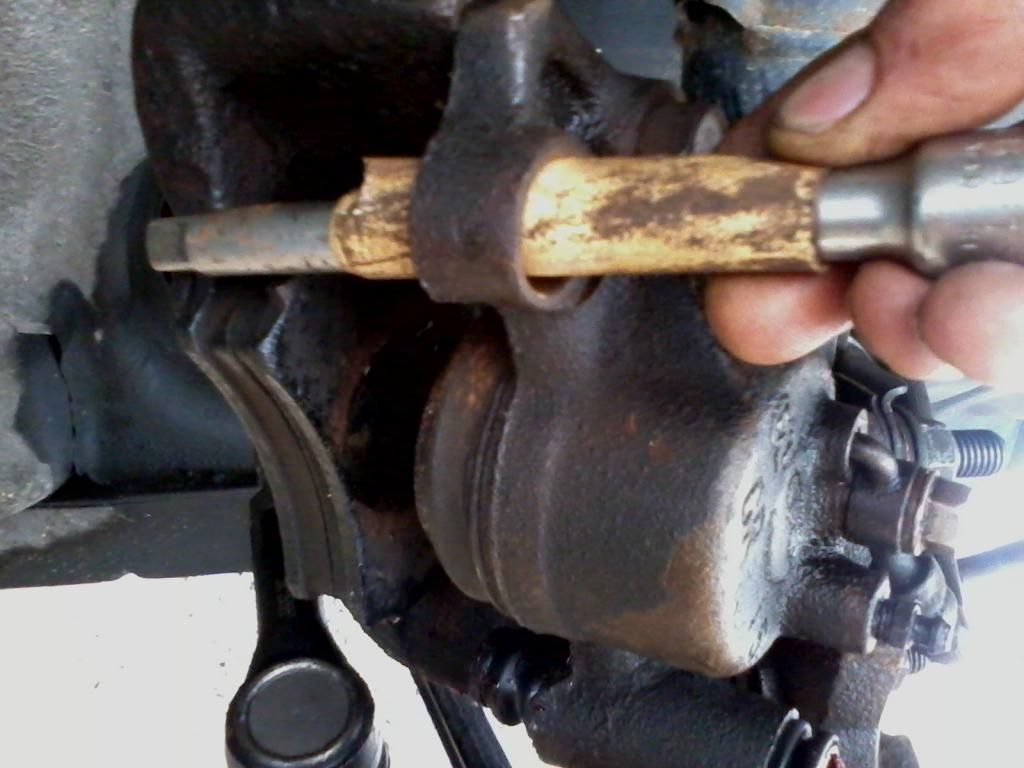
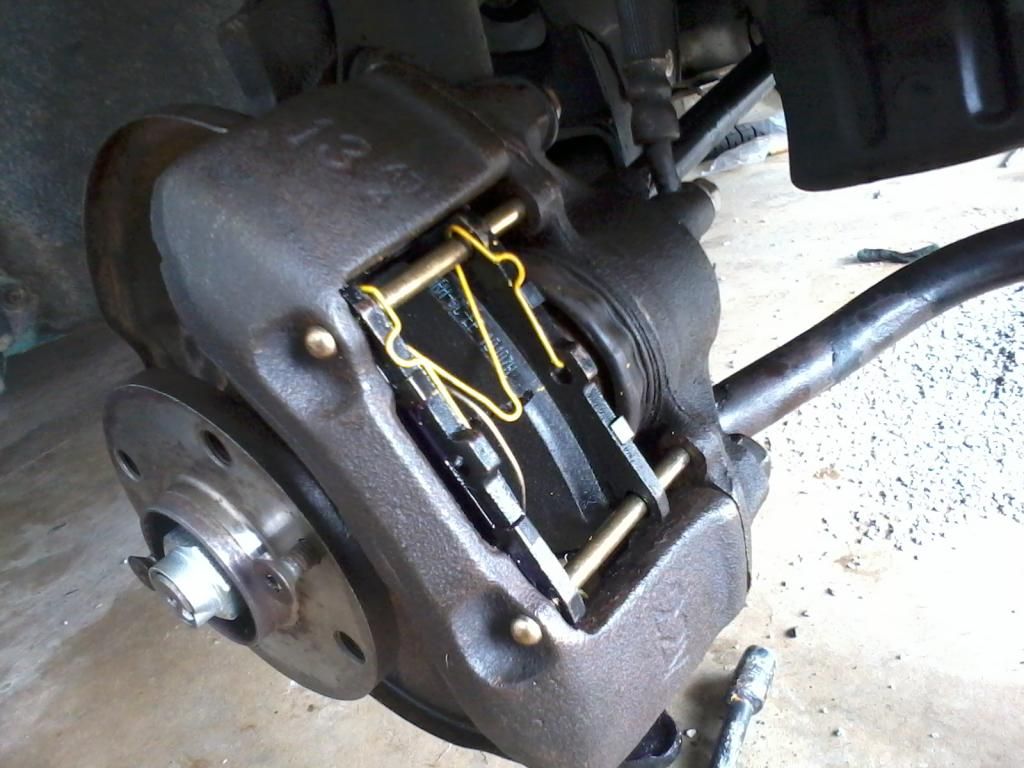
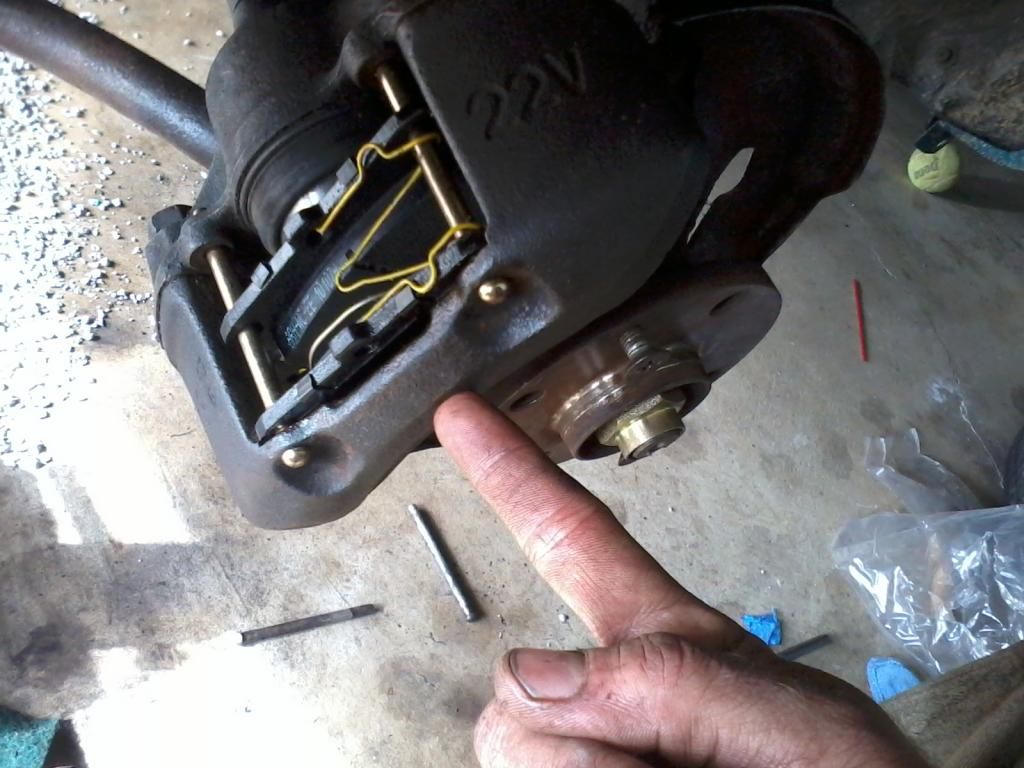
                    I can slide my calipers with one finger now... Kind of freaked out at first. I always thought they were solid mounted as they've never moved before, explains the weird pad wear on the old calipers.


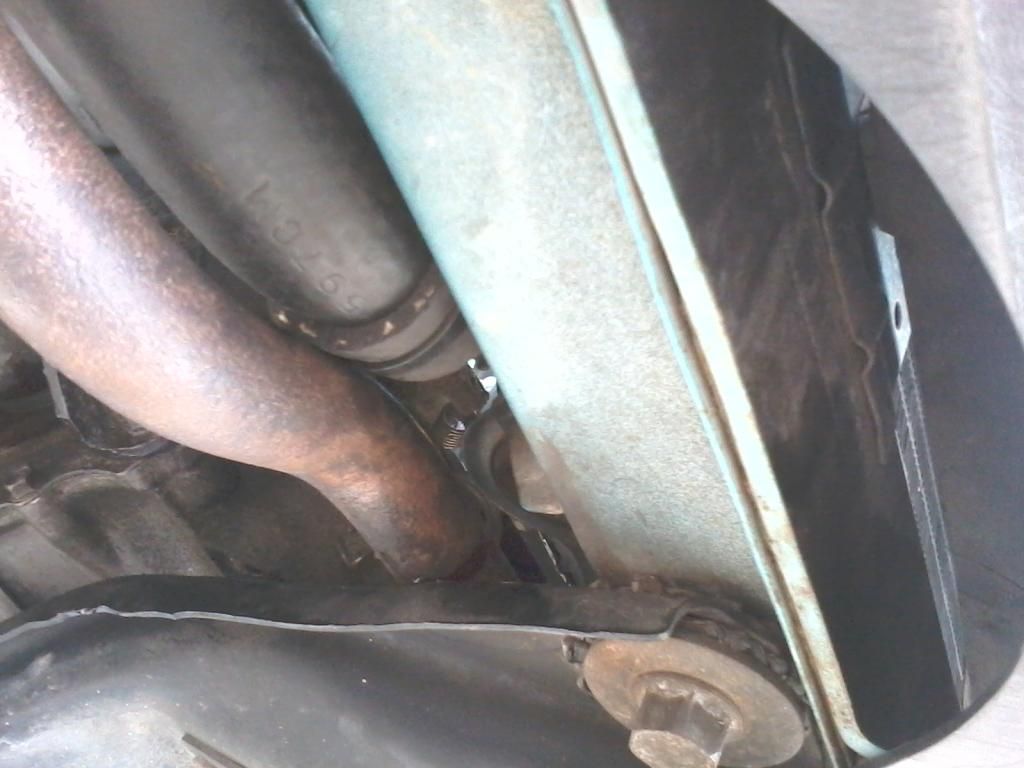
                    The new sway bar is a tight fit. I cut a good inch - inch and half off of the lower radiator hose and it still contacts the bar. The scrap was used as a buffer.


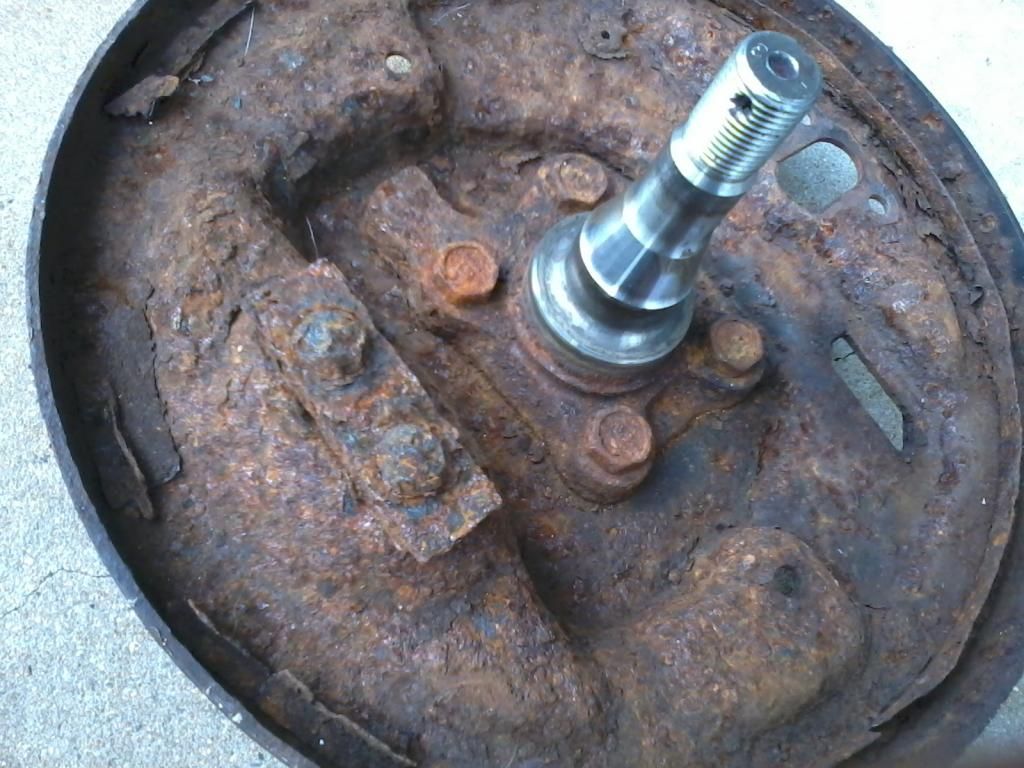
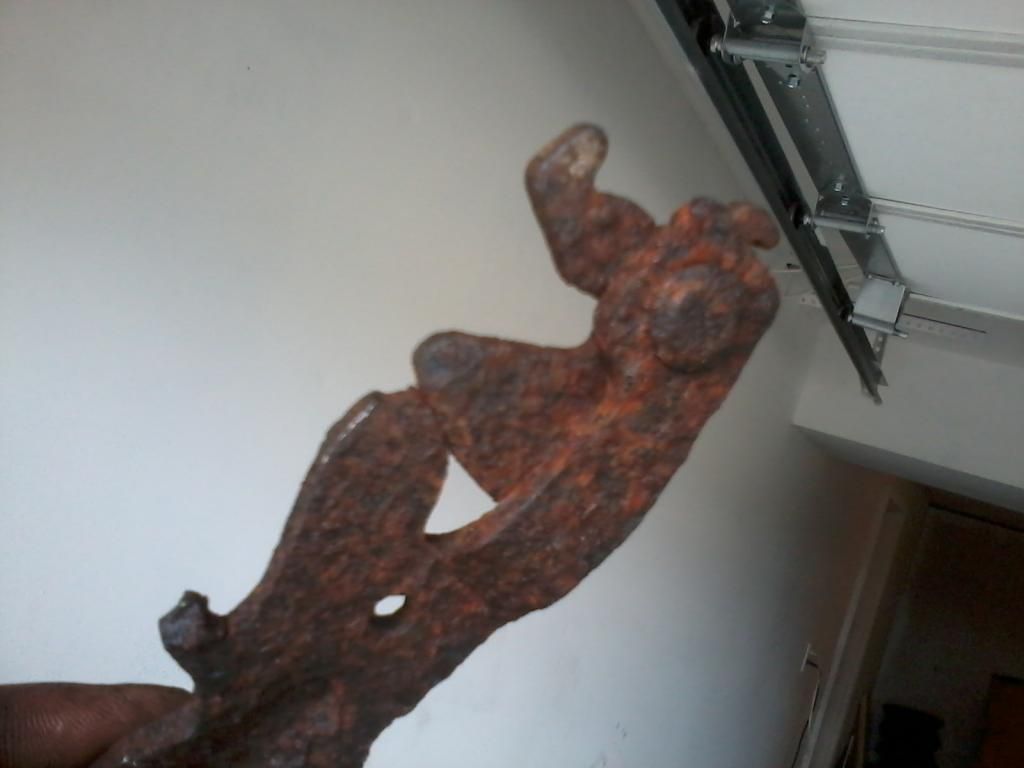
                    Rust... This is why I had so much trouble getting the rear hubs apart.


                    I think these are still good...hmmmmmm


                    Wire wheeled. Still ugly...


                    This is going to be a problem...


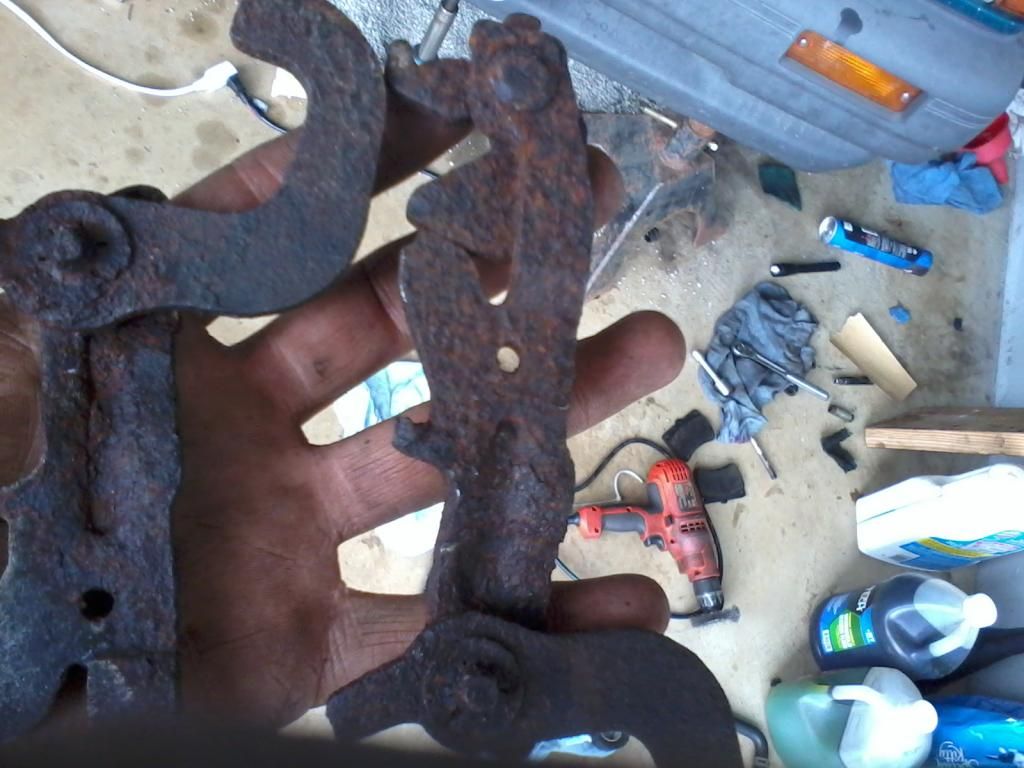
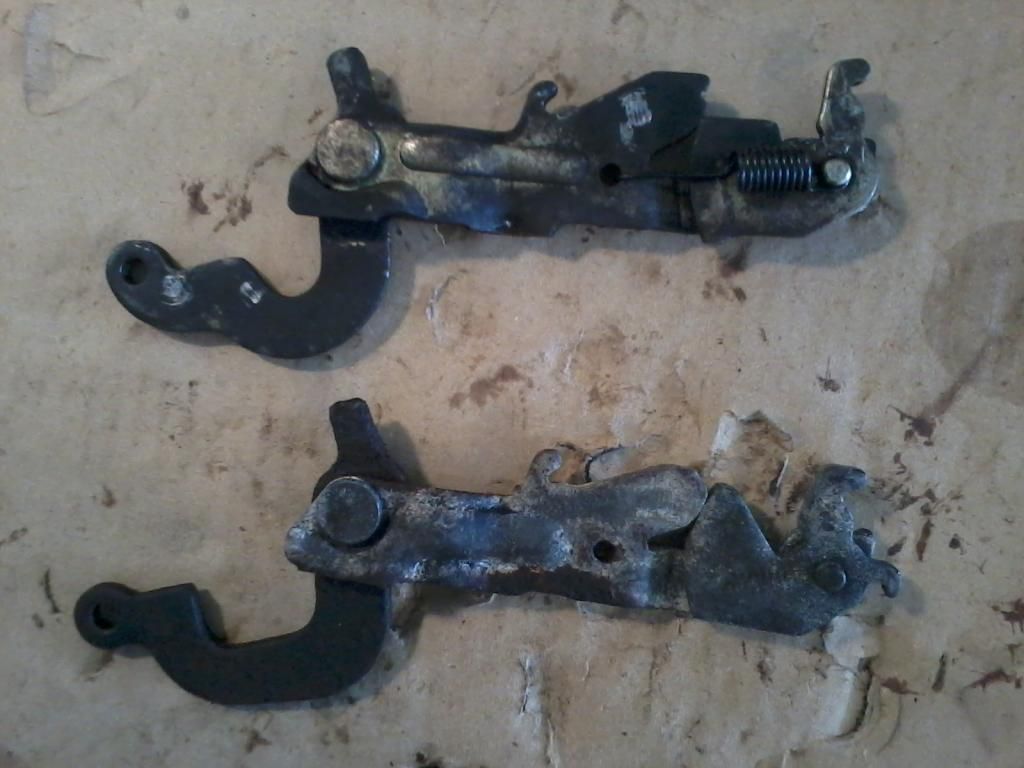
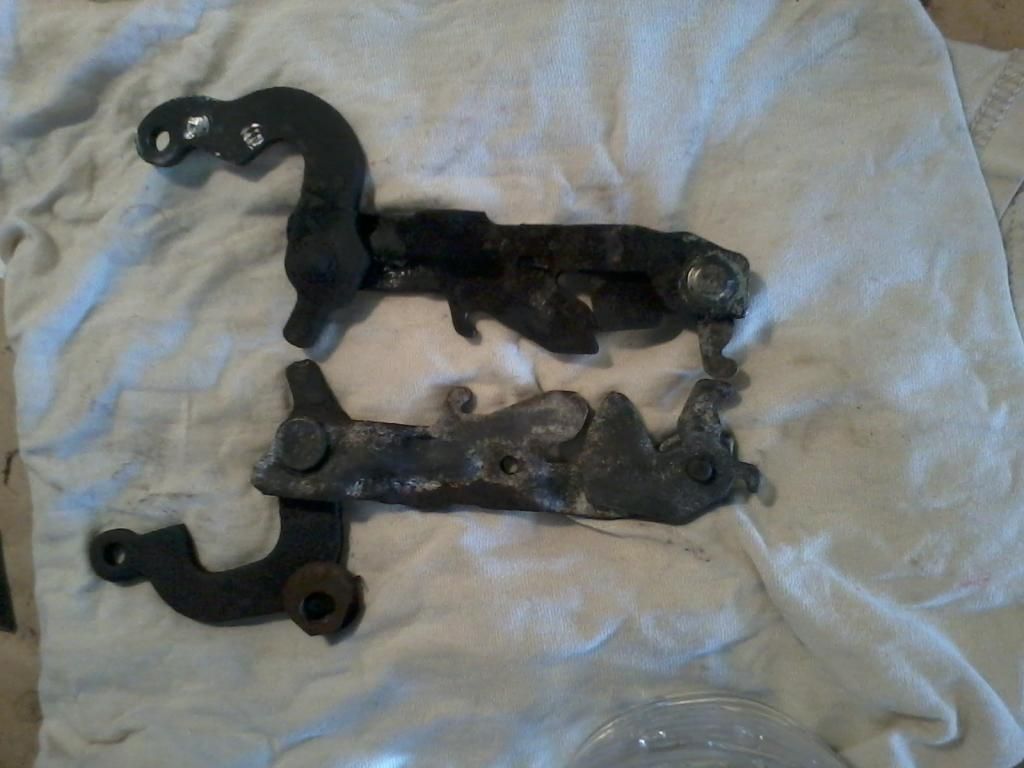
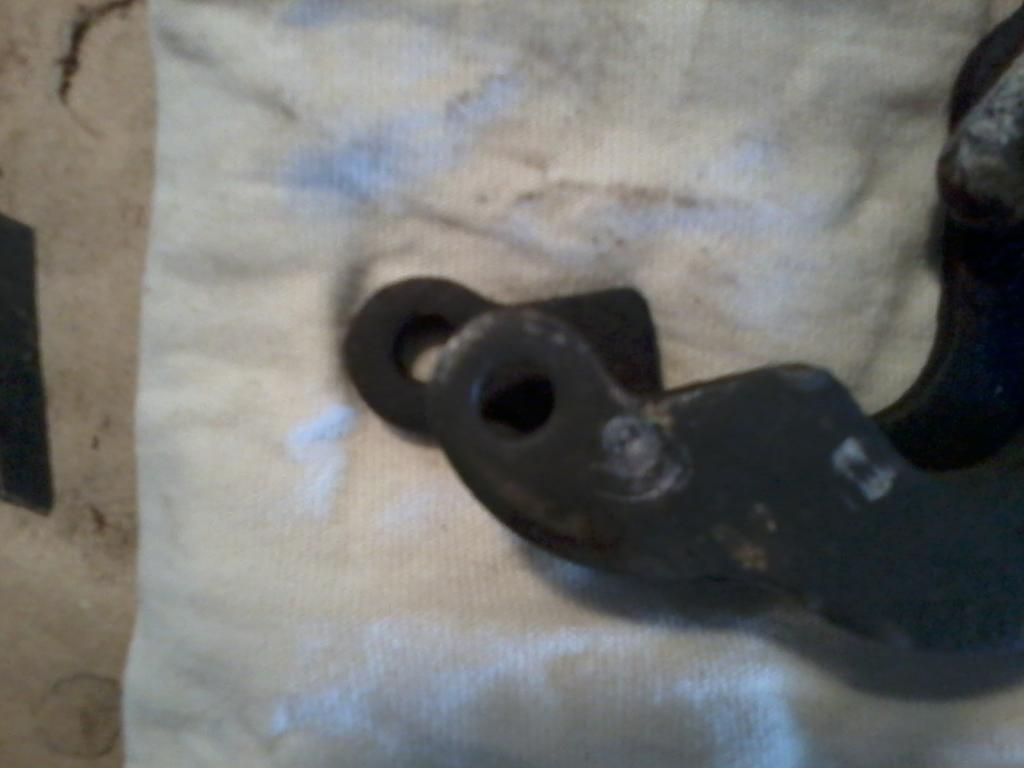
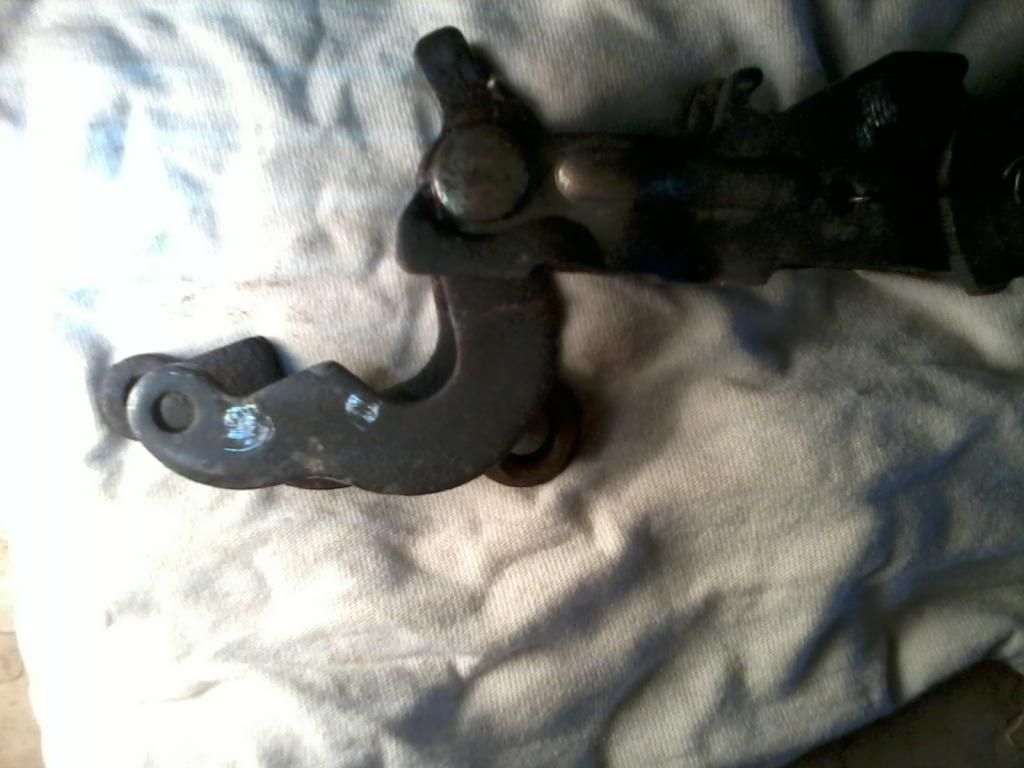
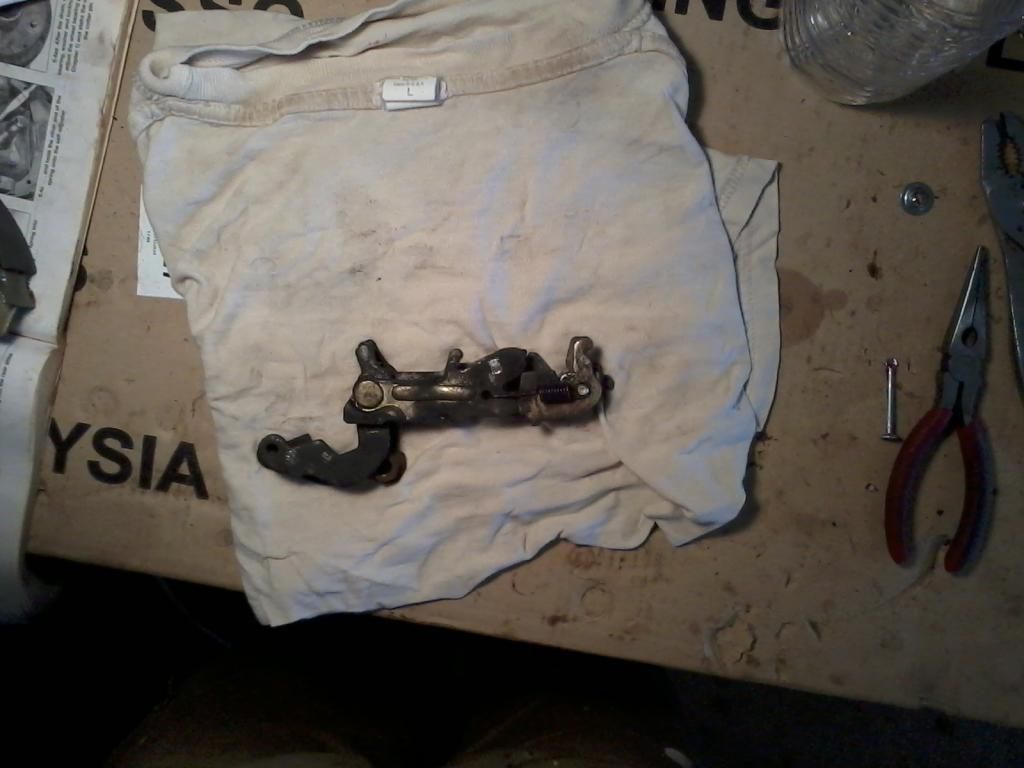
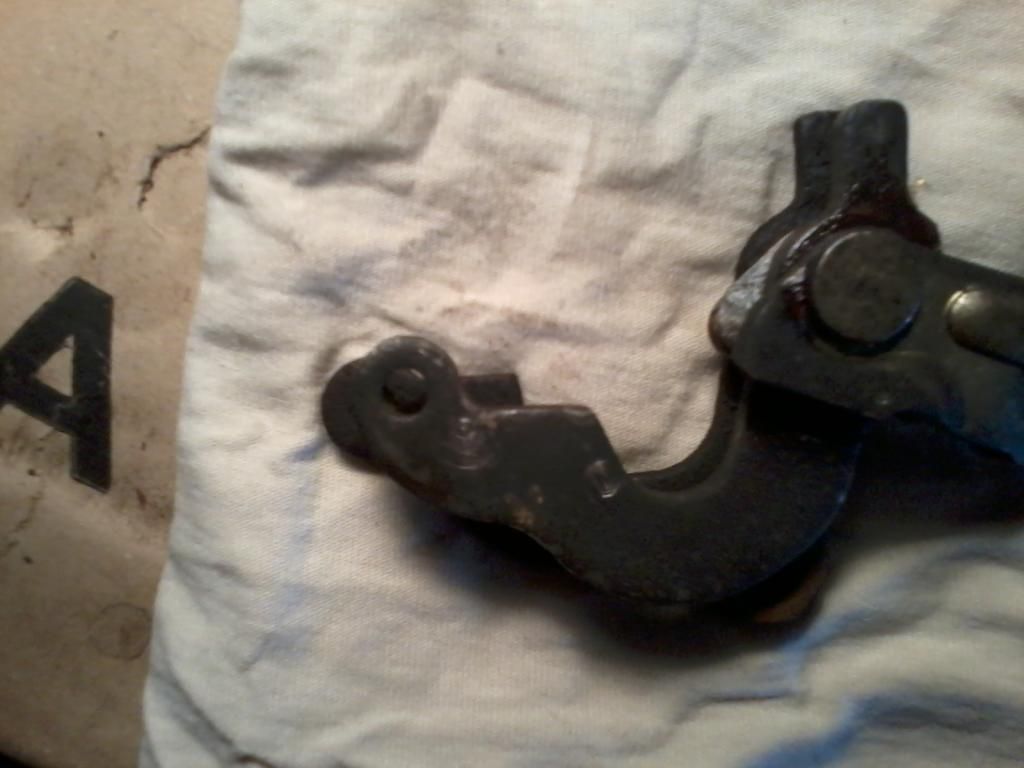
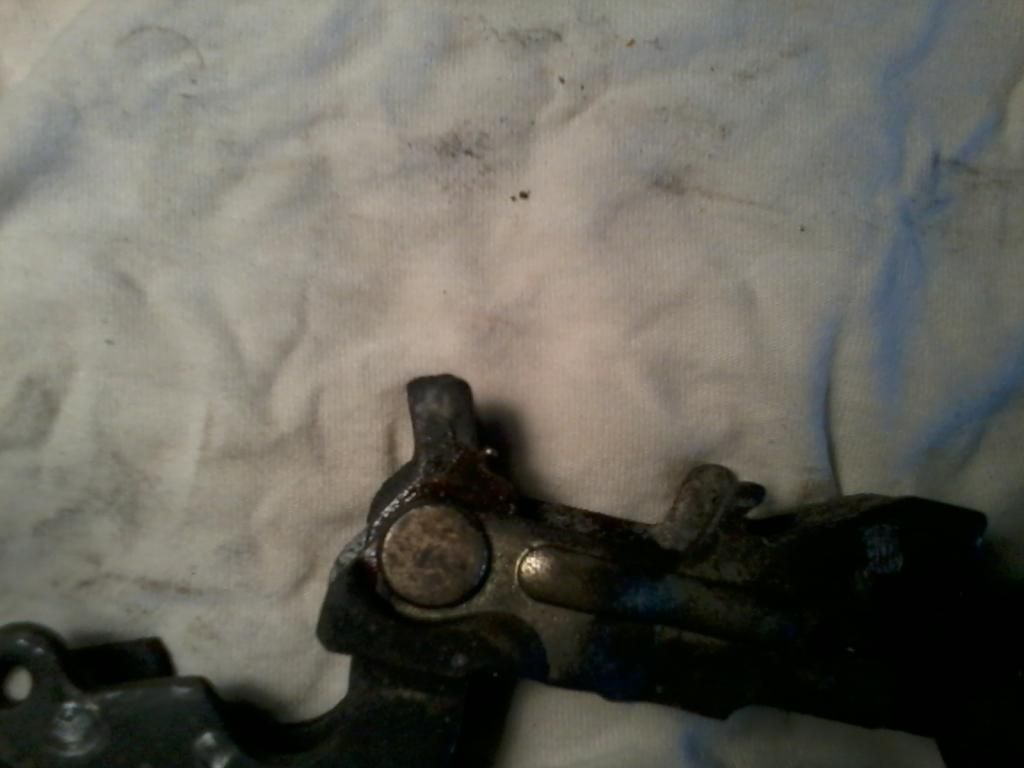
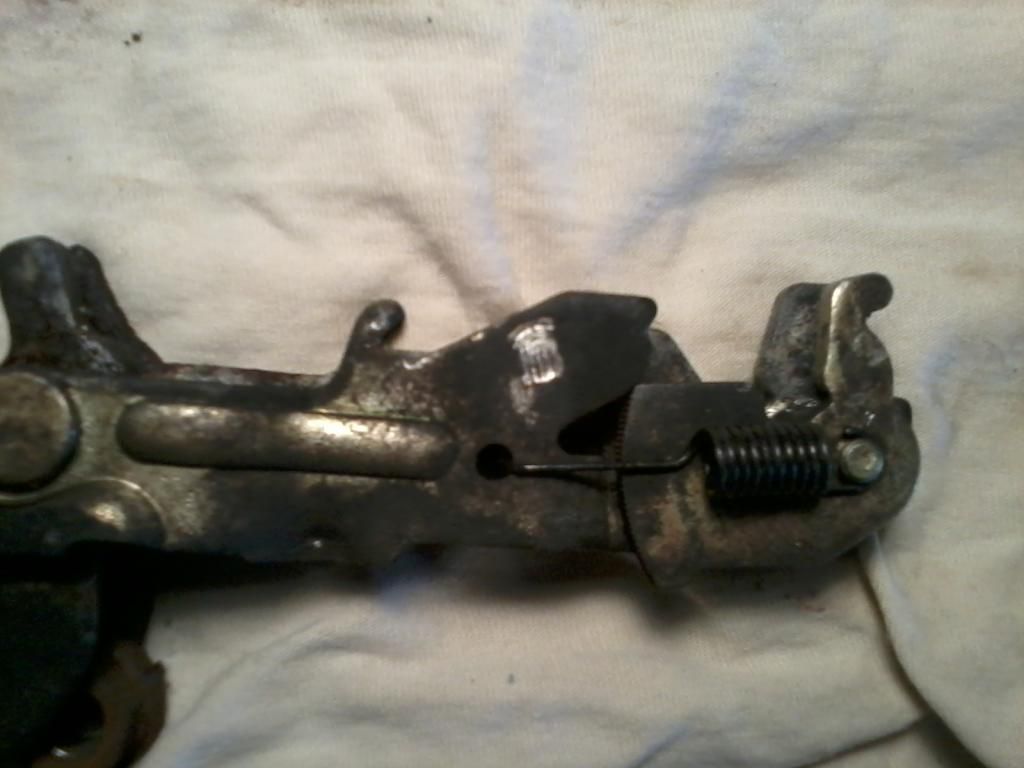
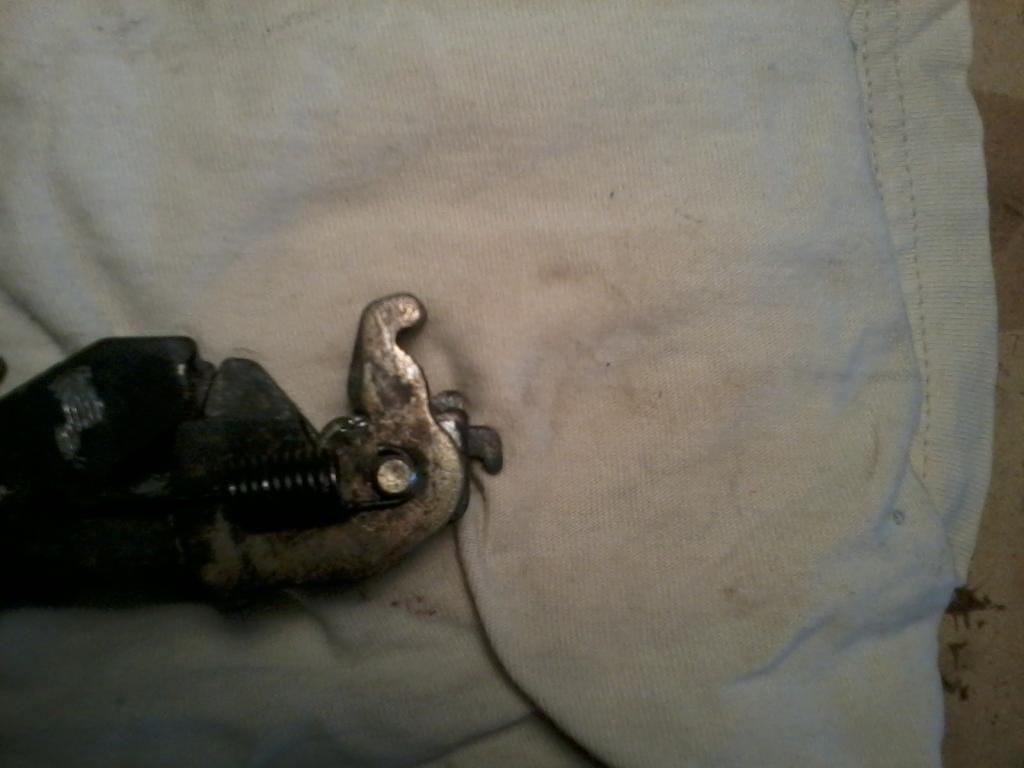
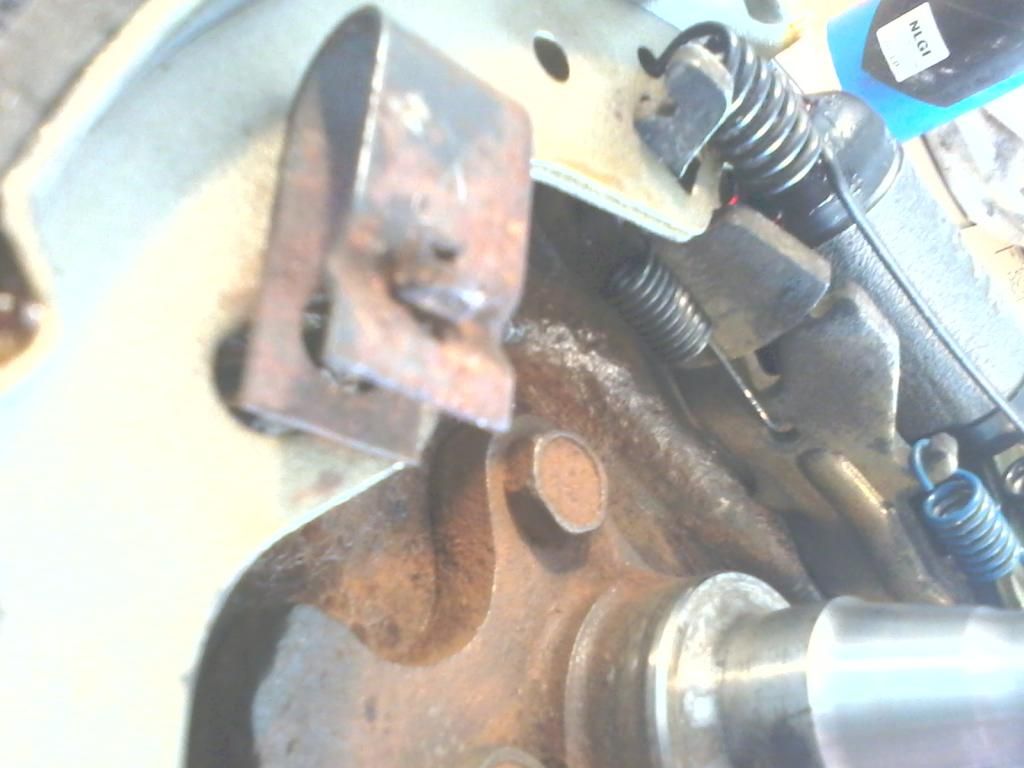
                    I couldn't free either of the seized Aspire emergency brake linkages. But I got an idea and went with it... Compared with the Festy linkage:
                    Please note that in the close-ups, as you move away from the center of the picture the parts won't line up due to the angle from the camera lens. Because of this I took multiple pictures centered over the important bits.


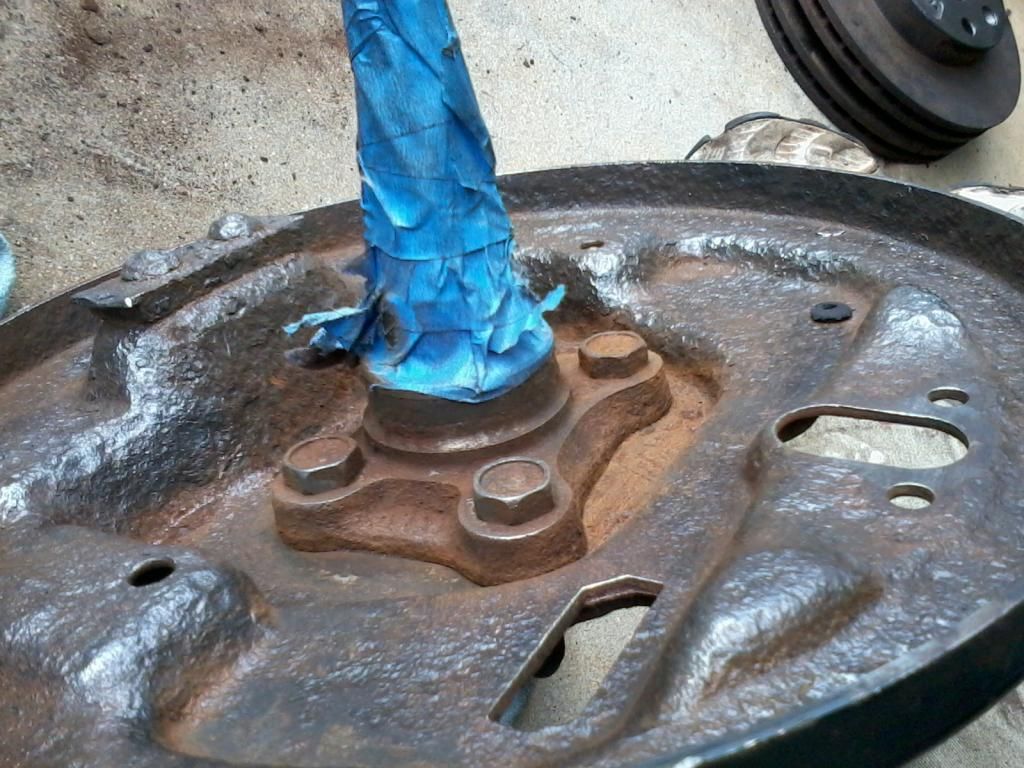
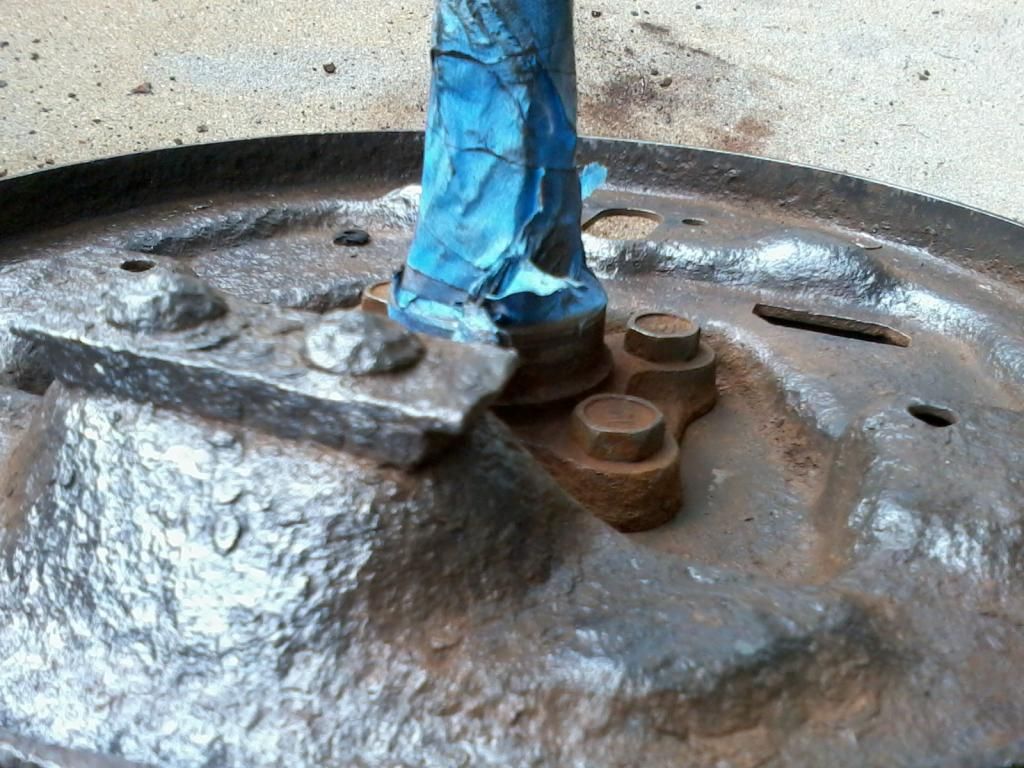
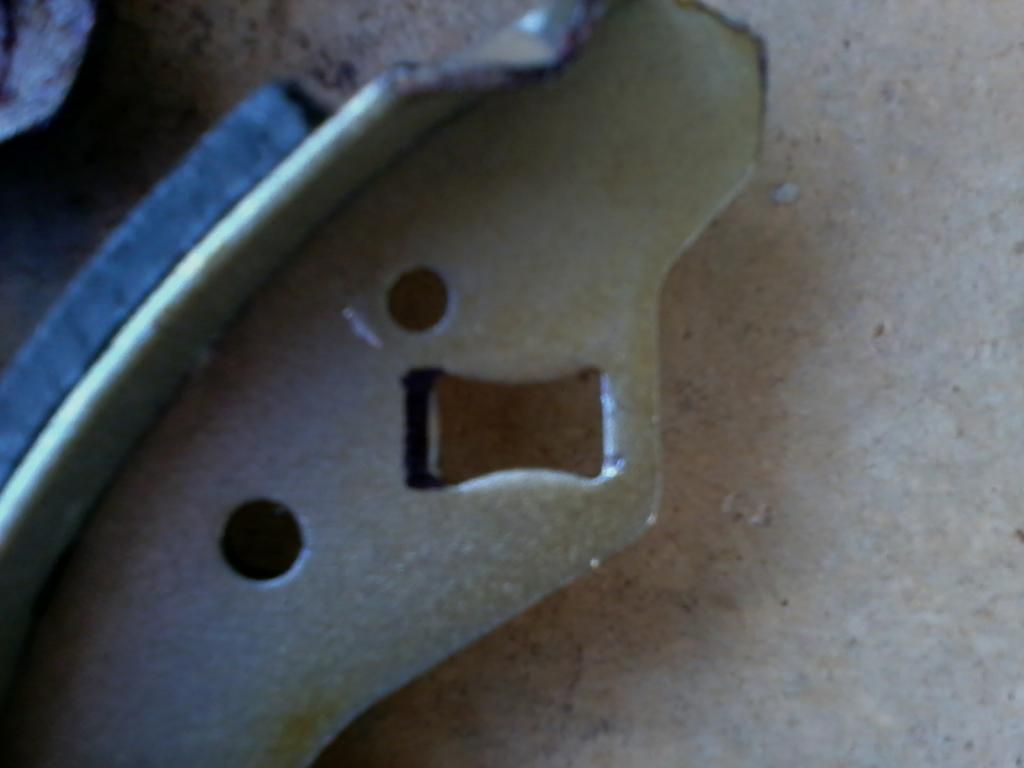
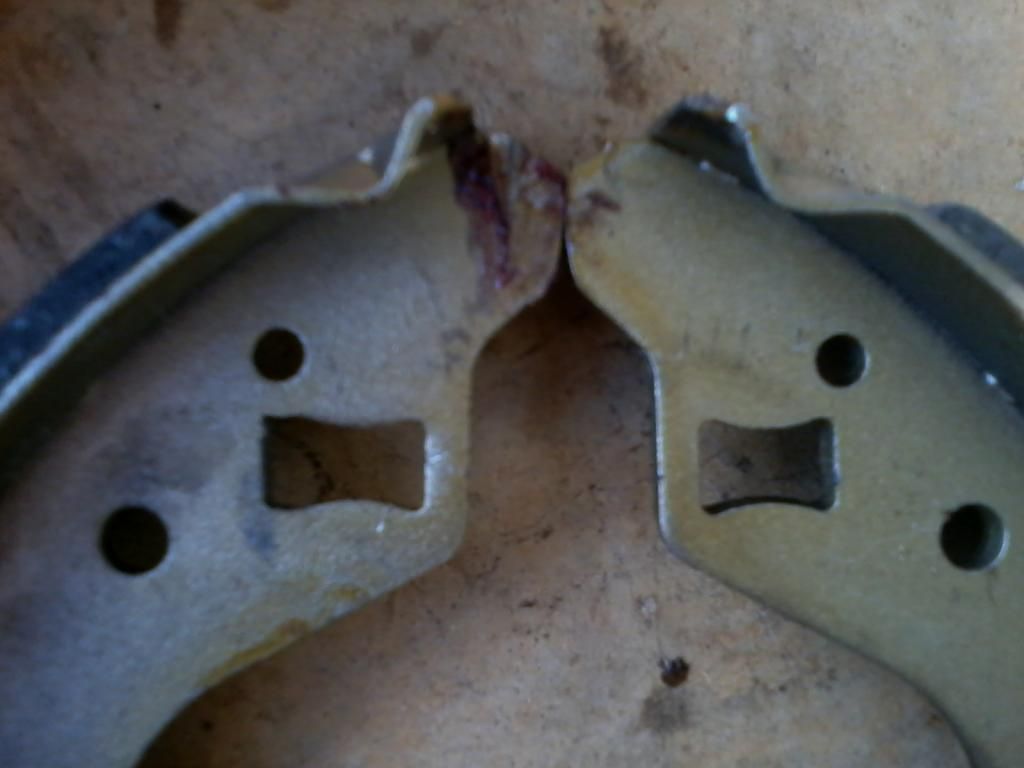
                    The problem with the Festy linkage is that the cable end can't reach around the larger Aspire backing plate. Because of this, the brake shoes are spread apart just far enough to prevent the drum from fitting. My solution was to remove about 1/8 inch of material from the shoes. I don't believe I risk much if any structural integrity, but I'm not an engineer. If you do this, I cannot guarantee the safety of you, your passengers or your beloved Festiva. With that said, on with the pics.


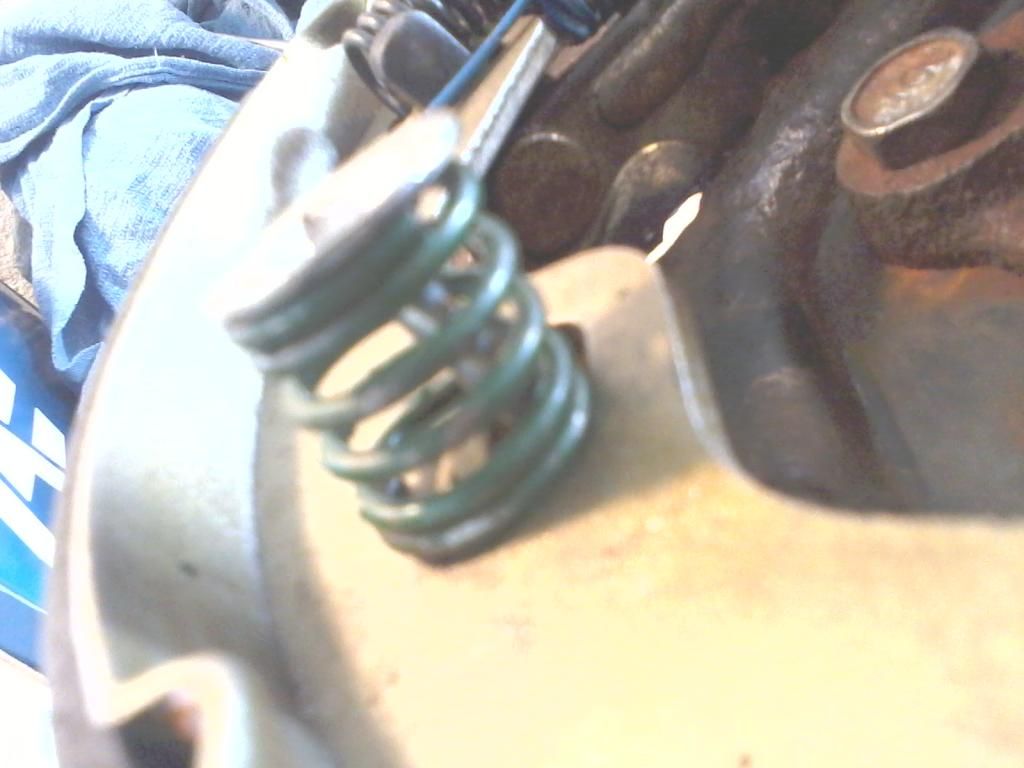
                    The fancy, new, not-rusted-into-multiple-pieces hardware included these coil shoe hold down springs. They shift and move into the holes. It bothered me.


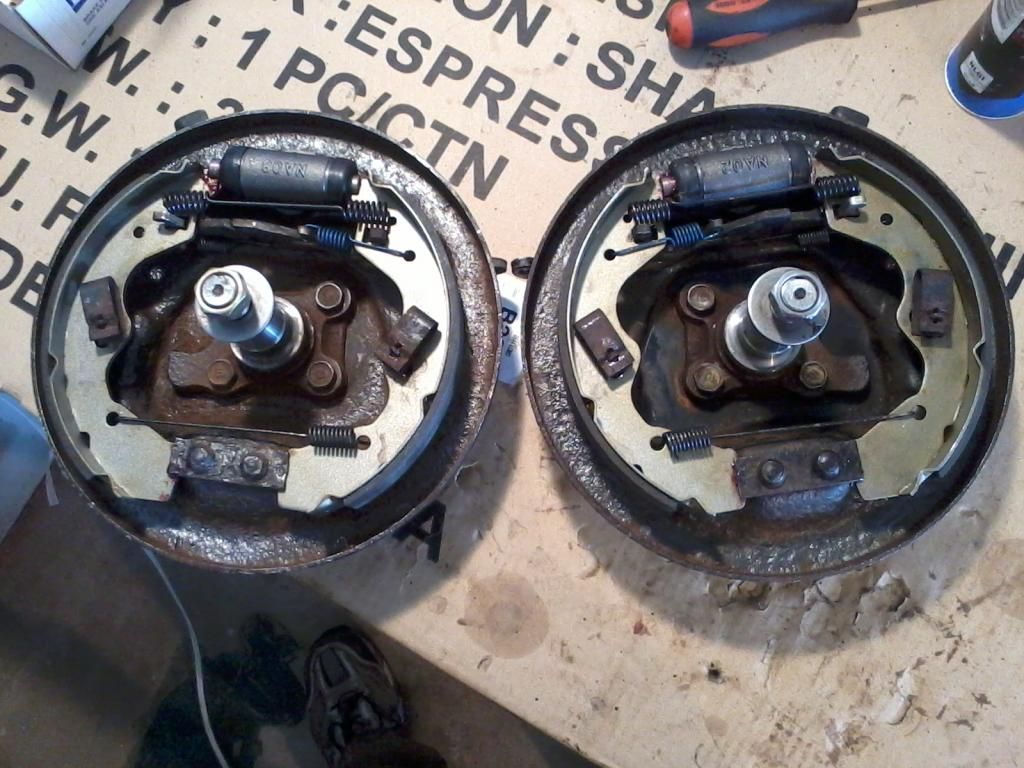
                    Continuing with the Festy/Aspire mish-mash brake assembly, I reused the original pins and springs. Function over form.


                    All new hardware on my pitted old plates. A polished turd if I ever saw one.


                    I got everything bolted up, took the rotors and drums to get them turned and was advised to go with new parts instead. Come to find out, after all of that work on the emergency brakes, my Aspire cables are seized up too. I couldn't get the hand lever connected at all, the cable just won't reach, no luck with the Festy cables either. I did get the brakes bled, and although it needs to be redone, stopping power has significantly increased - even with my soft pedal. The 185/70-13's clear the rear coils on my factory suspension by about a 1/4 inch, however it doesn't take much of a bump to catch the front fenders. When I picked my car up from the shop for its alignment I was told that my passenger's side axle seal needs to be replaced, I took a look and ended up leaving a nice puddle in the parking lot. Awesome. Tomorrow, I replace the axle seals and work on rolling some fenders... Having a project has been nice, but I want some more daily driving back in my daily driver!

                    Comment


                    • #11
                      Looking good!
                      Jerry
                      Team Lightning


                      Owner of Team Lightning
                      90 L "Peewee" B6D. Bought new May 16,1990
                      92 L Thunder BP G5M-R Turbo B6T electronics. Jan 2016 FOTM winner SOLD
                      93 L Lightning. BP


                      Not a user of drugs or alcohol, Just addicted to Festiva's

                      Comment


                      • #12
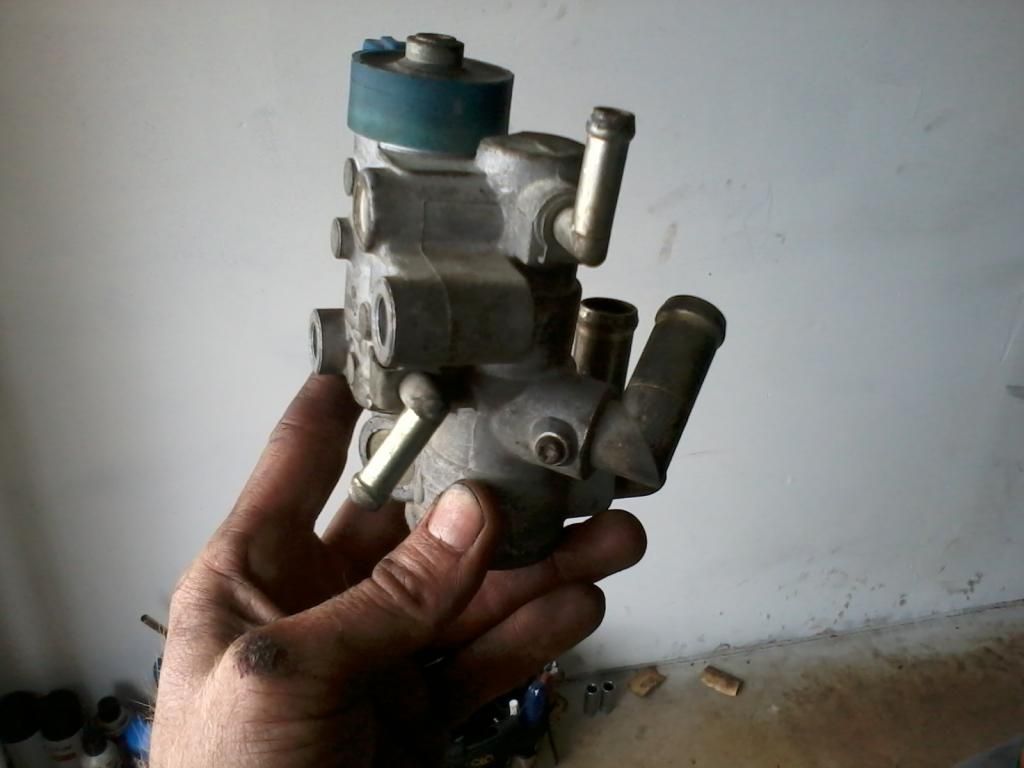
                        IAC bypass

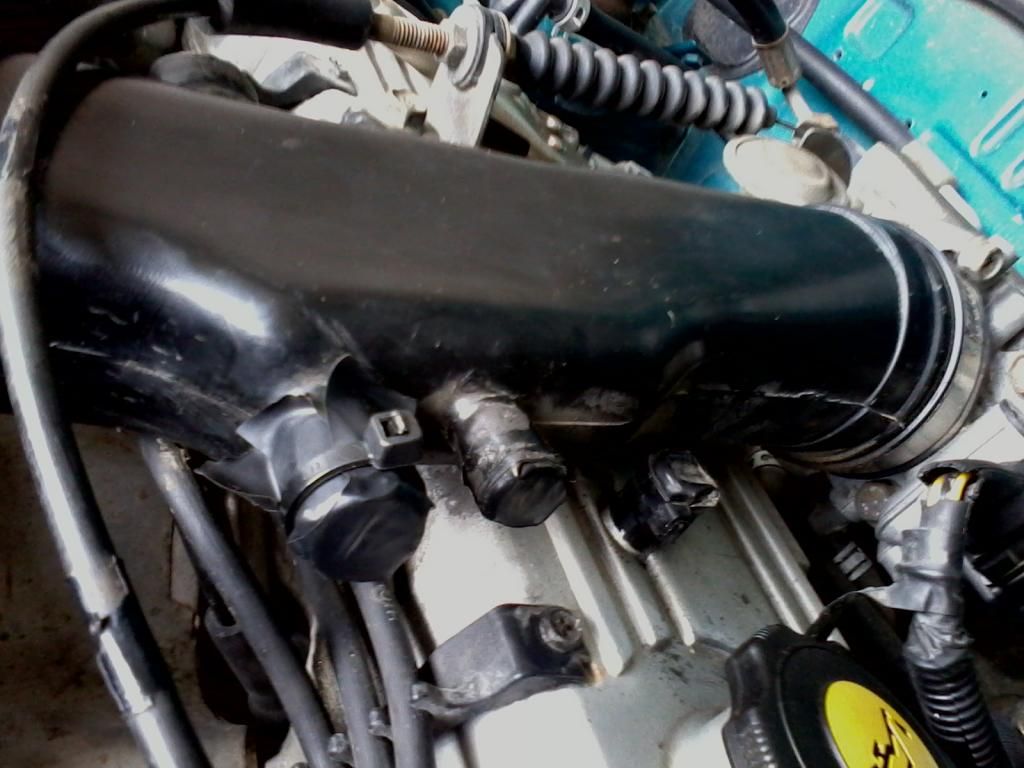
                        I've also been looking into replacing my dry rotted, cracked, electrical tape-sealed intake tube. Every custom intake I see has ports fitted/welded into the piping for vacuum lines. In addition to being displeasing to the eye, it has the same effect on my wallet. I wanted a simple tube from throttle body to VAF. After talking to sketchman, removing the Idle Air Controller sounded like the solution I've been looking for.

                        This is what we're after


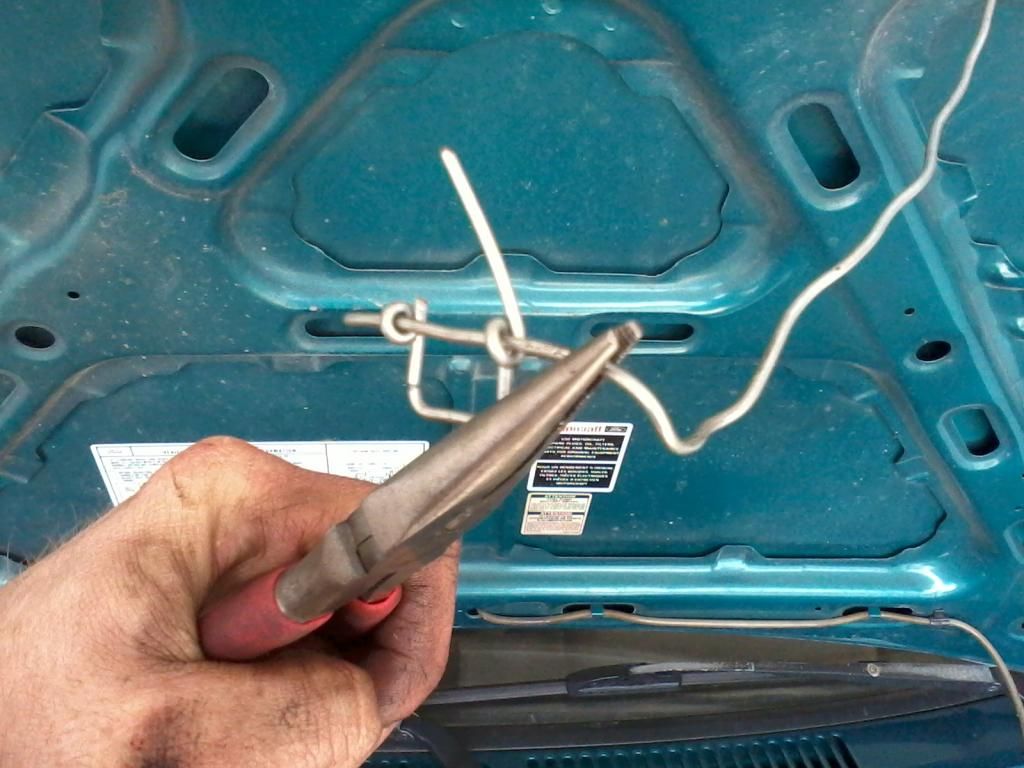
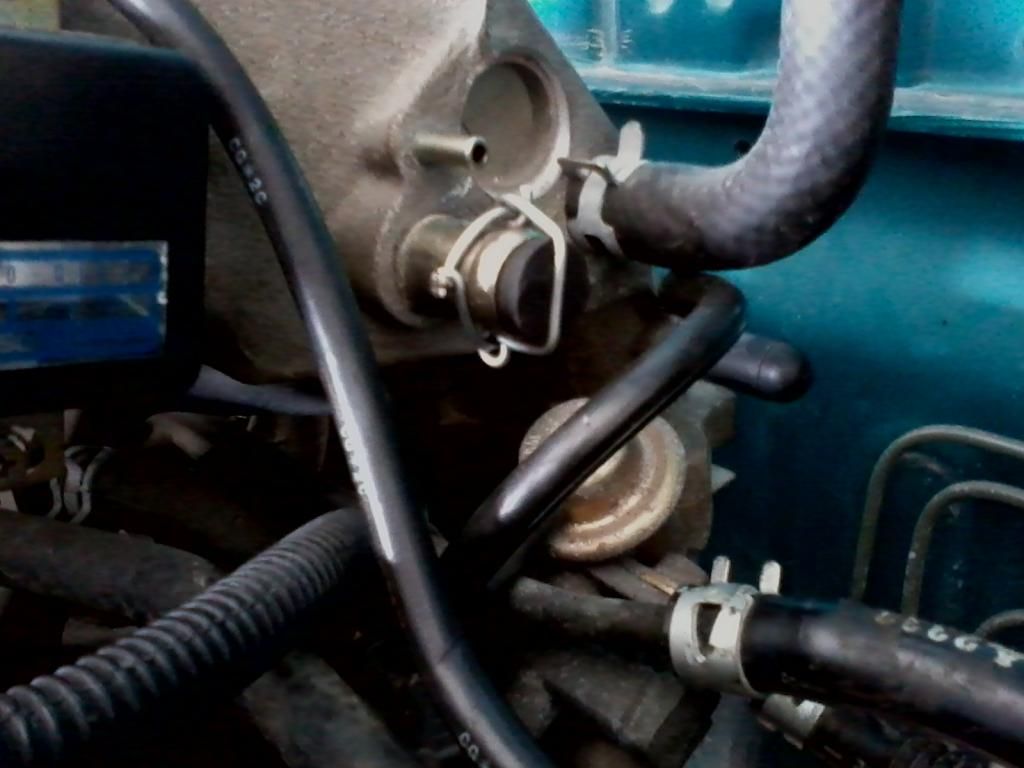
                        Reroute the coolant line from under the throttle body to between the intake runners. It's self explanatory, just close the loop you opened when you pulled the part.

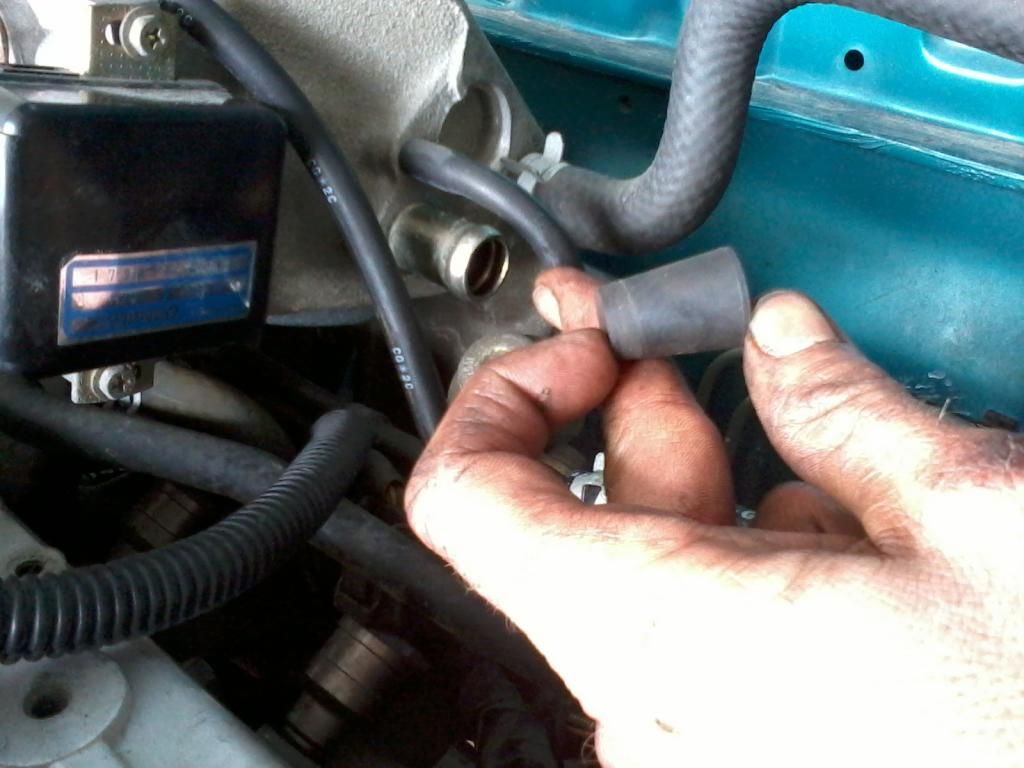
                        Close off the holes to prevent a vacuum leak. I used tape for testing purposes, strictly temporary.


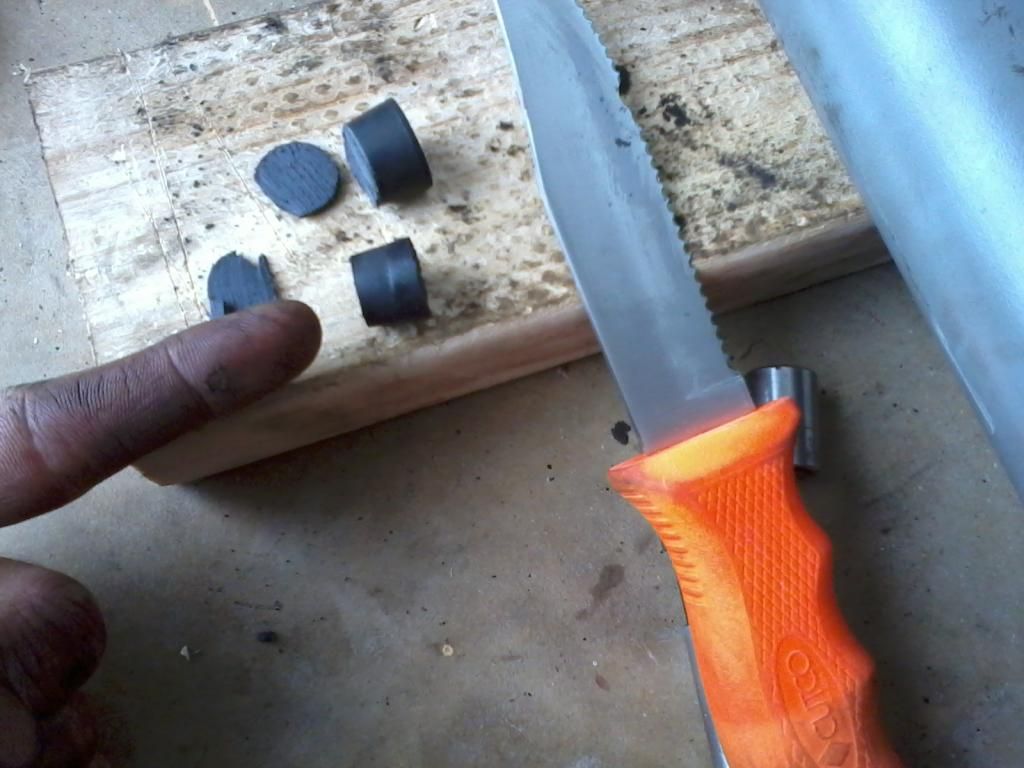
                        For something a bit more permanent. I got this at Lowes, I forget the size. I believe the hole diameter was 9/16 of an inch.


                        The smallest end of the stopper just fit, no need for 3/4 inch to just hang out like that...


                        Think champagne wire cage and start bending...


                        Smile at your achievement, and get a flat head screwdriver. It's up to you now. (Small vac. tube disconnected for picture purposes only)

                        Comment


                        • #13
                          Originally posted by Team Lightning View Post
                          Looking good!
                          Thanks!!!

                          Comment


                          • #14
                            Updade and Some New Part Numbers

                            So I just got Ernie re-licensed a few weeks ago, and on the way home I had an engine failure. I think it's mostly head gasket, but there had to be some additional source of the oil under my hood, it looked like Exxon Valdez under there!

                            Anyway, thanks to Frogman I got a 95' Aspire Auto transplant with 80,000 miles on it. I swapped the front and rear main seals, cam seal, distributor o-ring, valve cover and oil pan gaskets... pretty much everything outside of the head that keeps the fluids on the inside... It took most of the week hacking on it a few hours a day (and waiting on parts) to get everything swapped over, and only a few hours to get it put in and running. She started up on the first try, I was pleasantly surprised. I did a compression test when I put in the new plugs and got 130 PSI across the board. It's nice to have a motor that runs properly (despite not being timed yet).

                            Anyhoo, winter is coming... and I needed a thermostat anyway, so I figured I'd do it proper and get a dual stage. It took 10 minutes with ford to find out that the part numbers had changed and it's no longer a supported part. Called Mazda... their parts numbers had changed too, they had one for me, 8AK1-15-171-9U made for the 323, but they wanted 25 bucks. Ouch. So I entered that number in the search here and found a thread where someone had sourced a dual stage thermostat from O'Reilly. I don't remember the make and model of the car it fits, but Murray #41492 is in my hands for $8.99, we'll see how it works...

                            One of my wheels in the rear has a shimmy, so I tore apart the hub assembly and inspected the bearings and races. It seems that the machining is a little off center of the casting for the drum, but I think this is coincidence. The outer bearing looks a lot worse for wear, I don't think I'll be going with O'Reilly MasterPro bearings anymore, they've got less than a few thousand miles on them... So I picked up a set of Timkens from the Zone. I will say that when I test drove the car after my engine swap, the drum of the wobbly wheel was the only one that was hot to the touch, it was really hot. I hope it's just the bearings and not an improperly set e-brake and possible warping. I did switch the rear drums and their bearings to the opposite sides to see what that did (to rule out a problem with the spindles) and the problem did move with the drum. I'm gonna put new bearings in tonight. Please just be a bearing issue...

                            Also, I think the Aspire brakes are a little under-fed by my current (stock and failing) master cylinder, so I've been looking on here for an appropriate replacement. I was turned onto the '94 Escort GT Automatic w/o ABS, Wagner #MC131460, ($65 on RockAuto w/o shipping). But after getting curious on AutoZone's website while looking for Timken wheel bearings, I found that their price for the same master cylinder application by Fenco (#NM55005) was $63, and I wasn't gonna get gouged for shipping. I went to check it out, and it was out of stock, but they had a remanufactured version available for $38, (Fenco #M55005) It took a couple of 3/8" plugs on the underside, but I'll find out how it fits this evening. I should say that it also includes the connector for what I assume is a low fluid level warning. We'll see if that works too, if I remember to test it before I get excited and fill'er up.

                            Comment


                            • #15
                              I put in that Murray T'stat yesterday and am not impressed with the slight difference in gauge reading or heater output. Better than before, but not impressive.
                              "Blue92"- 92L 5 spd, original owner- 185K, B8,DD..
                              "Pedro"-88L 5-spd, B6D (built by Advancedynamix)
                              "Blanca"-92 GL auto, 125K(FM8 Lowest Miles)- B6 daughter's DD
                              "Tractor Blue"- 89 L auto, 110K
                              "Chester"-88 LX, runs but not street legal
                              "Wenona"-89L parts car
                              "Flame"- 89 LX 5 spd ,parts car

                              Comment

                              Working...
                              X