Announcement

Collapse
No announcement yet.

Open track day and parts runner build

Collapse
X
 
  • Filter
  • Time
  • Show
Clear All
new posts

  • #61
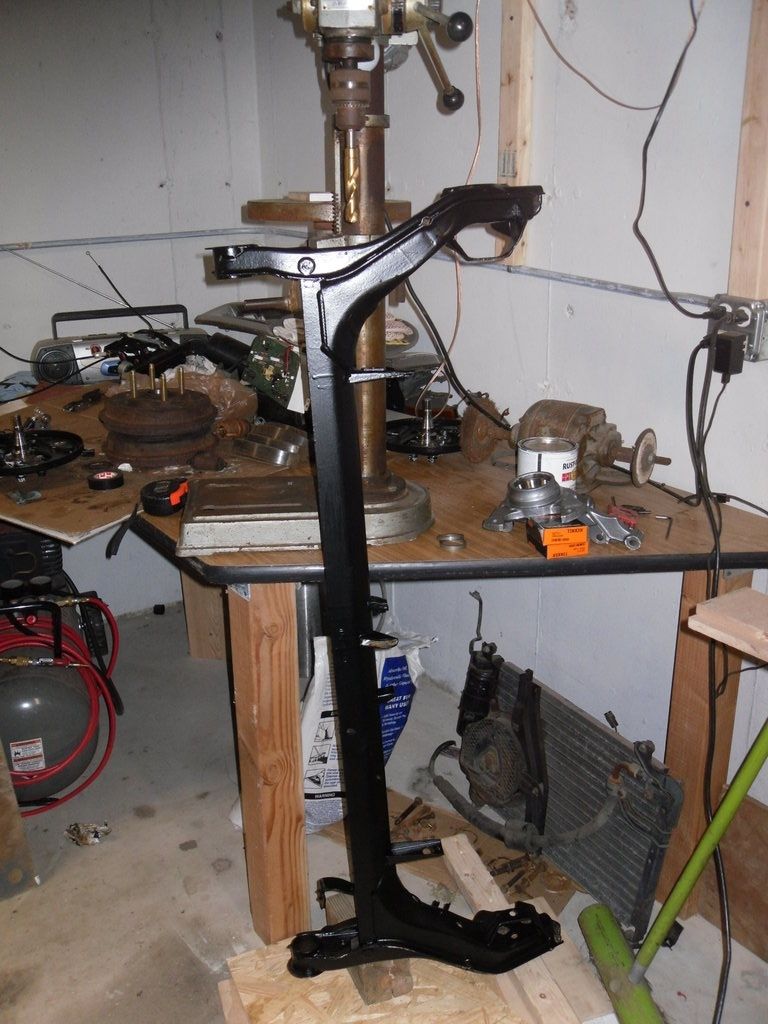
    I have still been slowly progressing on the car. I took some time tonight to pull so pictures off the camera and upload them but the stupid batteries died before I took about half the pictures I wanted to. I have been working to get the car back on the ground with four tires as soon as possible and then I'm going to take a short break from it to get some other things done. I pulled the rear arm and stripped everything off of it
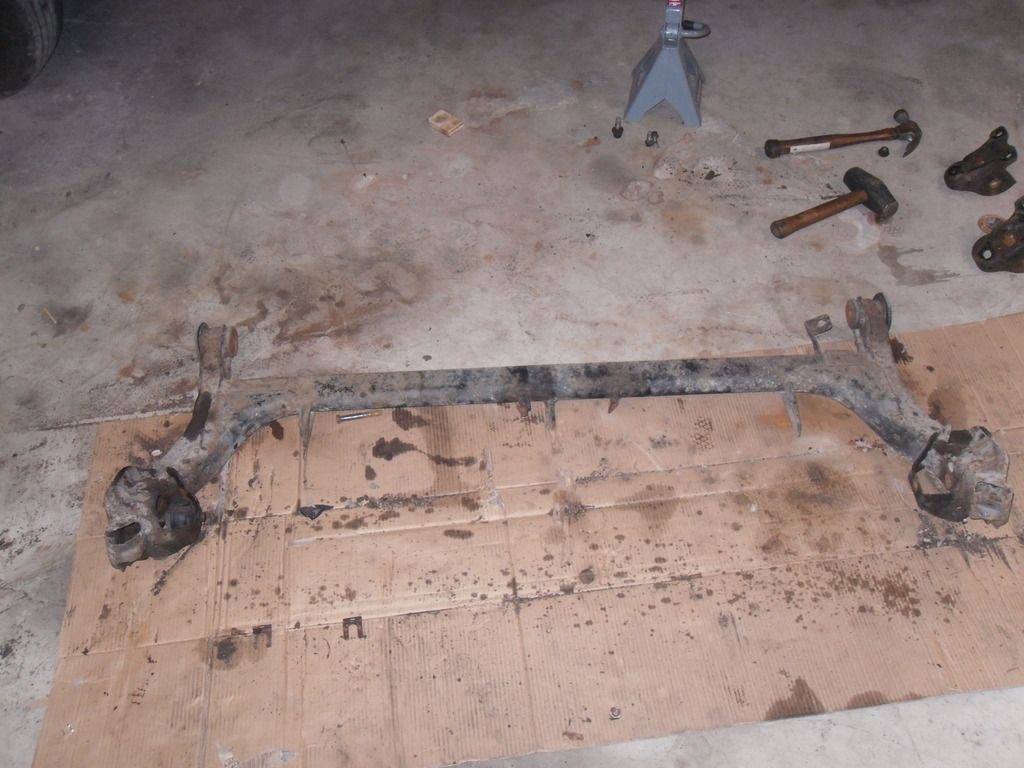


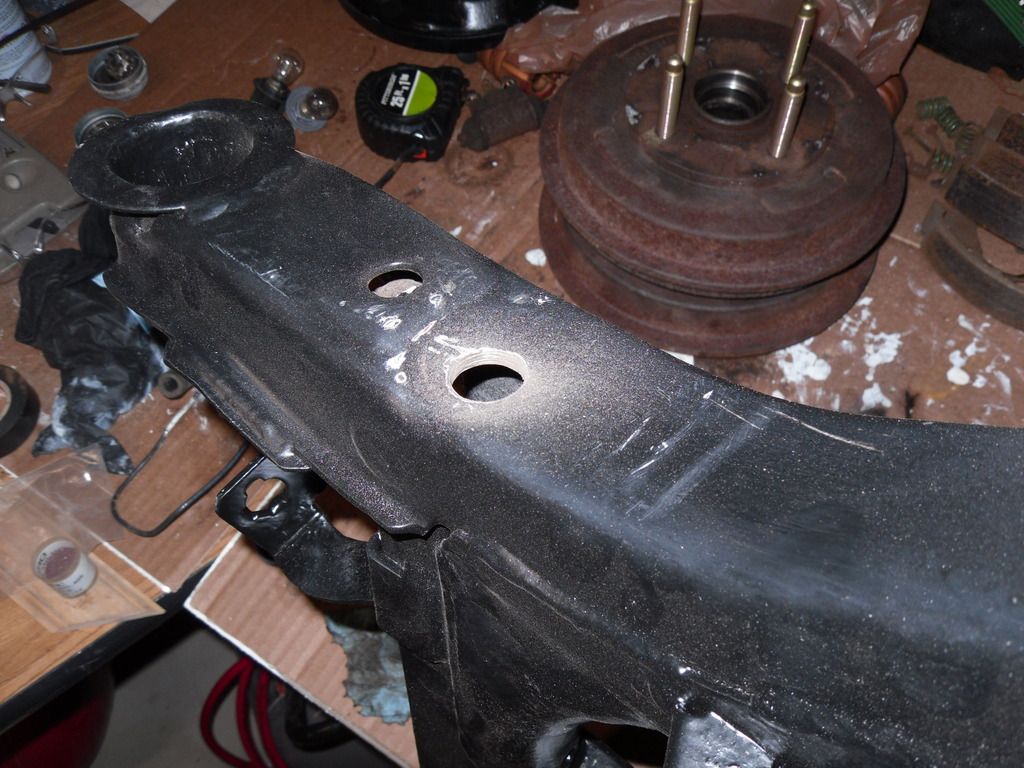
    Then I wire wheeled all of the rust and other crap off and took it to the car wash to fully degrease it. I brushed two coats of Rustoleum primer and then two coats of gloss black on the arm and the drum backing plates.
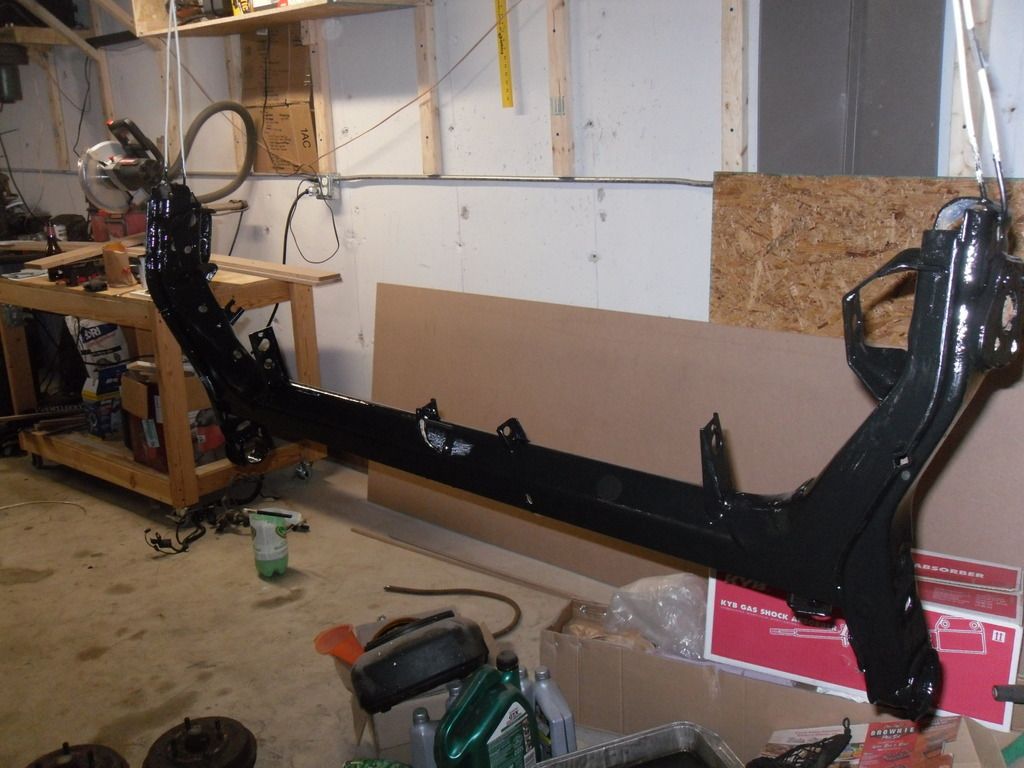


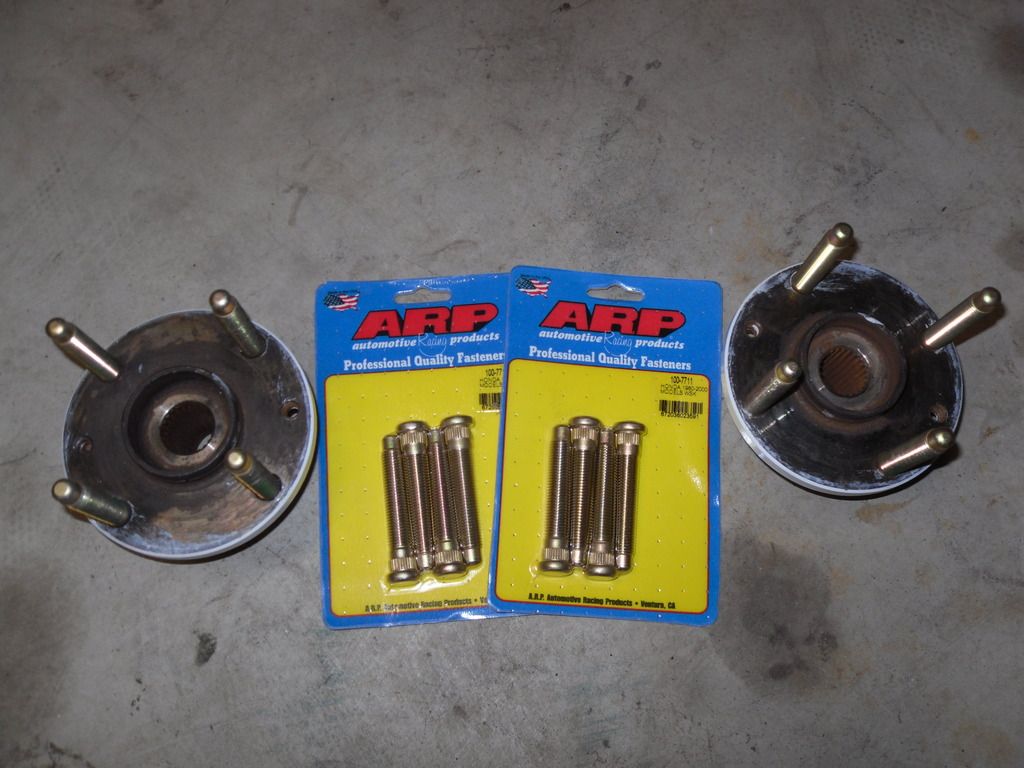
    I also got all of the hubs and drums drilled out to press wheel studs into. I pressed the studs into the front hubs already and need to clearance the inside of the drums a little before I can press them. The only thing left for me to do is get the passenger side spacer cut down and I can put the knuckles together.


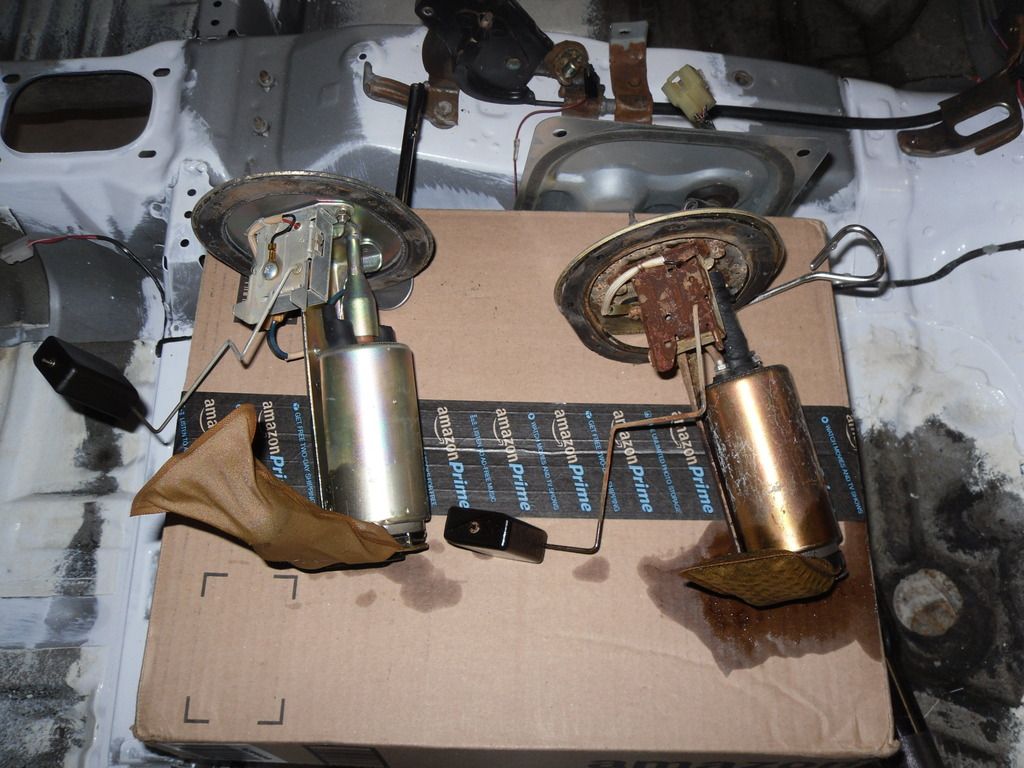
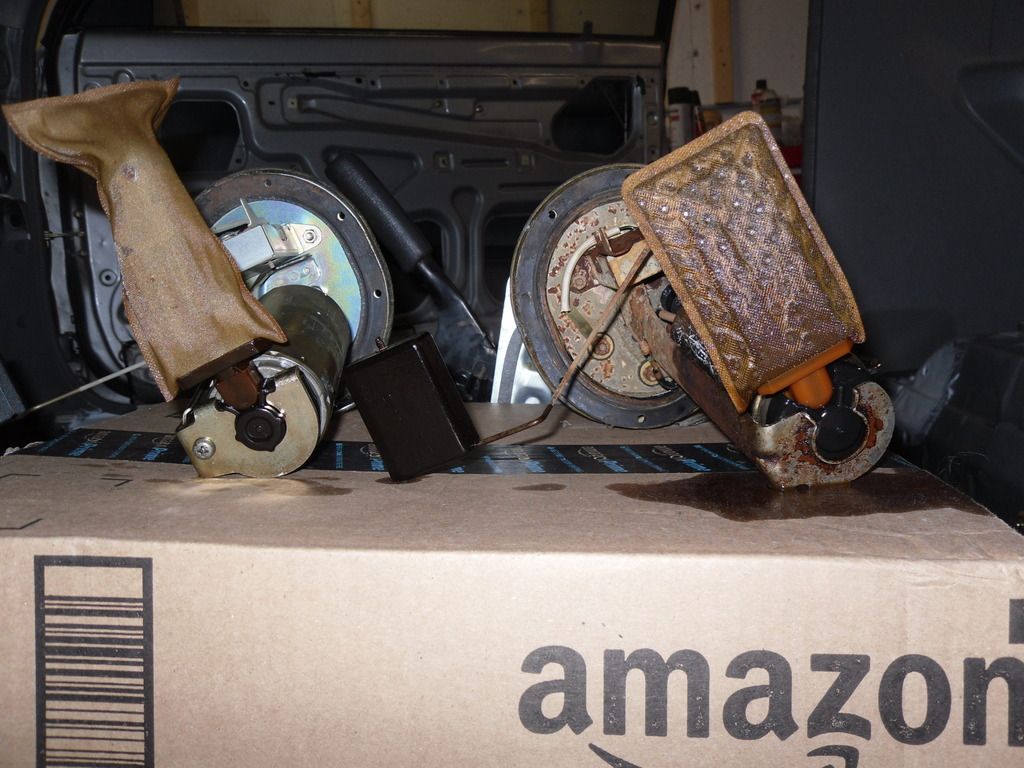
    I pulled the fuel pump to see what I would need to do to get the fuel system back into working shape and found the tank and sender to be covered with rust. I'm going to order a new tank and I pulled the sender from my 93 since I know it works. The appear to be nearly the same with newer unit using a slightly different pump outlet tube with what appears to be the same pump. I had always heard that the 89 pick up used different pumps than the other years so this was not what i was expecting to see. The 93 is on the left and the rusty sender from the 89 is on the right.


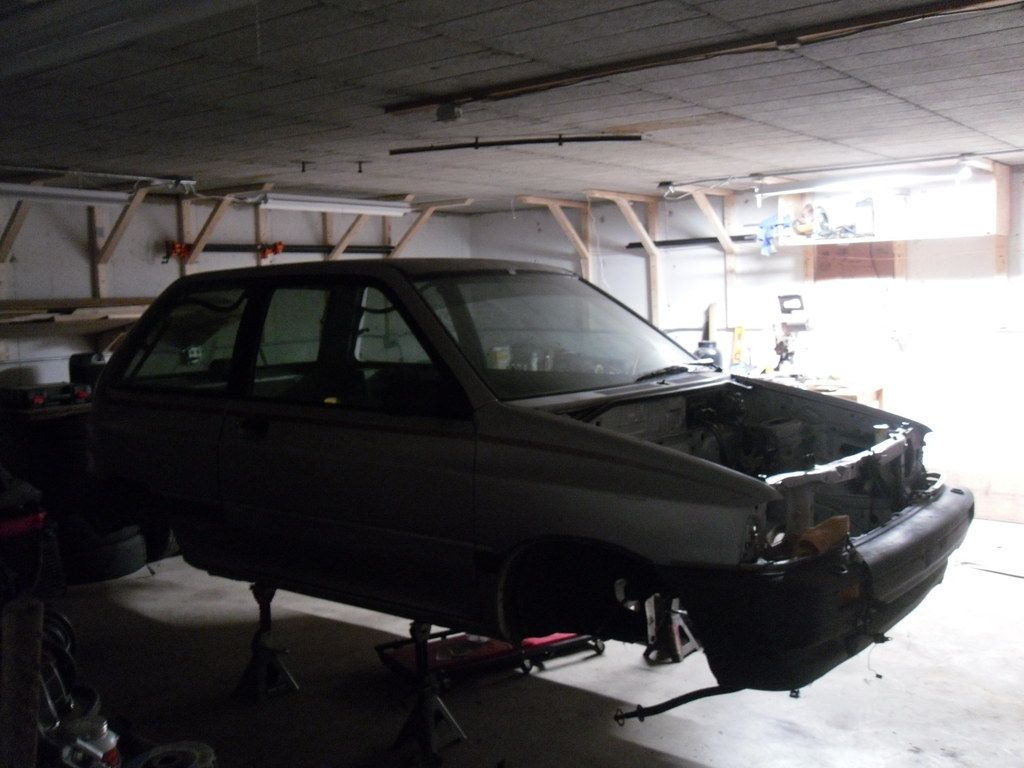
    Car just waiting to become a racecar in the garage.
    Last edited by blake4591; 02-09-2016, 11:56 PM.

    Comment


    • #62
      Looking good!
      Driving for me is neither a right nor a privilege. Driving is my passion, as it was for the people who invented the automobile, the people who paved the first roads and the people who continue to improve the automobile. Please respect this passion.

      Comment


      • #63
        Well fourgreen shipped my order last night. It has a 1.3l and 1.1l front sway bar and is supposed to be here on Wednesday. I also think I'll get a lot of time to work on the car this weekend so here's to hoping since I haven't touched it for about a week.

        Also, did anyone else know that the seat belt mounts are standard 7/16-20 thread. I got all of the hardware to mount a harness bar but it took a couple tires to figure out that it's a standard thread.

        Comment


        • #64
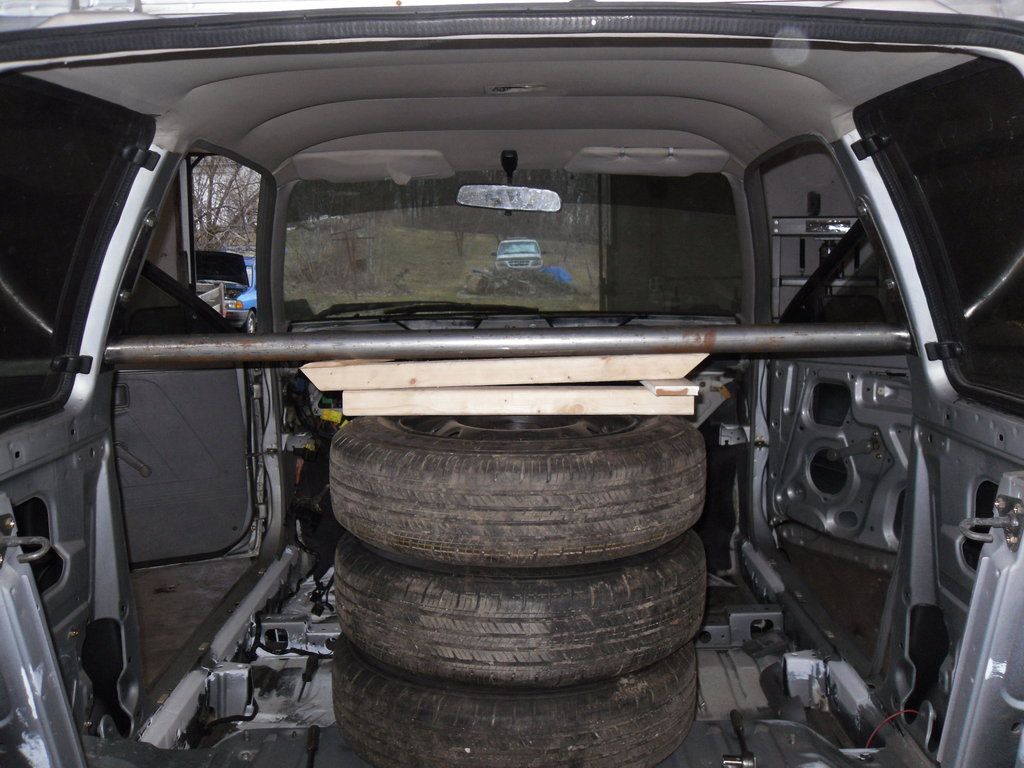
          I got the harness bar made up this weekend and started digging into the wiring.

          After looking at the 89 harness, I don't think I'll have enough time to get it sorted, get a stand alone set up and wrap up everything else that needs done on the car for this summer. I'm hoping to have the car driving by the middle to the end of May. So, I had the idea to pull my 93 harness and use that for now. Some quick inspection indicates that most connectors are the same for the HVAC and power distribution so it should drop in with few to no problems. The biggest problem could be any changes to the connectors for the rear harness, but I'm thinking they might be the same as well. I'll have to look into some more once I finish pulling the 93 harness. I like this plan since I know the 93 harness works and it'll keep the wiring simple, just have to relocate the battery and clean up the old harness.

          Next fab project is a passenger seat mount and then some new engine and trans mounts.

          Comment


          • #65
            I pulled some more pictures off my camera so there is a quick update.

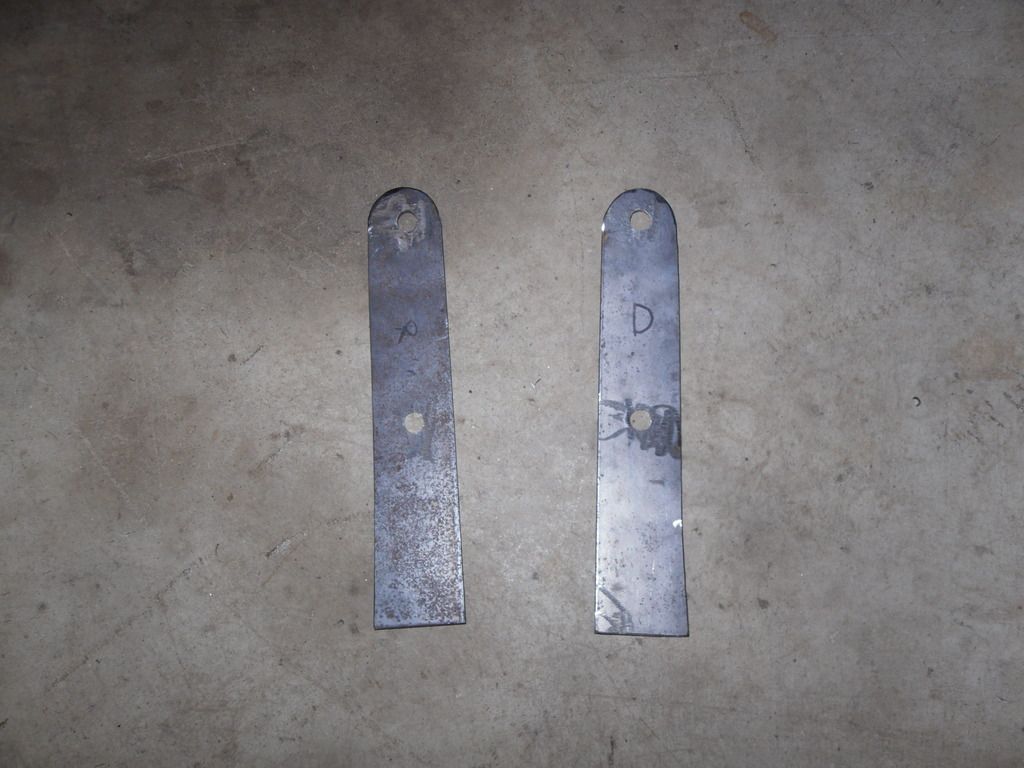
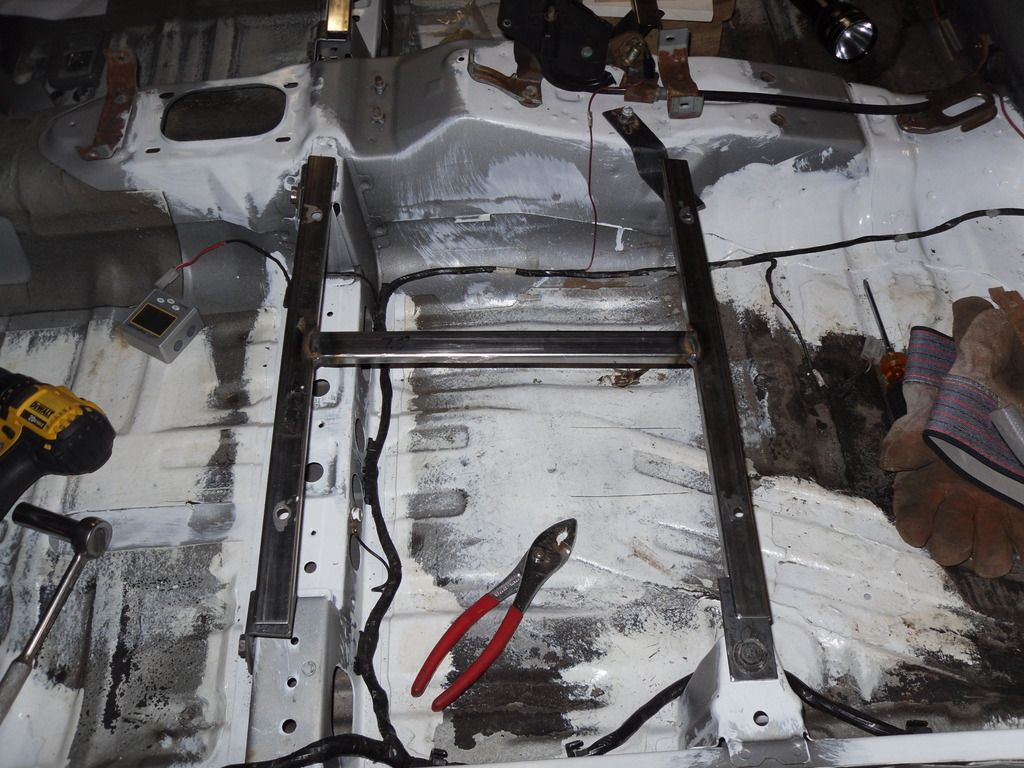
            Made up brackets to mount to original seat belt mounts


            Leveled the bar in the car before tacking everything together.


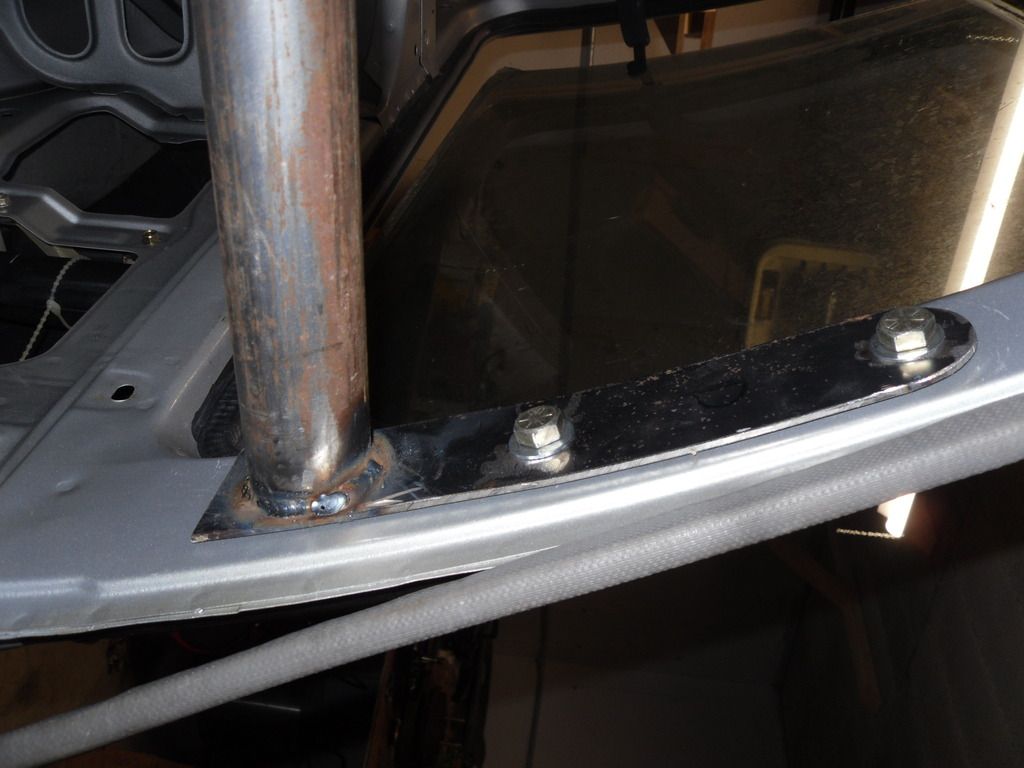
            Fully welded and installed to confirm no wrapping from the heat, just needs paint to be finished.


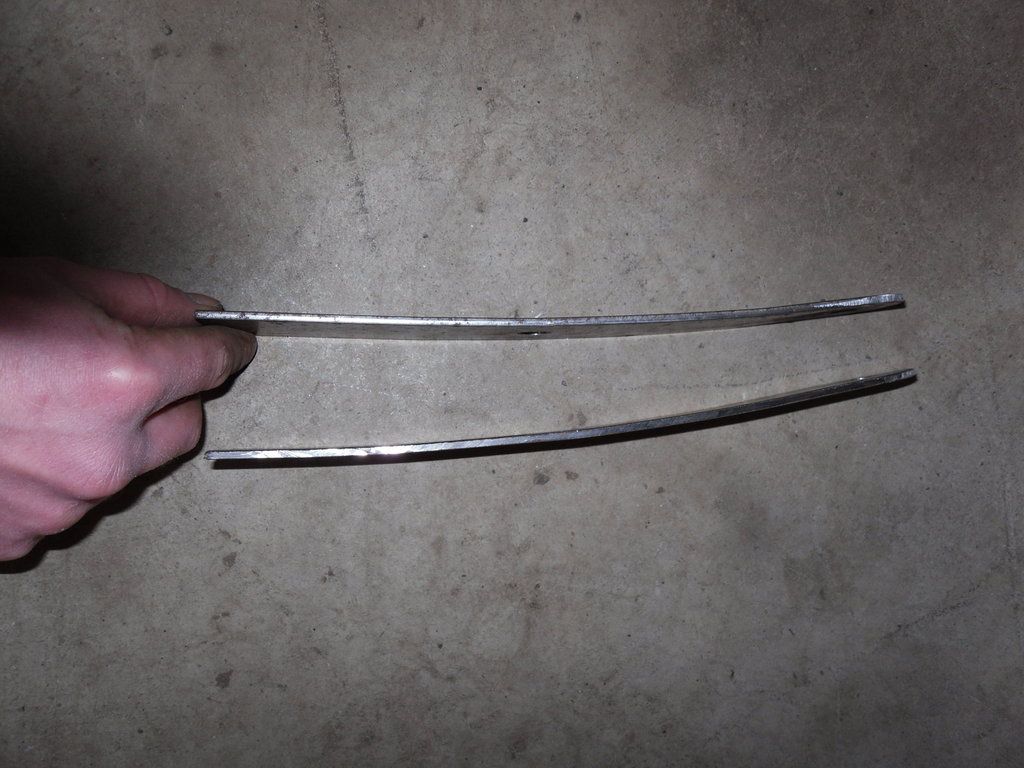
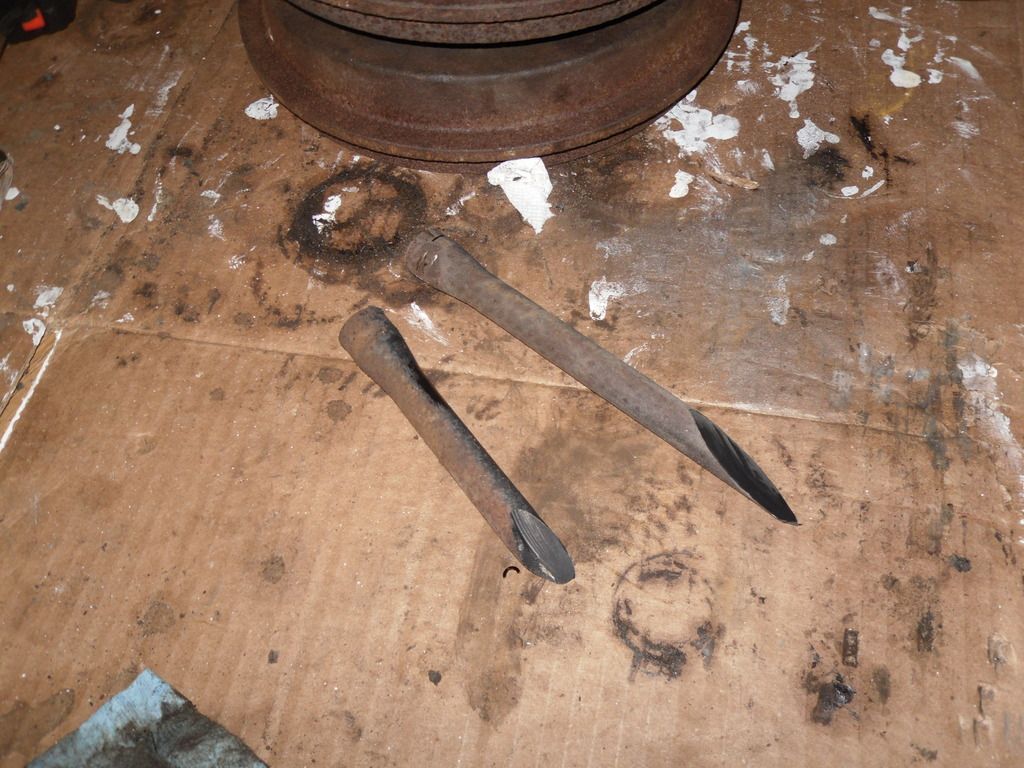
            I also drilled out the rear sway bar since I didn't really like the idea of just cutting it.


            Threw both of these in the scrap bucket after taking the picture.
            Last edited by blake4591; 02-22-2016, 11:49 PM.

            Comment


            • #66
              I have 89 that was an automatic. I switched to manual and installed a BP. I used a 90 front harness. The connectors to the rear are different. Also the dash harnesses connectors as well. If I ever do another 88-89 swap I would consider it a true shell and have a donor efi car for the entire harness, dash and column. Looks like it's coming along good.

              Sent from my SCH-I545 using Tapatalk
              '89L 110k mi. BP/G swapped
              '90LX 68k mi. wrecked 12/14 RIP
              '90 F250 4X4 108K mi.
              '13 Kia Rio 5 LX 70k mi.
              '18 Kia Soul 40k mi. Daily
              '64 Studebaker Gran Turismo Hawk
              '66 International Harvester pickup

              Comment


              • #67
                Originally posted by blake4591 View Post
                Well fourgreen shipped my order last night. It has a 1.3l and 1.1l front sway bar and is supposed to be here on Wednesday. I also think I'll get a lot of time to work on the car this weekend so here's to hoping since I haven't touched it for about a week.
                So I checked the two sway bars and they appear to be the same diameter (within 0.1mm of the same when measured). Doing more research on the bushings also confirmed this. The 1.1 and 1.3 bushings have different part numbers but those part numbers are then listed as interchangeable. So, unless they are made of different materials there is no easy option for less front sway bar. I'm going to try both once the car is running and see if there is a difference but I don't think there will be.
                Last edited by blake4591; 02-26-2016, 09:21 AM.

                Comment


                • #68
                  Wow it's been over a month since I updated this. I'm still working away on the car and crossing things off the todo list.

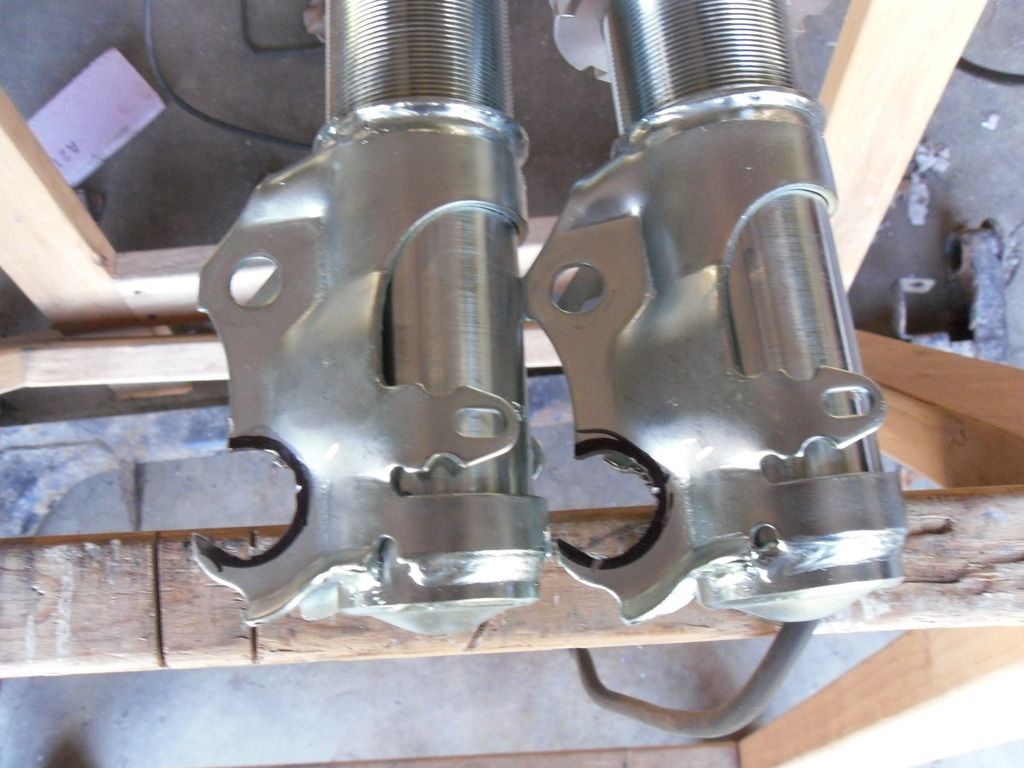
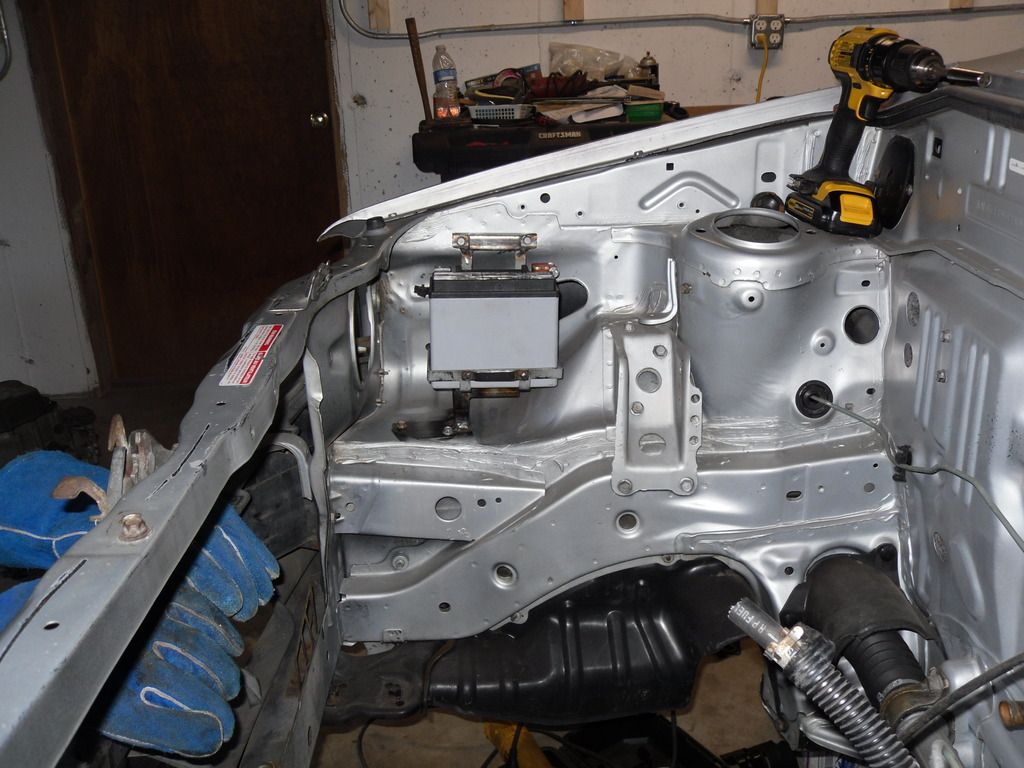
                  I ordered, painted, and installed a new gas tank to replace the original sand and rust filled one. I was sort of disappointed that the aftermarket tanks don't have drains like the original tanks but I hopefully will never need to pull it again. I finished up the seat brackets that will allow mounting a 5 point harness with Corbeau seats. I replaced both window channels and lubricated the locks and window regulators while the doors were apart. The windows roll up and down nice and smooth now and the locks and handles don't stick or bind anymore. I did all the strut mounting hole modifications last weekend and they just need paint for them to be ready to go on the car. I just finished the battery mounting bracket last night and will be working on the engine and transmission mounts this weekend.

                  The engine will be moving forward just under two inches and down approximately a half inch. The drive-train mounts and shifter linkage are the last things that need fabricated before its time to start final assembly.

                  Comment


                  • #69
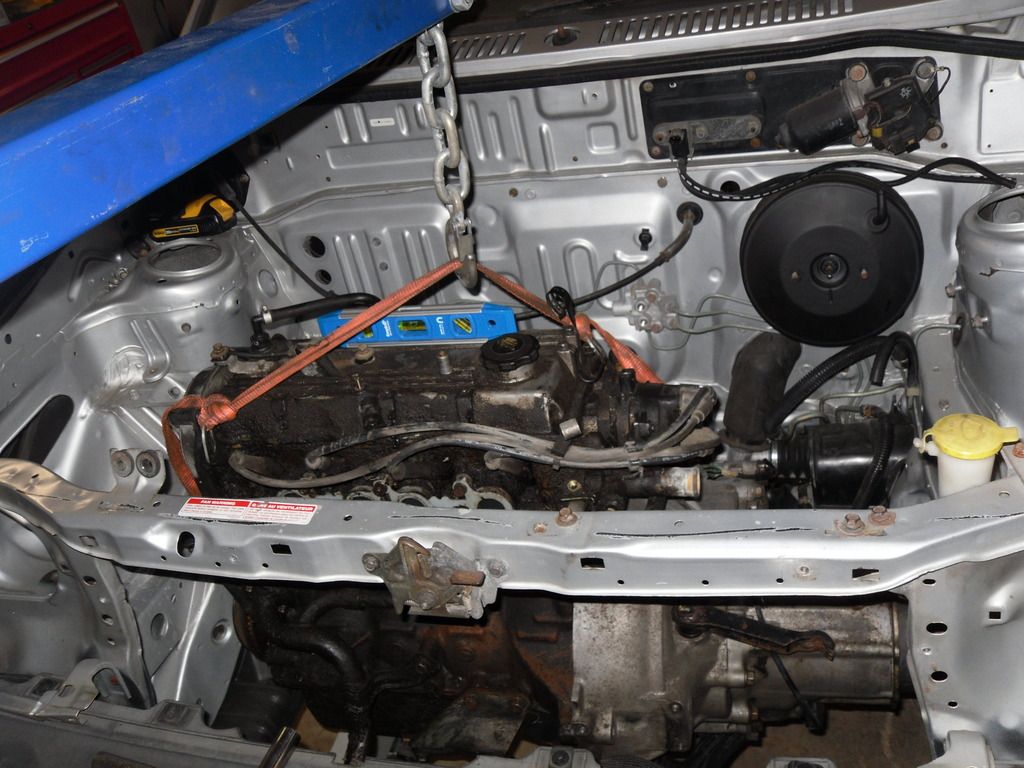
                    I stabbed the engine and trans in last night to start working through the mounts. I made a locating mount on the passenger side to give me a reference for location. It put the fifth gear cover about a 1/4" from the frame so I think I'm about were I need to be side to side. I've also got about a 1/4 to a 1/2 inch between the trans and the steering rack so that should be more than enough. I'm currently level on the valve cover with the transmission sitting on the cross member so I'm going to have to space that down about a half inch to have room to make the mounts. I'll pull the pictures off my camera later today and post them.

                    Comment


                    • #70
                      Is one swaybar solid and the other hollow maybe? Check the weights of them?

                      Also happy birfday Blakers!
                      91GL BP/F3A with boost
                      13.79 @ 100, 2.2 60' on 8 psi and 155R12's

                      Comment


                      • #71
                        Brad, I think they weigh about the same but I haven't actually put them on a scale and thank you.

                        I finally uploaded more pictures to the photo bucket


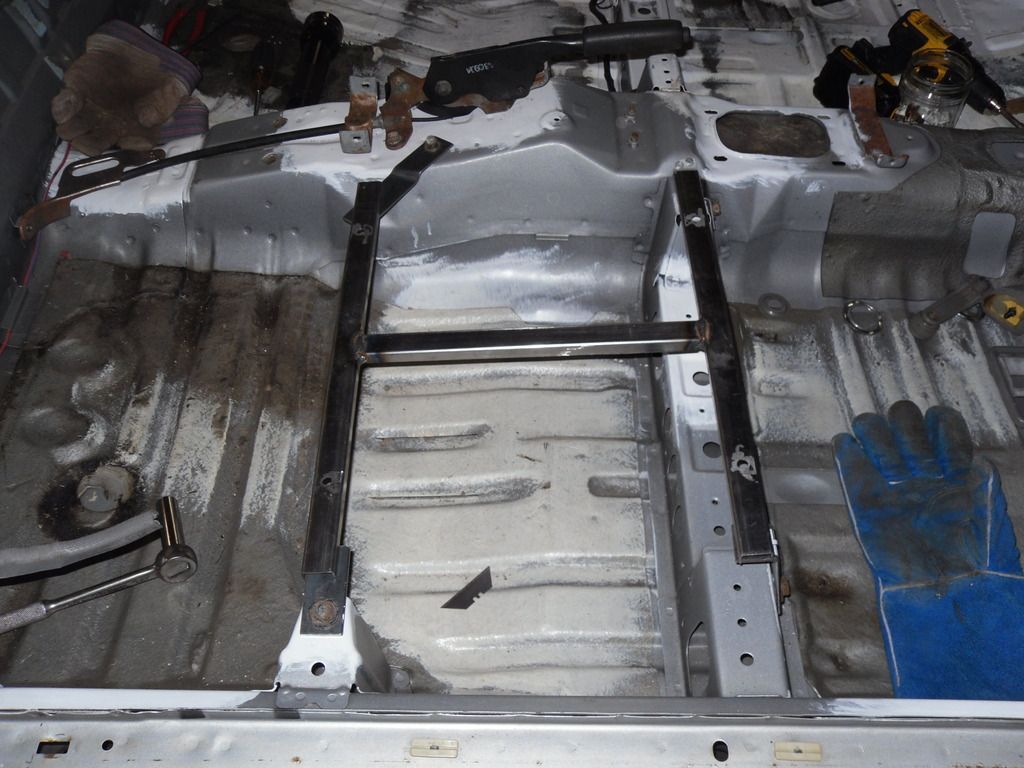
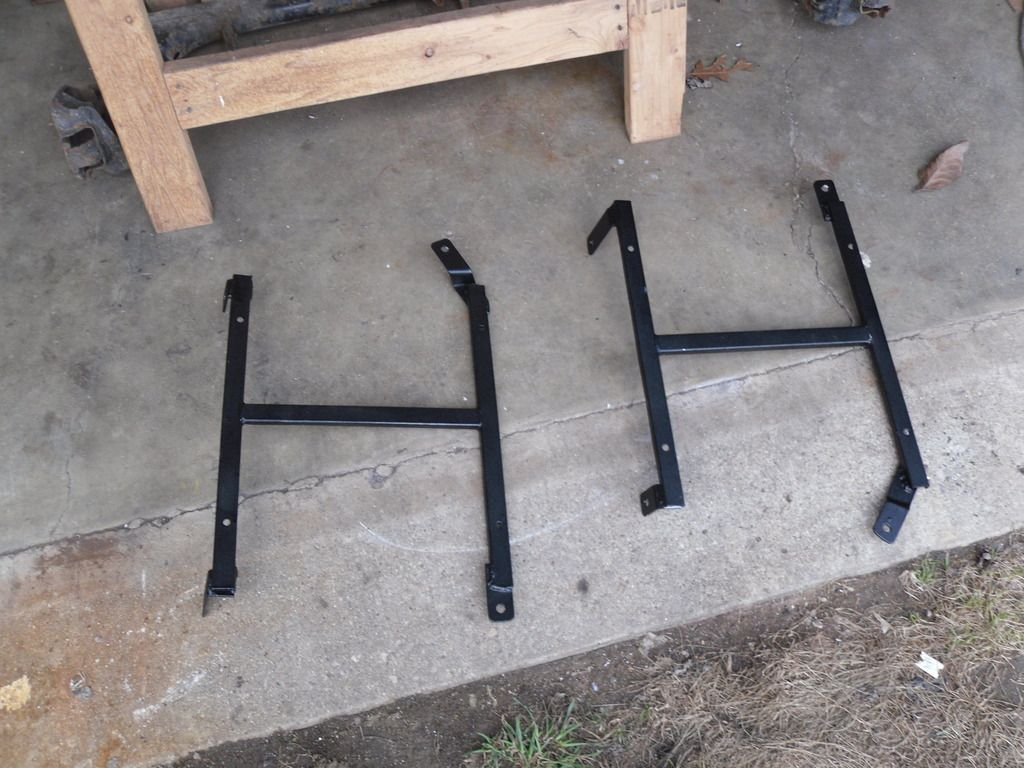
                        Seat mounts driver and passenger finished and painted.

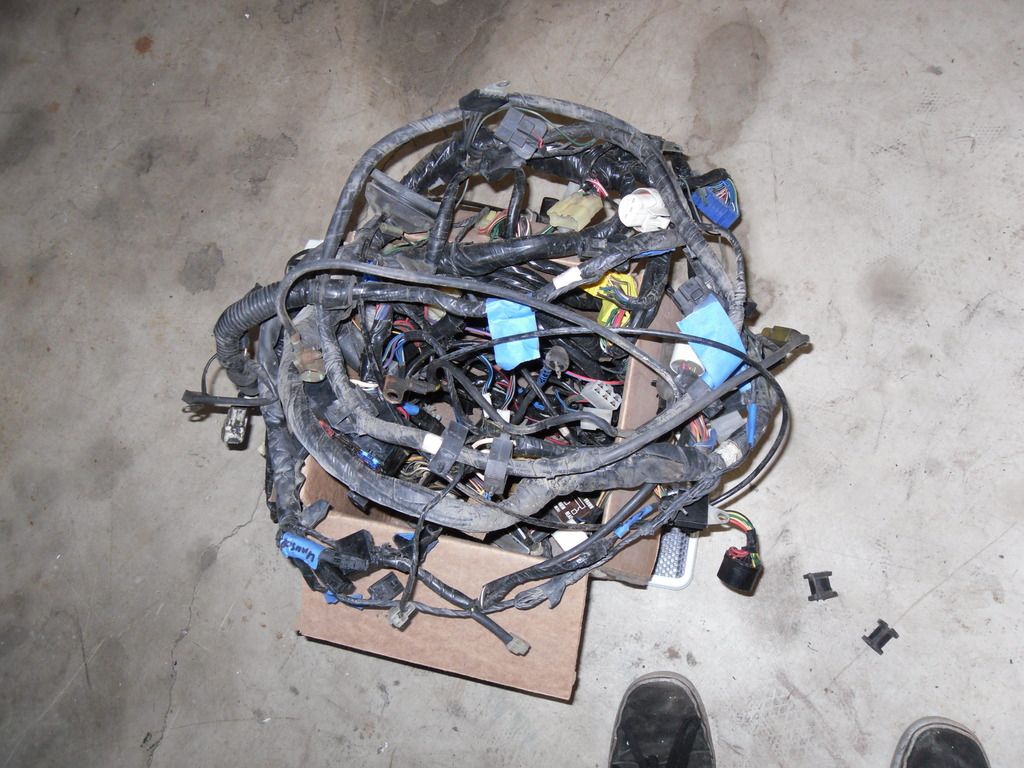
                        Pulled the wiring harness and everything that goes with it


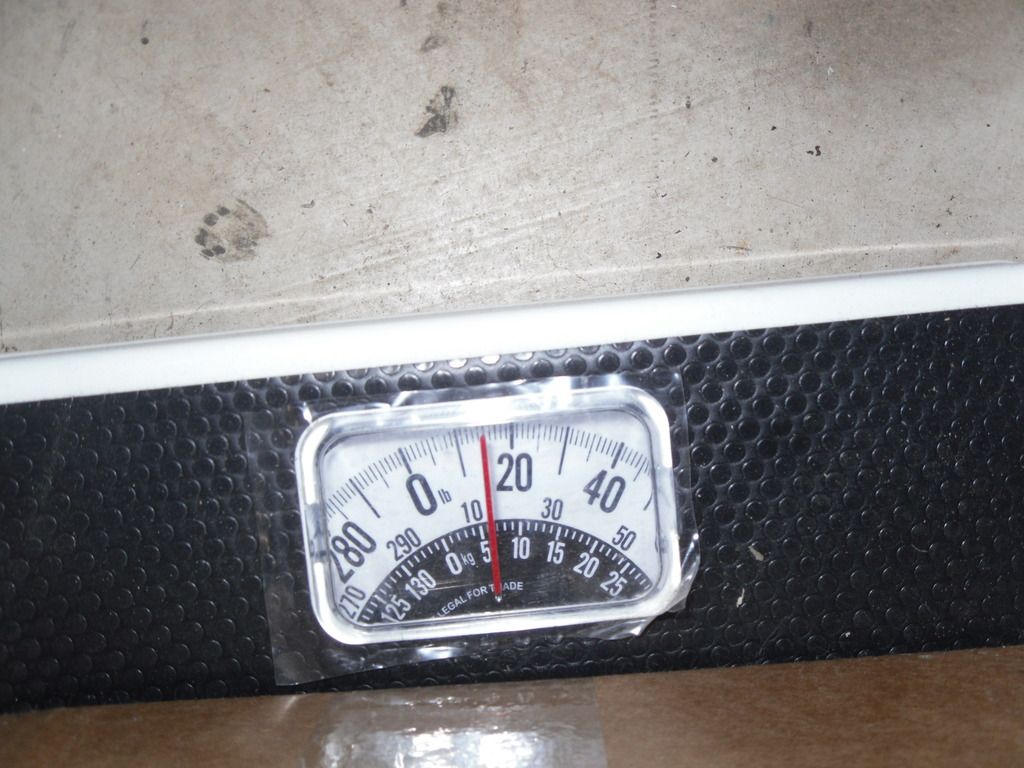
                        Wiring weighs about 15 lbs


                        VW struts cut for new hole location


                        Battery mount to locate it behind the passenger headlight


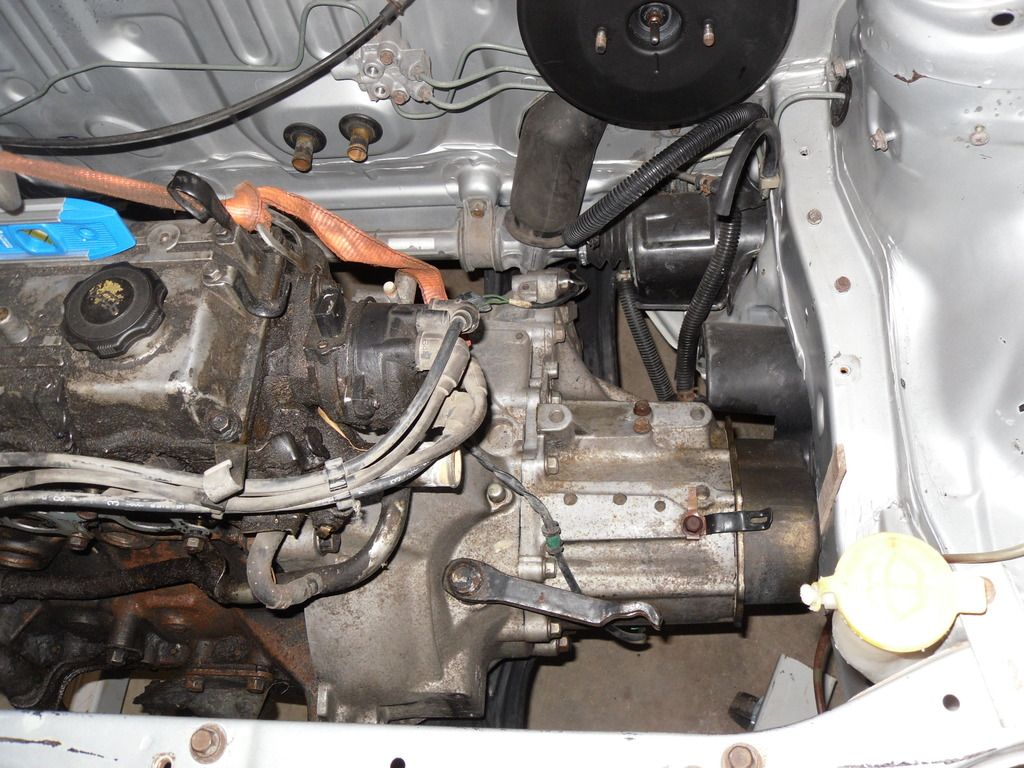
                        Greasy old B3 installed to work out the transmission mounts


                        Comment


                        • #72
                          I finished up the transmission mounts a couple days ago. I started working through the brakes and found out that the Miata master cylinder that came on my booster is not going to work. I picked up a 94-97 NB booster and master, only the 99-00 master cylinders bolt in, the earlier ones require a banjo bolt connection to hook up correctly. I have to look in some of the parts boxes to see if I have the banjo fitting and how difficult it would be to use. Depending on that I might use the EGT master that I have for now. There are possibilities for some comparisons between the two once the car is working.

                          I have also got some people rounded up to help knock out a bunch on the car this weekend. Hopefully will have most of the rear of the car together and have the actual engine getting close to going in by Monday.

                          Comment


                          • #73
                            I got all the wheel bearings packed and pressed last night so that's one more thing off the todo list.

                            Comment


                            • #74
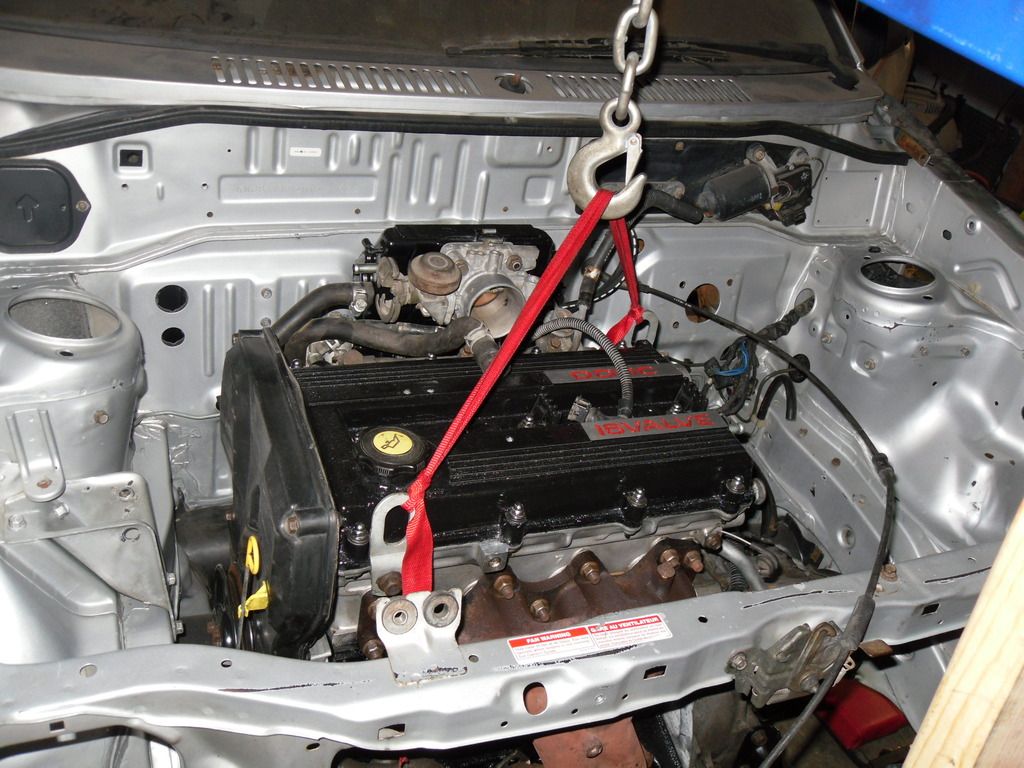
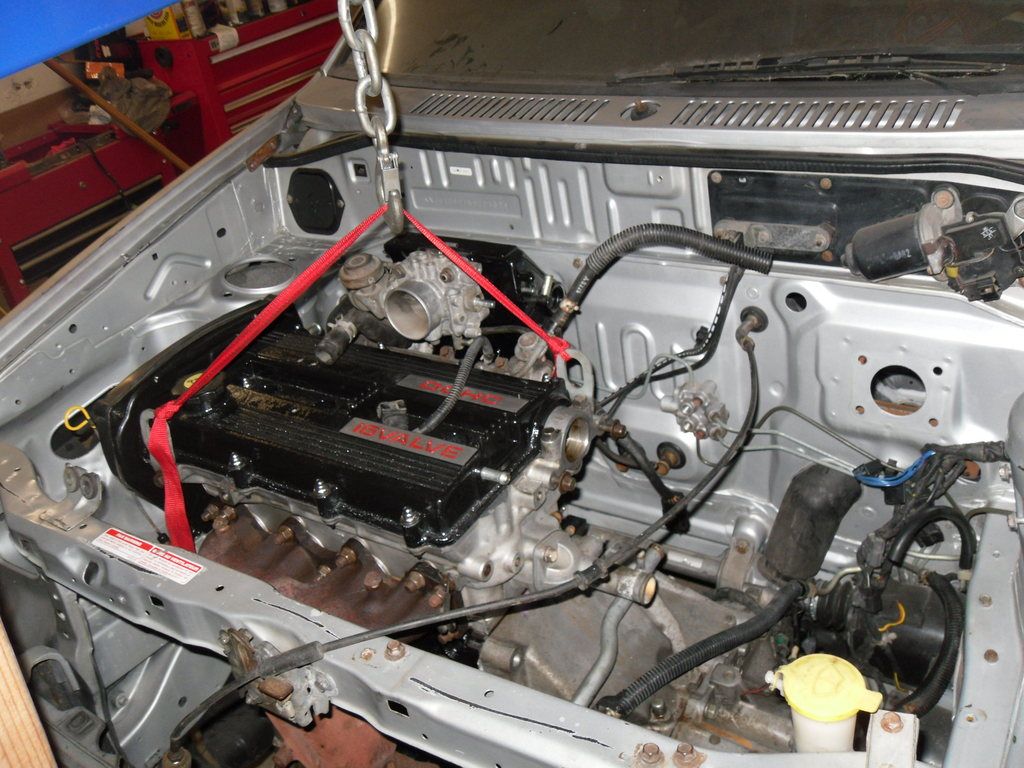
                              So I stabbed the engine in last night. There is still a lot to do but there is now a light at the end of the tunnel. Next big step will be getting the engine started.


                              Last edited by blake4591; 06-02-2016, 01:27 PM.

                              Comment


                              • #75
                                nice

                                Comment

                                Working...
                                X