Announcement
Collapse
No announcement yet.
Just another build thread
Collapse
X
-
I'm super stoked. The battery tray is almost finished. I just need to drill the mounting holes when I get home. I'm also going to be ordering the battery, sae terminal kit and strap tonight. The electrical side of this job is almost done. Well...minus the gauges I'll be adding later.
-
Slowly but surelyOriginally posted by Advancedynamix View PostIt's so close!
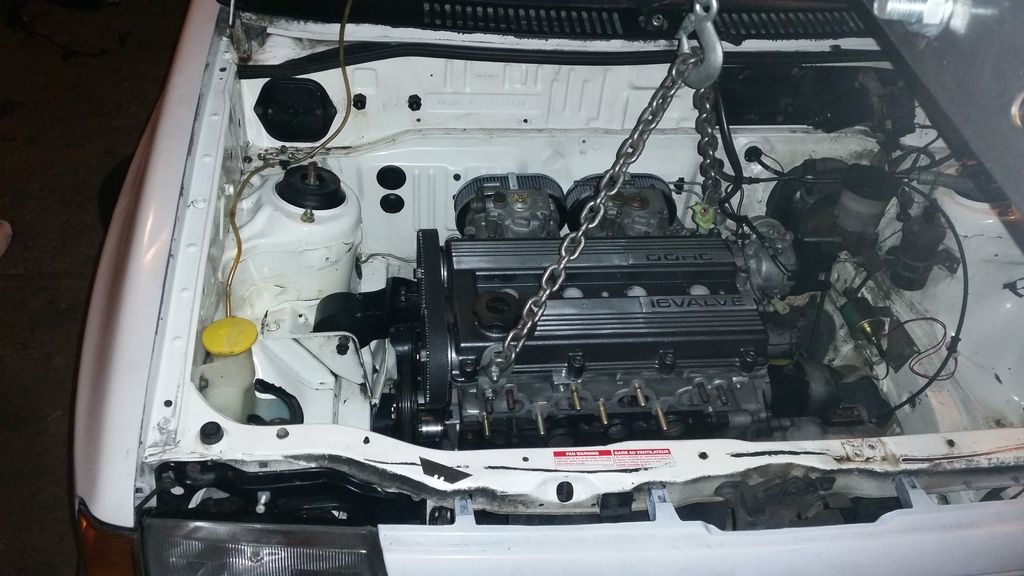
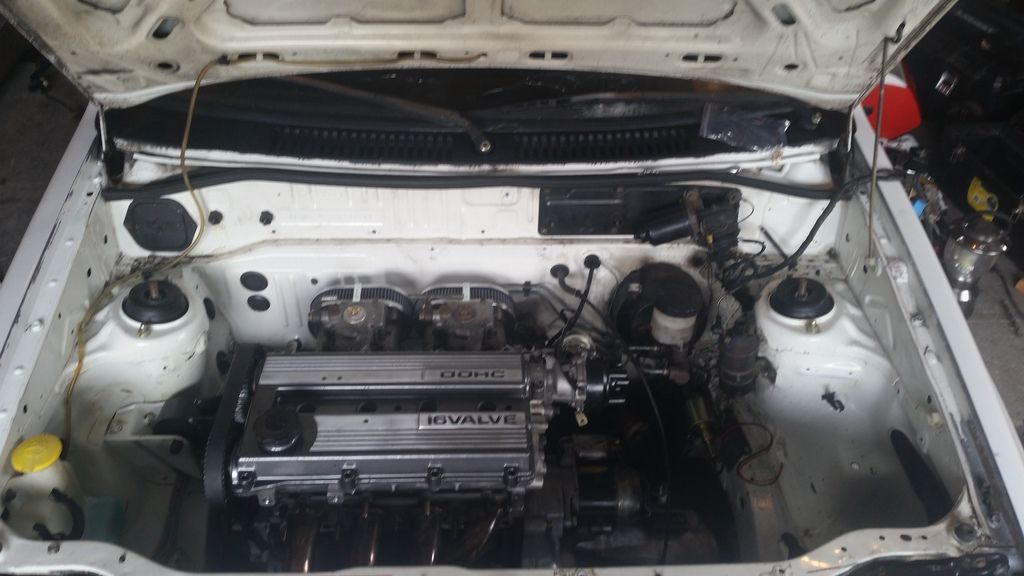
I'm super excited. I can't wait.Originally posted by wwwdotgov View PostThe engine looks so good in the bay. And looks like pretty good carb clearance too. Should be a blast to drive!
Right now The car is waiting for very few things. I'm waiting for my job to finish installing their sandblaster so I can blast and rebuild the carbs, I still need to run all of the vacuum lines for the brake booster and distributor, I need to finish my coolant lines for the heater core and radiator and I need to do the exhaust. I'm also working on the battery tray right now. I've decided on an odyssey pc545. It's a good fit and it has standard terminals.
Leave a comment:
-
The engine looks so good in the bay. And looks like pretty good carb clearance too. Should be a blast to drive!
Leave a comment:
-
-
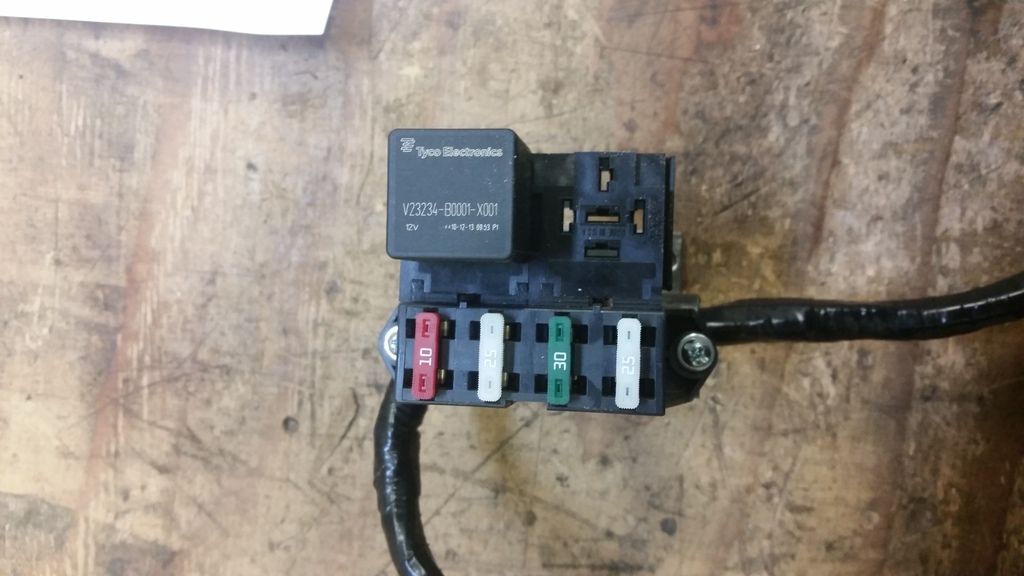
I've been making some awesome progress. I got the fuel system complete and now I'm working on the electrical. From the looks of it, I can eliminate 75% of the wiring so I'm going to tuck it all in the fender for now. I made up my mounting bracket for the fuse/relay block today and I'll be installing that pretty soon. Other than that all she needs to run is cooling line plumbing for the radiator and heater, carb rebuild, electrical and some vacuum lines.
The next local event is April 23rd and I'm really hoping to run that event. Especially since the next event after that is the 30th.
Leave a comment:
-
Yes I was but you have to be careful to match both sides equally. I'm going to be cutting mine deeper soon.
Leave a comment:
-
Were you able to get sufficient camber doing it this way?Originally posted by dliverance View PostI brought the front parts in to work today so I could mod them on the mill. I ended up taking charlies advice and bringing up the bottom hole instead of reworking the top hole. It took about 5 minutes each to open them up. With this I should be able to adjust camber with the original hole and I didn't chew up the mount that much. If I ever need more camber I'll just slot the top more.
Also I chose the emusa coilovers because the flange is flat. Makes it easier to work on.


Leave a comment:
-
Yep sure did I posted in my map thread but I should have pmed you. Thanks man I appreciate it!
Right but rather then the set screw just pull that cap take a file grinder belt sander what ever you got and take a bit off the cap where it meets the head this will make it apply pressure to the disty holding it in place .Last edited by william; 03-13-2017, 08:11 PM.
Leave a comment:
-
I'm not exactly sure what you mean in your post but from what I gather, I won't have enough adjustment. I'm just going to tap for a set screw in the cap that holds the dizzy down. I think that way I can turn it all I want and be able to lock it down.
Leave a comment:
-
It's because you won't get enough adjustment with that bolt in there so the cap that is right about the disty with 2 bolts in it " it's the top half of the hole the disty goes in"
You shave a bit off this and then it will act as a clamp when you tighten it down
Leave a comment:
-
Also, I was able to bolt the b3 distributor to the head with no issues. It's not in time yet but I'm not seeing what you guys meant by I'd need to shave something to make it work.
Leave a comment:


Leave a comment: