 Tweet
Tweet
Ryan, Negative camber in the rear drastically helps with rear traction in corners. Also, less toe will help a lot too.
-
Driving for me is neither a right nor a privilege. Driving is my passion, as it was for the people who invented the automobile, the people who paved the first roads and the people who continue to improve the automobile. Please respect this passion. -
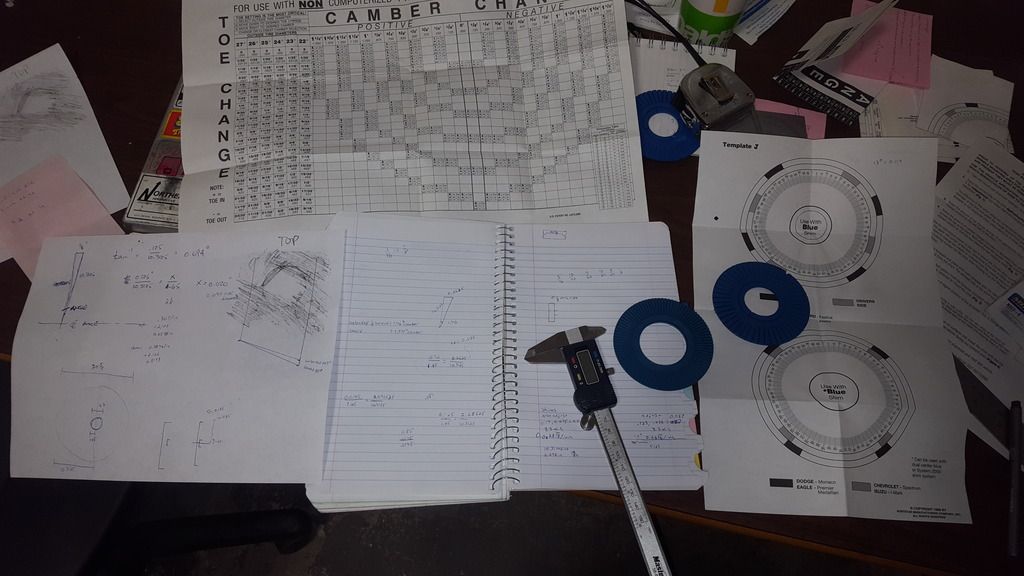
Thanks. Working now on getting my questions togeather to post on here. Hoping for -2deg camber in the rear and 1/32 toe in at rest, 3/32 loaded.Originally posted by Advancedynamix View Post
I only bought 4 shims and i aim to get it right in one shot. I suck at math though. Takes me hours, lol.
Sent from my SM-G920W8 using TapatalkComment
-
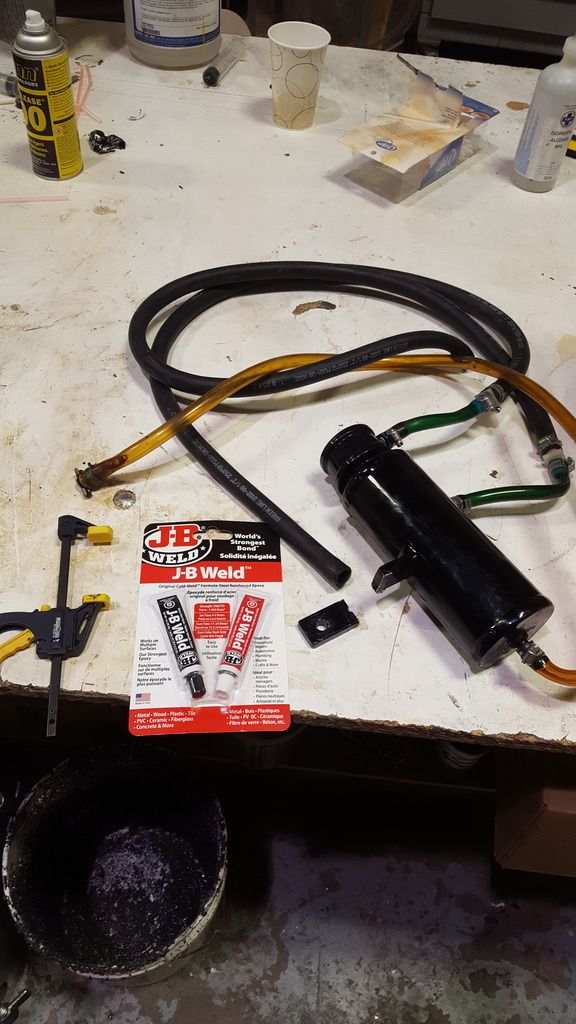
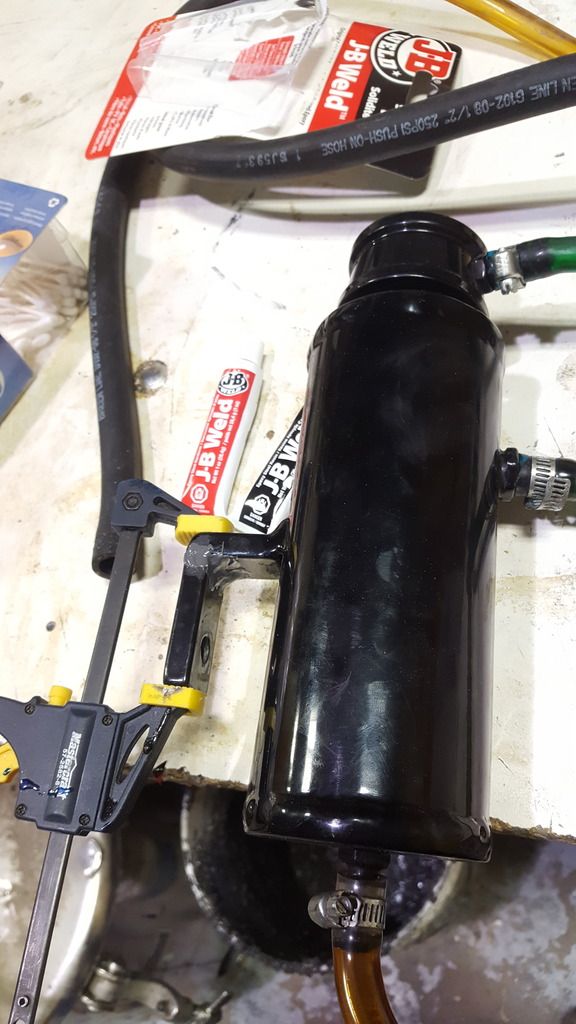
So after that I painted some more of my interior panels and fixed my catch can. PL premium didnt work the first time, I ended up using J-B weld. I have never used a TIG welder and didnt feel like hooking up the aluminum spool gun to the MIG and messing up the paint.
I carefully and slowly worked my transmission crossmember bolts loose, wire brushed them clean and coated them in anti-sieze before reinstalling.
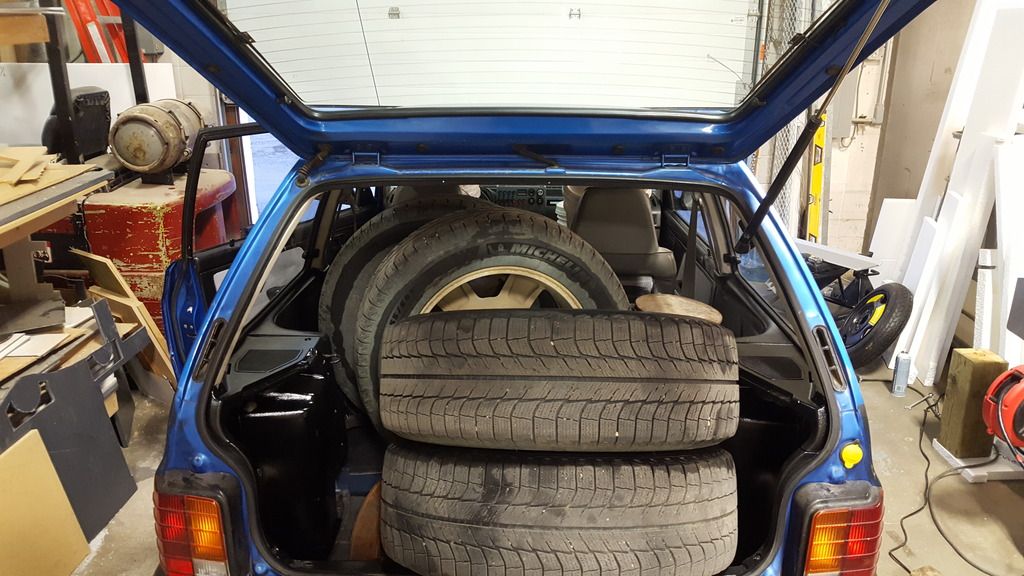
I traded some worn out tires for 2 13in tires from festyfreak39 which was awesome. Their fairly tall but they will be my summer tires so I dont wear the achilles before our trip.
My angle cube for measuring camber was way out and I re-calibrated it and checked my alignment again. Now I have more grinding to do to get my camber even on each side.... :/
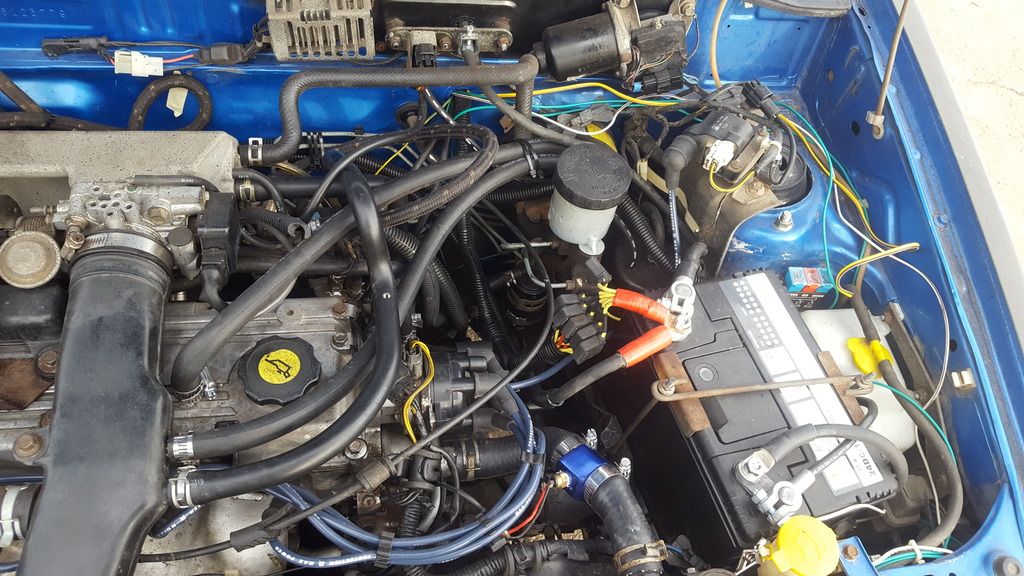
Friday march 31 I finally installed my catch can!
I got my manual rad fan switch wired so it works in parallel with the oem switch on the thermostat housing. I test drove it 25km. Some road noise from both front windows since they dont seal, brakes take a lot of effort to press but stop decent. Still had passenger rear bearing noise and squeaky rear suspension. That saterday the shop was busy so I couldn't be there working on my car which sucked, I did the stuff friday outside in the snow.
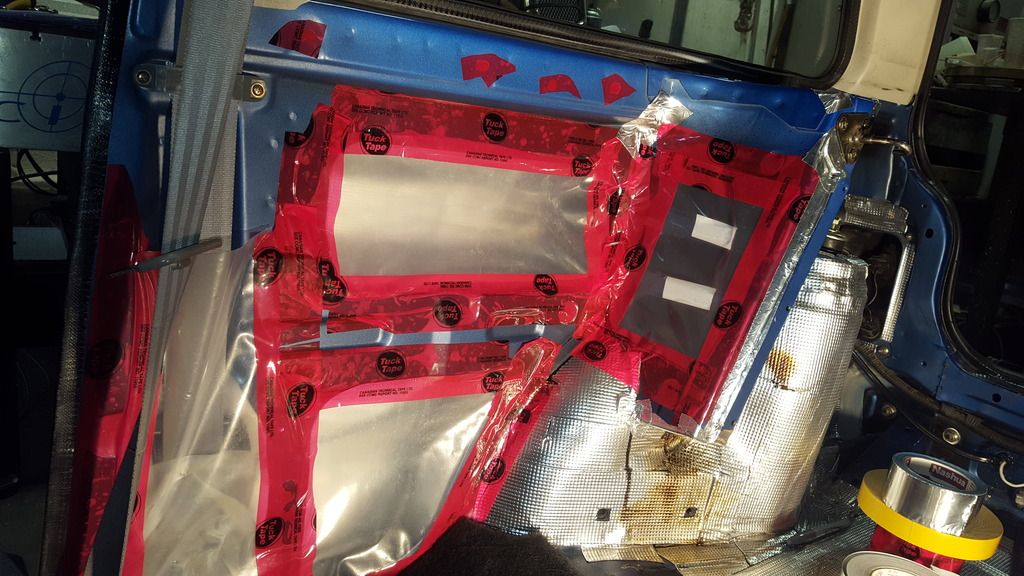
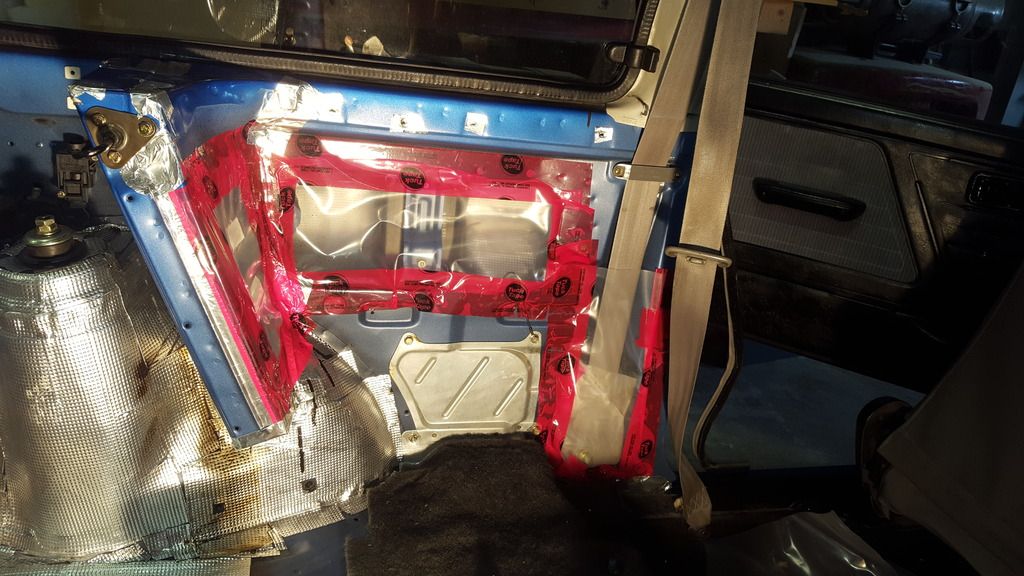
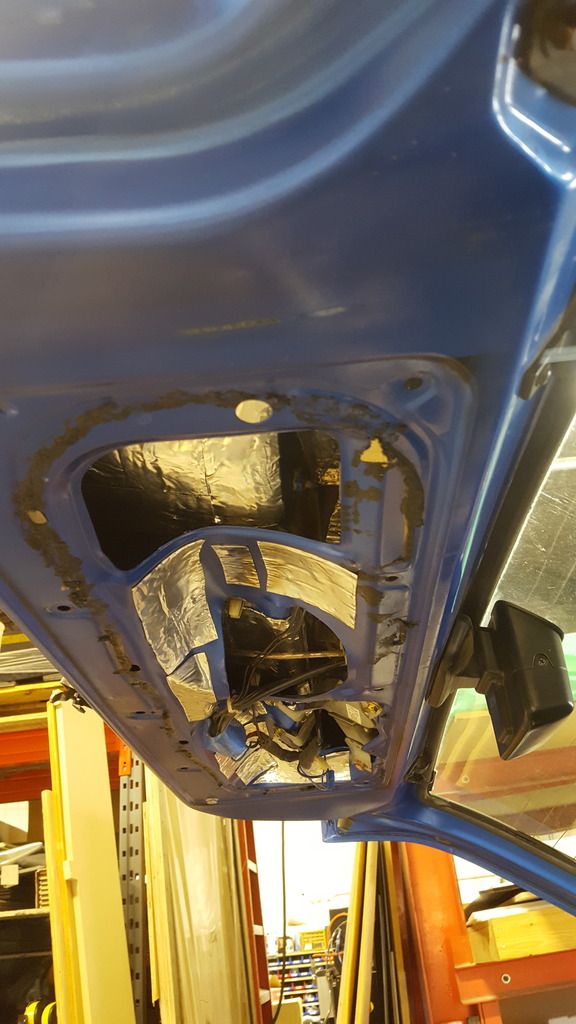
The next week I Lubed the rear bump stop which didnt help and installed the last of my sound deadner. I replaced the outer rear wheel bearing on the passenger side which fixed my bearing noise. I Plasticed up the interior for the rear panels to go on.
I Sanded, ground and wire brushed rust off my sway bar brackets, soda blasted them and painted them with tremclad. one turned out good, the other not so great.
Saterday april 8 I Installed my tpms and Cut the clock bezel to fit the wires.
I installed my painted sway bar brackets, Wire brushed the cap and rotor. Found old tow hook bolts, cleaned them up and installed them. (Towhooks were missing when i bought it).
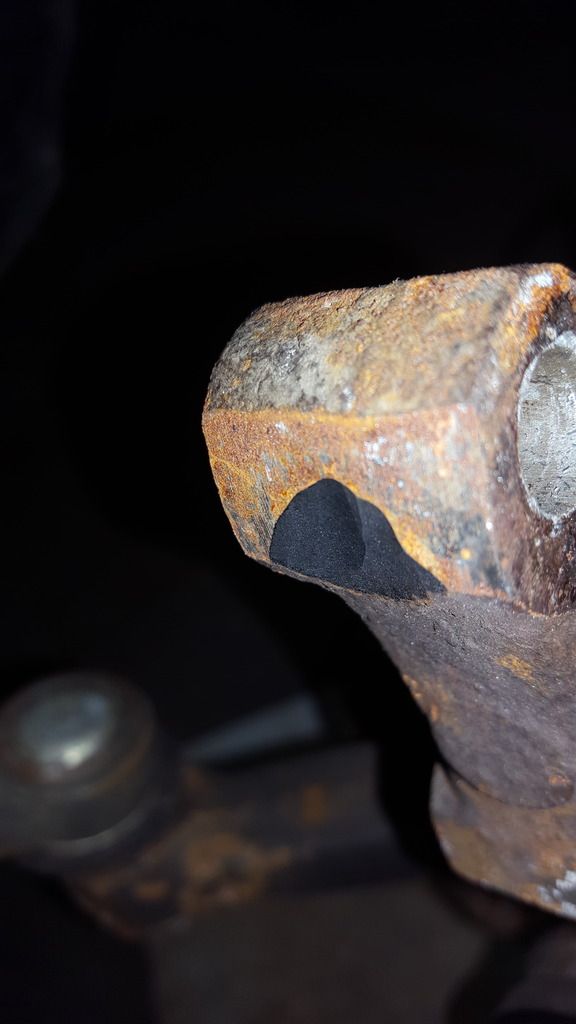
One of the 10mm bolts supporting the corner of the rear bumper to the frame rail had snapped off because I didnt heat it when removing so I drilled it out, tapped the hole and installed a new bolt.
I sanded my passenger rear bump stop smaller and sprayed it with silicon lubricant which solved my squeaking issue.
The following week I picked up some more sound deadner and washers the right thickness for shimming my oil pump. But that week and weekend I was super busy at work. 22hrs of overtime even with being in the hospital till after noon the saterday. The week after that I was still pretty sick and didnt get much done.
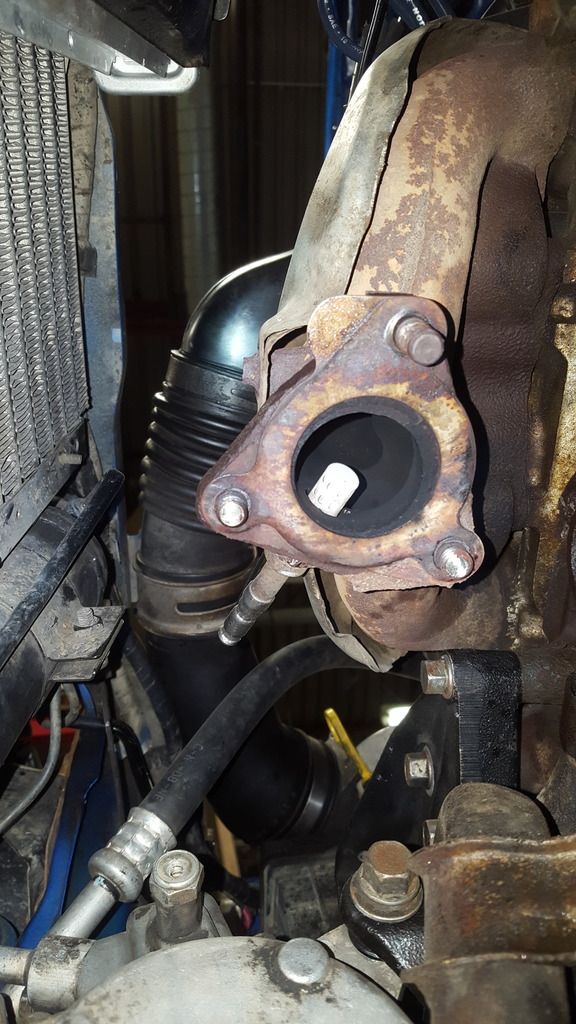
friday april 21 I Tried to get my exhaust manifold to pipe joint off and broke a bolt. I sprayed the other 2 with penetrating oil and went home.
saterday I Broke one more bolt off and got the other nut off.
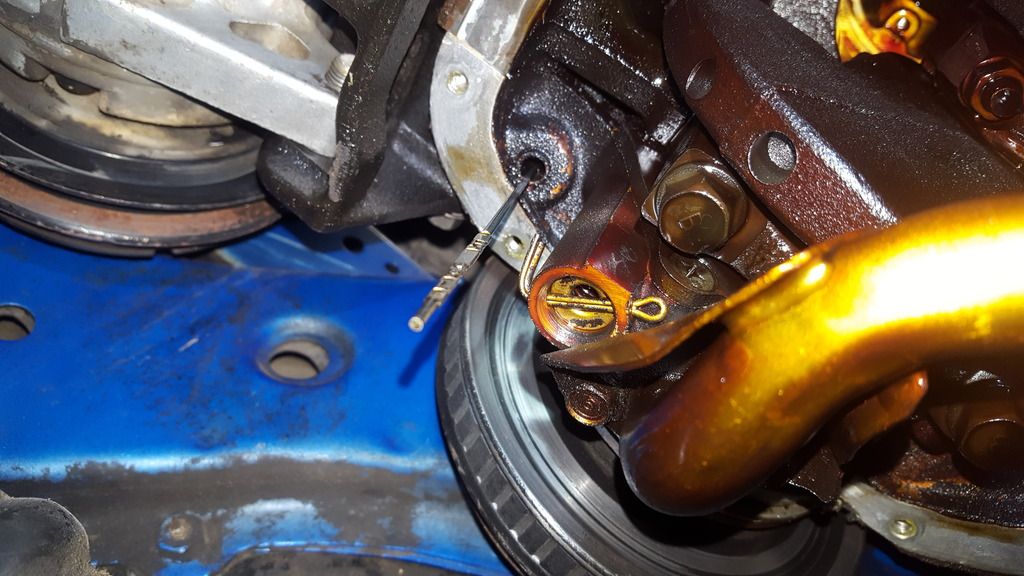
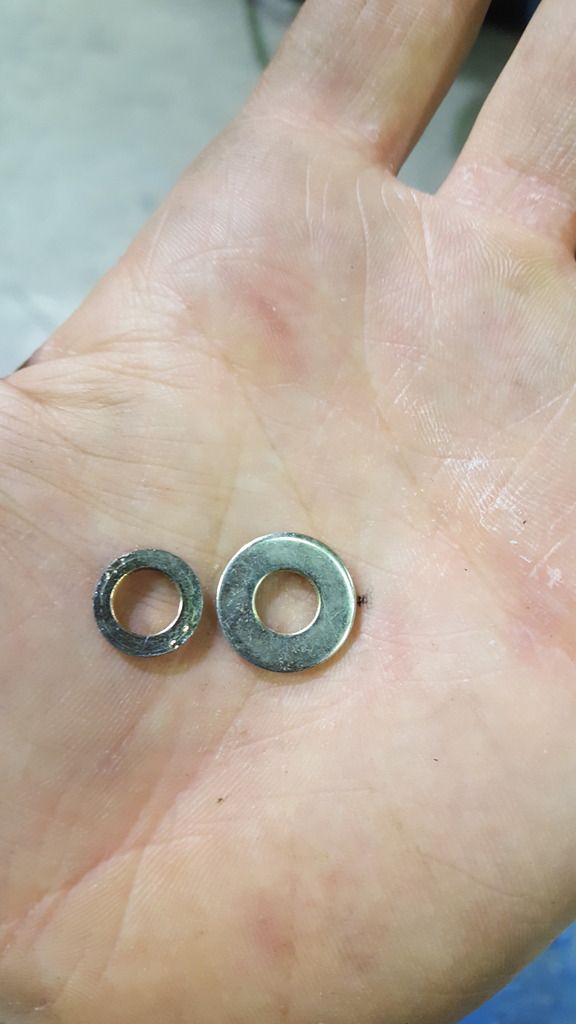
Got my Oil pan off, Shimmed oil pump with grade 8 washer ground down to the correct size. I didnt grind it very even unfortunatly but it works. I cleaned bore well, lots of varnish on the walls of it. If I had taken my pickup tube gasket from home I could have taken that off and taken the plunger right out, but oh well. Hopefully that solves the uneven oil pressure I had.
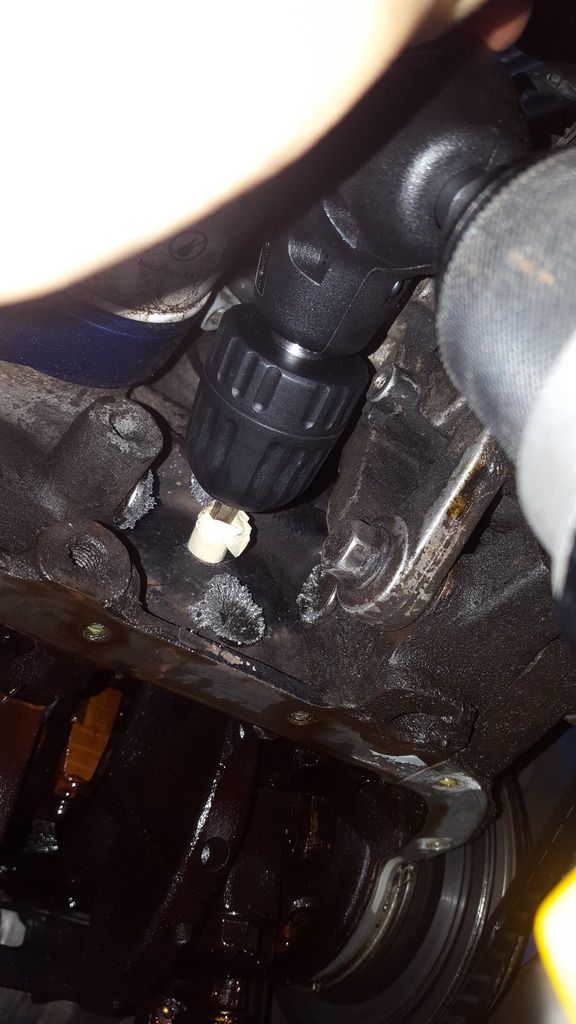
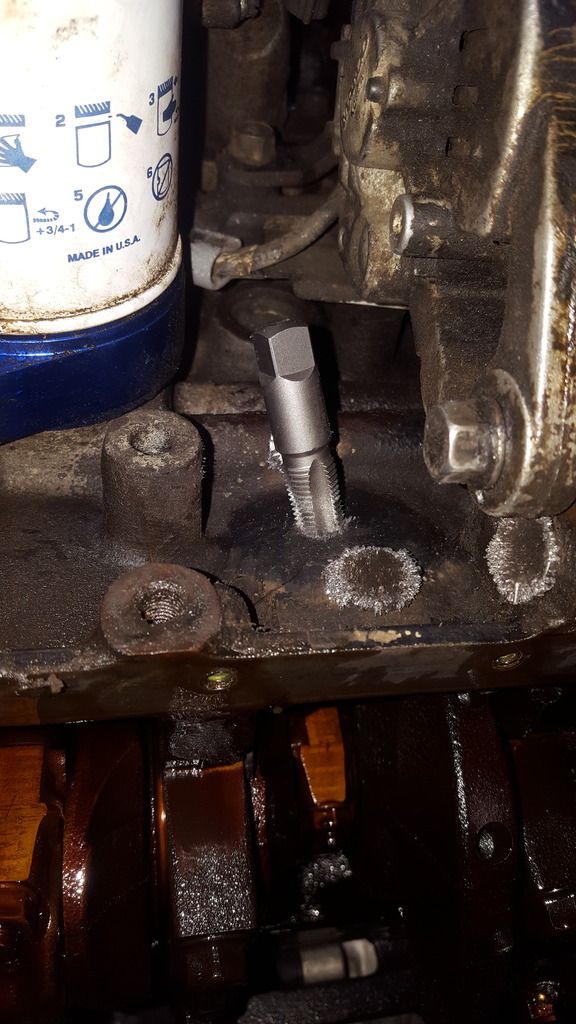
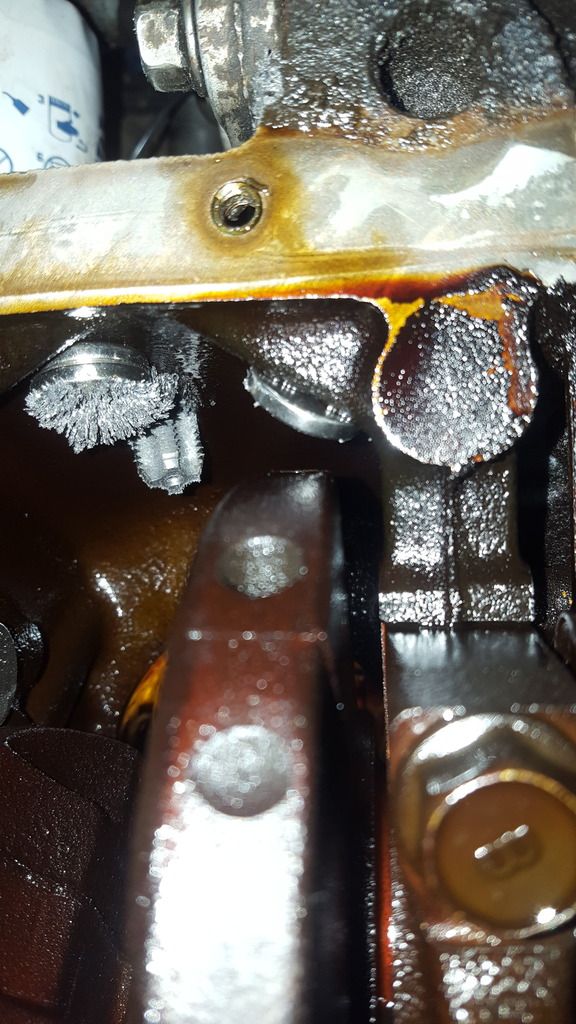
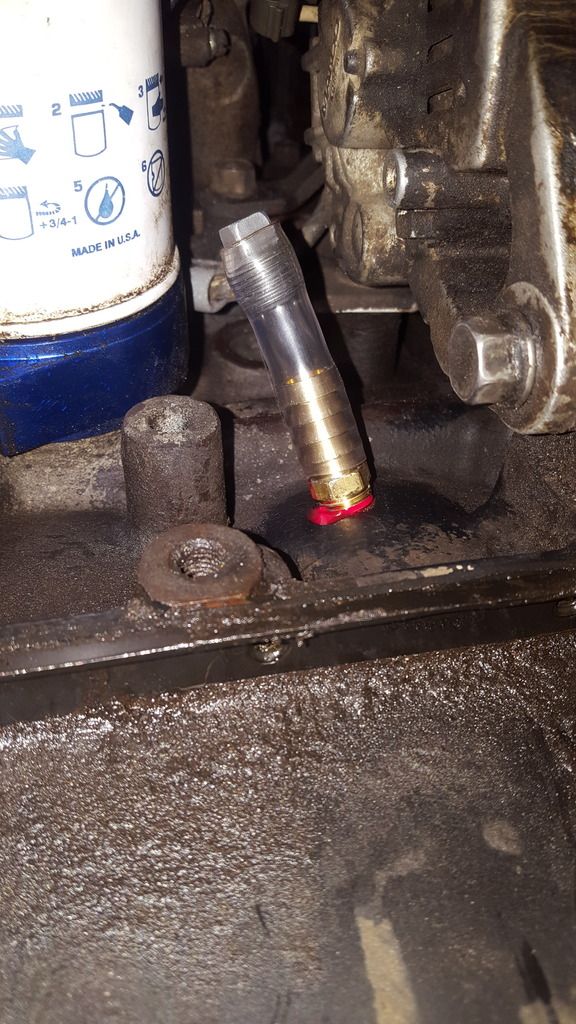
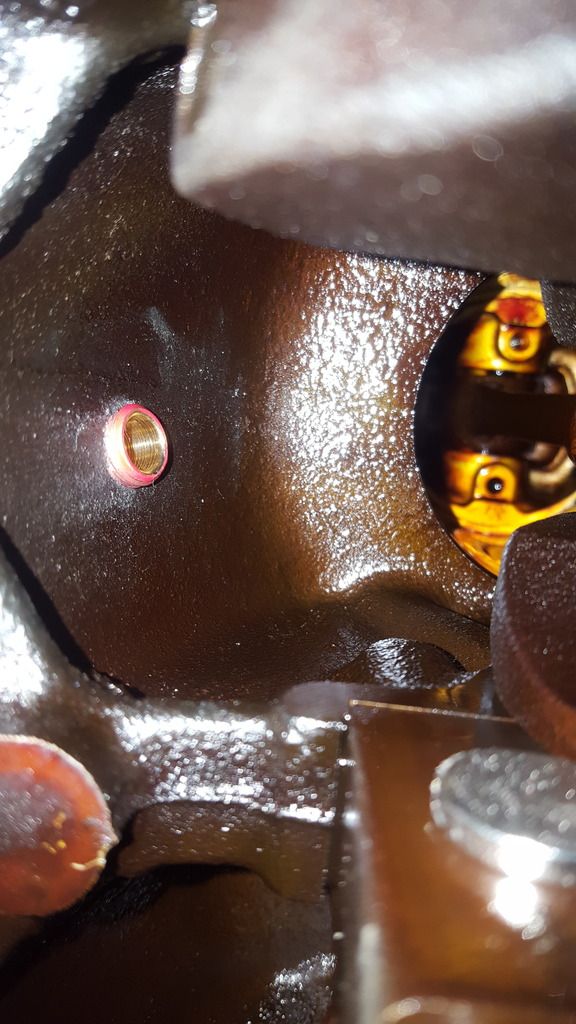
Then I Did my block vent. Bought a right angle drill attachment, found my step drill bits. Used a 1/4 pipe thread by 1/2in hose barb. Used magnets to catch the filings. tapped it out, used red loctite. blocked it off for now untill I figure out how to run it. I want to keep the PCV system for now until our trip, then convert it to atmospheric venting most likely. Undecided yet. I need to do more reading on how to do it.
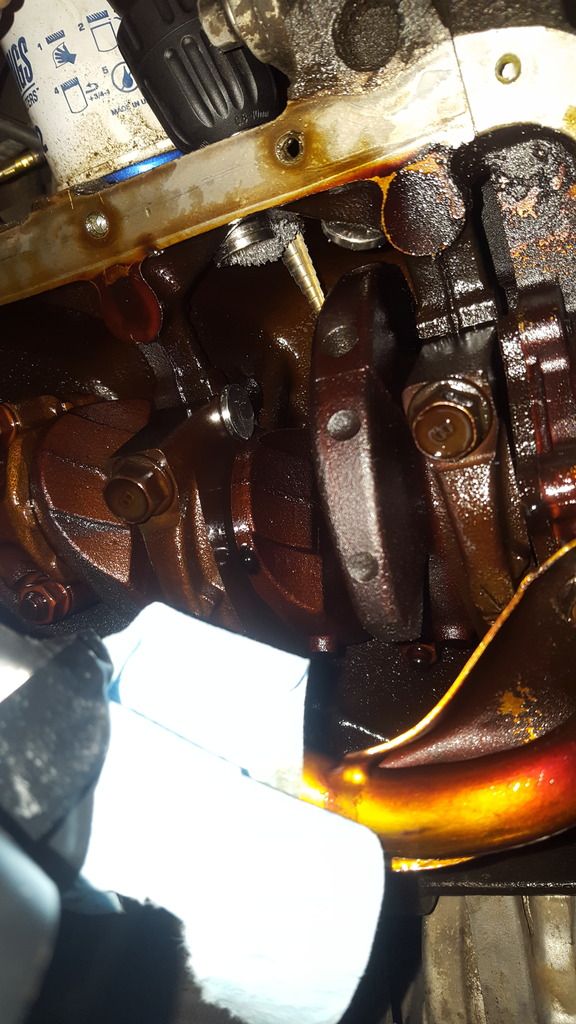
Oil pan cleaned. Lots of buildup, baked on varnish.... what do you guys think, what caused this and how to clean it?
I used a lot of varsol, isopropyl alcohol and a razor blade on the pan but all that rust looking stuff is varnish still...
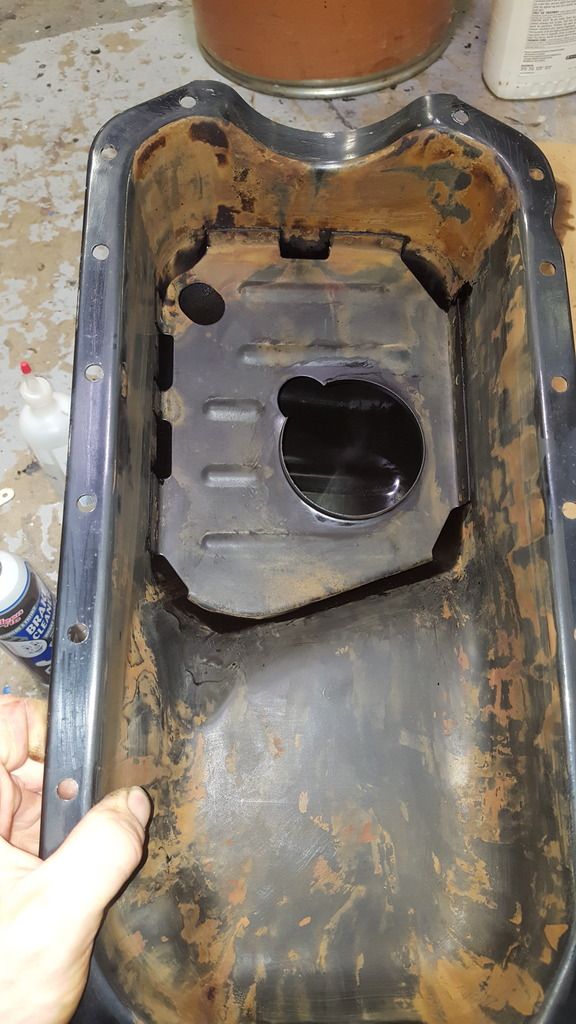
Oil pan back on with felpro gasket and rtv on full top surface because I just couldnt get it on dry.
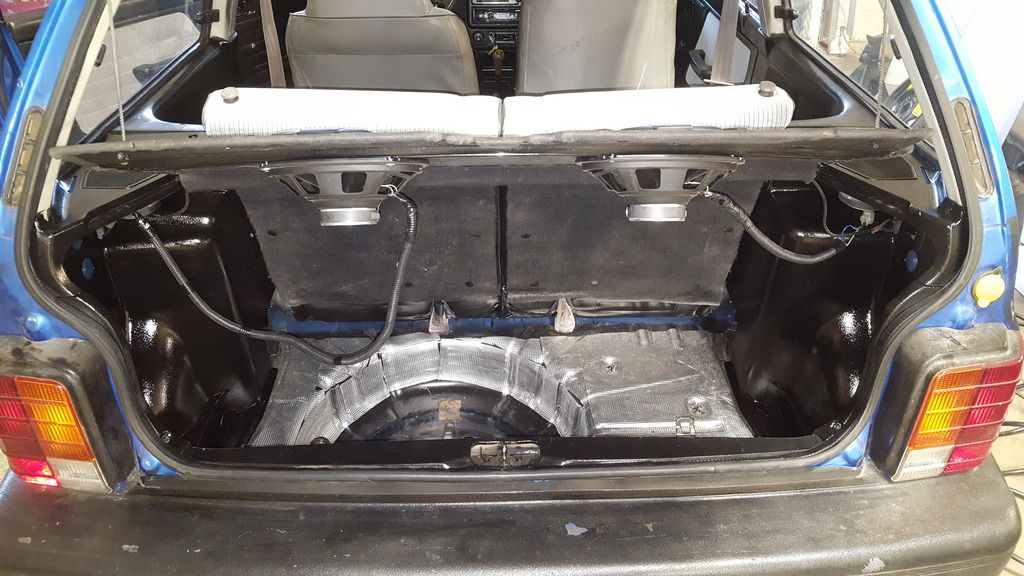
Then I did Sound deadner in the rear hatch. waxoiled the hatch. Need to buy some more sound deadner.
Sent from my SM-G920W8 using TapatalkComment
-
This is going to be one of the Quietest Festivas around..."The White Turd" 1993 Festiva 144k miles. (Winner of FOTM November 2016)
sigpic
"The Rusty Banana" 1990 Yellow 5 Speed Mud Festiva (Lifted with 27" BKT Tractor Tires)(Winner of "Best Beater Award" - Madness 12 - 2018)

"Papa Smurf" 1992 Blue 5 Speed Shell
"Cracker?" (name pending) 1992 White Auto Shell (Future BP Swap)
"Green Car..." Scrap Car that Runs?!?
"Red Car..." Complete Scrap Car
"El Flama Blanca" 1993 Festiva 104k miles. (Lil Brothers Car)
https://drive.google.com/file/d/0BzM...ew?usp=sharingComment
-
Ryan, next time you want to melt varnished oil like that, use Castrol superclean or ZEP Industrial degreaser (purple color liquid, not the yellowish stuff). Don't use it on aluminum, as it'll eat aluminum.
You can run the block vent to your can and vent your can into the inlet pipe going to the throttle body. This way you won't smell engine at every stop light.Driving for me is neither a right nor a privilege. Driving is my passion, as it was for the people who invented the automobile, the people who paved the first roads and the people who continue to improve the automobile. Please respect this passion.Comment
-
I sure hope so! Want to be able to hear the kids yell at eachother for 3 months more clearly ya knowOriginally posted by firebush357 View Post
But in reality with the engine always being close to wot or in 4th gear and sound bouncing off the trailer back at the hatch im just hoping its as quiet as a regular festiva, lol.
Oh, good to know, thanks. A quick google search shows those products are sold locally and their active ingredient is lye which we have in the shop here.... oh well, next time.Originally posted by Advancedynamix View Post
Thats the basic idea for now, i guess i should have stated my concerns. One being if the catch can will filter it well enough and how fast it will fill up.
Second being the pcv valve. I had thought i could just buy an inline valve for 3/8hose. Turns out not really. So i have to find some hose that fits over the bottom of the oem pcv valve and try to zip tie it somewhere where it will stay verticle as i believe thats important for it to function. I havent examined it or looked that up yet though.
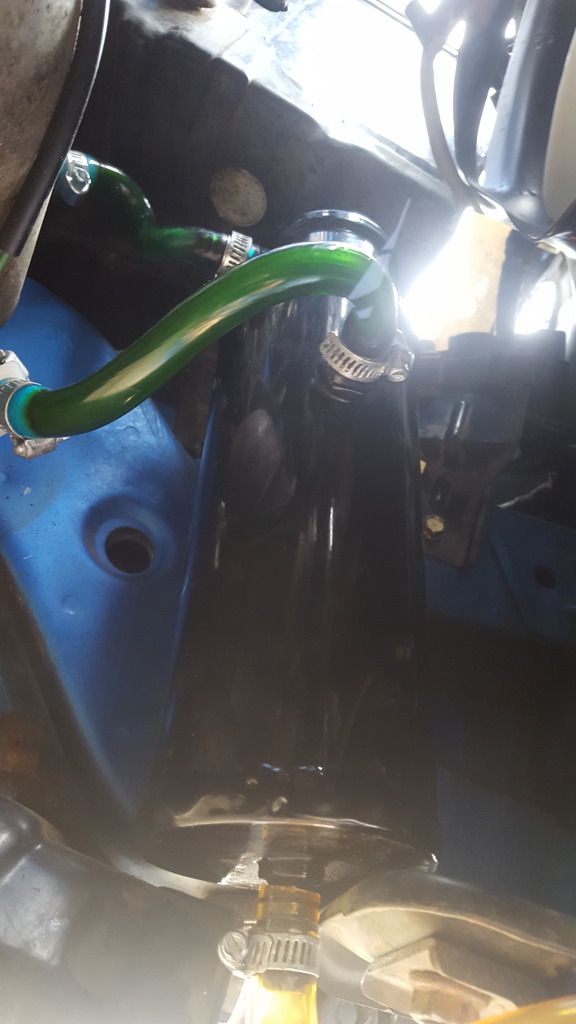
Then with the catch can filling up- i could drain it to the pan but where i have it now it is lower than the bottom of the pan. Thats what i wanted, long hoses and the can being lower than its inlet and outlet points to cool the oil mist as much as possible and let it drain back to the catch can if any gets past the can and still cools off. However i hadnt thought of the issues with draining to the pan before i mounted it.
Also because i am retaining the stock pcv valve I will still have issues with oil getting into the intake tubing at idle and wot. It takes a second catch can to fix that and im running out of time, places to mount things and the will to spend lots of hours doing stupid little things just to have it exactly the way I want...
Sent from my SM-G920W8 using TapatalkComment
-
Add a turndown to the exhaust tip, face it down and away from the car, that will make a huge difference in towing noise.Trees aren't kind to me...
currently: 2 88Ls (Scrappy and Jersey), 88LX, 90L(Pepe), 91L, 91GL (Skippy) 93 GL Sport (the Mighty Favakk), 94 (Bruce) & 95 Aspire SEs, 97 Aspire (The Joker),
94 Justy 4WD, 87 Fiero GT, plus 2 parts cars. That's my fleet.
Comment
-
Great idea, thanks! I will do that.Originally posted by FestYboy View Post
Sent from my SM-G920W8 using TapatalkComment
-
This is a quick walk-around video of the car: https://youtu.be/CqYOs44I8mA
It gets a bit ahead of what ive been updating here but ive been pretty busy. Might be nice to see it in a video as opposed to so many pictures.
Sent from my SM-G920W8 using TapatalkComment
-
I used the block vent as the auto drain on the separator I made for Pedro. It works perfectly. The car has no abnormal smells from the engine, burns no oil and the rings seal excellently (as indicated by how clean the oil comes out after 4000 miles of use).Driving for me is neither a right nor a privilege. Driving is my passion, as it was for the people who invented the automobile, the people who paved the first roads and the people who continue to improve the automobile. Please respect this passion.Comment
-
Ryan, I noticed that the tensioner bolt for the A/C was missing (at about 3:50 in the video).Originally posted by ryanprins13 View Post
Charlie, did you not use the outlet on the oil pan for this? I've got vent lines running from the former PCV bung on the valve cover and the block vent with the drain going to the oil pan bung. I get a bit of an oily smell once in a while.Originally posted by Advancedynamix View PostIan
Calgary AB, Canada
93 L B6T: June 2016 FOTM
59 Austin Healey "Bugeye" Sprite
"It's infinitely better to fail with courage than to sit idle with fear...." Chip Gaines (pg 167 of Capital Gaines, Smart Things I Learned Doing Stupid Stuff)
Link to the "Road Trip Starting Points" page of my Econobox Caf� blogComment
-
Ok, im going to have to look at how im doing this more, too many other things on the go right now. But how do you use the same line as.... oh, just when its not blowing blowby into the seperator it drains?Originally posted by Advancedynamix View Post
So far (4days) theres nothing in my catch can! I was draining both every week on the other car...
Yes, when i went to put my a/c in i realized the o-ring kit i got off rockauto did not have the correct components. I had to prder another kit. I installed everything but will have to take it all apart again to install o-rings, replace compresser oil and charge. I figured it would be easier without that pulley installed.Originally posted by fastivaca View Post
Does your seperater vent to atmosphere? If so where is it venting? (Where on the car)
Sent from my SM-G920W8 using TapatalkLast edited by ryanprins13; 05-12-2017, 06:45 PM.Comment
-
Thursday april 27th I took my exhaust manifold off and tried to get the bolts out without drilling for 4.5hrs total. They didnt come out....
The friday I got sound deadner, hoseclamps and exhaust studs & nuts before work. After work I measured my alignment again, removed the rear beam bolts on one side and pulled down on it to see how much weight goes through that attachment point. Its almost nothing. I put a weigh scale under each rear tire and it came out at 315pounds drivers side, 293 passenger side. I had 1/4 tank of gas.
Maybe 15 or 20 pounds each side goes through the rear beam to body mounts, the rest of that all goes through the rear springs. This is likely why the rear axles stay attached when they are literally rusted right off until they hit a large bump or pothole.
I cut the alignment shim and put it on the drivers side, torqued to 50ft pounds.
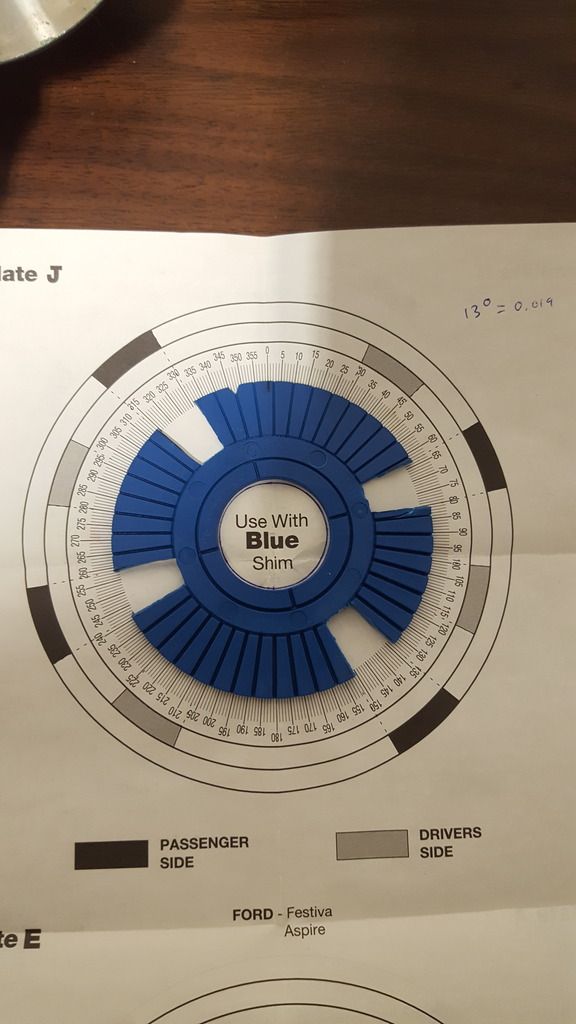
saterday april 29 I shimmed the passenger side spindle and bled the rear brakes since i finally had gotten enough penetrating oil on there after weeks of spraying...
I made that youtube video of how easily the rear axle articulatesto show that the rear beam is independent in every way but its name. The thread on this forum about it is here if you didnt see it earlier. https://fordfestiva.com/forums/showthread.php?t=60550
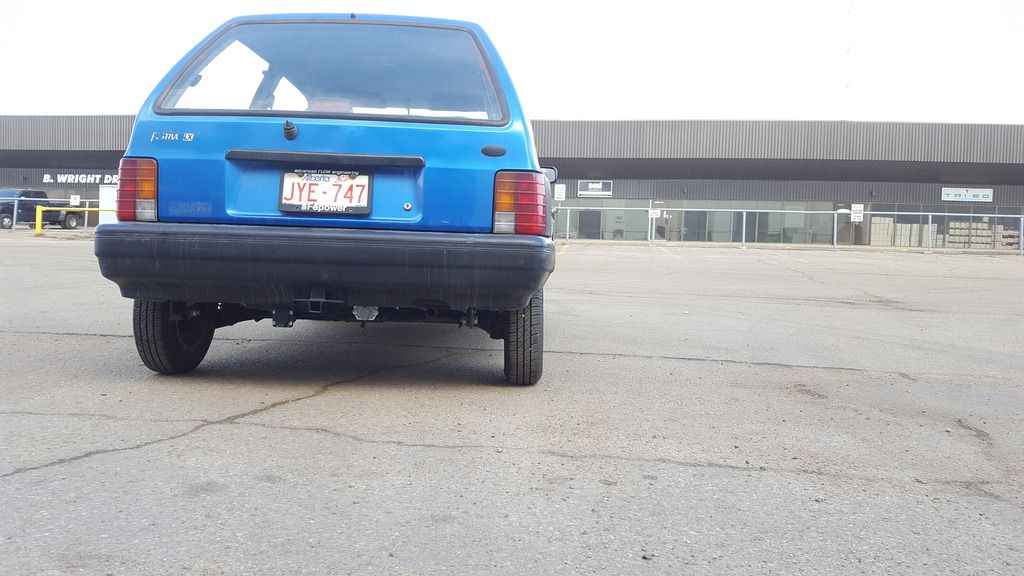
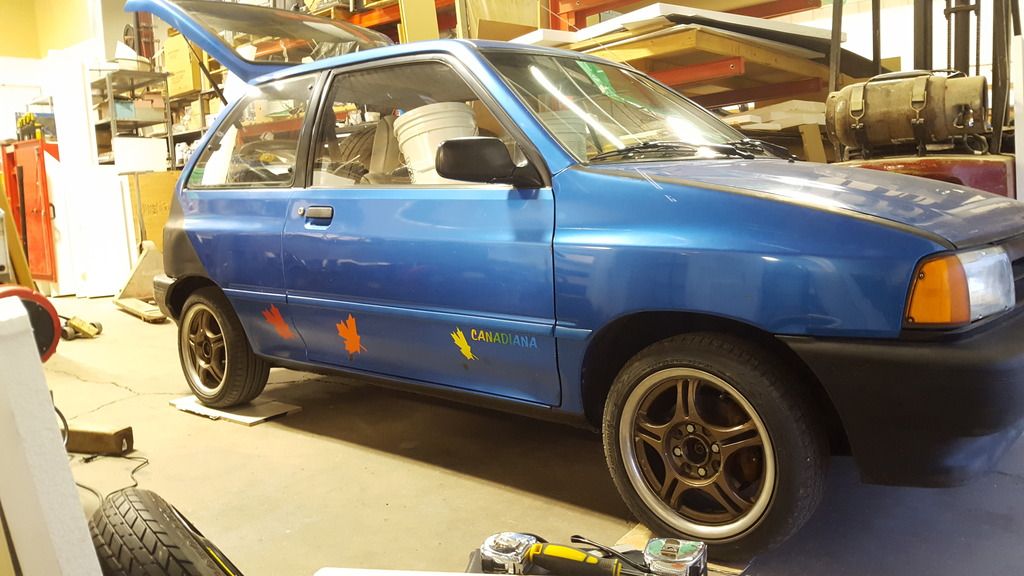
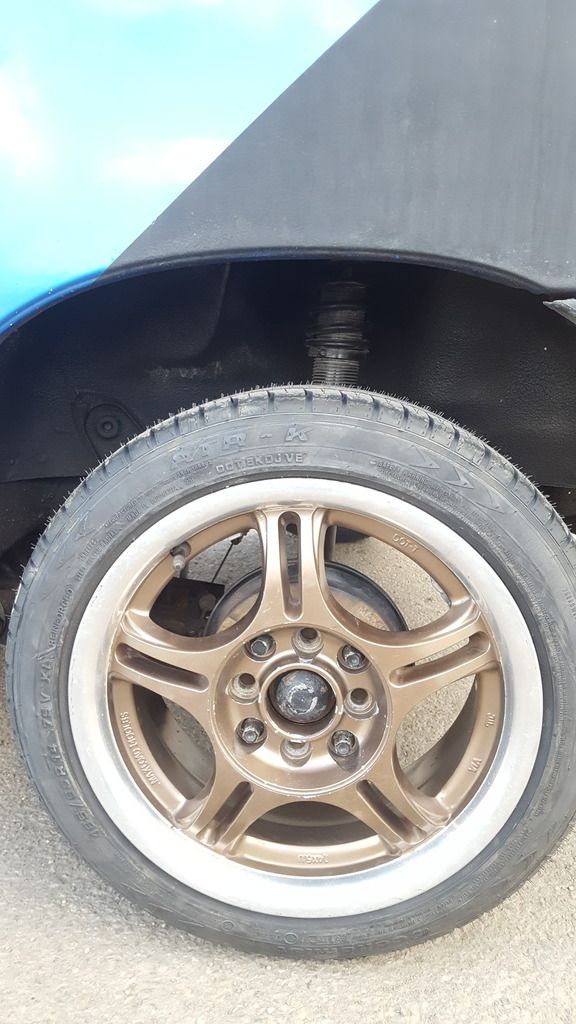
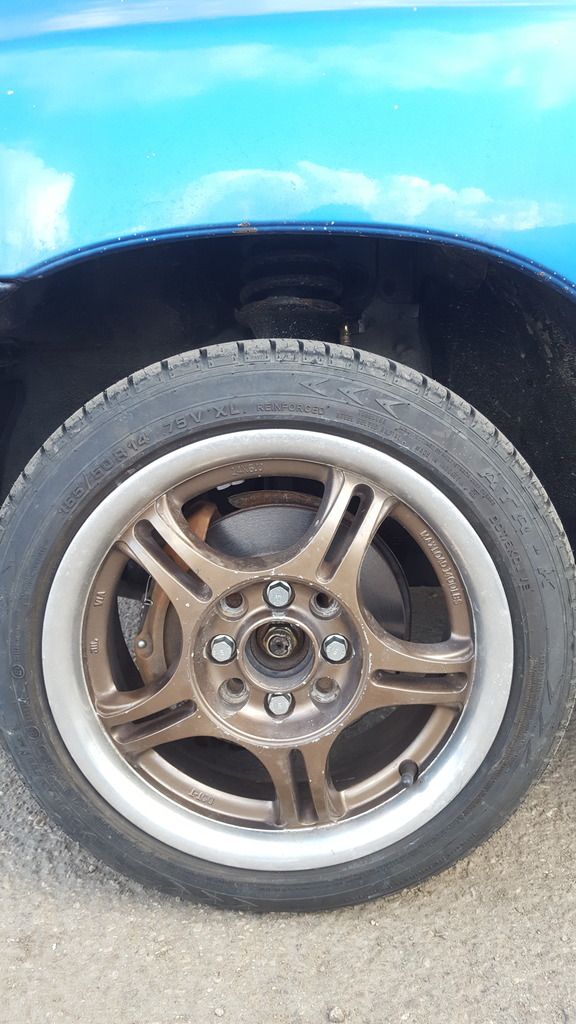
The -2degrees camber looks real goofy on 12in tires.
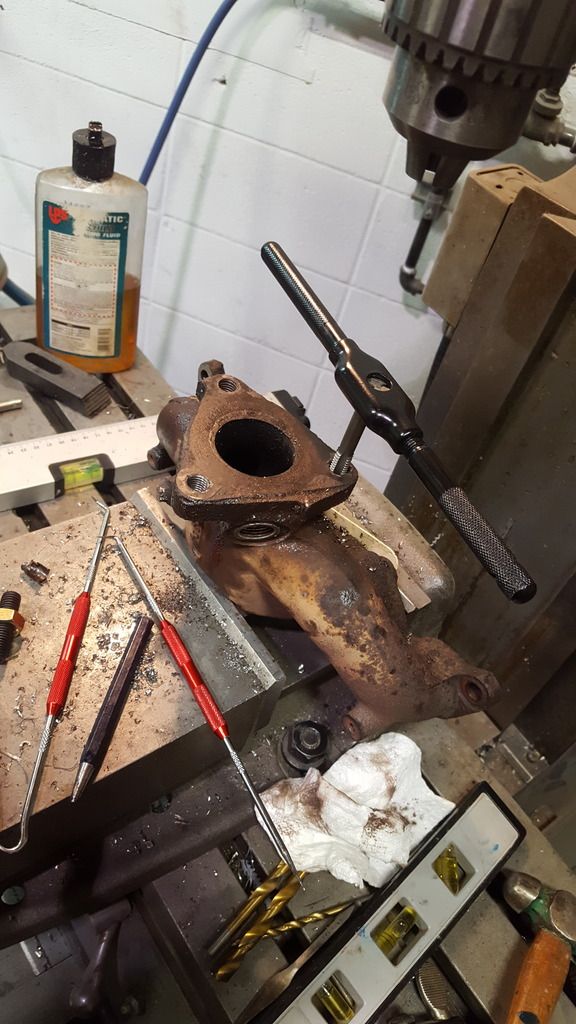
Then I drilled out and tapped the manifold bolts on the mill. It was quite difficult to clamp perfectly level and I didnt get any of the holes drilled perfectly on centre. So they were all a little loose after tapping. All in all those bolts cost me 7-8hrs before I even had the heat shield back on. It took less time to make that manifold!

I installed the manifold, downpipe, intake stuff and test drove the car around the block.
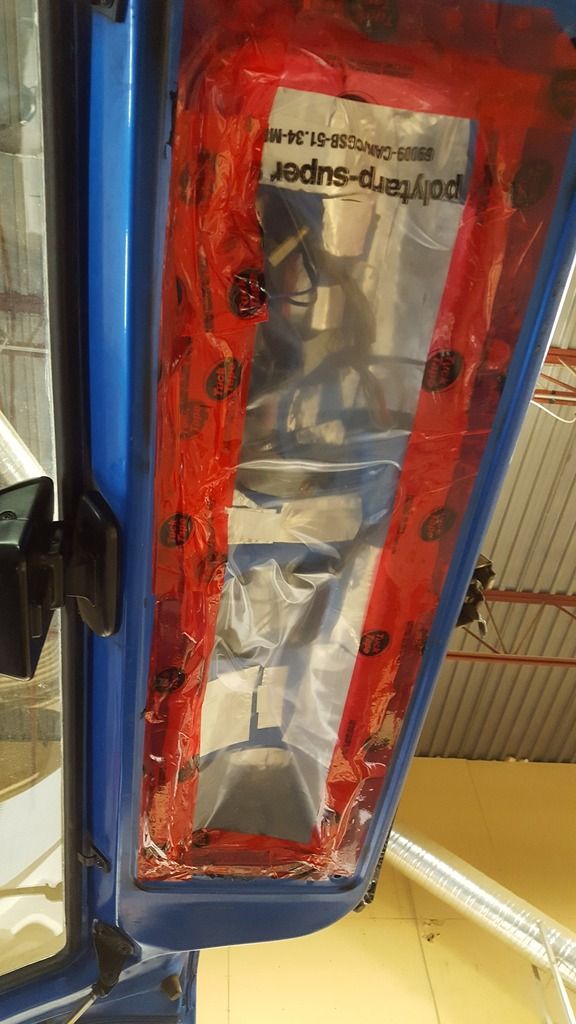
Measured the alignment but wasnt happy with my measurements. So I finished the sound deadner in the rear hatch and back of car and plasticed up the rear hatch.
Put the Achilles tires on and did a long test drive, 30km or so. The car handles way different with rear camber! I like it
Checked alignment again and rear toe is good but the thrust angle was way off.
I spent the rest of the evening trying to figure out how to measure the thrust angle nicely and got some help on facebook.
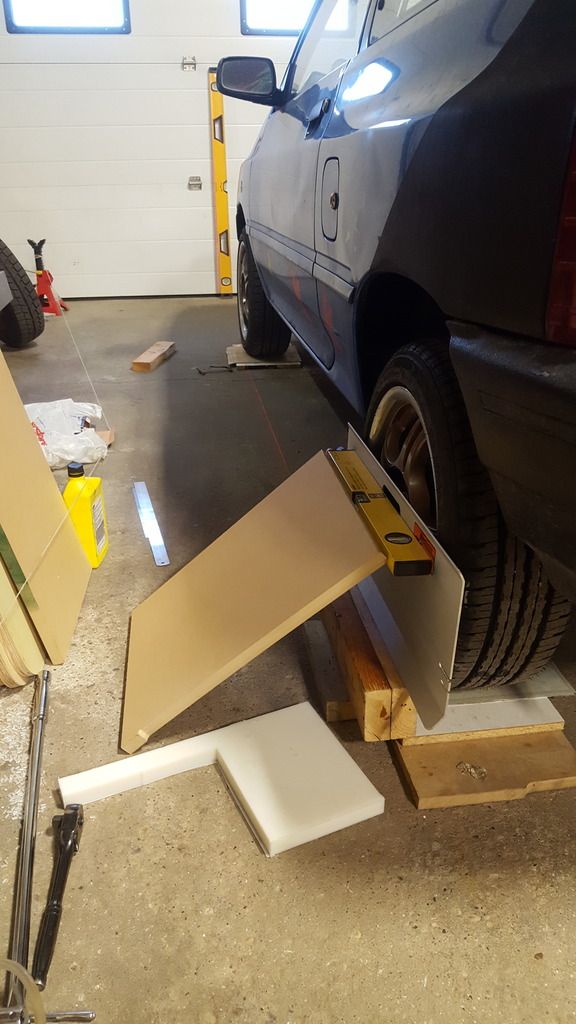
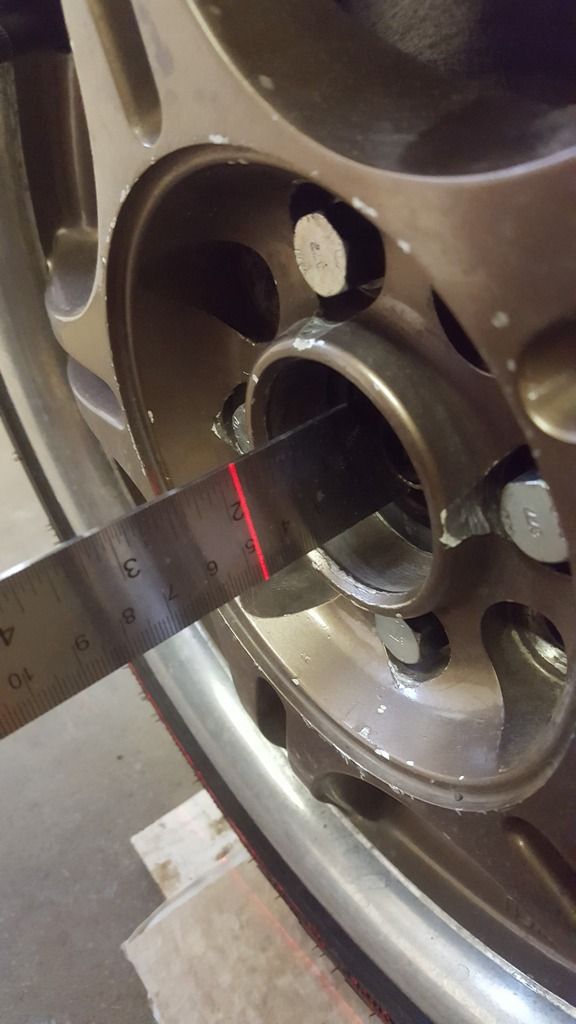
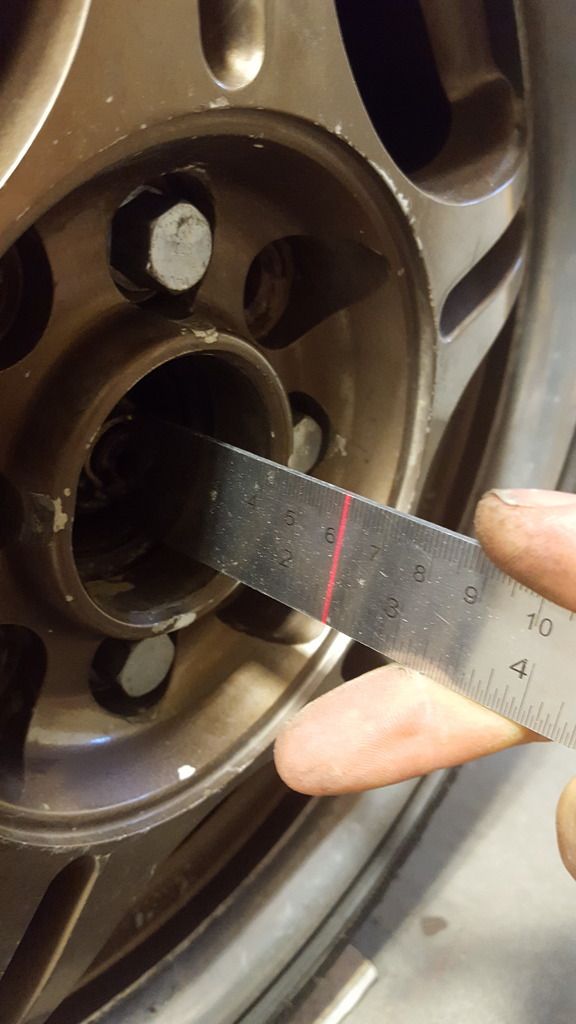
With the aspire front hubs i cant do a string alignment because the track widths are different. Total rear toe was at 1/32 inch in which is perfect, their just both pointing to one side. Have about -2deg camber now. To check I did whats in the photos below and the laser is shining 1/2inch farther away from the pass side cv shaft than the drivers side but i didnt quite trust it to be accurite enough...
During the next week I came up with a plan for that, bought more nuts and bolts and stuff and sprayed rockgaurd on the rocker panels.
The po sprayed rockergaurd everywhere on the car. Except the actual rockers. He used just black paint there for some reason... :/
So each side would need to move 1/4inch towards the drivers side to fix the thrust angle. Over the length of the toe plates that would mean the front of each rear tire is 1/16th inch pointing too far to the passenger side. Meaning the shims should either be 0.008in thicker on the one side or 0.004in change on each side... :/
thursday the 4th I installed some 0.007in machinery shims behind the blue shims in the hopes that that would move my thrust angle to zero. It just made things worse.... The blue plastic shims just kinda squished over the shape of those shims

The friday I took my front knuckles off the struts and ground more metal off in order to get more negative camber. I test drove it and checked alignment, adjusted toe, shimmed rear differently using cut up pieces of pop can and test drove again.
Checked alignment again and the thrust angle wasnt good....
But I had had a weird rattle and discovered the passenger nut holding the strut on the strut mount had come loose so I tightened that. That was likely caused when I was adjusting my front camber.
Sent from my SM-G920W8 using TapatalkLast edited by ryanprins13; 05-18-2017, 08:17 PM.Comment
-
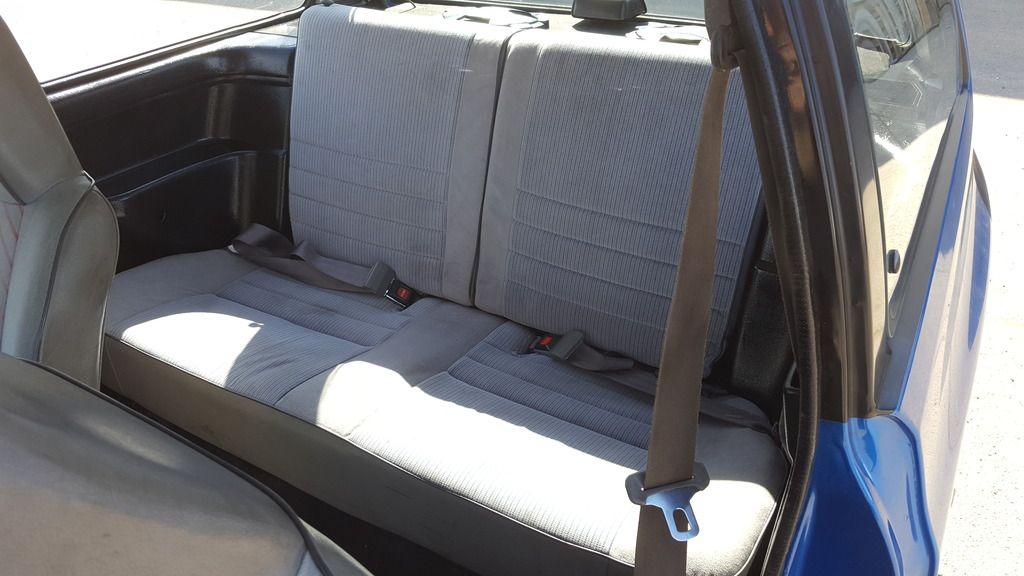
saterday may 6 I installed my rear panels, seatbelts, rear hatch trim, seat...
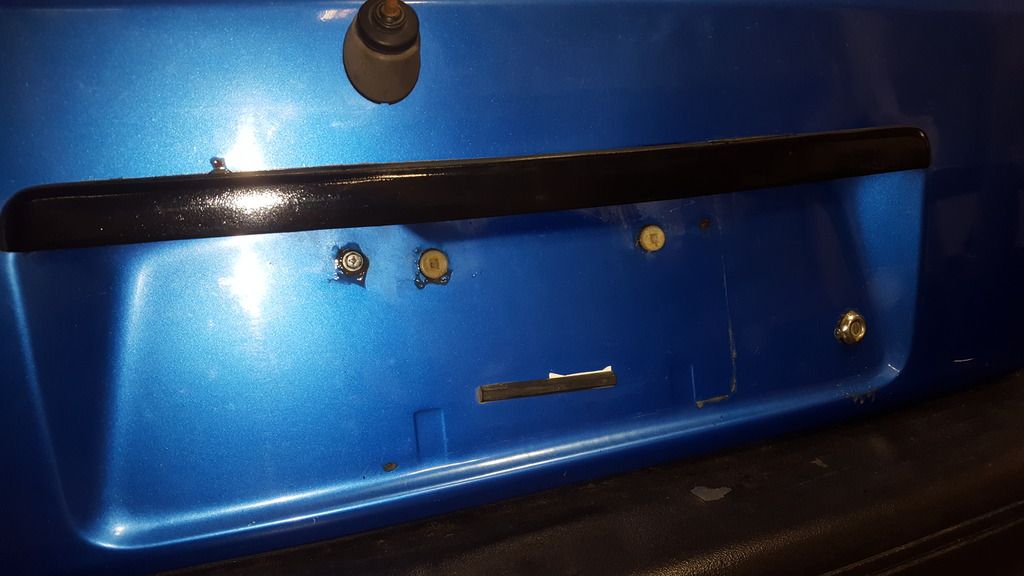
I had some tiny rust spots on the rear hatch so I waxoiled them, there was one rust hole behind the lisence plate where there was a weld so I fixed that up.
Fixed my license plate rattle, adjusted a wiper, cleaned the windows...
Reinstalled my heat shield and put in the extra exhaust manifold nuts.
Then once all the non-frustrating things were done I took the shims out of the rear, recalculated based on my measurements and cut the blue plastic shims a bit different to adjust the thrust angle. Reinstalled them turned towards the way I cut and test drove.
Checked the alignment and set the front toe. The rear thrust angle was a lot better and ended up at what I called good enough for now. The rear toe was perfect.
according to my measurements the rear thrust angle is down to each rear tire pointing 1/32inch toward the passenger side of the car over the 22inch diameter of the tire. Thats to the point where i start to not trust my measurements. A little runout in the tire or rim can throw it off that much. After driving a couple weeks ill check again and if its still at that i may see if there is any movement to be made at the rear axle to body mounts.
I ended up at 1/32 total toe in the rear again though! Pretty happy about that.
Adjusting the front toe i keep going back and forth from 1/16th inch in to 0 so im just going to leave it at zero and check again in 2 weeks or so.
In case your wondering about my obsession with the thrust angle I would not be worried about it on a daily driver. However if it is out enough while towing what happens when you try to brake hard is the trailer pushes the back end of the car to one side (since the thrust angle is steering you) and you have to let off the brakes to straighten out. Thats what I'm told anyway and I would rather that didnt happen.
Final alignment specs read:
About -1.8 deg camber front, -1.9 rear.
Zero toe front, 1/32inch in rear.
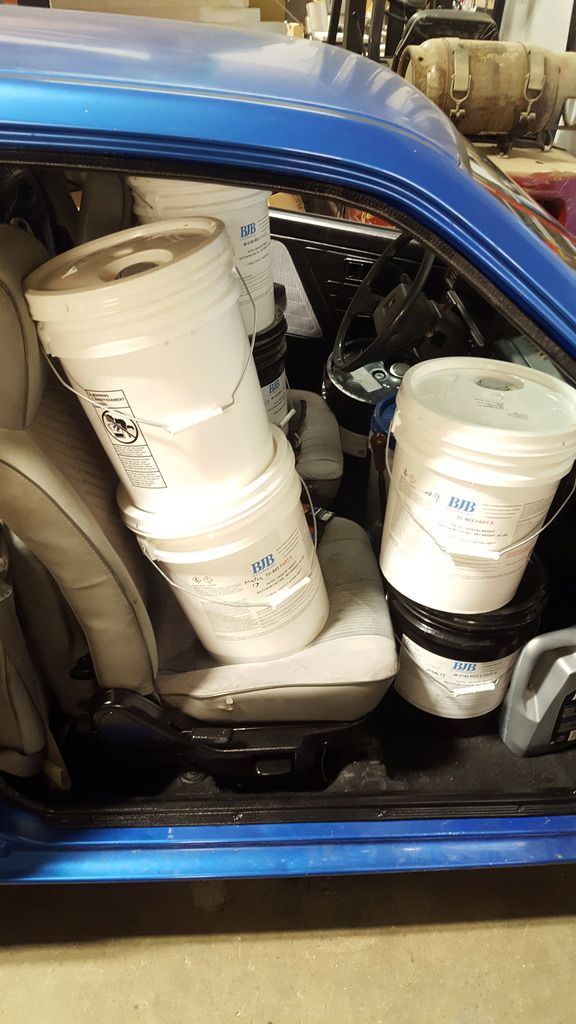
Well then i threw 350 pounds on the front seats and 400 in the rear, rolled the car around, bounced it and rechecked the alignment. Gained 3/32 of toe in on the rear and lost 3/32 on the front.
Front got another 0.4deg of negative camber with the weight and the back didnt change. Well, maybe by 0.1deg.
So thats interesting. 1/32 toe in empty on rear and 4/32 loaded. Not bad i think.
This suspension is still all new and stiff so ill have to check it again once i have some miles on it, but the rear toe doesnt seem too bad.
If it gets worse as the suspension ages or i feel real ambitious next year i may make rear shims just for towing to give me 1/16th in loaded. Or I could try raising the rear springs on my coilovers and see what that does.
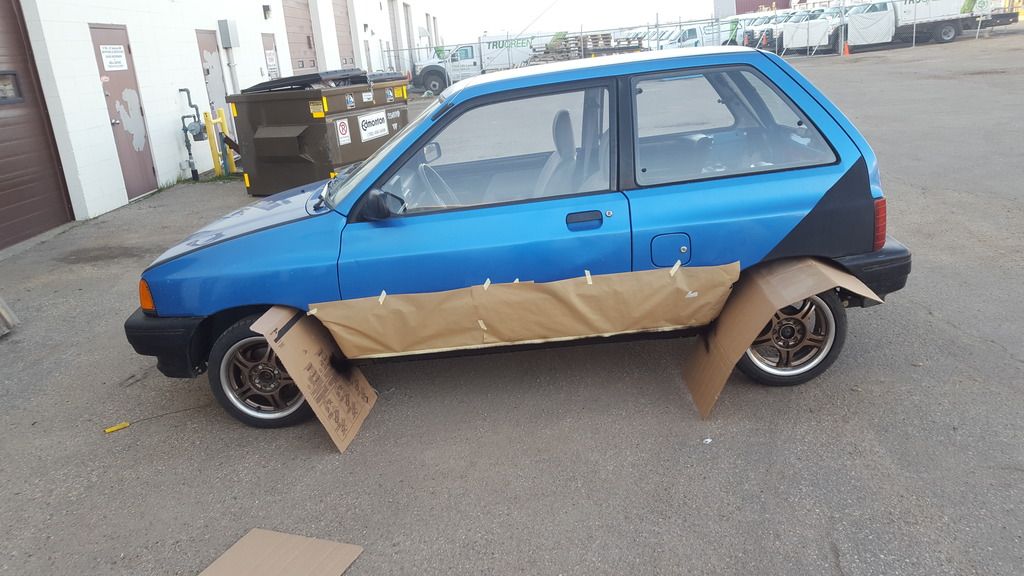
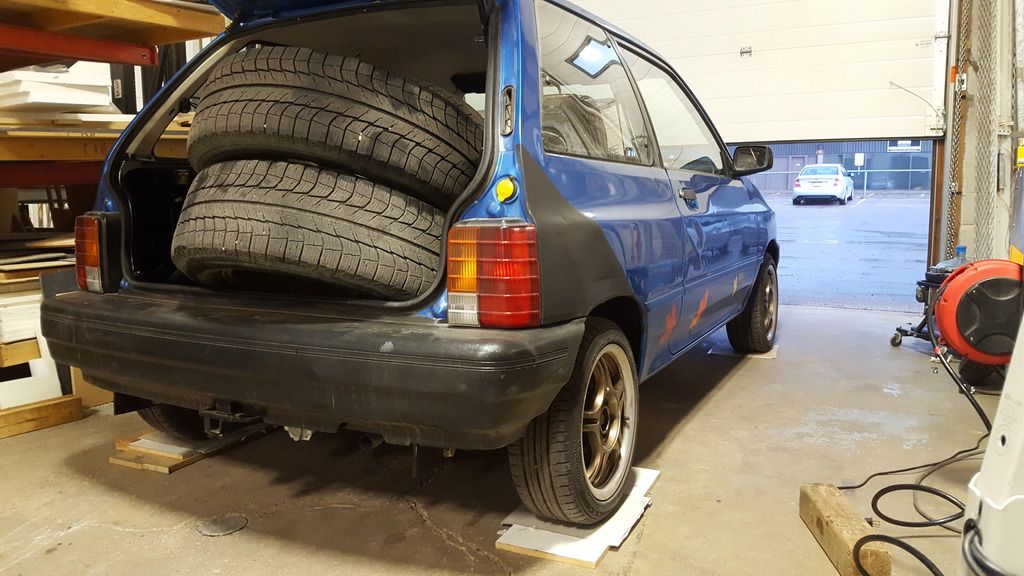
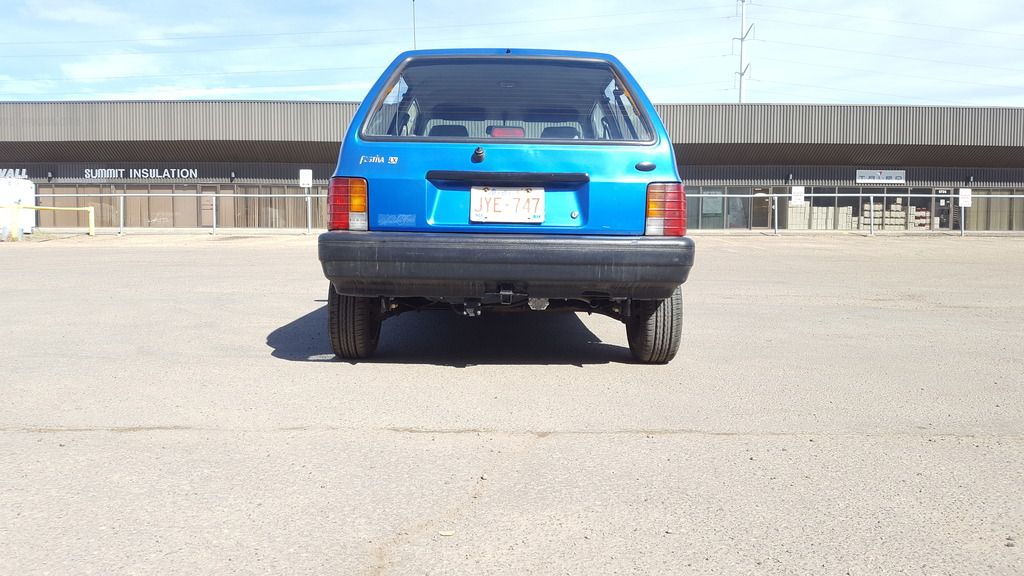
It looks amazingly level with that much weight compared to stock.
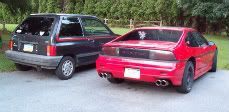
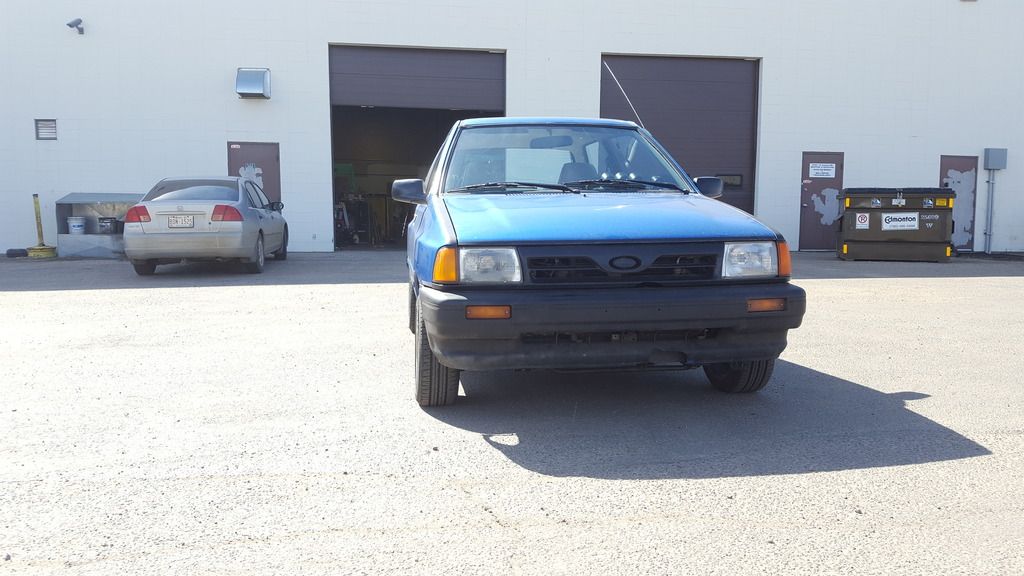
This next photo was stock suspension and tires. Notice how far the tire goes into the wheel well. 4 photos after are now.
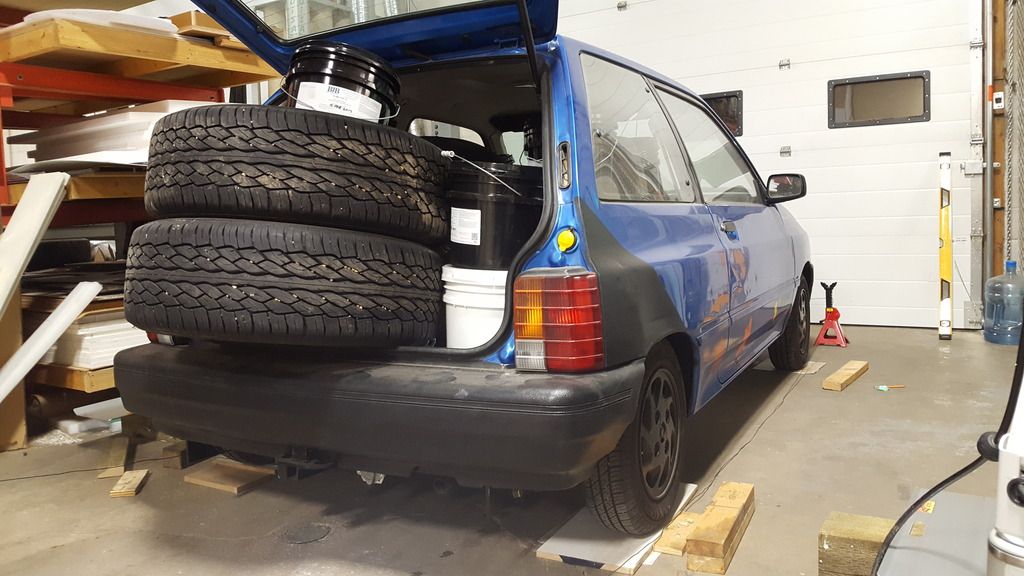
Compare to now:
So I put my old tires back on, moved the steering wheel and called it a night.
I had been working a lot of overtime and other weekends on a project at work that absolutely had to be done for the Monday after this Saturday (the 8th). I had finished it the day before but Saturday while I was working on my car at the shop the cleaning broke several thousand dollars worth of parts including one of the parts ready for Monday. So I had to work 2 hrs Saturday in-between my alignment stuff to make another part and an extra hour Monday morning early to finish it off. That sucked a lot. I had been planning to drive it home that night but didnt end up with time to do that.
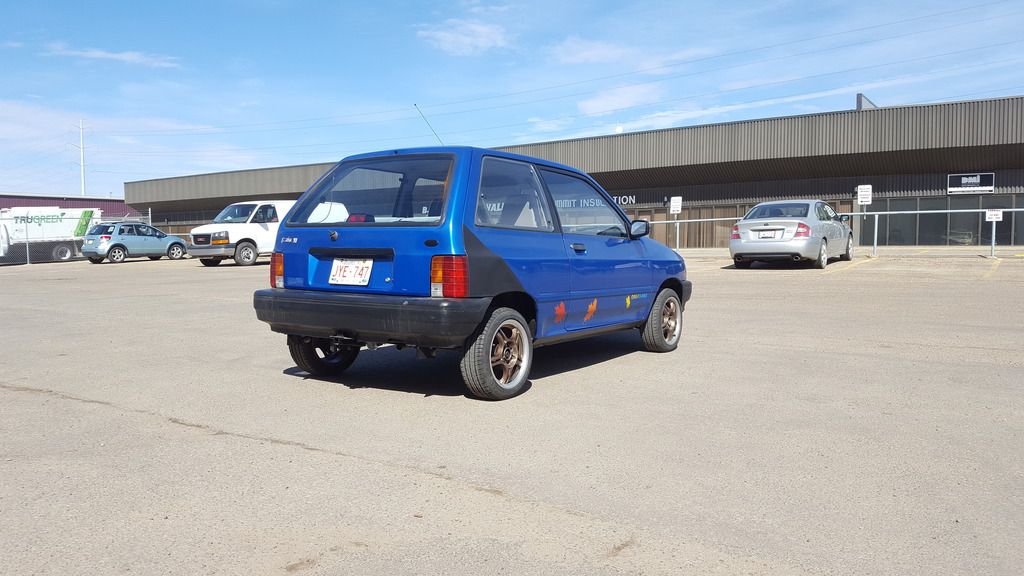
Monday may 8th I drove it home! that was amazing. So nice to do after all that work!
I drove it to work and back the following week while doing all the maintinance on my other cars that I had been neglecting. Also got my taxes finally done (2 weeks late) and started adding up the cost of this car.... [emoji14]
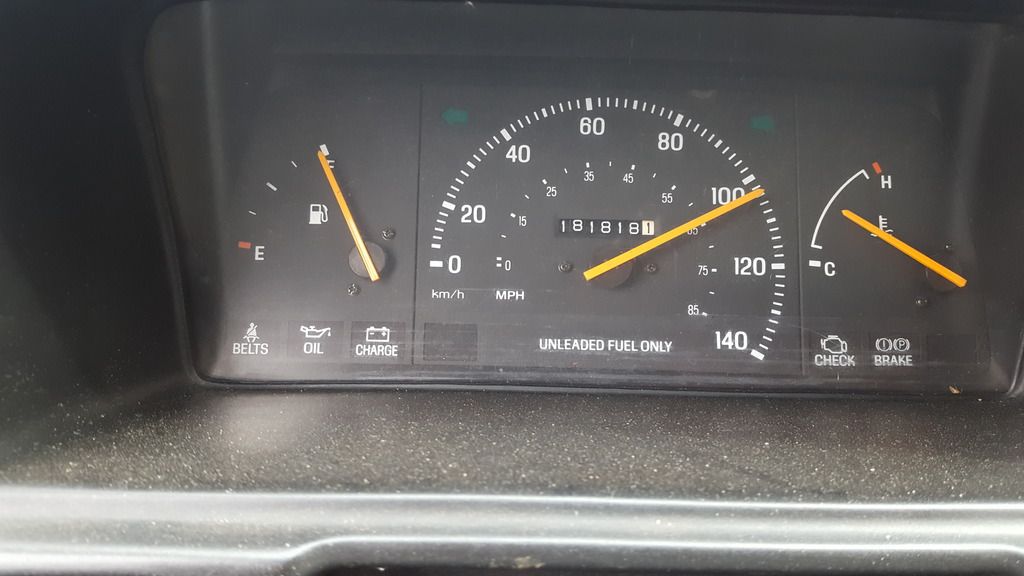
The car drove real nice and nothing bad happened. A few minor issues: front tires need re-balancing, some wind noise here and there that i need a passenger to help find, need a dimmer for my gauge lights on top of the dash as they reflect off the windshield bad at night, radio is a bit weird. Thats all for problems i think, although I still have more work to do in the next 2 weeks on it.
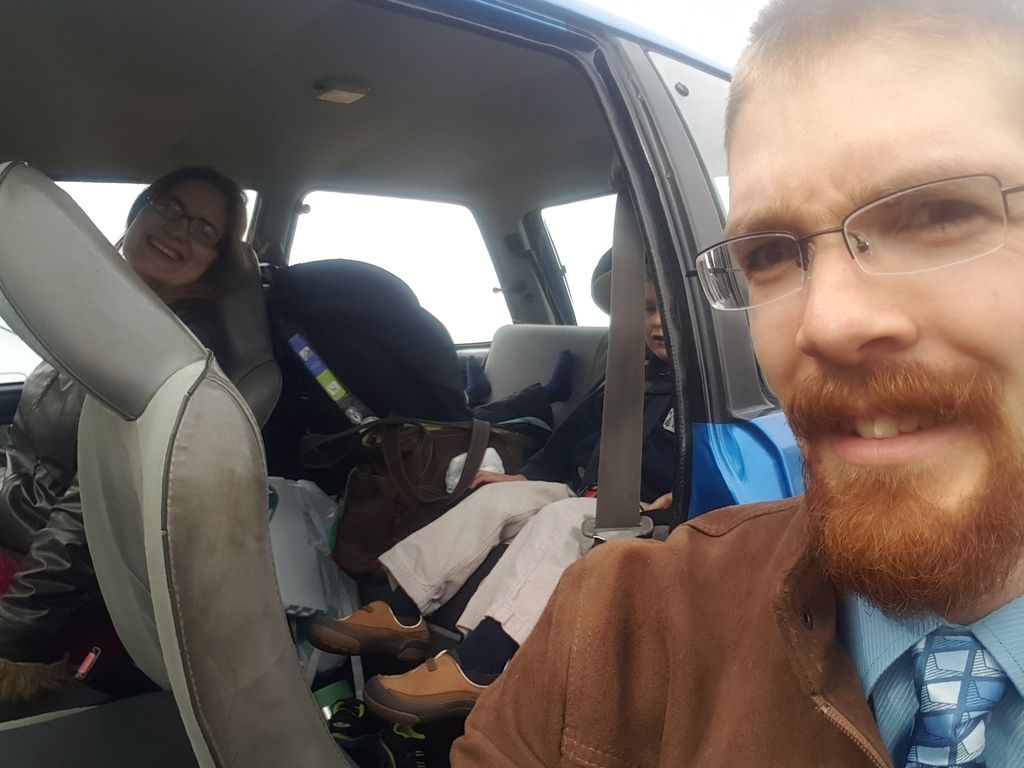
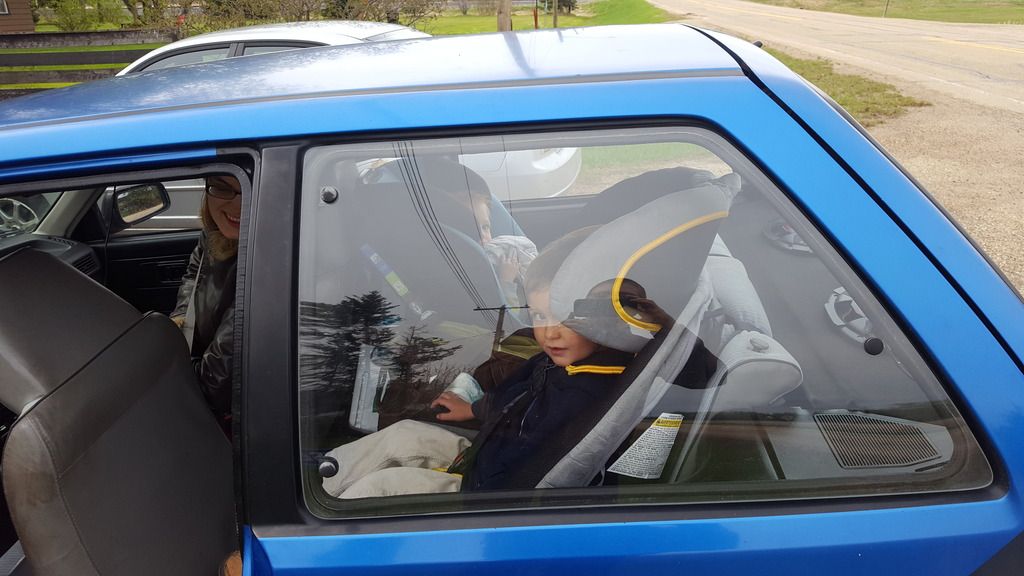
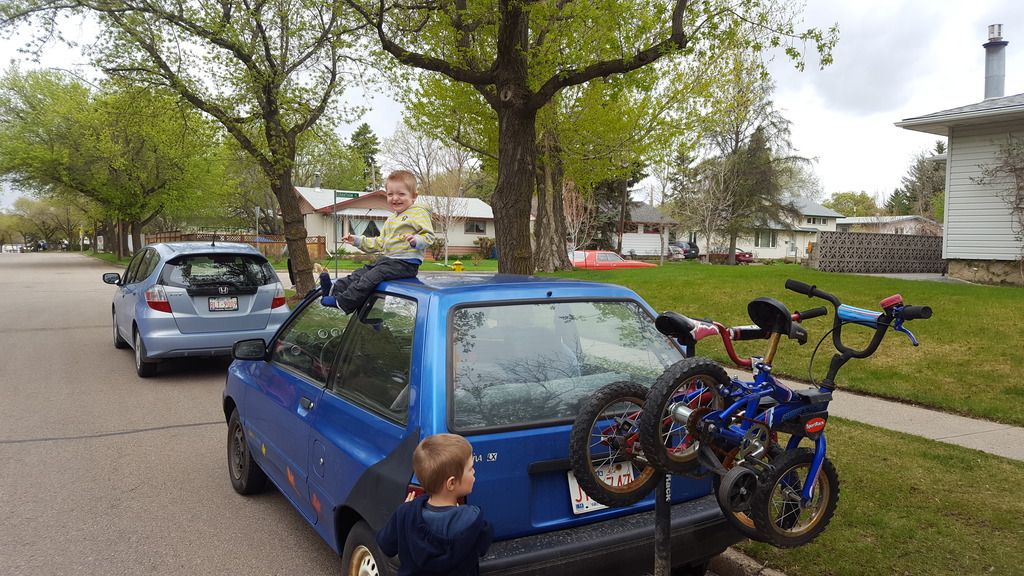
This past weekend was my brother and sister-in laws graduation from college, so I put the carseats in the festiva and we did a bit of driving and a lot of visiting for that- 800km in one week (500 miles). Put the bike rack on and picked up some bikes for the kids. It was a great time and the car drove great, kids loved it because they can see way more out the windows. No oil in the catch can! (was emptying 2 catch cans once a week on the other festiva) and no noticeable oil consumption over the week either.
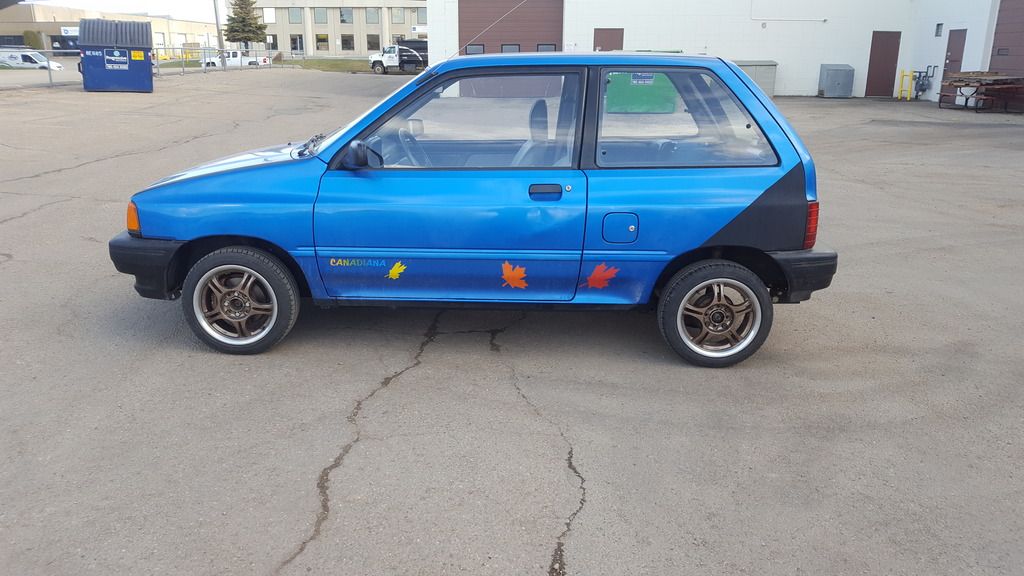
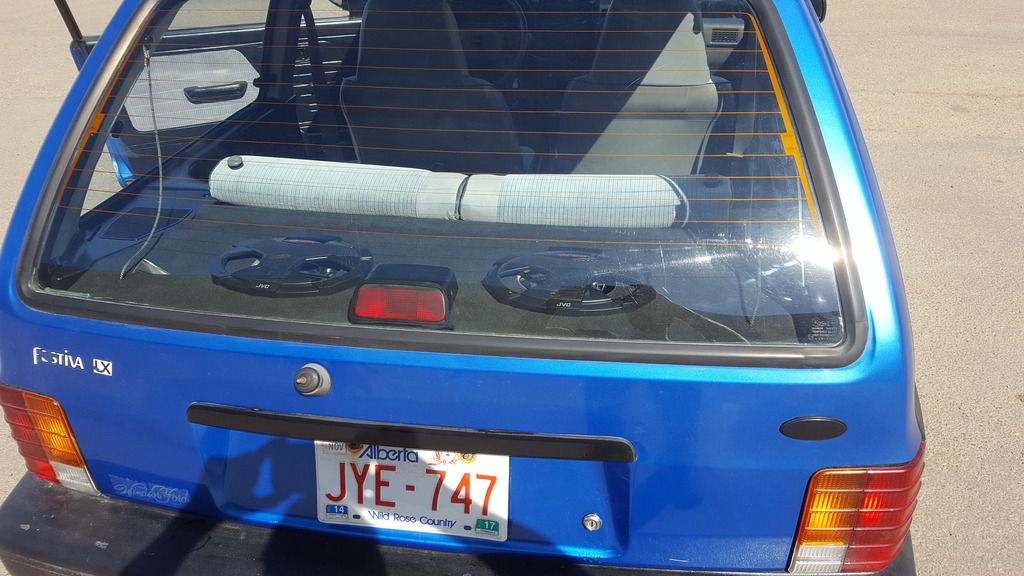
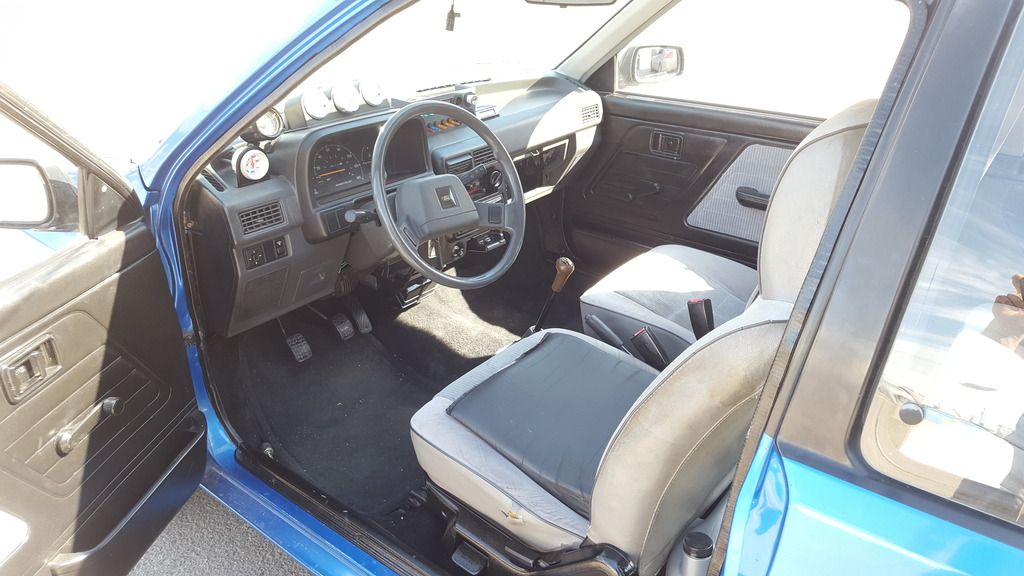
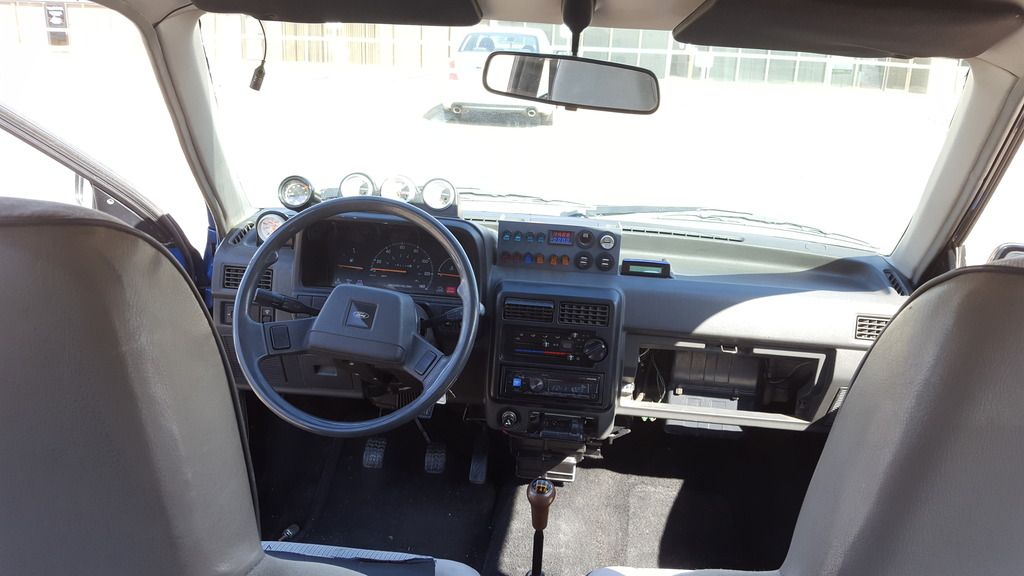
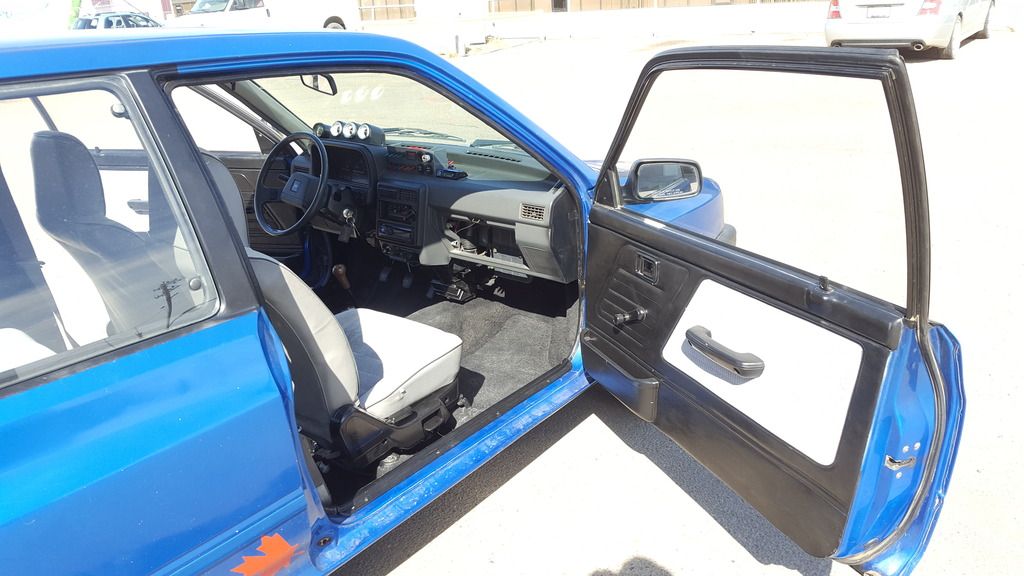
Here are a bunch of photos of where its at now as well as a quick walk-around video:
Sent from my SM-G920W8 using TapatalkLast edited by ryanprins13; 05-18-2017, 08:20 PM.Comment
-
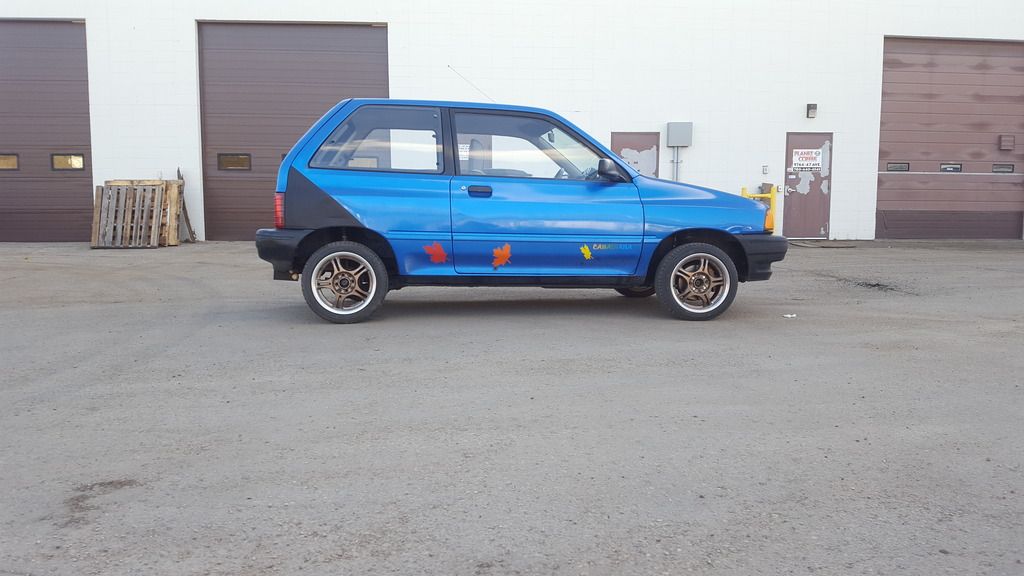
Here is the walk around video, i know i posted it earlier but it fits better here [emoji14]
Photos of the first weekend out with it visiting
Sent from my SM-G920W8 using TapatalkLast edited by ryanprins13; 05-18-2017, 08:23 PM.Comment


Comment