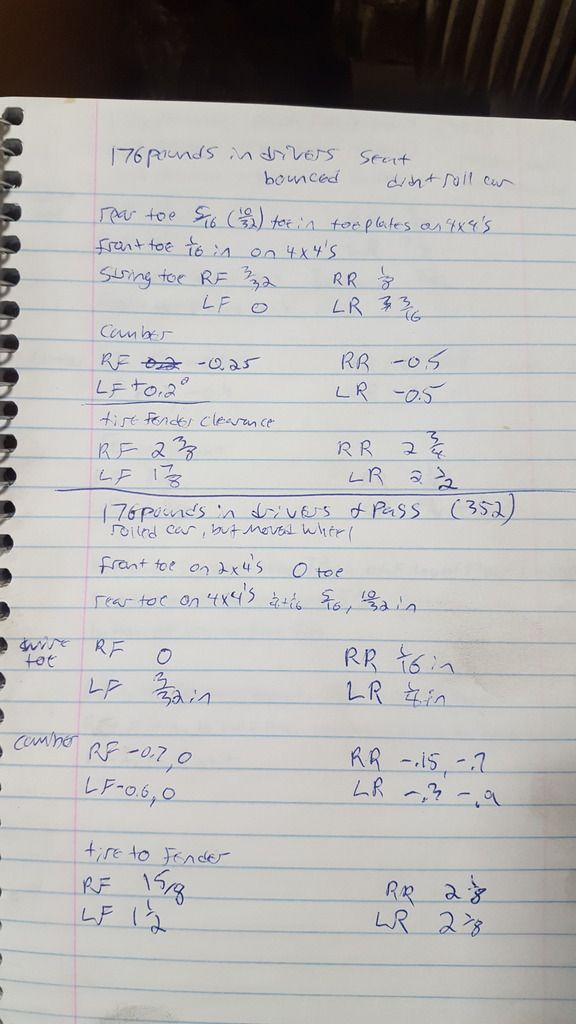
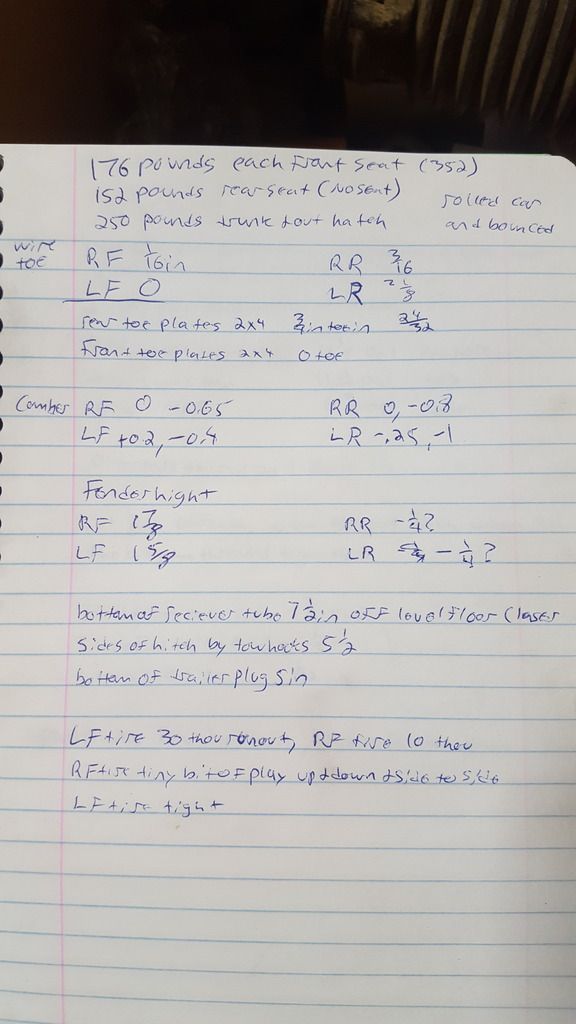
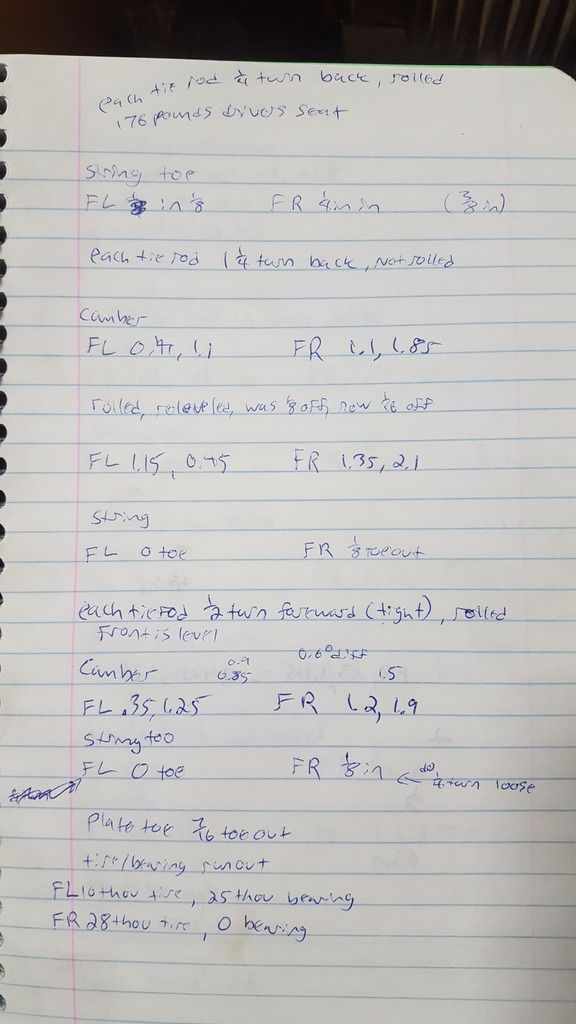
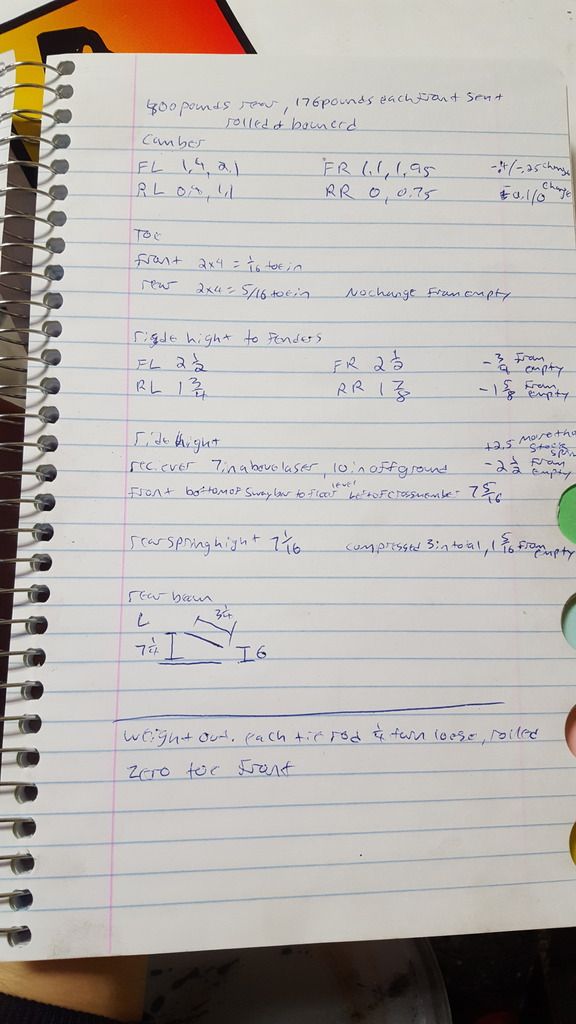
The friday I got sound deadner, hoseclamps and exhaust studs & nuts before work. After work I measured my alignment again, removed the rear beam bolts on one side and pulled down on it to see how much weight goes through that attachment point. Its almost nothing. I put a weigh scale under each rear tire and it came out at 315pounds drivers side, 293 passenger side. I had 1/4 tank of gas.
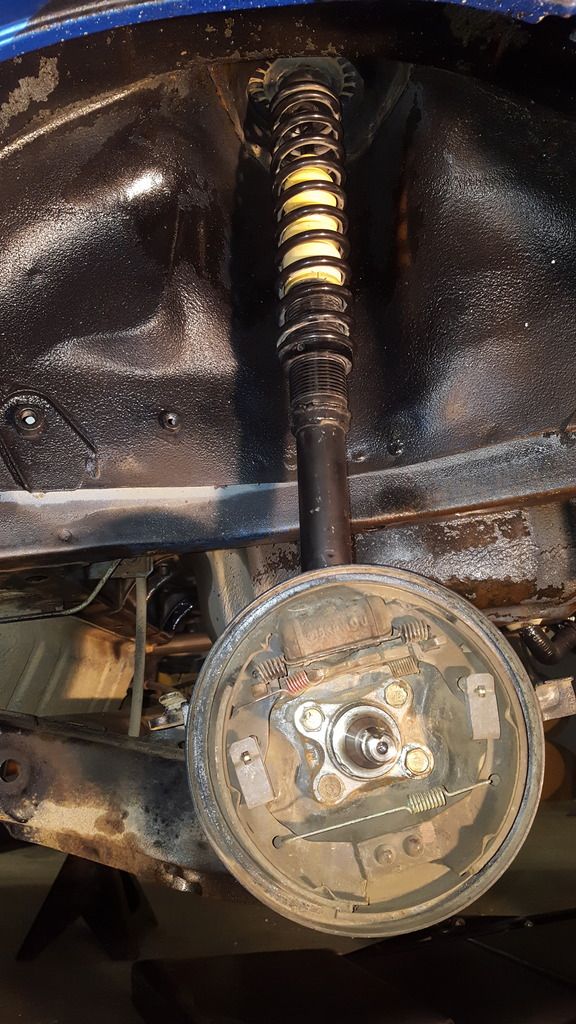
Maybe 15 or 20 pounds each side goes through the rear beam to body mounts, the rest of that all goes through the rear springs. This is likely why the rear axles stay attached when they are literally rusted right off until they hit a large bump or pothole.
I cut the alignment shim and put it on the drivers side, torqued to 50ft pounds.
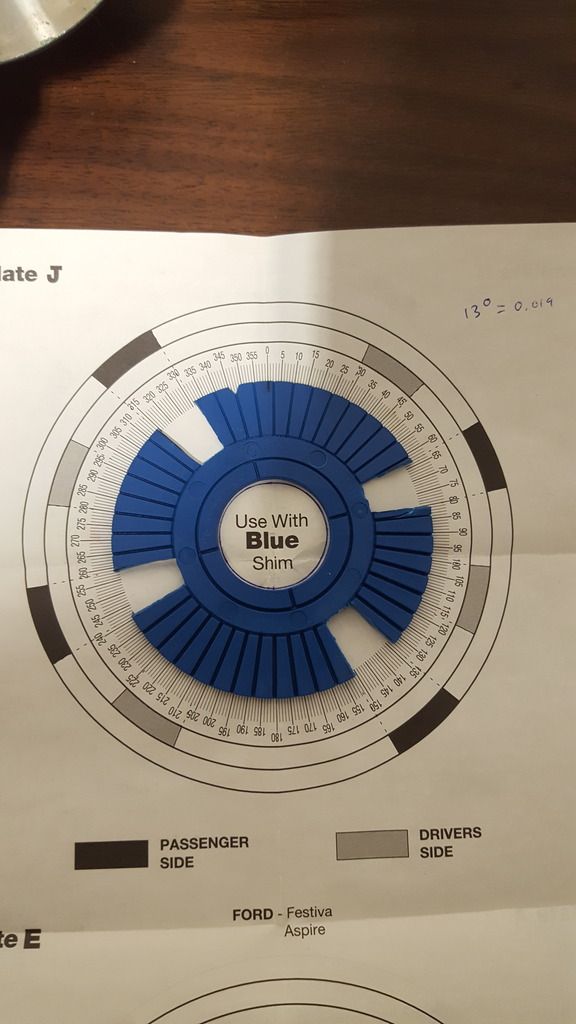
saterday april 29 I shimmed the passenger side spindle and bled the rear brakes since i finally had gotten enough penetrating oil on there after weeks of spraying...
I made that youtube video of how easily the rear axle articulatesto show that the rear beam is independent in every way but its name. The thread on this forum about it is here if you didnt see it earlier. https://fordfestiva.com/forums/showthread.php?t=60550
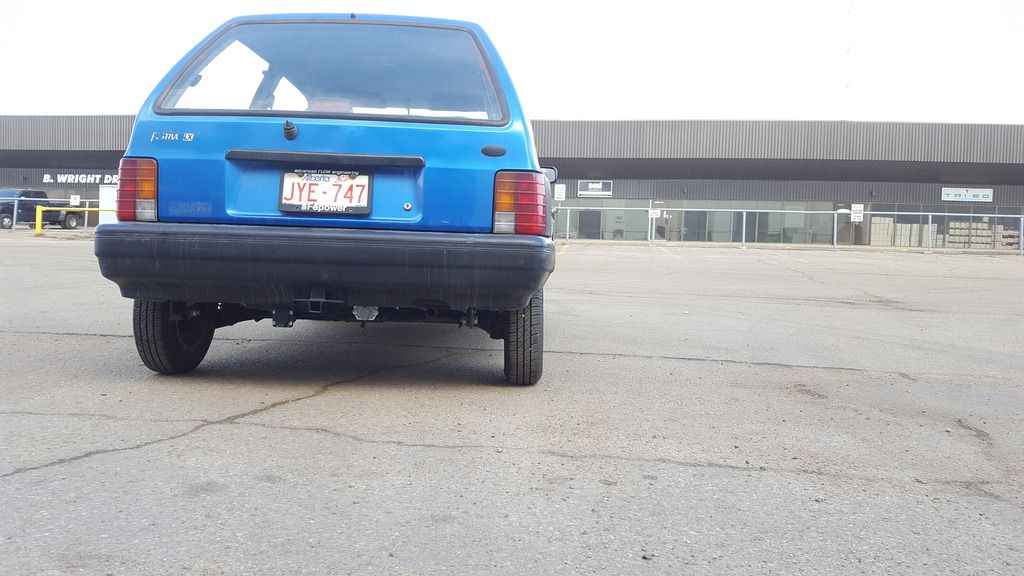
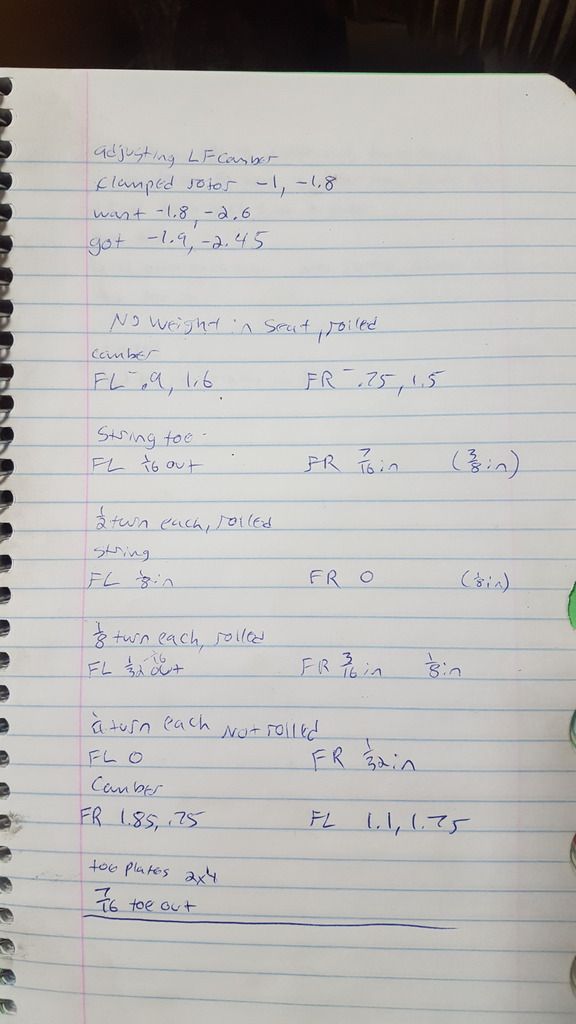
The -2degrees camber looks real goofy on 12in tires.
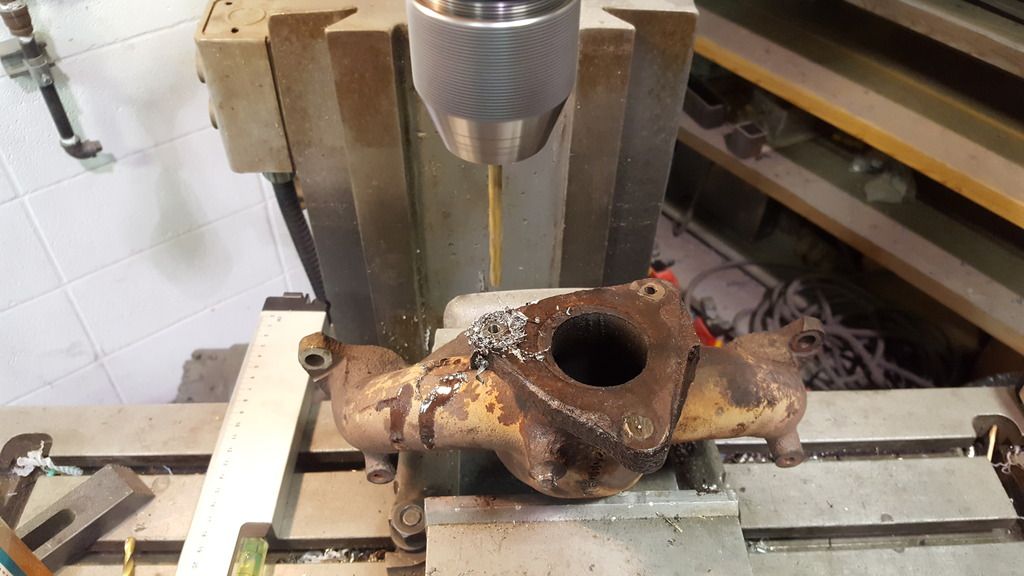
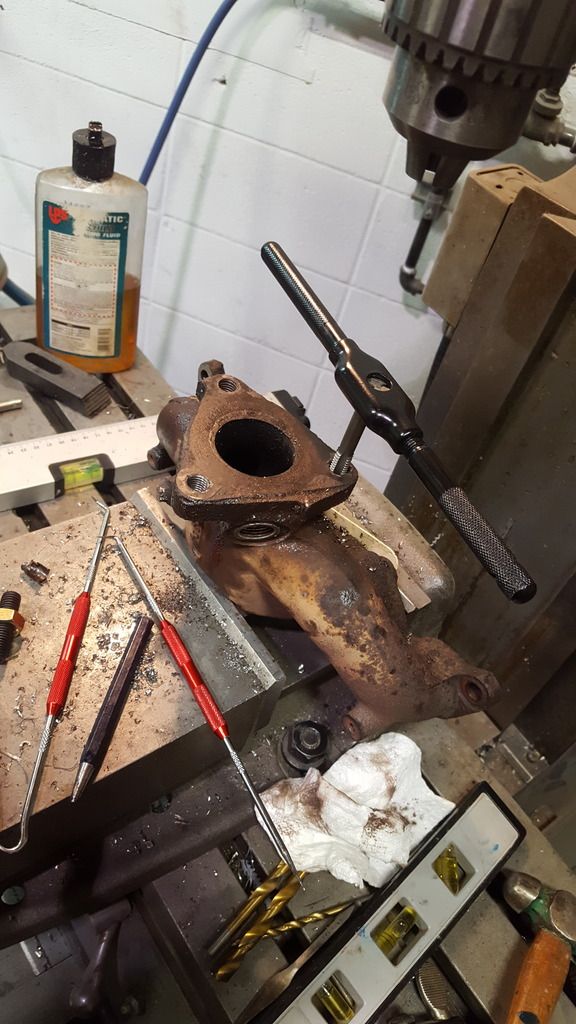
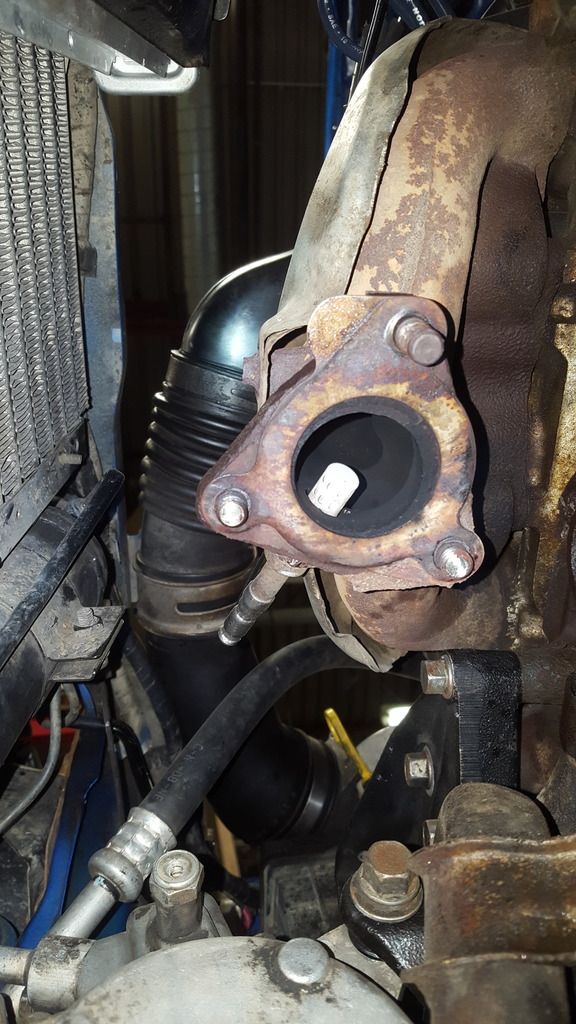
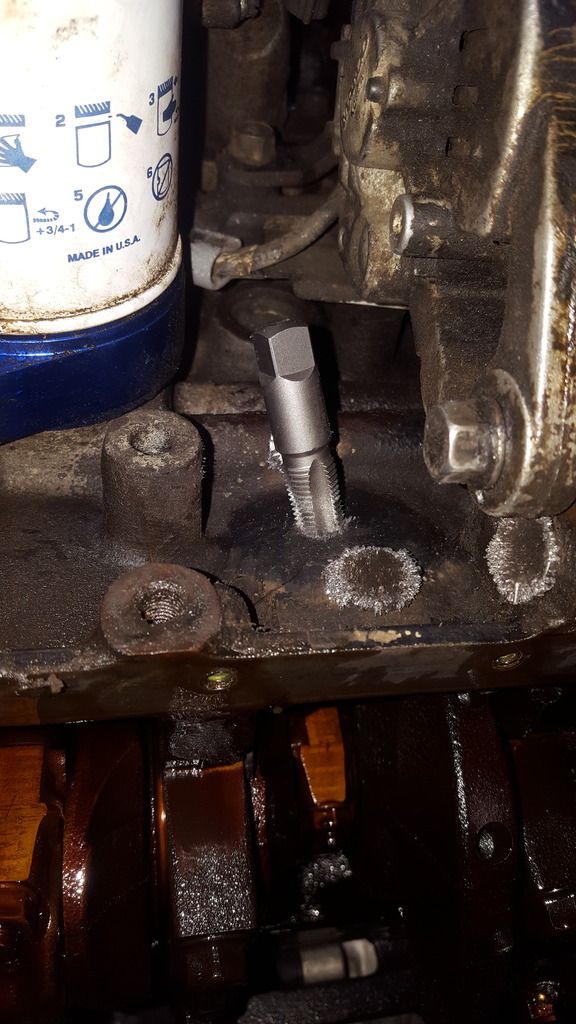
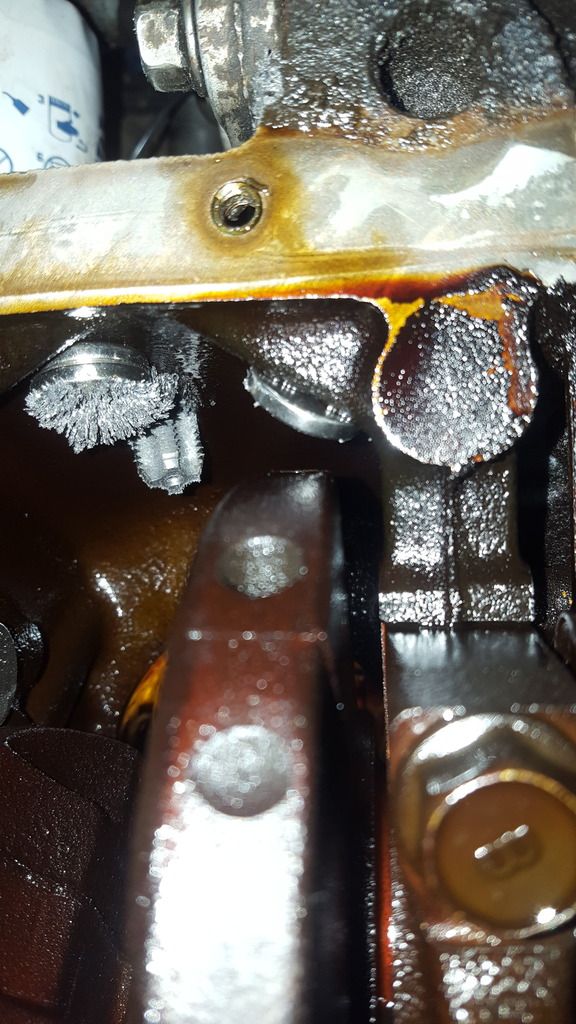
Then I drilled out and tapped the manifold bolts on the mill. It was quite difficult to clamp perfectly level and I didnt get any of the holes drilled perfectly on centre. So they were all a little loose after tapping. All in all those bolts cost me 7-8hrs before I even had the heat shield back on. It took less time to make that manifold!
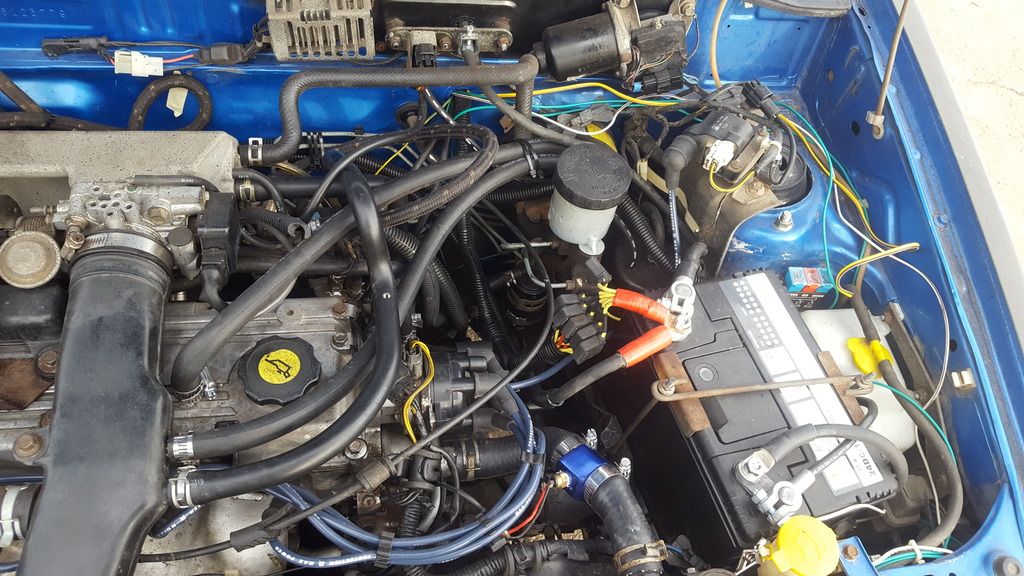
I installed the manifold, downpipe, intake stuff and test drove the car around the block.
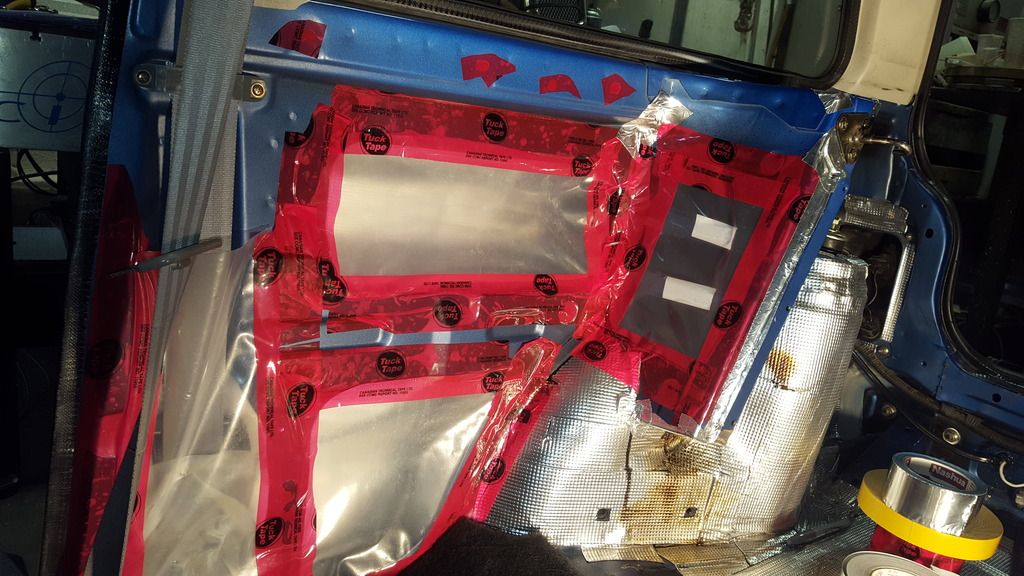
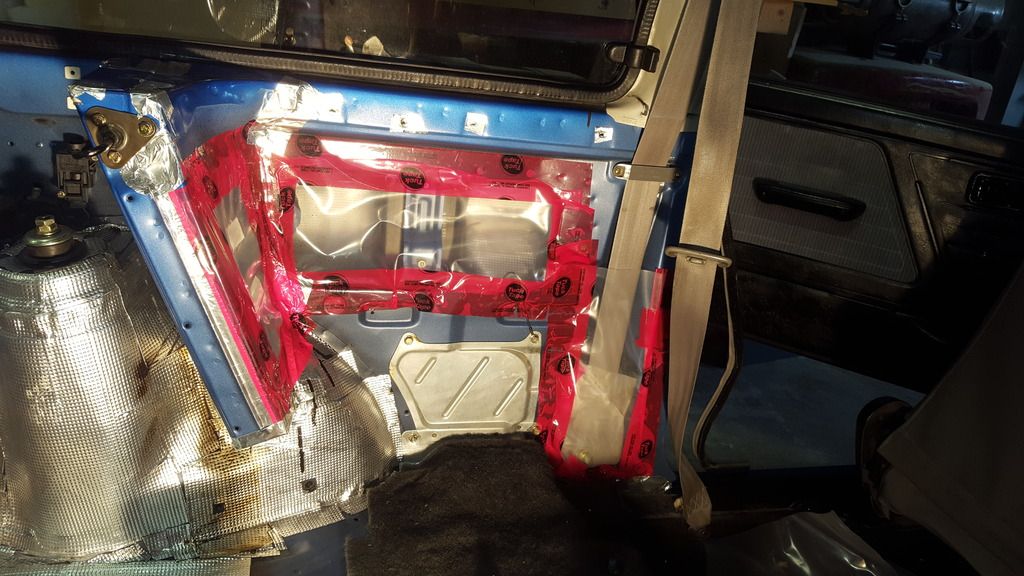
Measured the alignment but wasnt happy with my measurements. So I finished the sound deadner in the rear hatch and back of car and plasticed up the rear hatch.
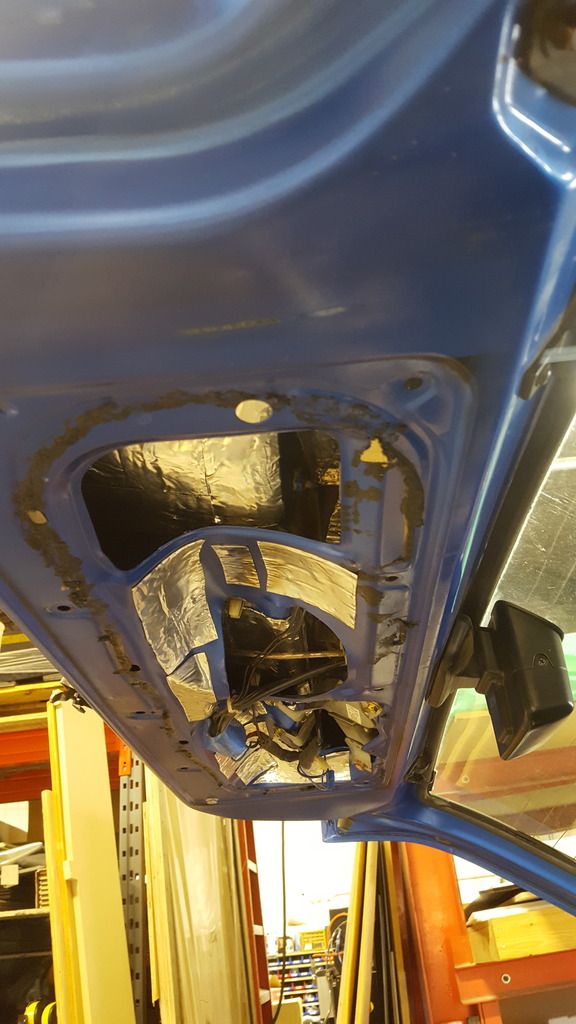
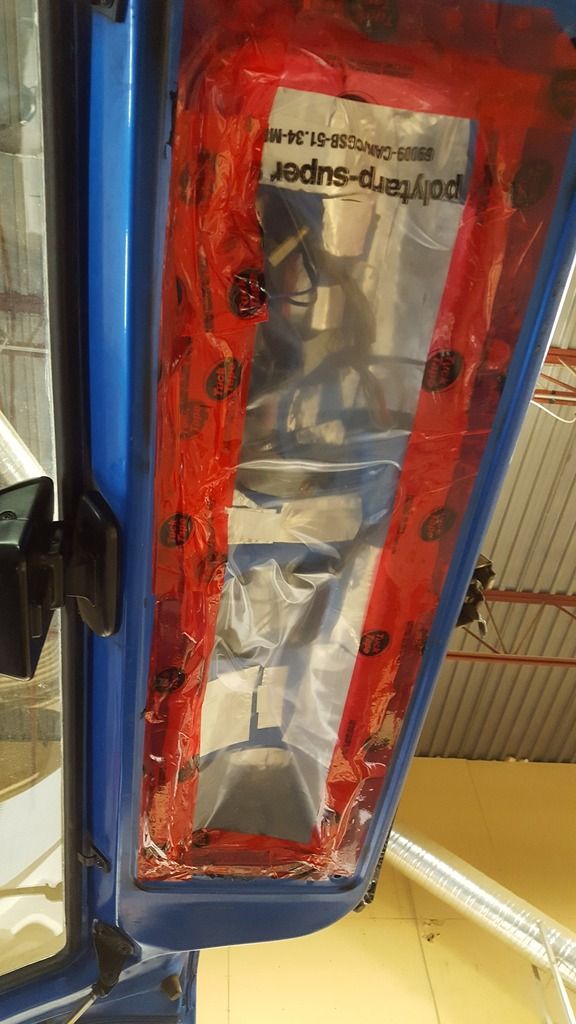
Put the Achilles tires on and did a long test drive, 30km or so. The car handles way different with rear camber! I like it

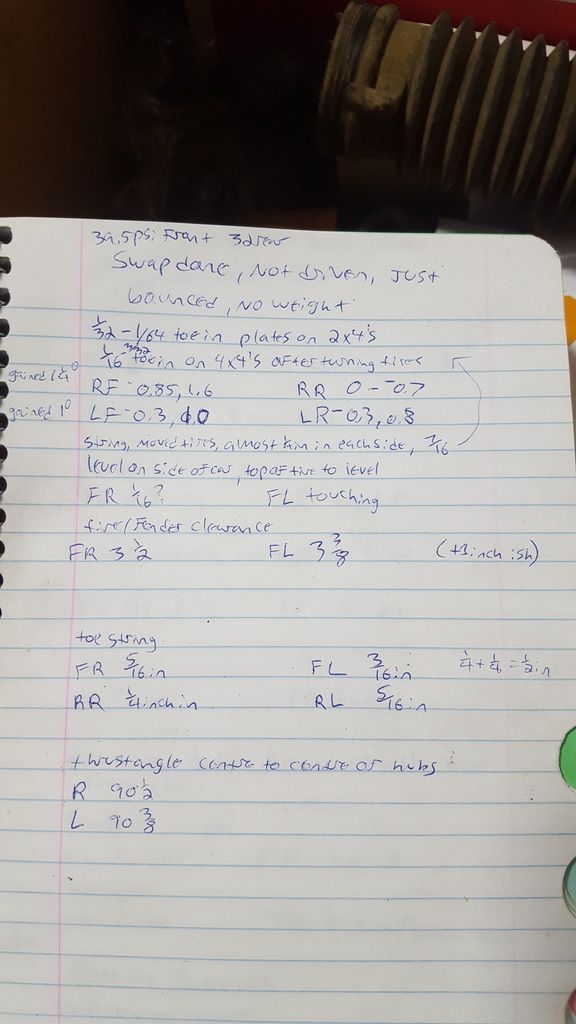
Checked alignment again and rear toe is good but the thrust angle was way off.
I spent the rest of the evening trying to figure out how to measure the thrust angle nicely and got some help on facebook.
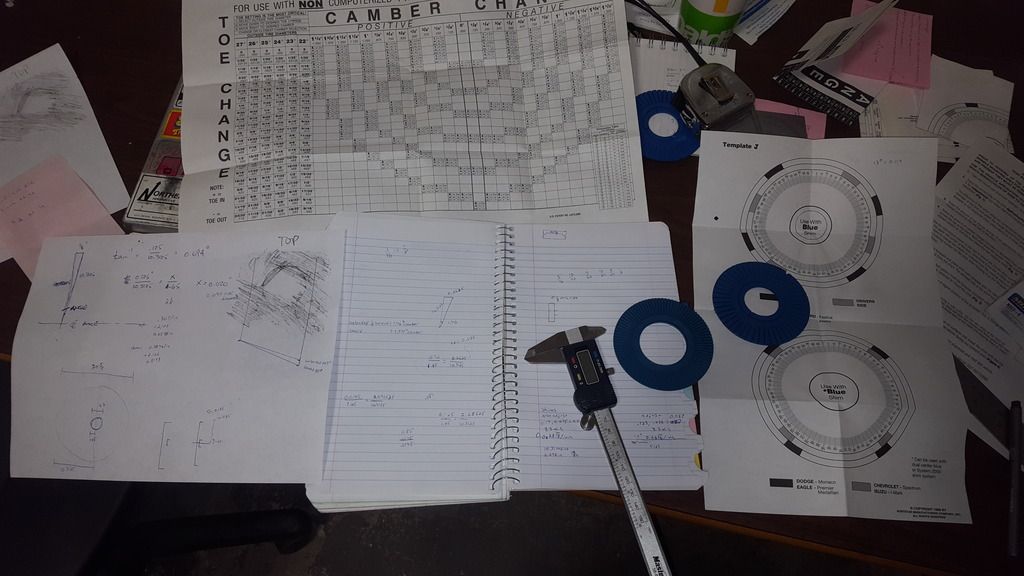
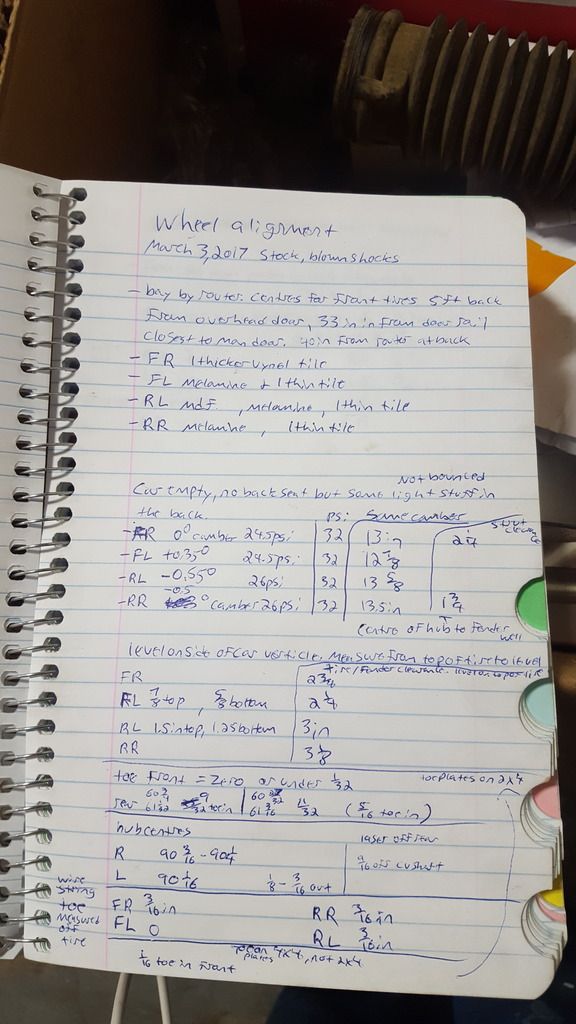
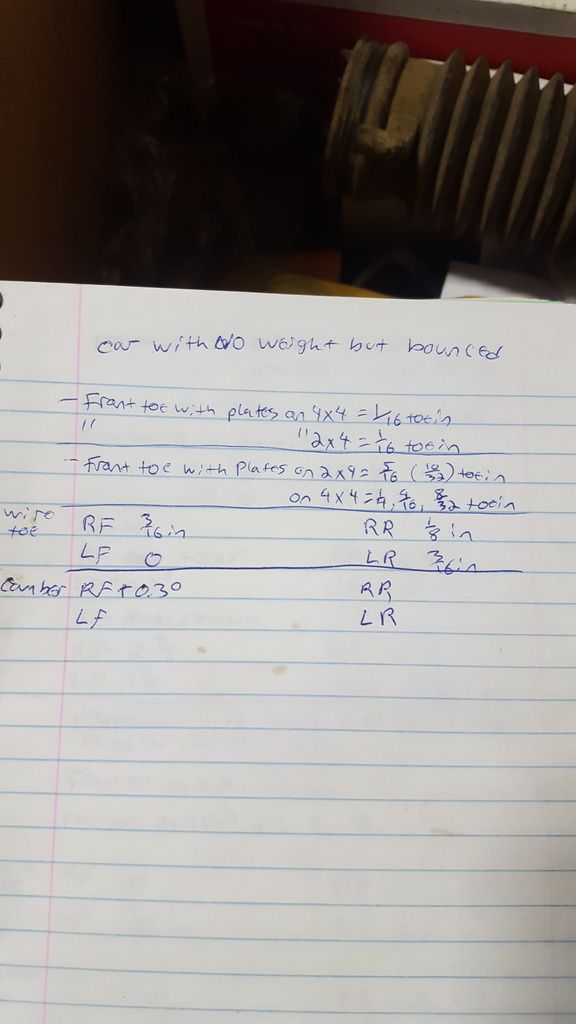
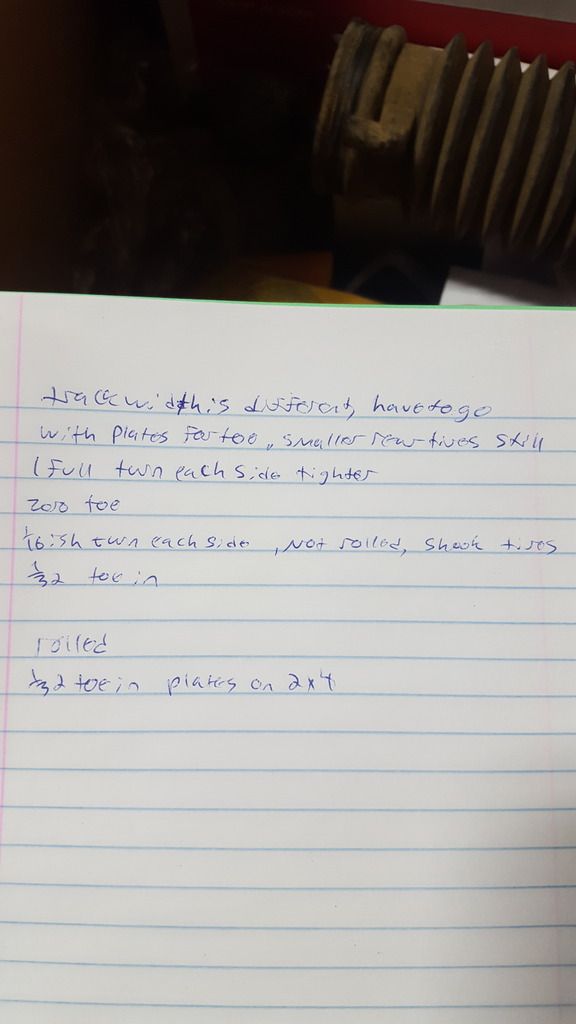
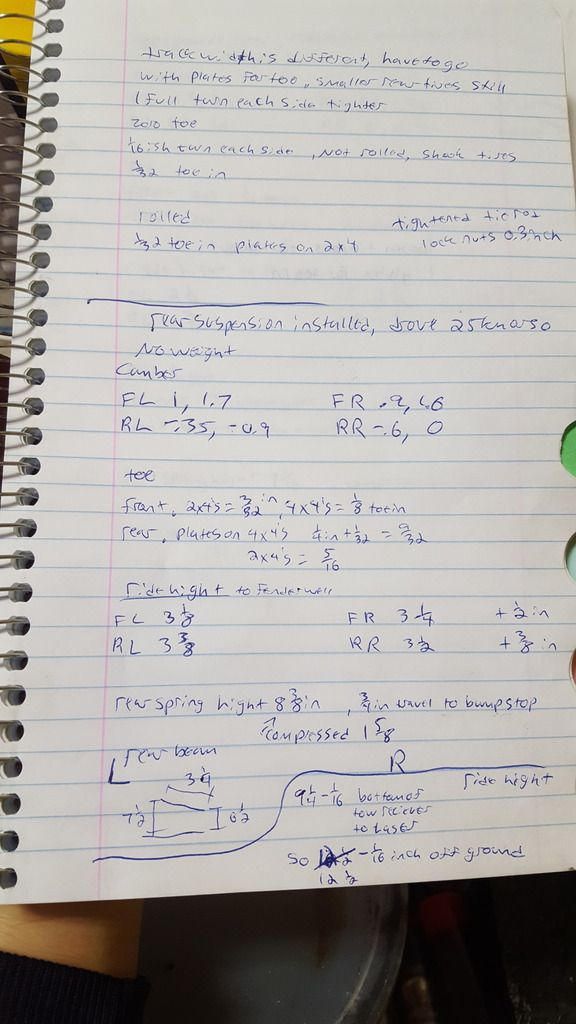
With the aspire front hubs i cant do a string alignment because the track widths are different. Total rear toe was at 1/32 inch in which is perfect, their just both pointing to one side. Have about -2deg camber now. To check I did whats in the photos below and the laser is shining 1/2inch farther away from the pass side cv shaft than the drivers side but i didnt quite trust it to be accurite enough...
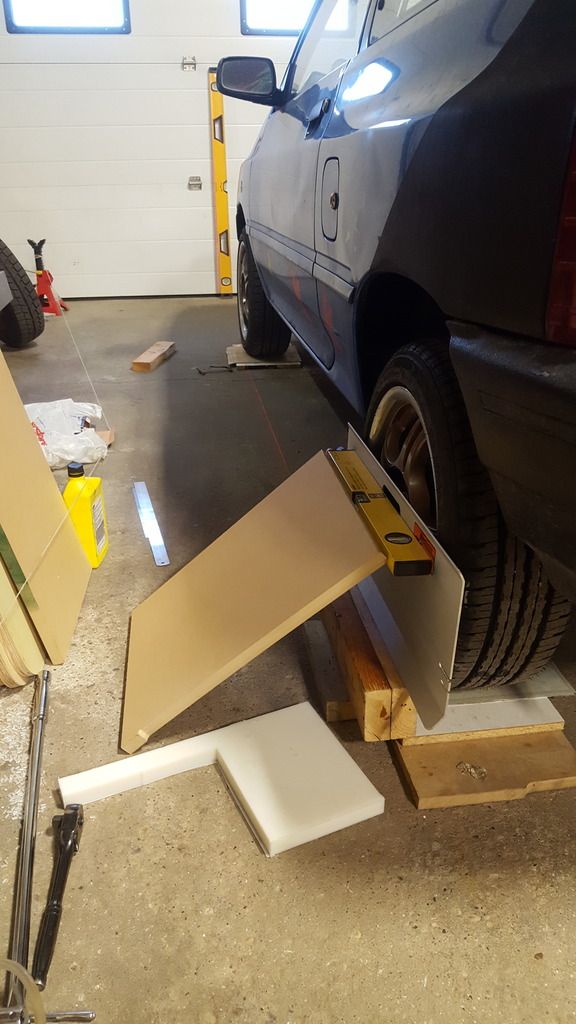
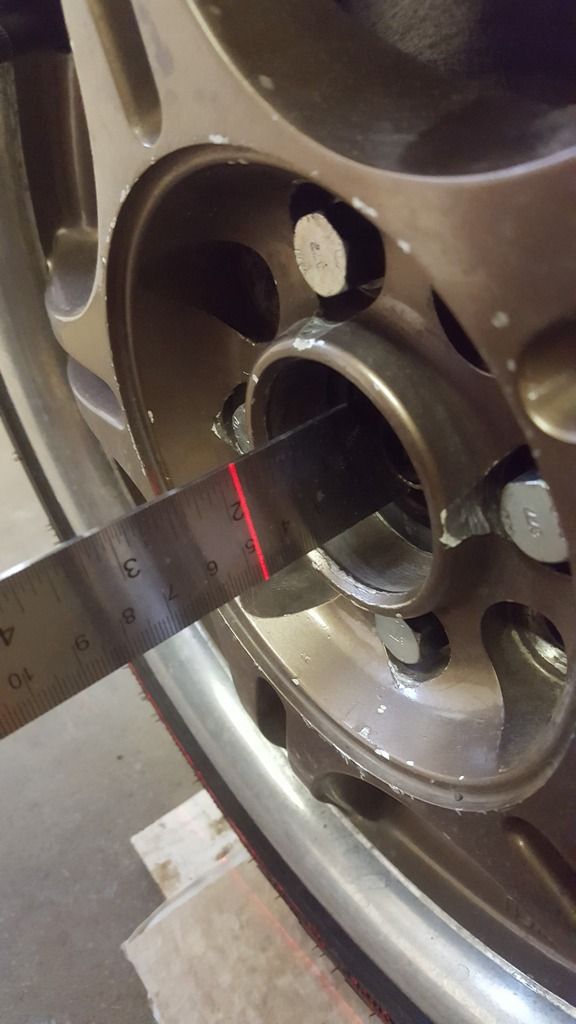
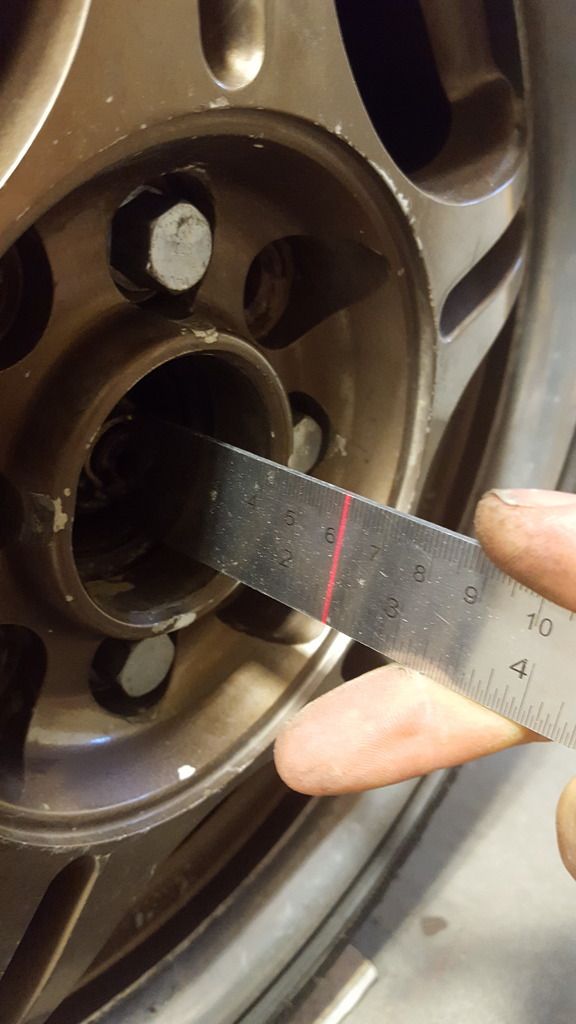
During the next week I came up with a plan for that, bought more nuts and bolts and stuff and sprayed rockgaurd on the rocker panels.
The po sprayed rockergaurd everywhere on the car. Except the actual rockers. He used just black paint there for some reason... :/
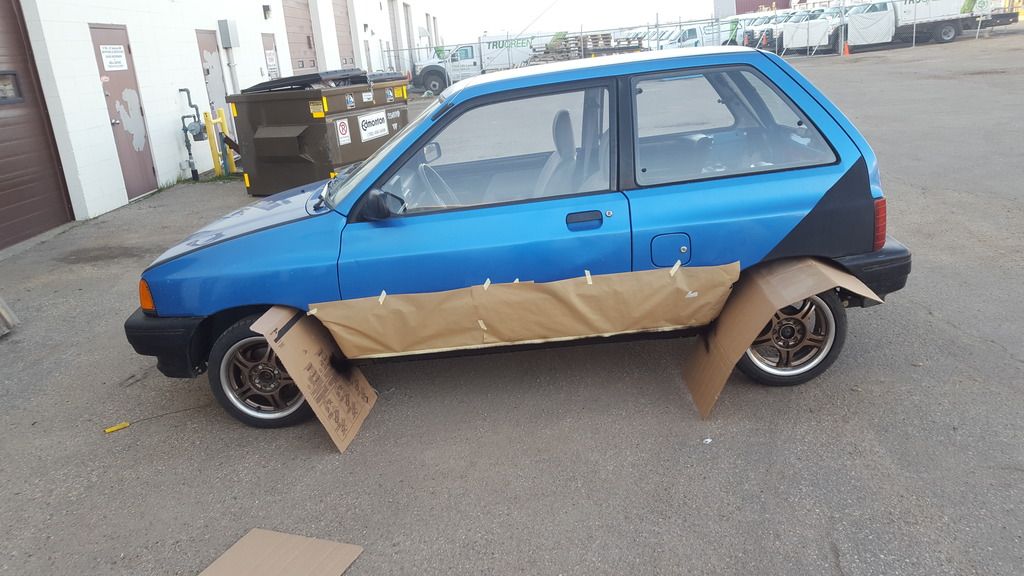
So each side would need to move 1/4inch towards the drivers side to fix the thrust angle. Over the length of the toe plates that would mean the front of each rear tire is 1/16th inch pointing too far to the passenger side. Meaning the shims should either be 0.008in thicker on the one side or 0.004in change on each side... :/
thursday the 4th I installed some 0.007in machinery shims behind the blue shims in the hopes that that would move my thrust angle to zero. It just made things worse.... The blue plastic shims just kinda squished over the shape of those shims
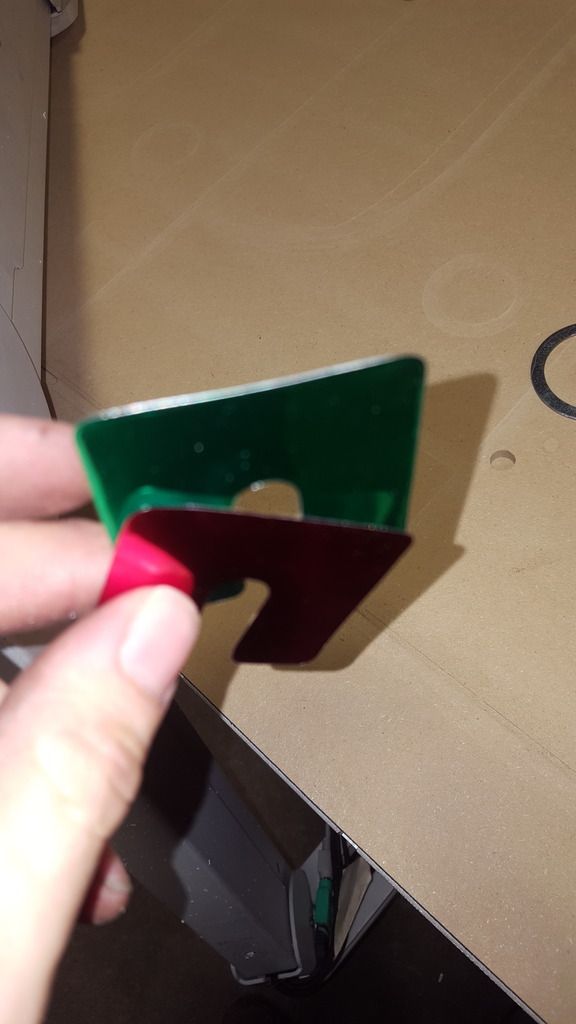
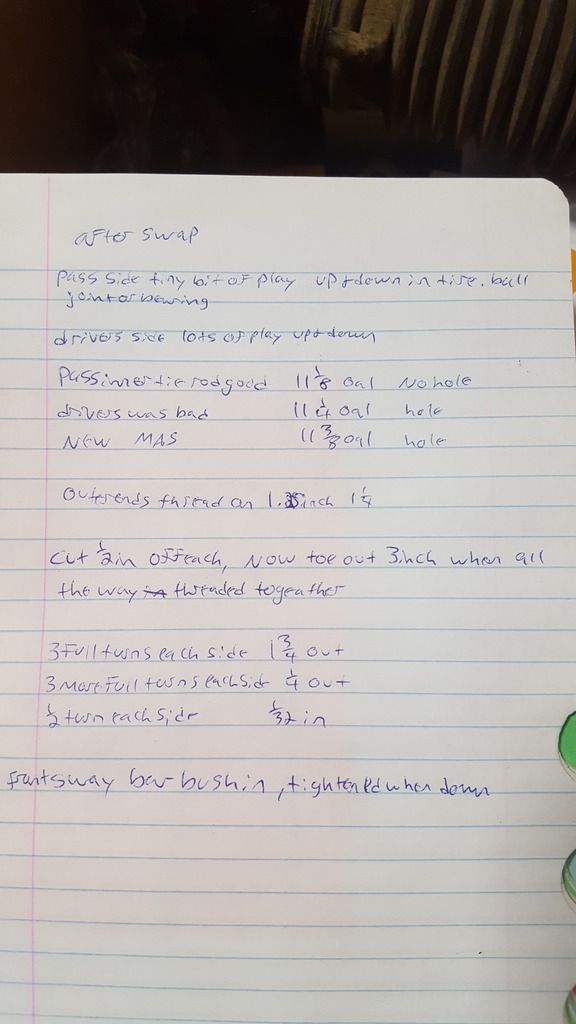
The friday I took my front knuckles off the struts and ground more metal off in order to get more negative camber. I test drove it and checked alignment, adjusted toe, shimmed rear differently using cut up pieces of pop can and test drove again.
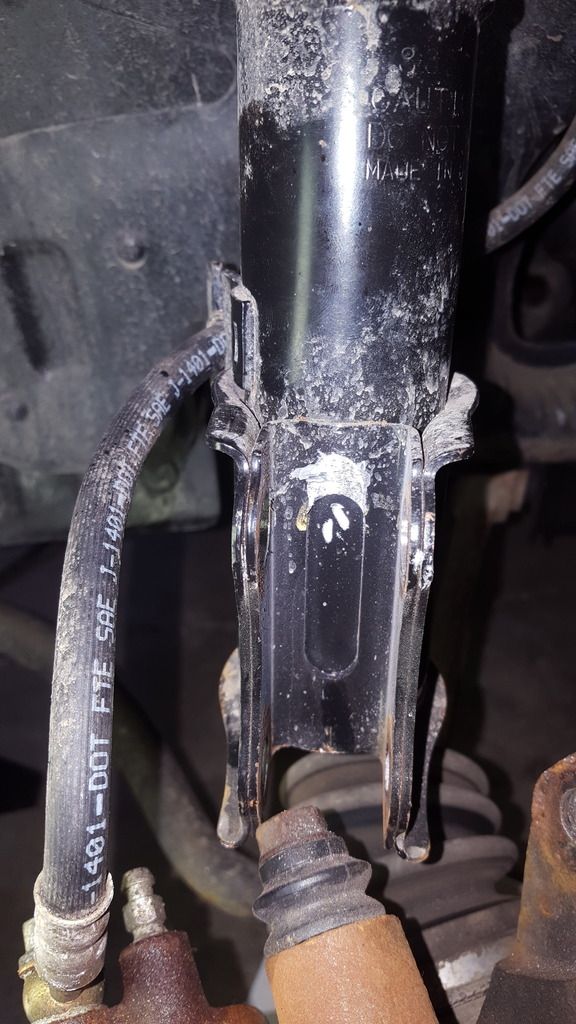
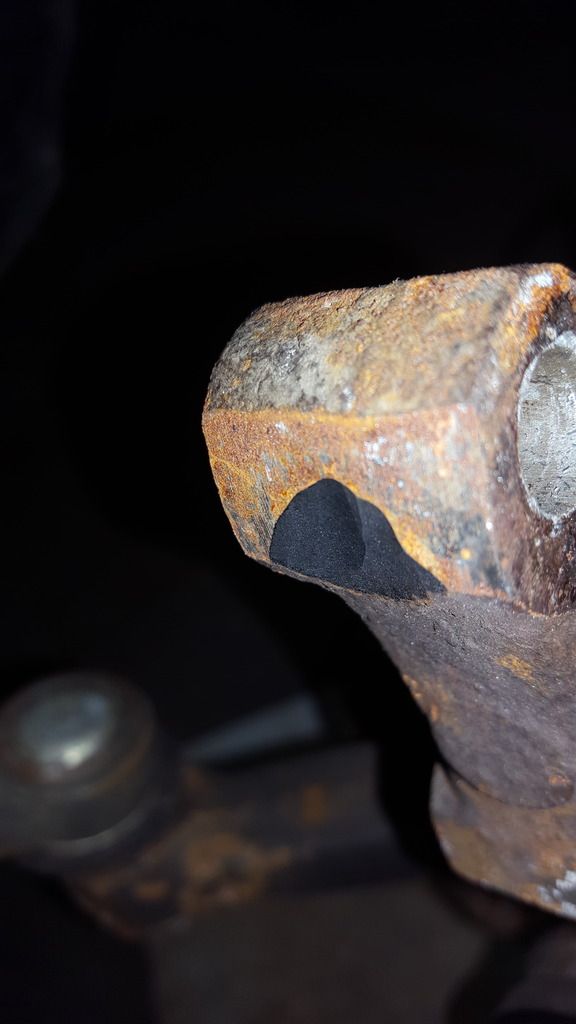
Checked alignment again and the thrust angle wasnt good....
But I had had a weird rattle and discovered the passenger nut holding the strut on the strut mount had come loose so I tightened that. That was likely caused when I was adjusting my front camber.
Sent from my SM-G920W8 using Tapatalk

Leave a comment: