Ok today was spent getting ready to make a trailer hitch tomorrow. I started by getting a Hopkins trailer light converter from autostoned PN# 48925 also available here:
Here is a picture of the back of the converter, it even has the wire code on it.
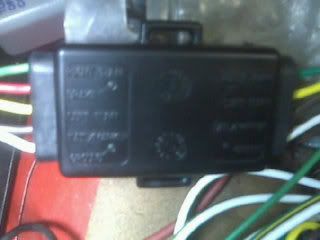
That site has a very basic wiring explanation, but I took a couple pics and wrote down which wire from the converter to the factory Festiva wiring.
1) Take the tail light cover panels off and unhook wiring harness from harness plug, remove bulbs from back of plastic housing. This gets the wires out and EASY to handle.
2) Follow the color code below and connect the wires accordingly.
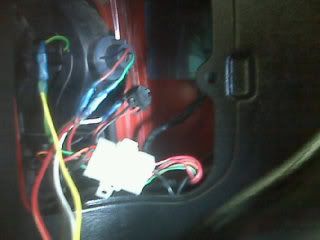
These wire colors are the ones I found with voltmeter for my 88 Festiva.(not certain if all wiring is the same for all years)
DRIVER SIDE: (Converter to Festiva)
Yellow to Green/Yellow (Left Turn)
White to Black (ground)
Brown to Red/Green (Running)
Red to Green (Brake)
PASSENGER SIDE:
Green to Green/Yellow (Right turn)
3) Green wire from converter AND flat four trailer connector need to be run behind the panel that holds the tail light cover panel on. Run the green wire all the way across and the flat four plug can be left to hang loose about halfway across. Wrap wiring with electrical tape and then zip tie to the wire loom running across the trunk.
4) Remove only the turn signal bulb and splice into the green/yellow wire leading into that bulb.
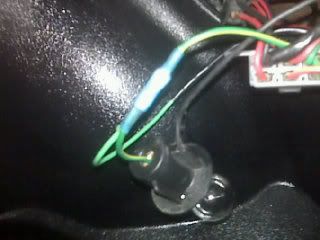
5) Replace the tail light cover panels and test flat four with voltmeter to verify everything is working.
Now on my trailer I only have LED lights and this is for a very good reason. The lights will not drag down the electrical system, heck the vehicle doesn't even notice the difference. Also, I made all of my connections in the short section of wire between the bulbs and white harness connection simply so it could be replaced back to factory if I later decide to. Also, make sure to use either solder and heat shrink or the butt connectors that have the heat shrink already around them, like I used on this one. It helps to keep the corrosion down to a minimum and hopeflly help the car continue to be trouble free.
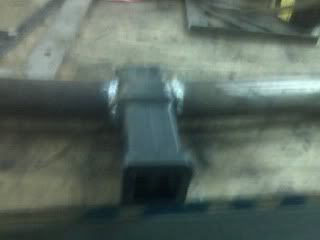
Sorry about the crappy cell pics, but it was all I have, misery wont let me have her camera to use after I killed the last four we had during offroading trips. I sure hope this helps others when trying to do this. I will get a couple pics of the hitch tomorrow while it is being bent up and mounted. I am going to be using DOM tubing that I had left over from my rock crawler build.
Here is a picture of the back of the converter, it even has the wire code on it.

That site has a very basic wiring explanation, but I took a couple pics and wrote down which wire from the converter to the factory Festiva wiring.
1) Take the tail light cover panels off and unhook wiring harness from harness plug, remove bulbs from back of plastic housing. This gets the wires out and EASY to handle.
2) Follow the color code below and connect the wires accordingly.

These wire colors are the ones I found with voltmeter for my 88 Festiva.(not certain if all wiring is the same for all years)
DRIVER SIDE: (Converter to Festiva)
Yellow to Green/Yellow (Left Turn)
White to Black (ground)
Brown to Red/Green (Running)
Red to Green (Brake)
PASSENGER SIDE:
Green to Green/Yellow (Right turn)
3) Green wire from converter AND flat four trailer connector need to be run behind the panel that holds the tail light cover panel on. Run the green wire all the way across and the flat four plug can be left to hang loose about halfway across. Wrap wiring with electrical tape and then zip tie to the wire loom running across the trunk.
4) Remove only the turn signal bulb and splice into the green/yellow wire leading into that bulb.

5) Replace the tail light cover panels and test flat four with voltmeter to verify everything is working.
Now on my trailer I only have LED lights and this is for a very good reason. The lights will not drag down the electrical system, heck the vehicle doesn't even notice the difference. Also, I made all of my connections in the short section of wire between the bulbs and white harness connection simply so it could be replaced back to factory if I later decide to. Also, make sure to use either solder and heat shrink or the butt connectors that have the heat shrink already around them, like I used on this one. It helps to keep the corrosion down to a minimum and hopeflly help the car continue to be trouble free.
Sorry about the crappy cell pics, but it was all I have, misery wont let me have her camera to use after I killed the last four we had during offroading trips. I sure hope this helps others when trying to do this. I will get a couple pics of the hitch tomorrow while it is being bent up and mounted. I am going to be using DOM tubing that I had left over from my rock crawler build.



Comment