so got some stuff done, old timing belt is on for now, hopefully I'll get a new one before everything is said and done, but I wanted something on it for now incase.....not gonna say it.
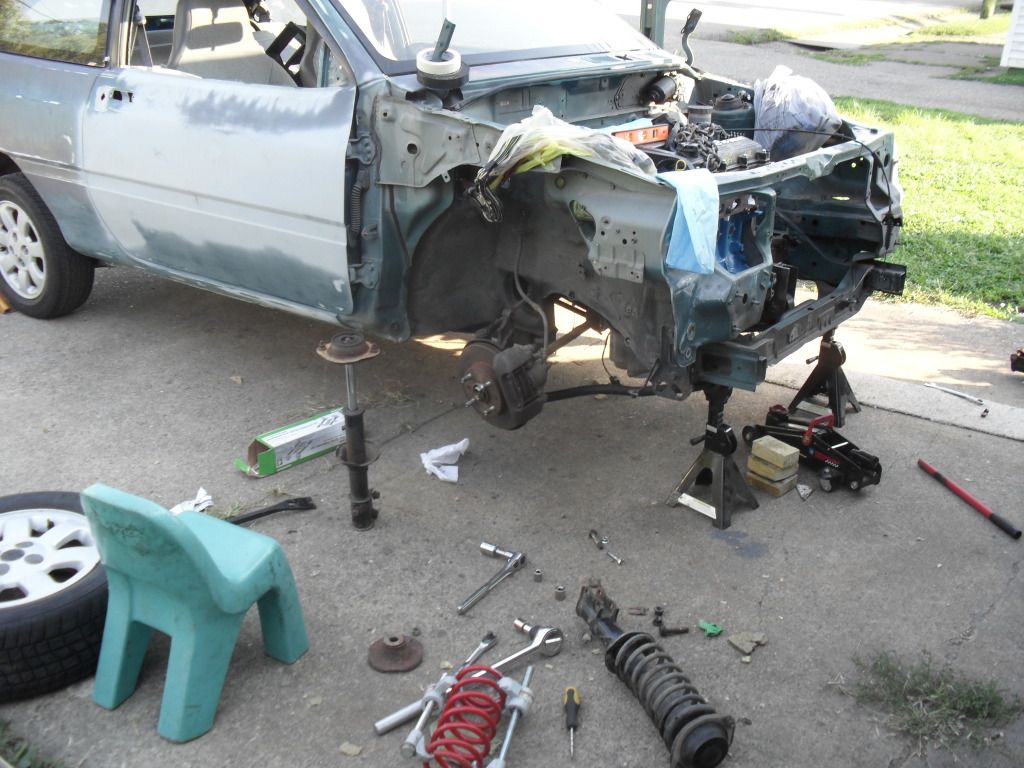
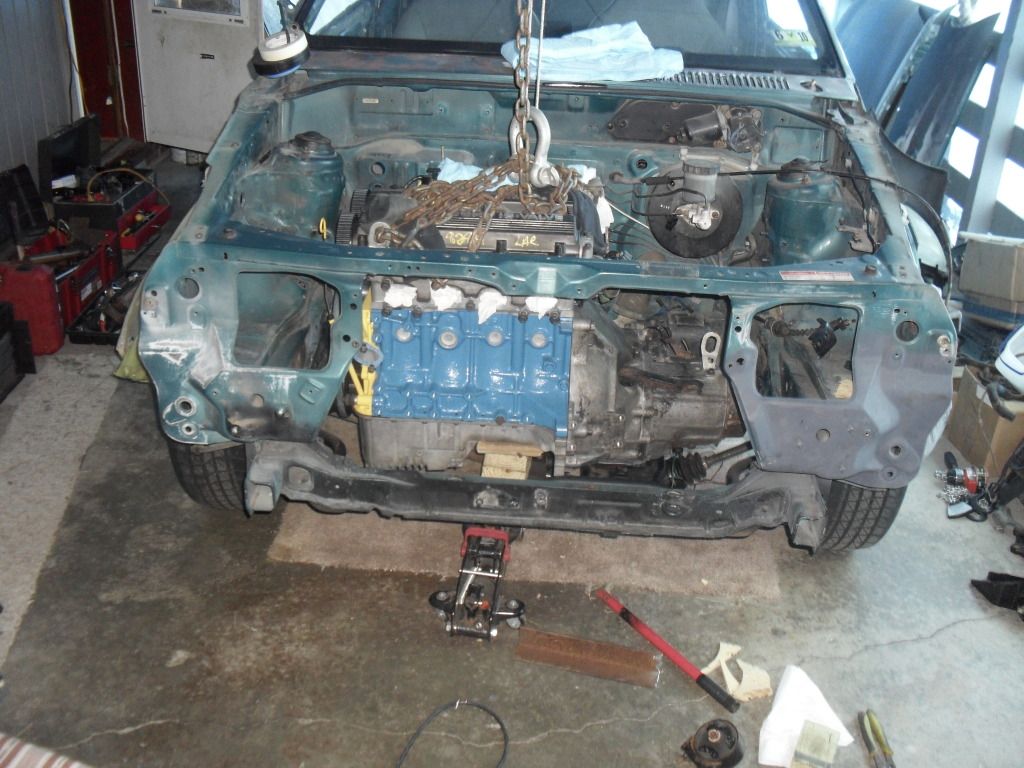
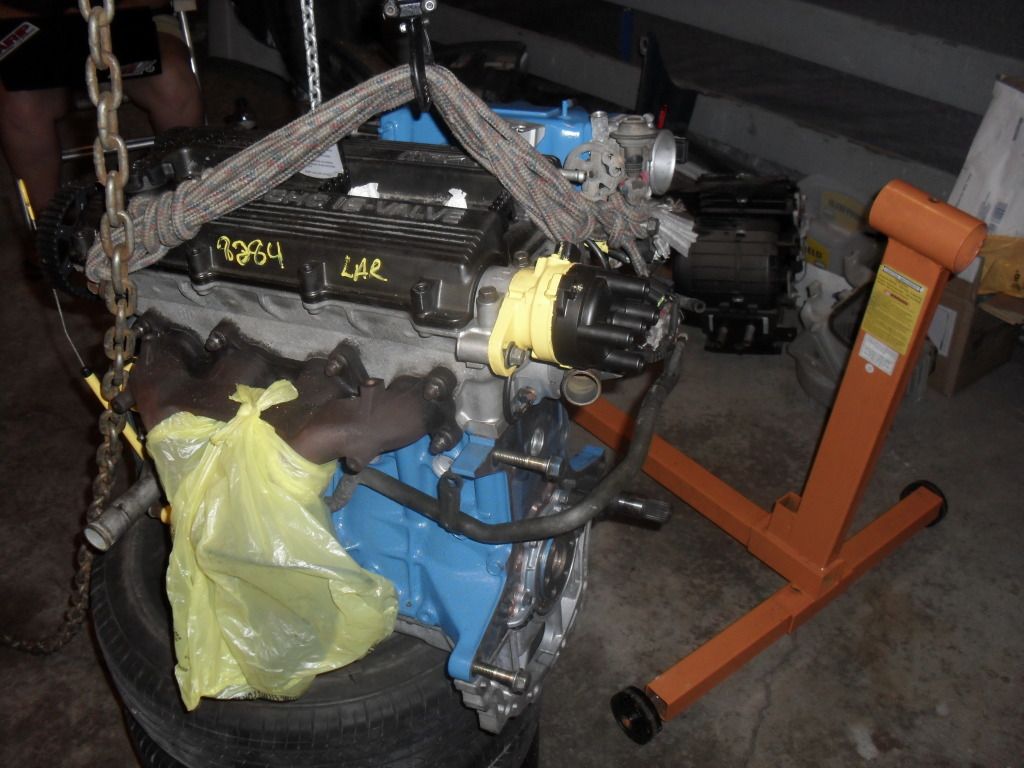
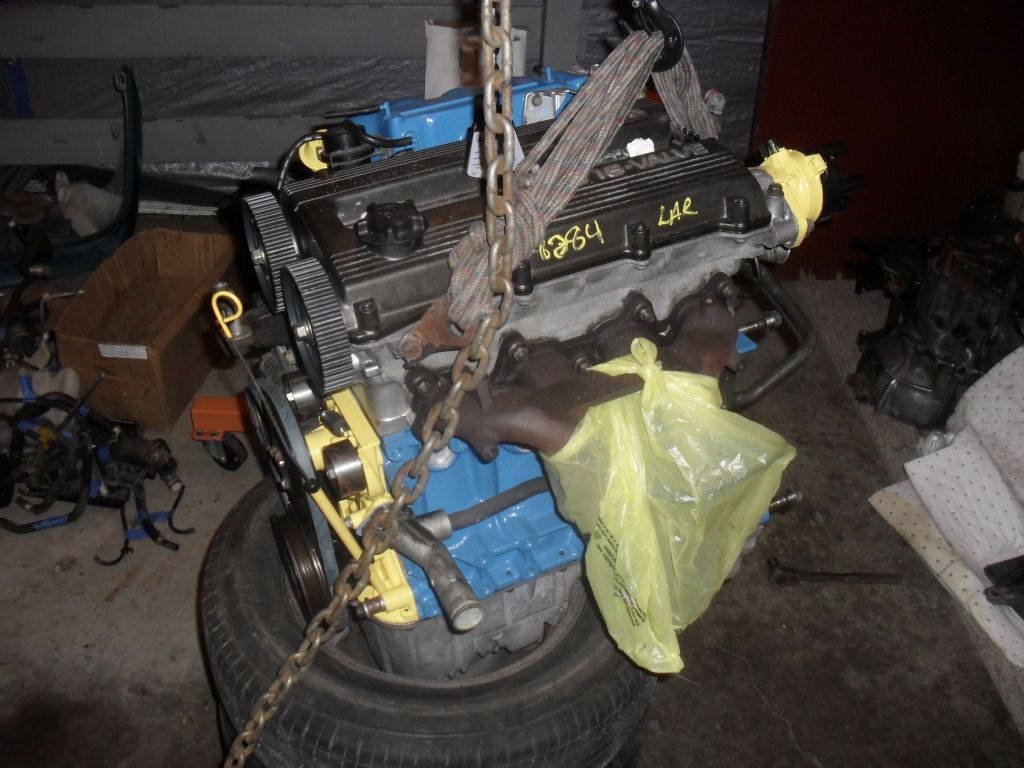
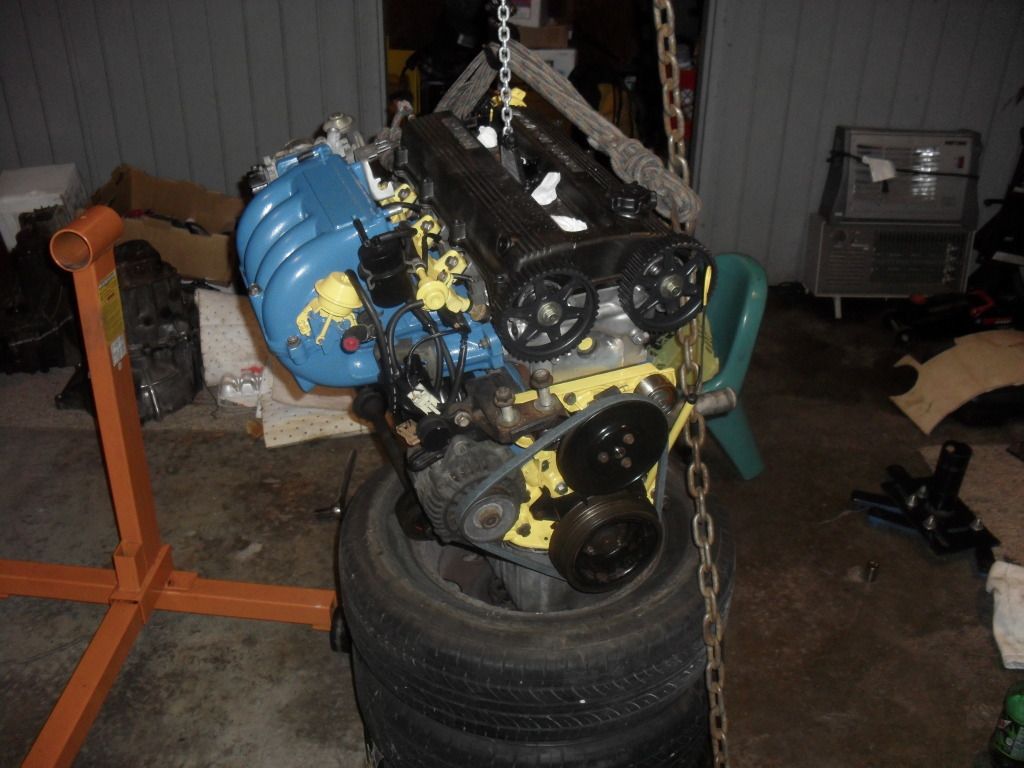
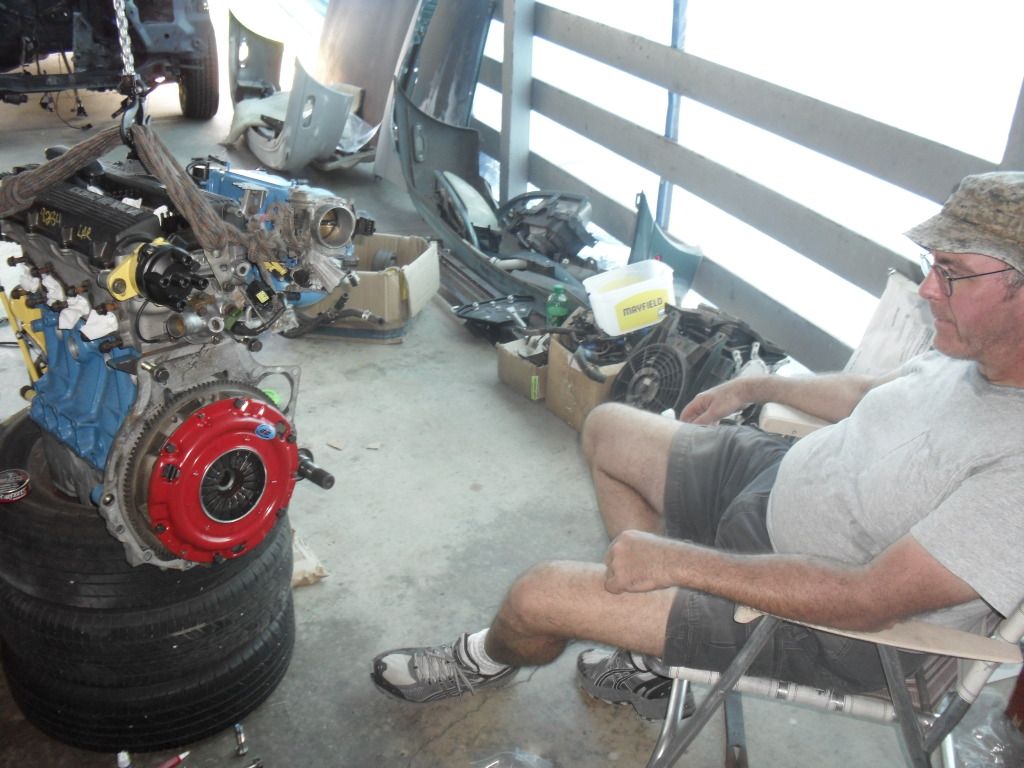
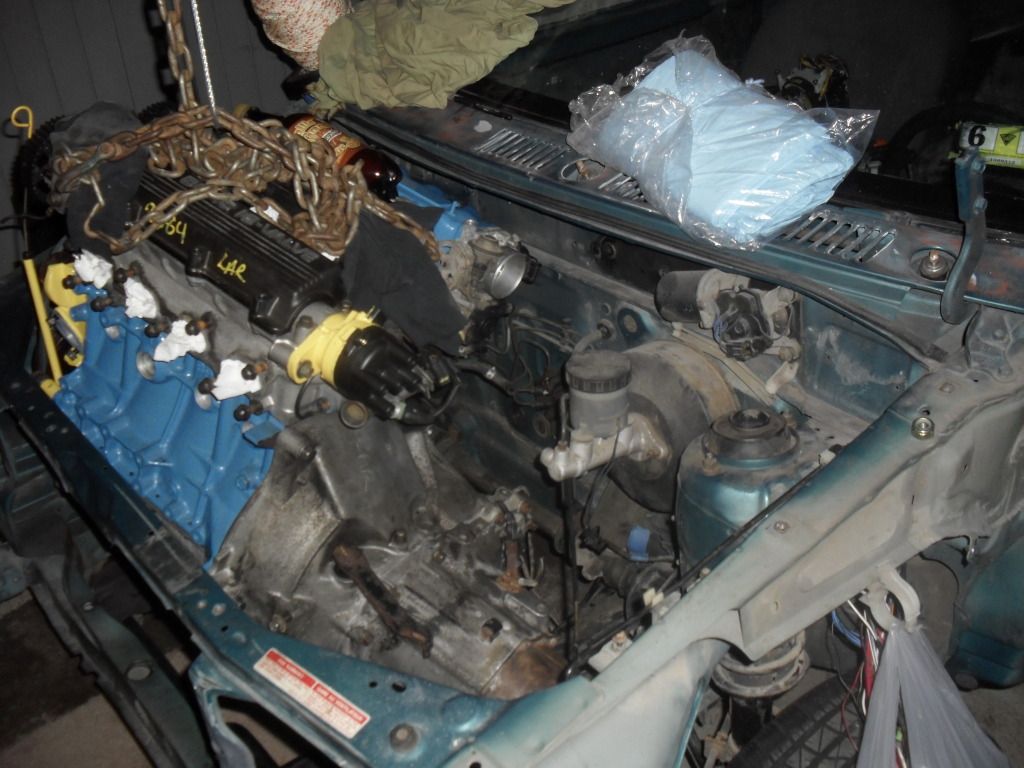
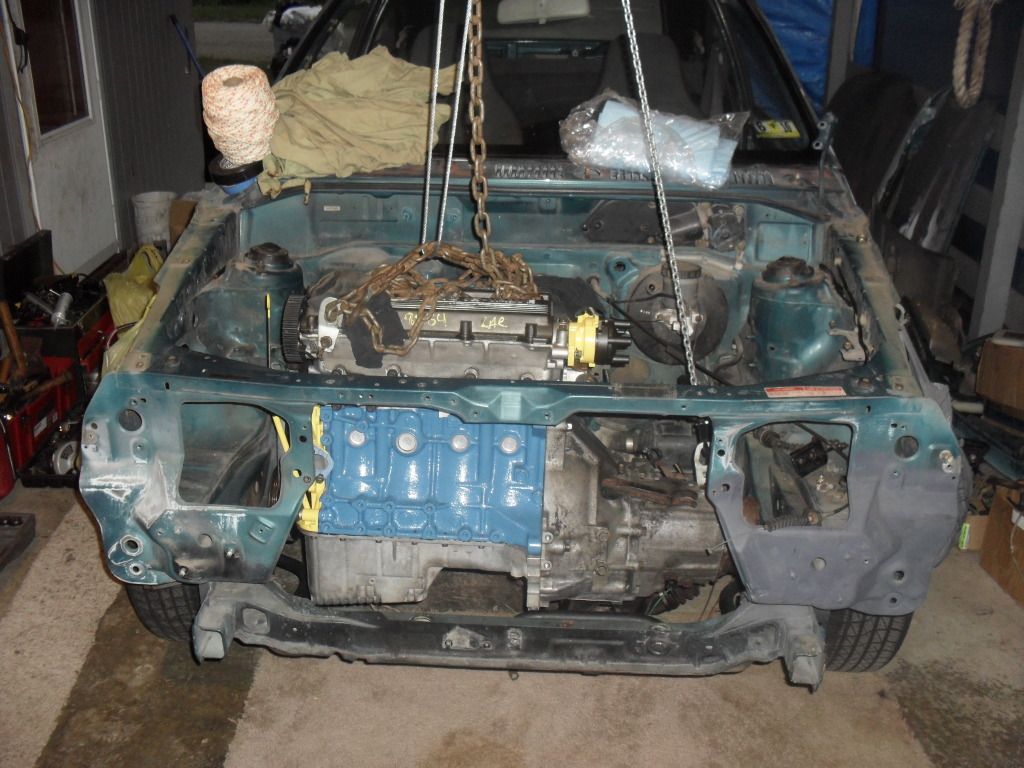
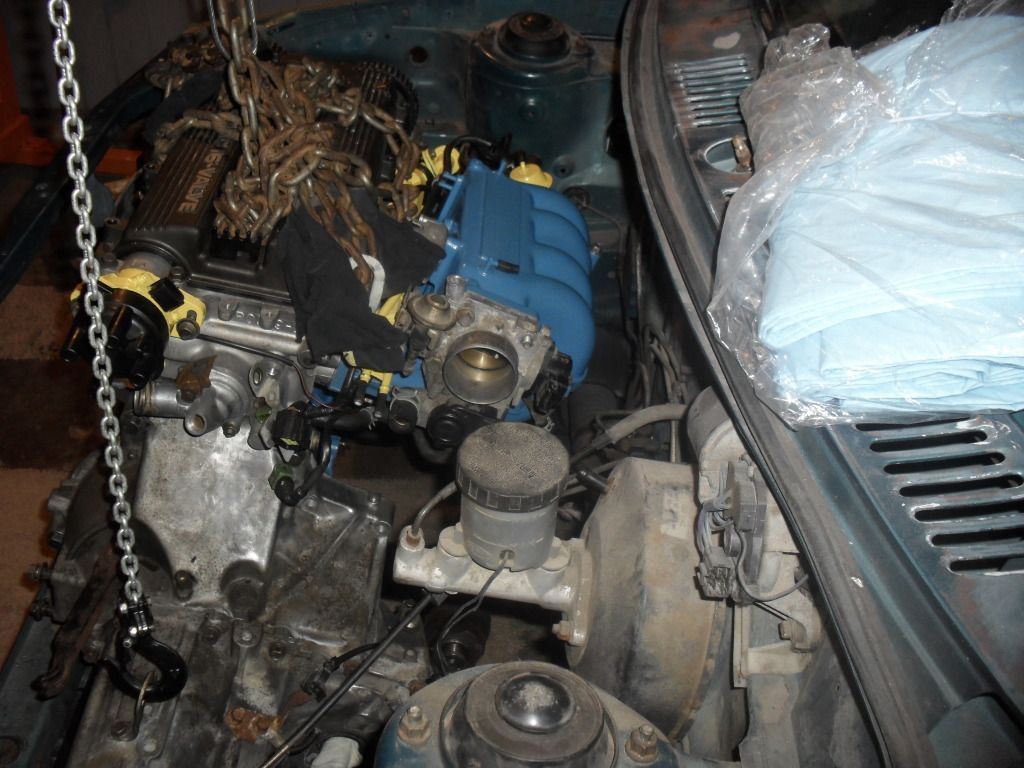
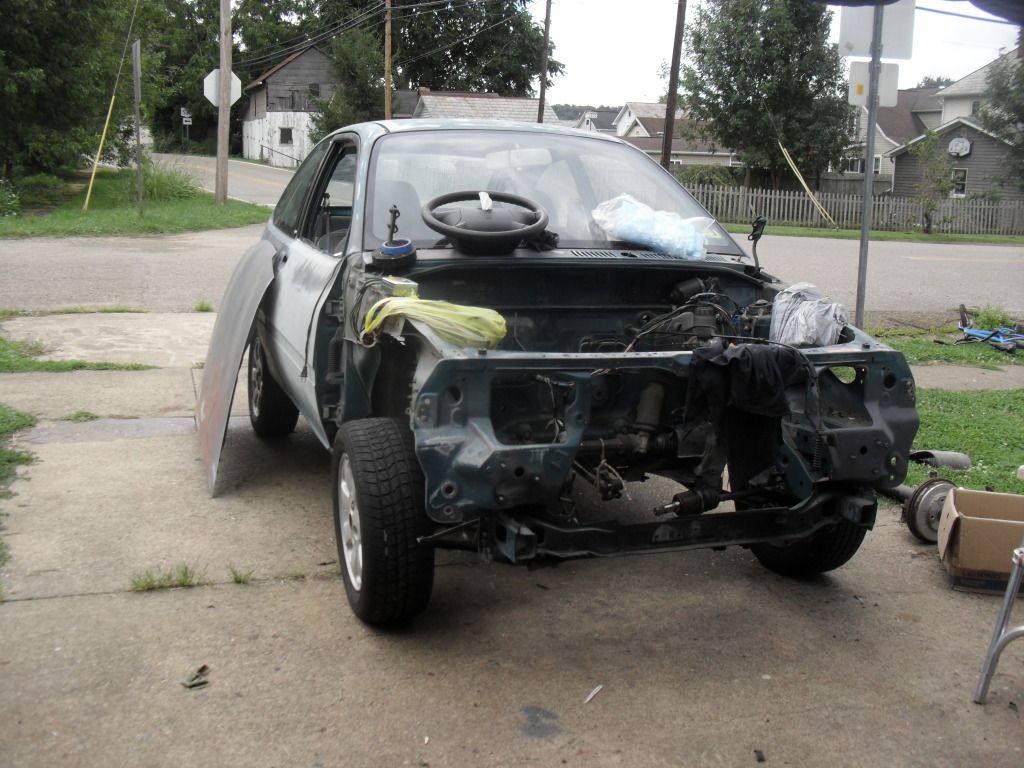
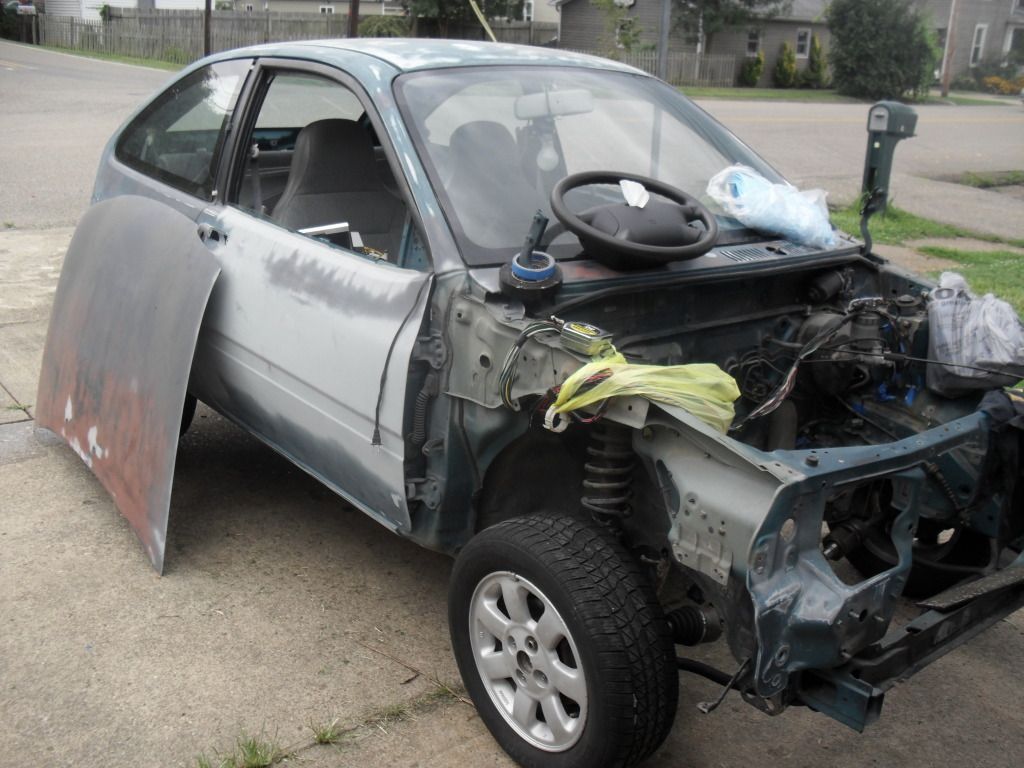
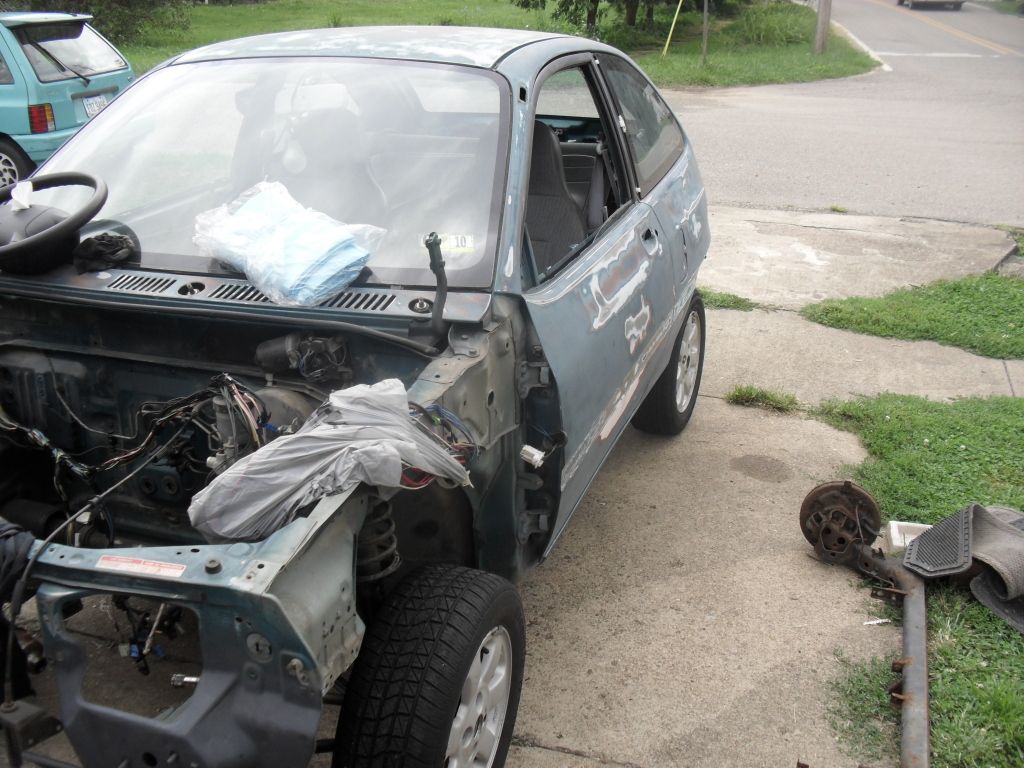
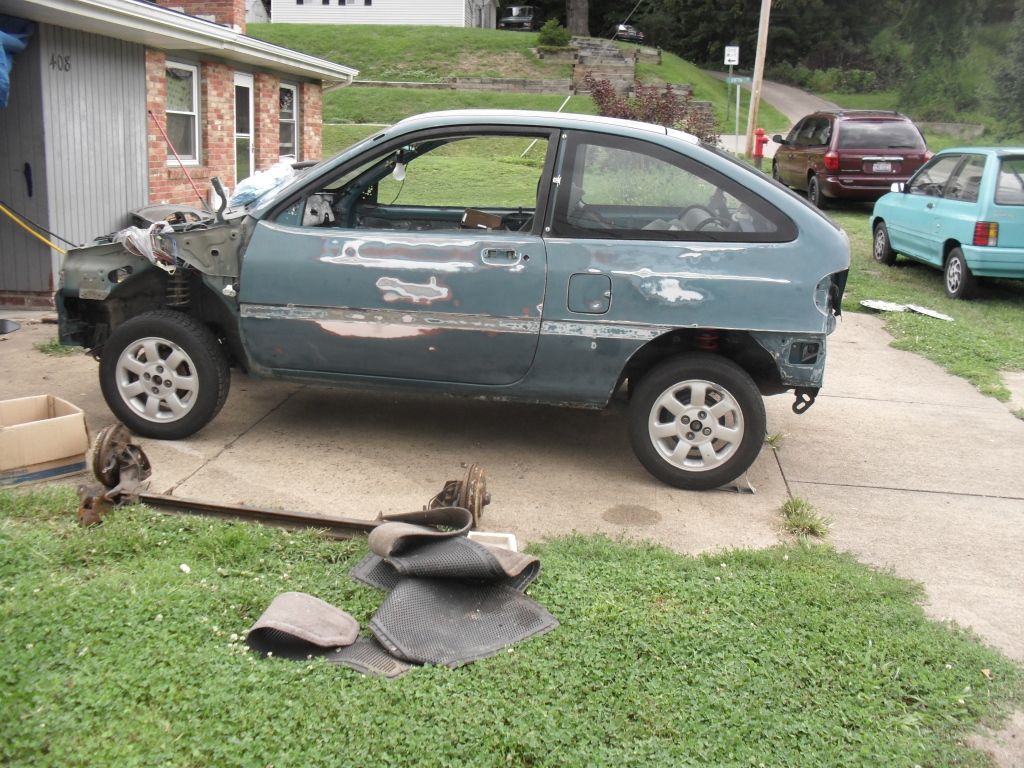
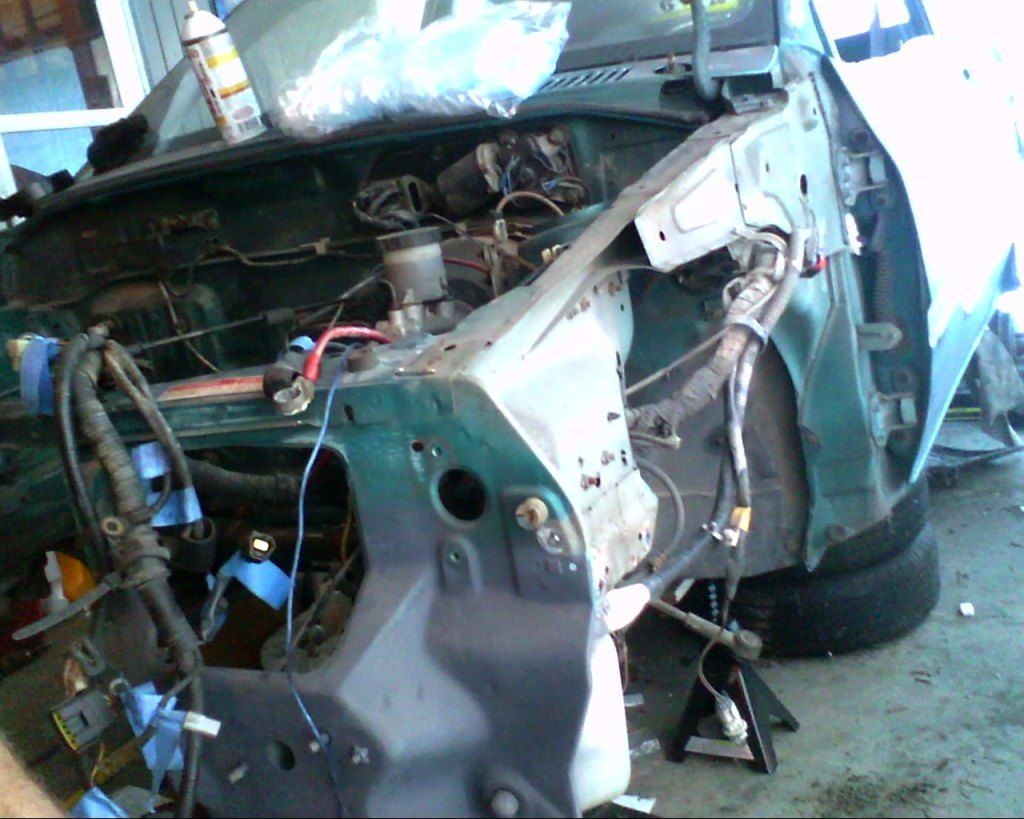
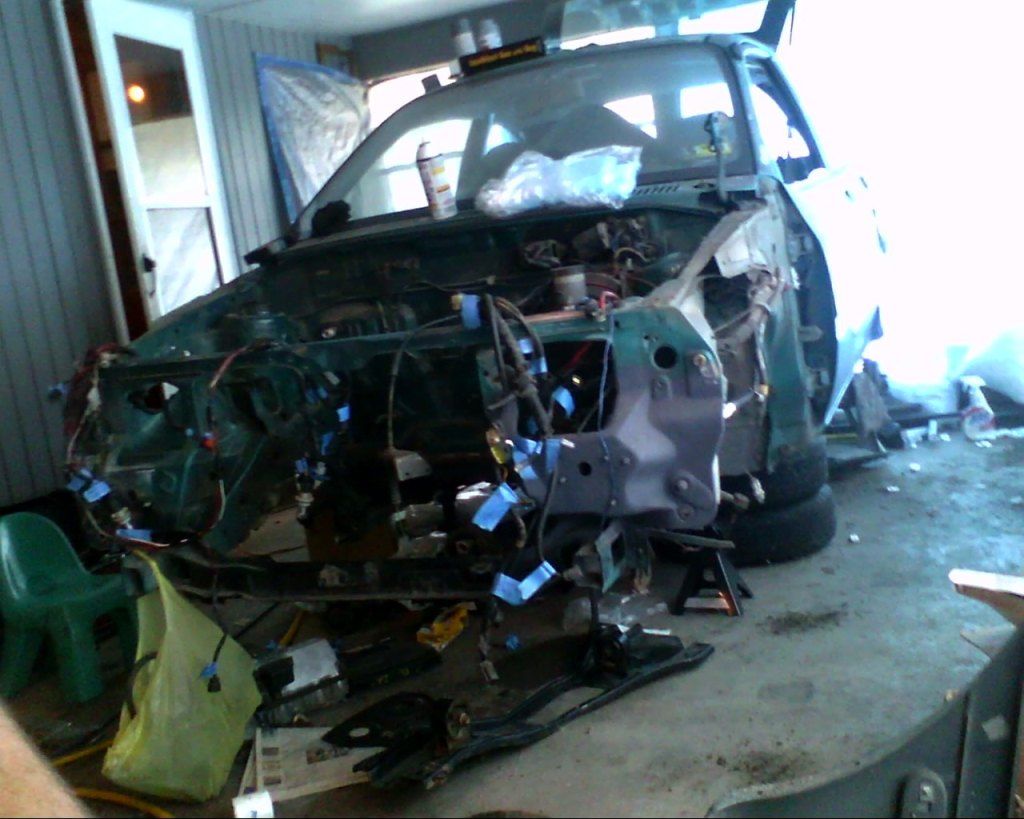
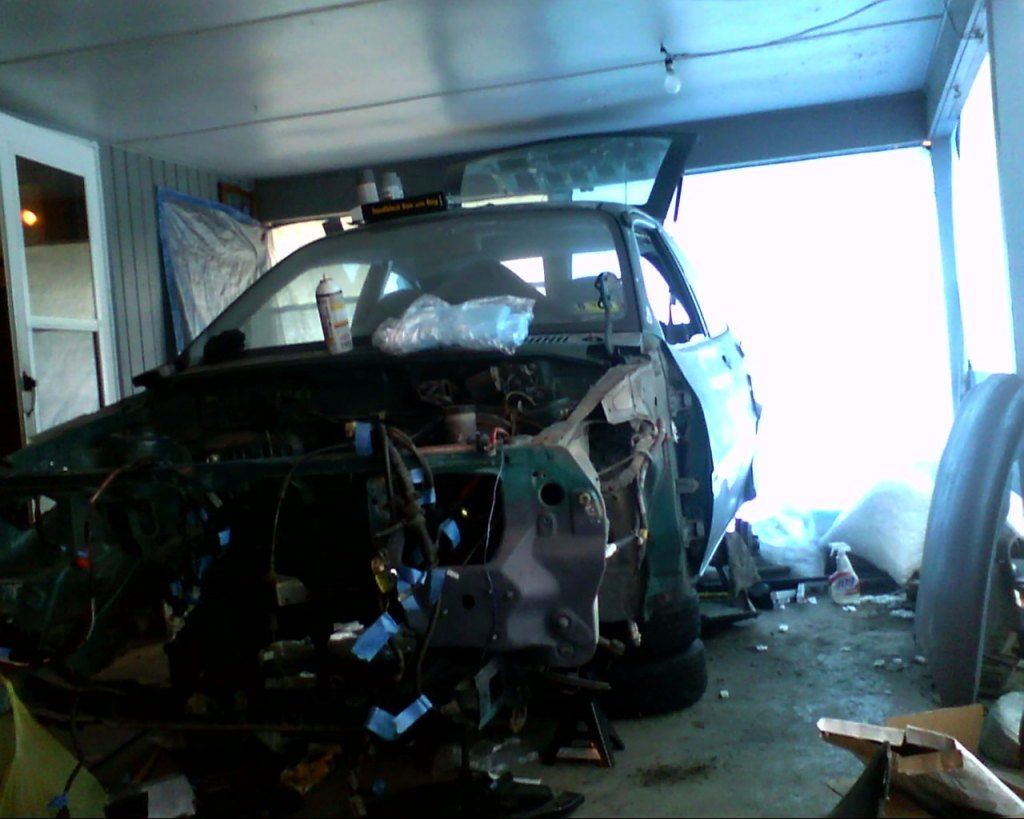
my car looked like this for awhile yesterday..
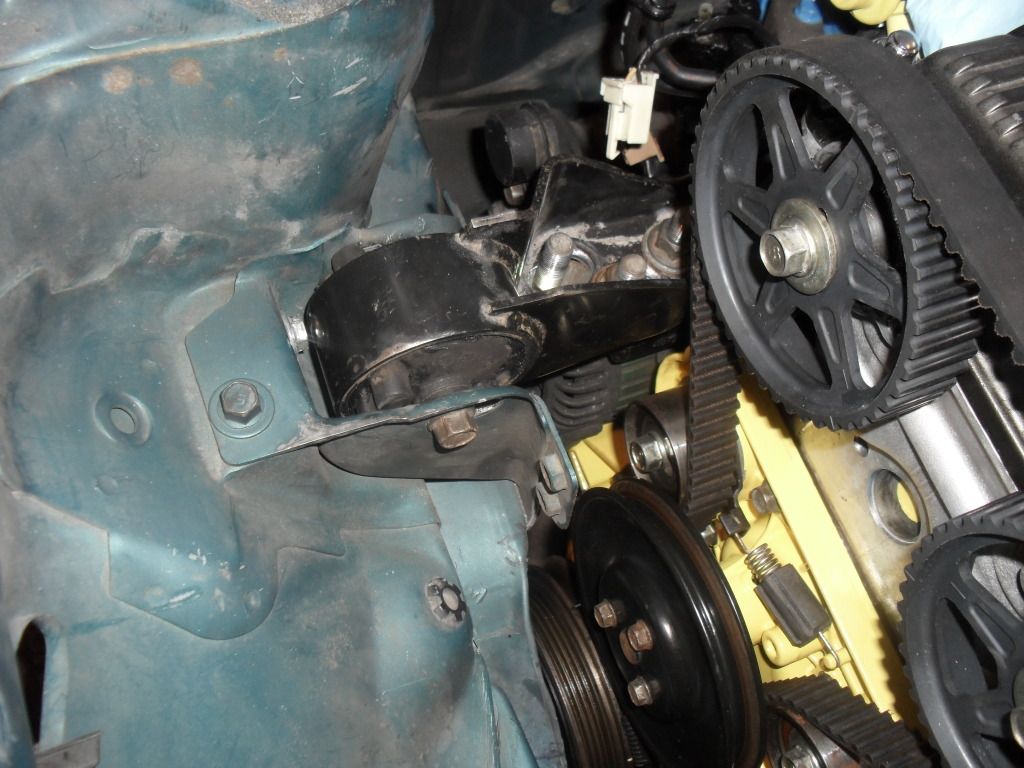
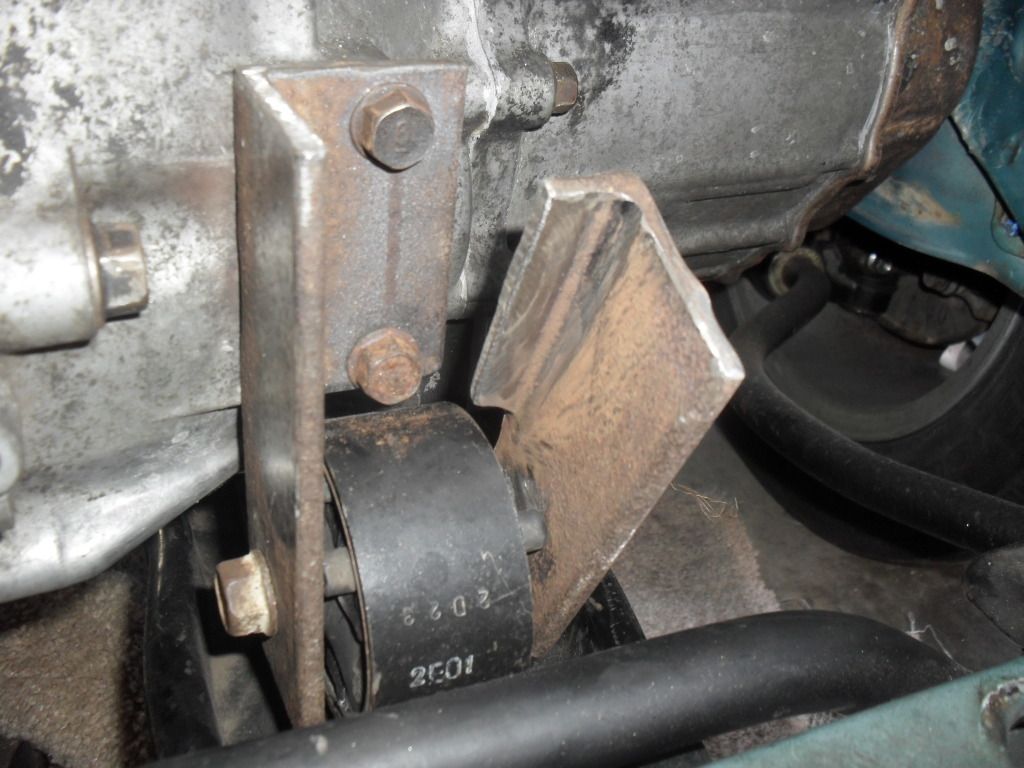
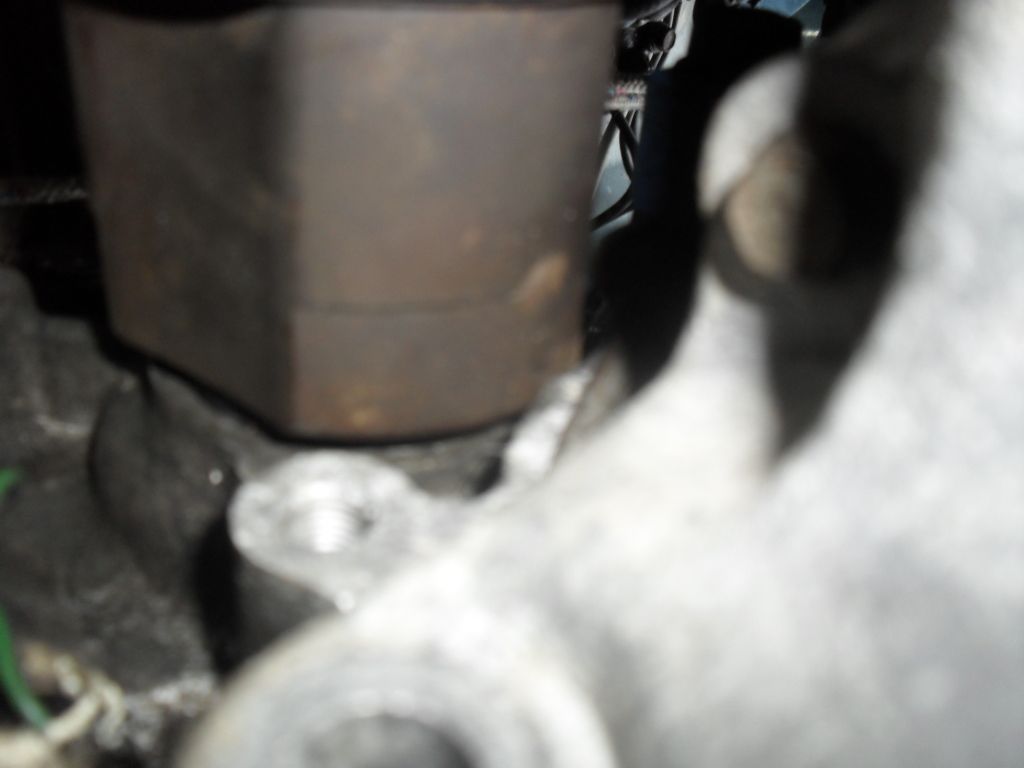
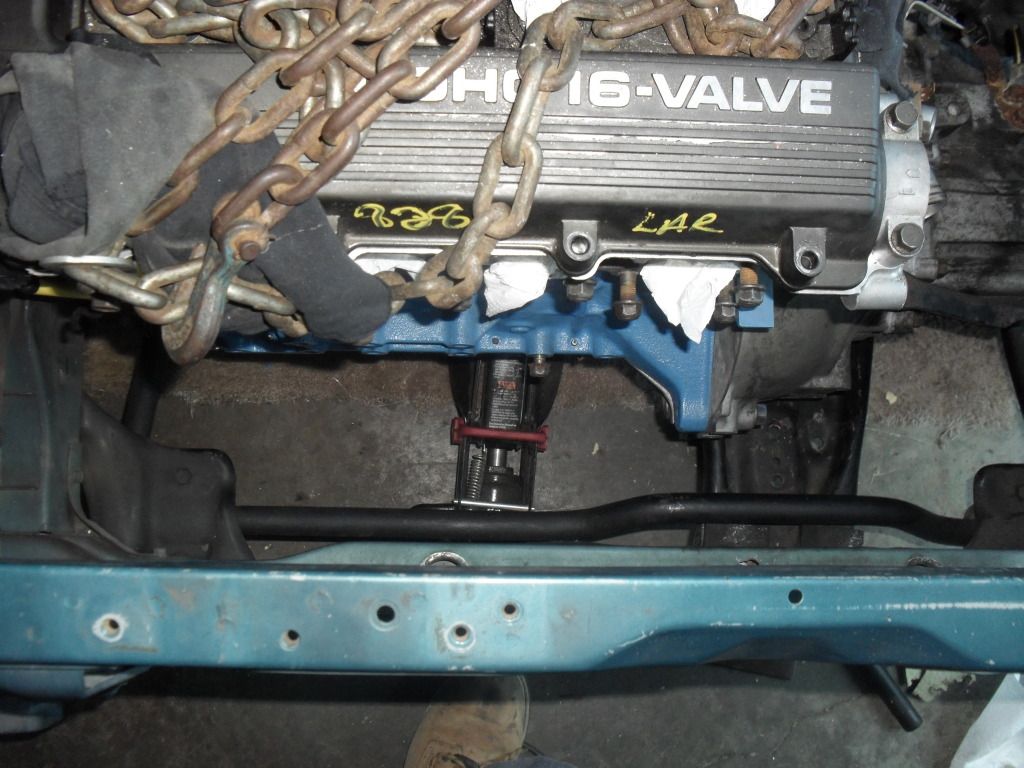
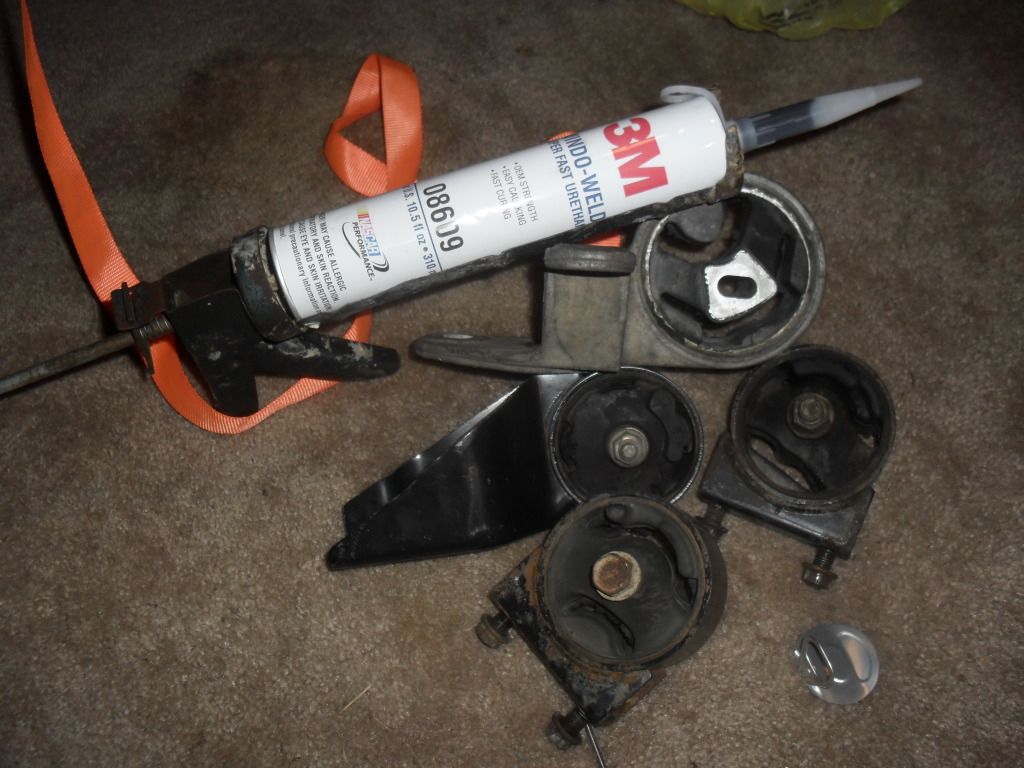
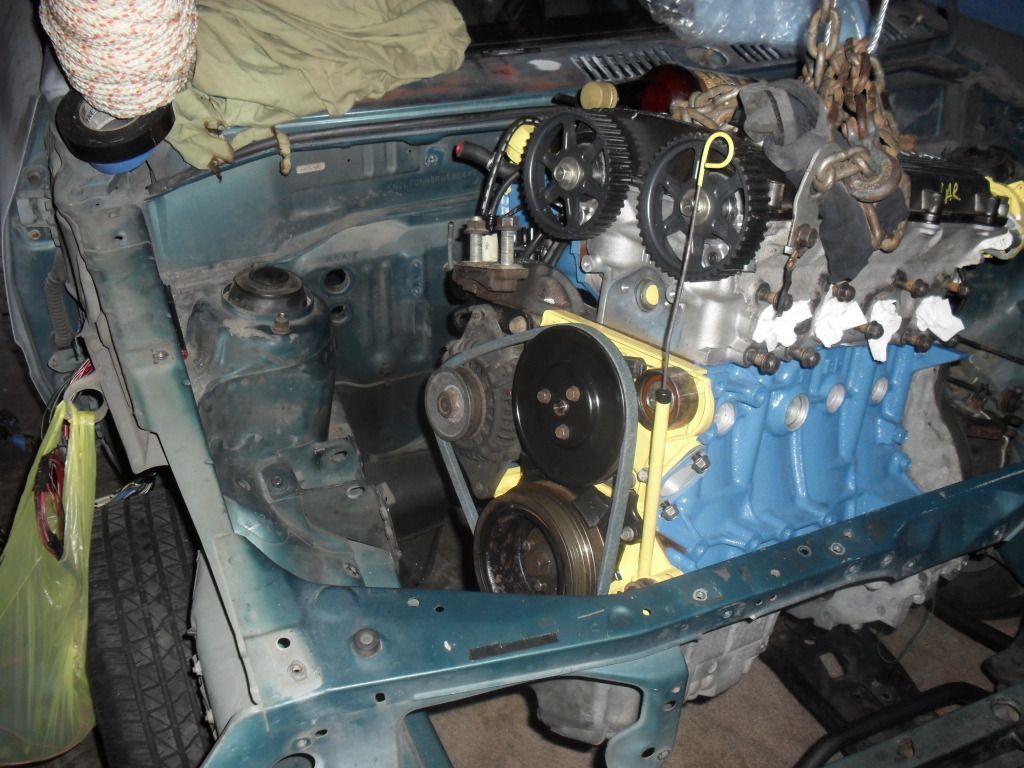
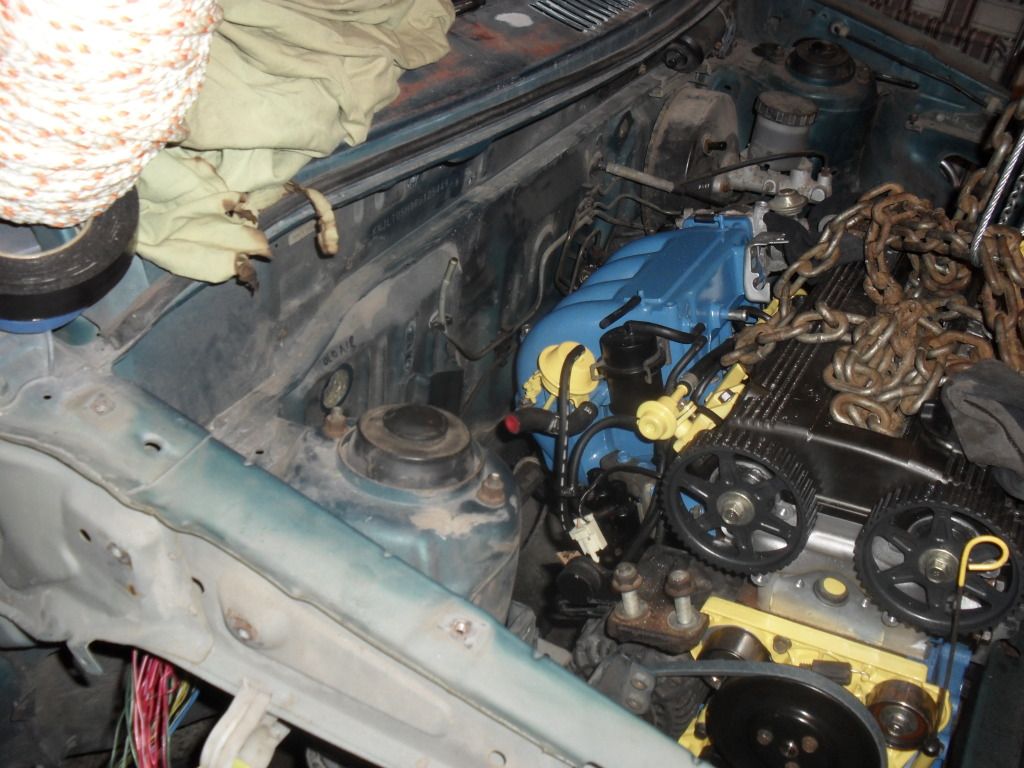
I first started with the engine mount, I used the stock b3 mount, stole the idea from eurotiva..
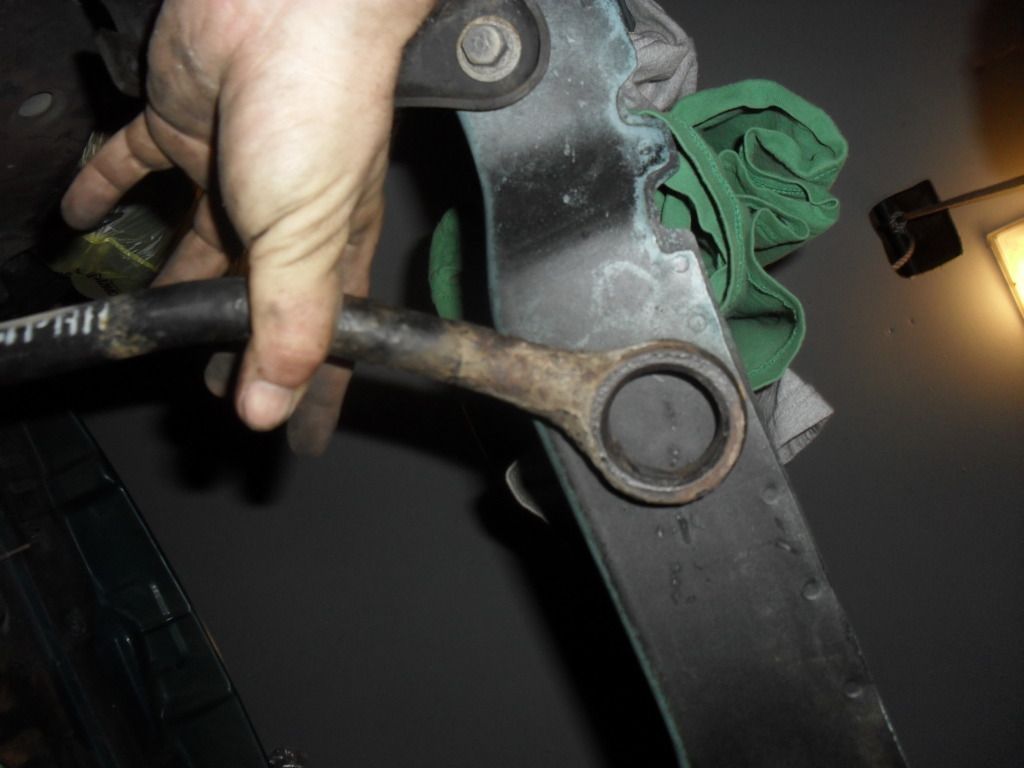
I had to go buy 3x 3/8"x1 1/2" NPT galvanized Male couplings (which will need replaced with something with thicker walls soon, but these work as temp) to space the block bracket off the block 1 1/2" to clear the timing belt.. and a couple 12mmx 3" shoulder bolts (grade 8.8) they needed some shaved off the ends to fit right, but I eventually got it lol..
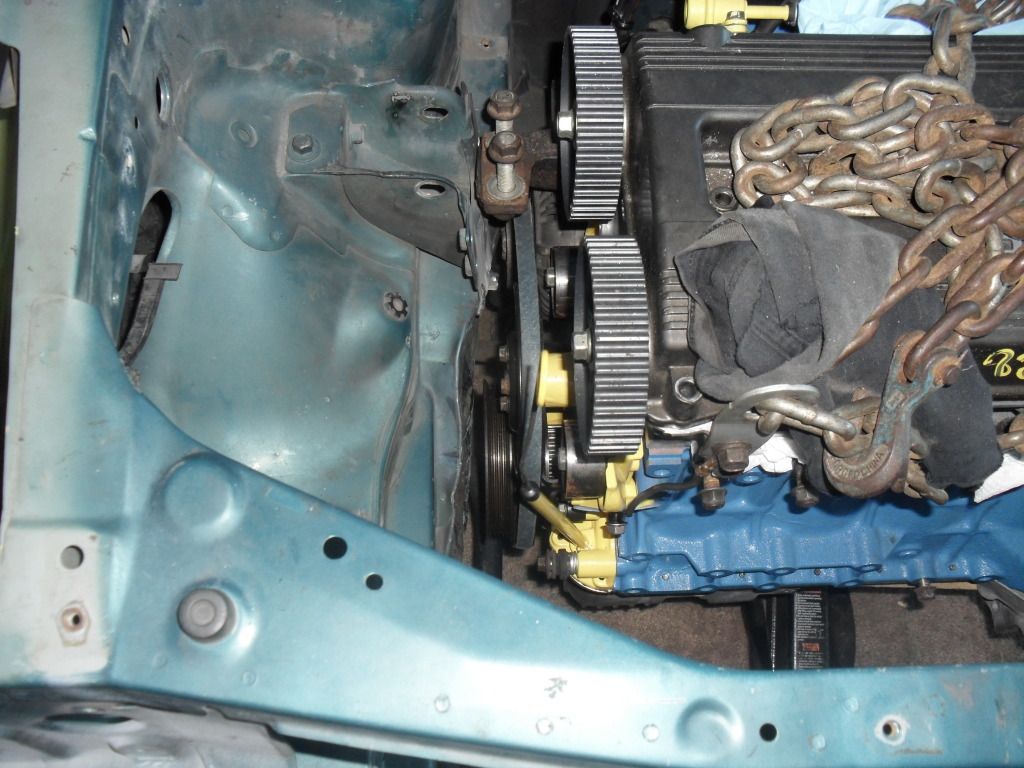
had to ream out the holes on the mount to bring it closer to the passenger frame rail
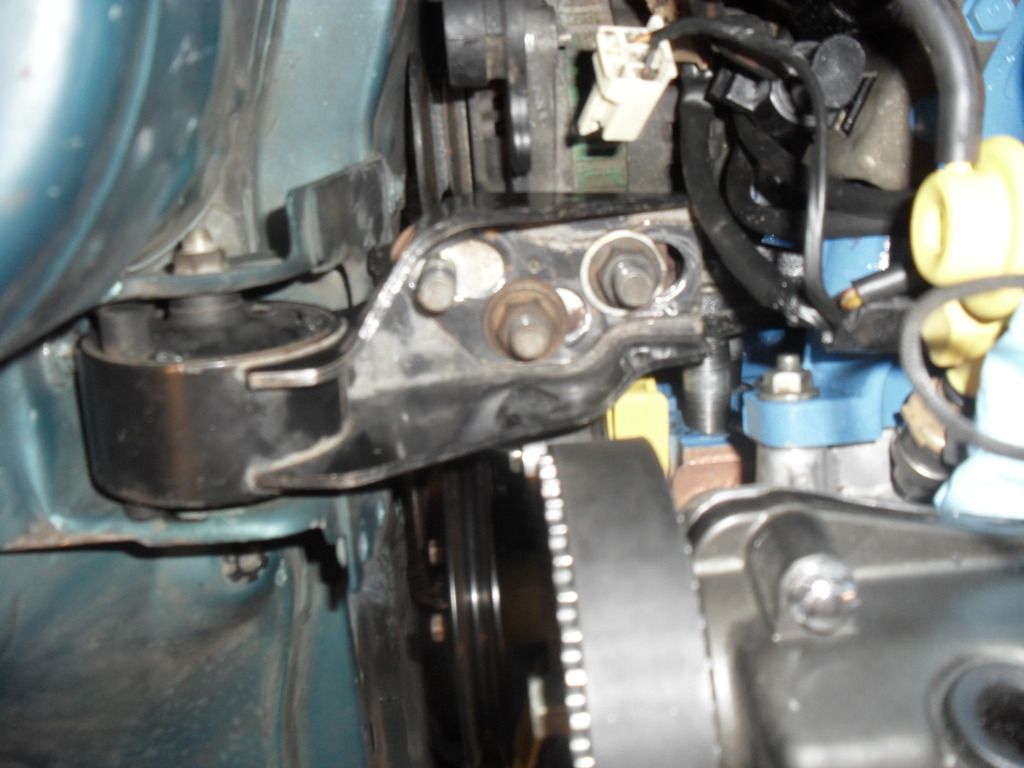
Also had to ream out the holes on the body mount bracket to space it back even further than that, the outside stud on the engine bracket ended up hitting the brace on the mount so it wouldn't go any further.. I also had to shave down 3 bolt heads on the body bracket..
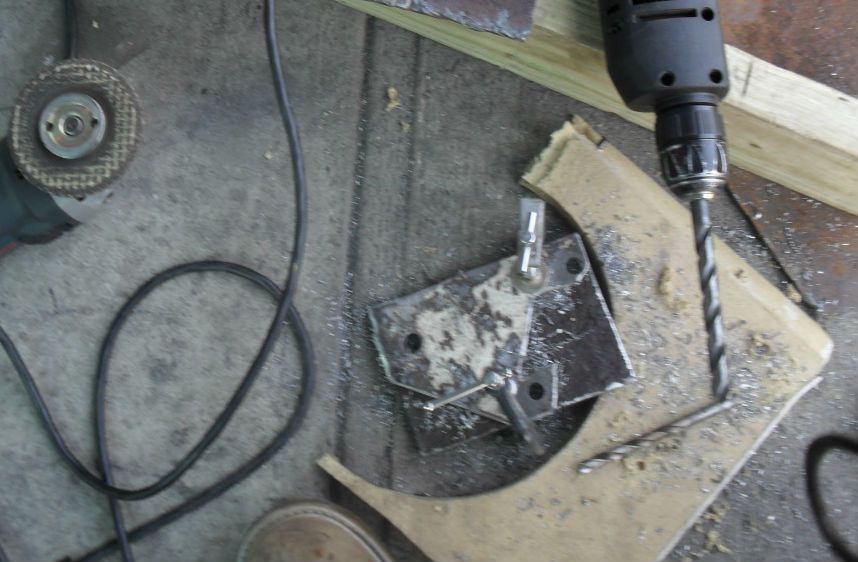
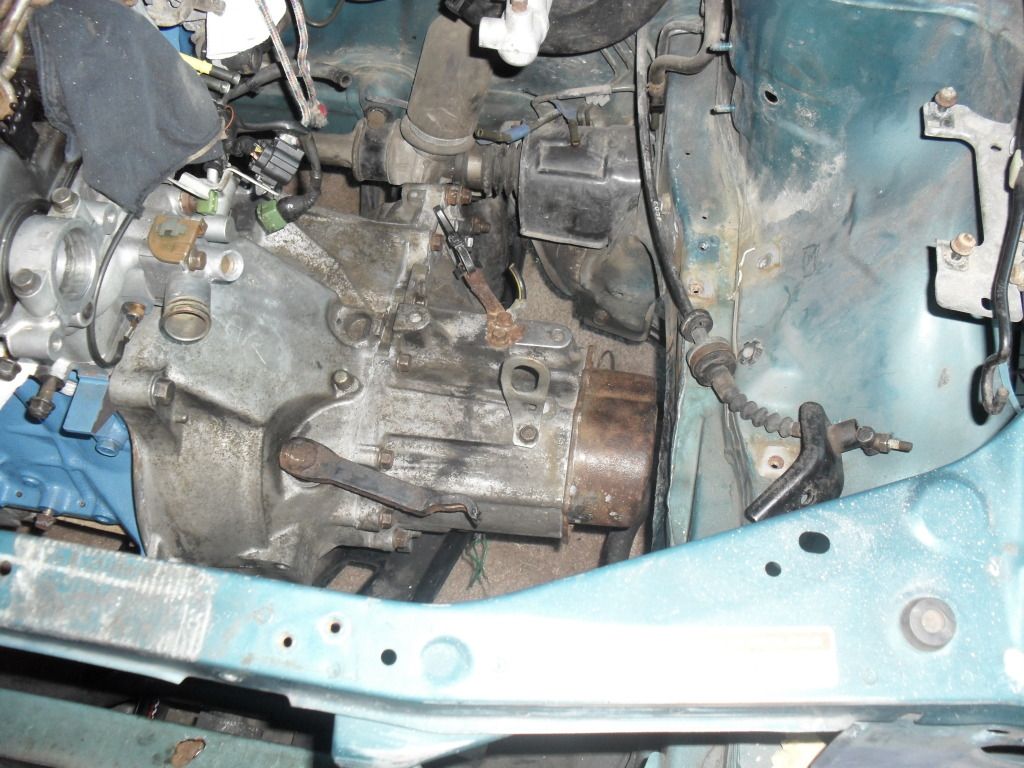
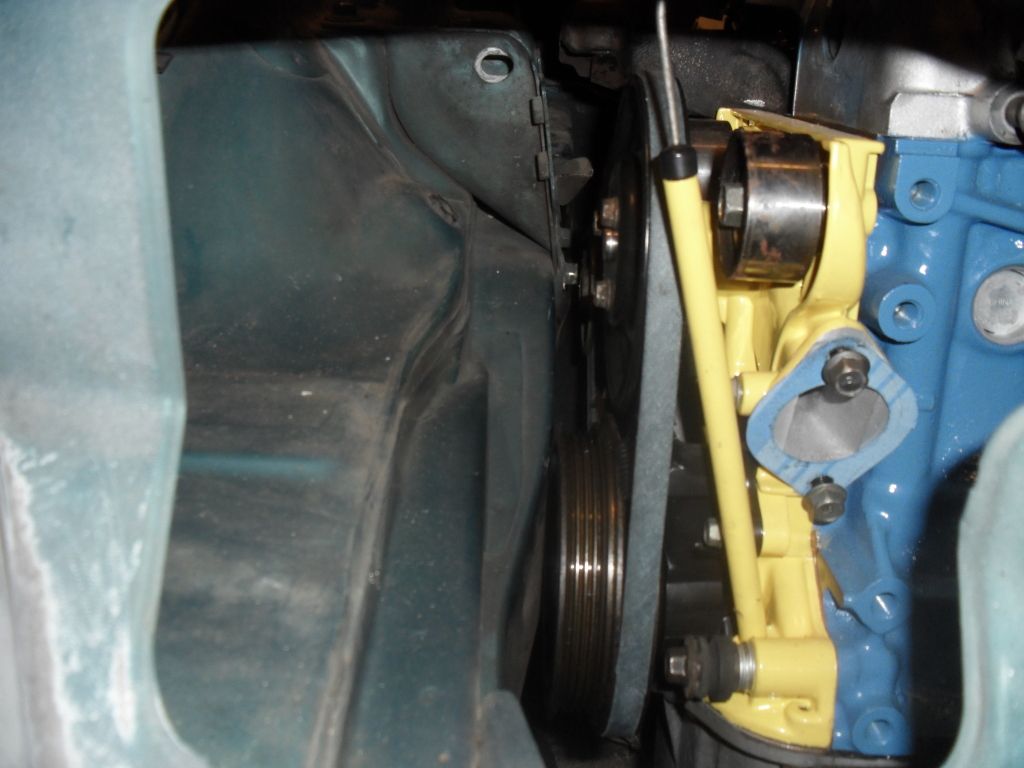
then I moved on to the front tranny mount, i used a piece of 1 1/2"x3/16th angle iron, set a level on the engine side to side on the VC, and drilled the holes...had to do some grinding to clear some bumps and stuff.
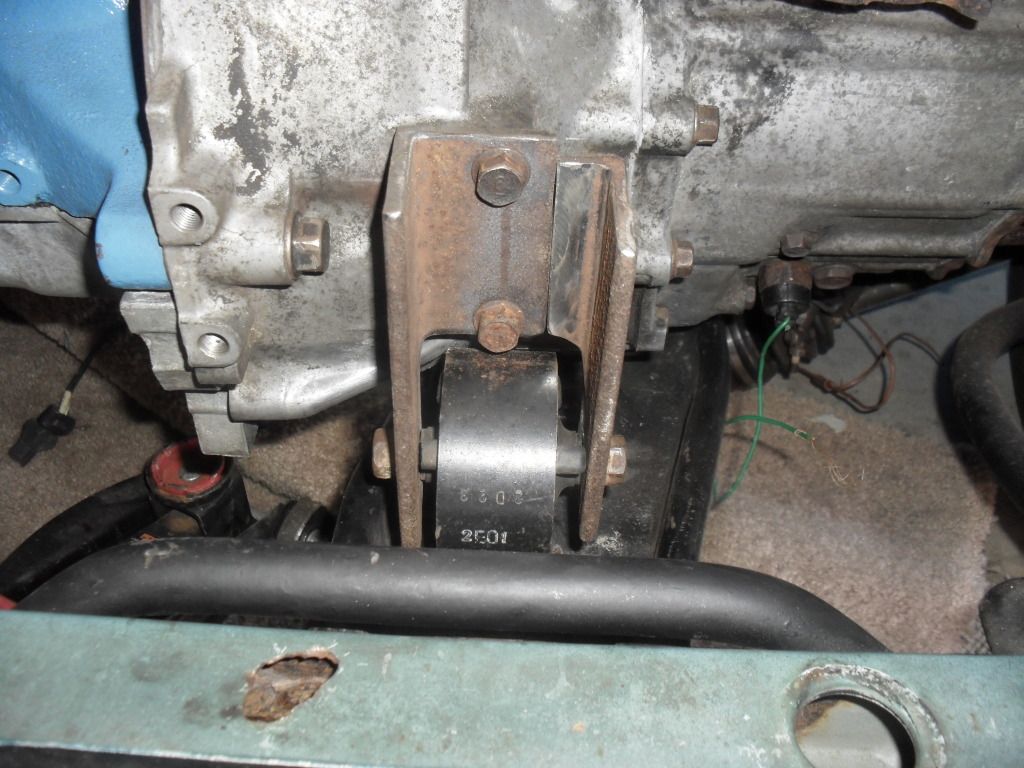
used another piece, and cut it down to size opposite the first mount..
and welded those two together..
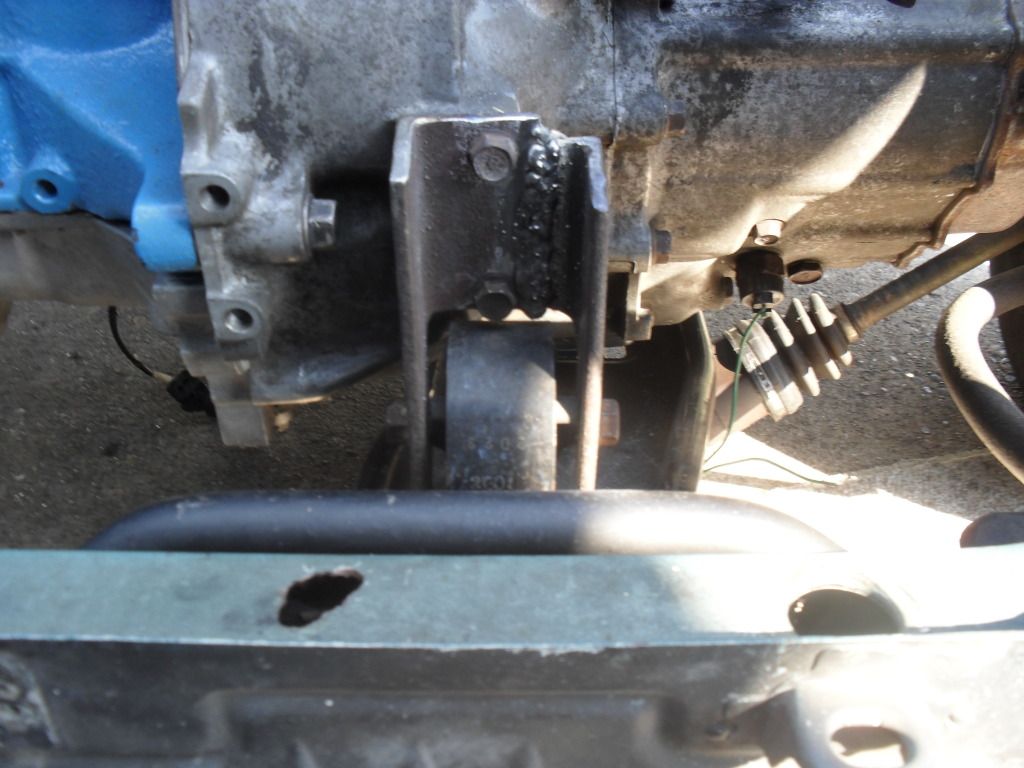
the weld on the backside barely cleared the transmission..
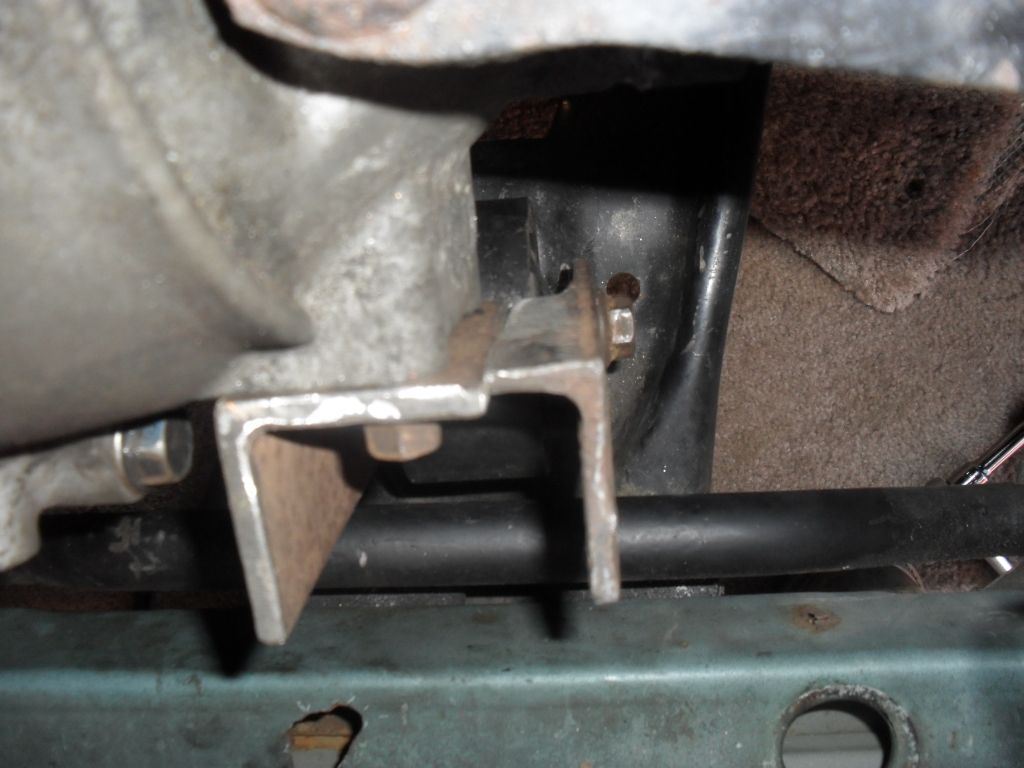
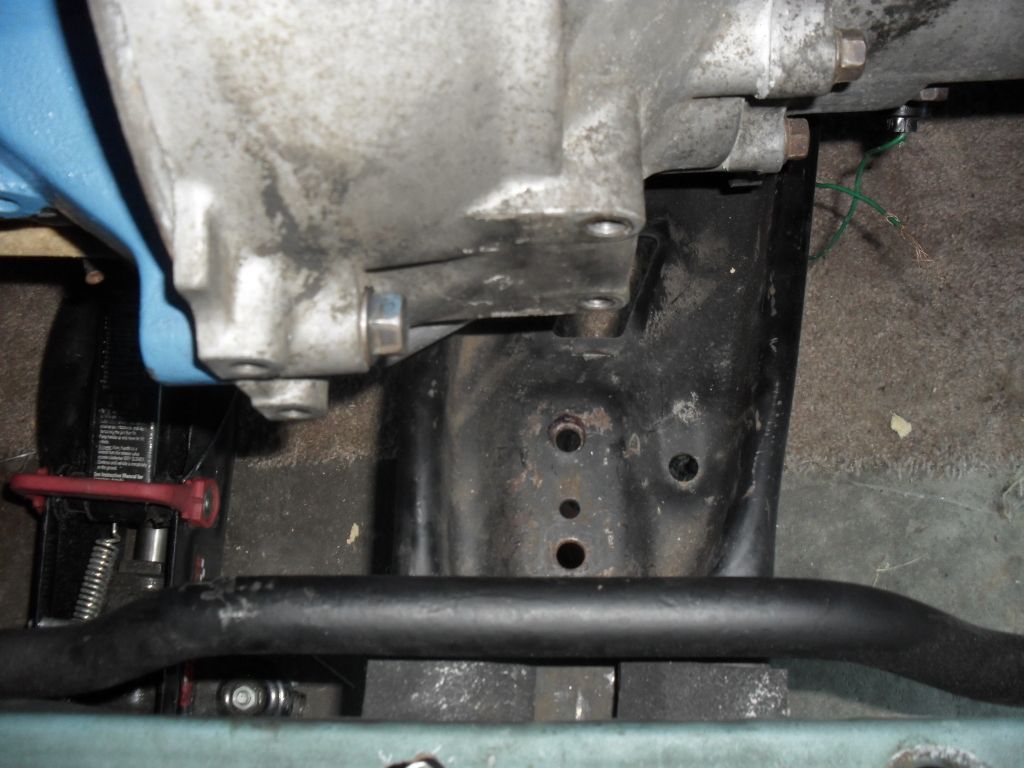
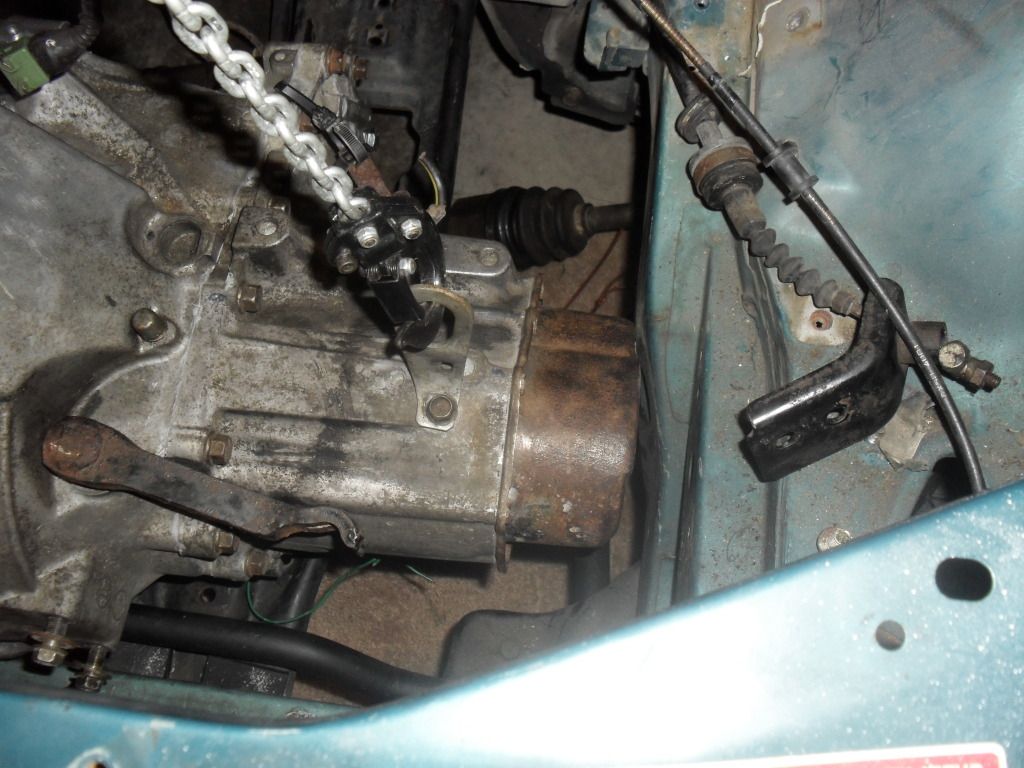
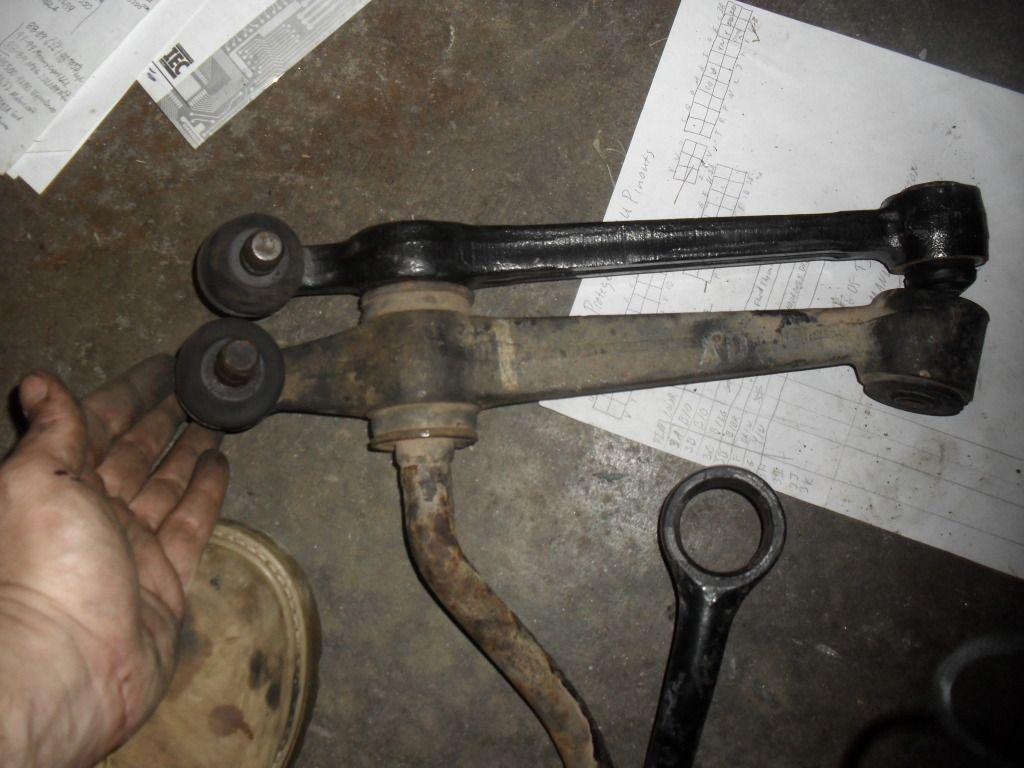
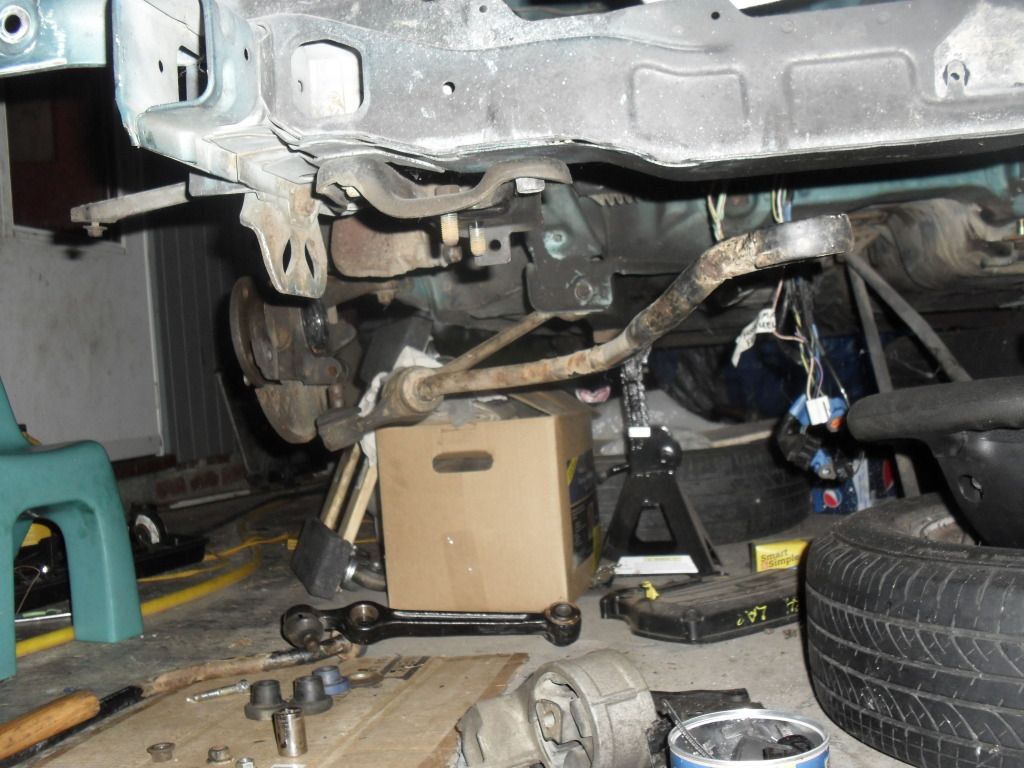
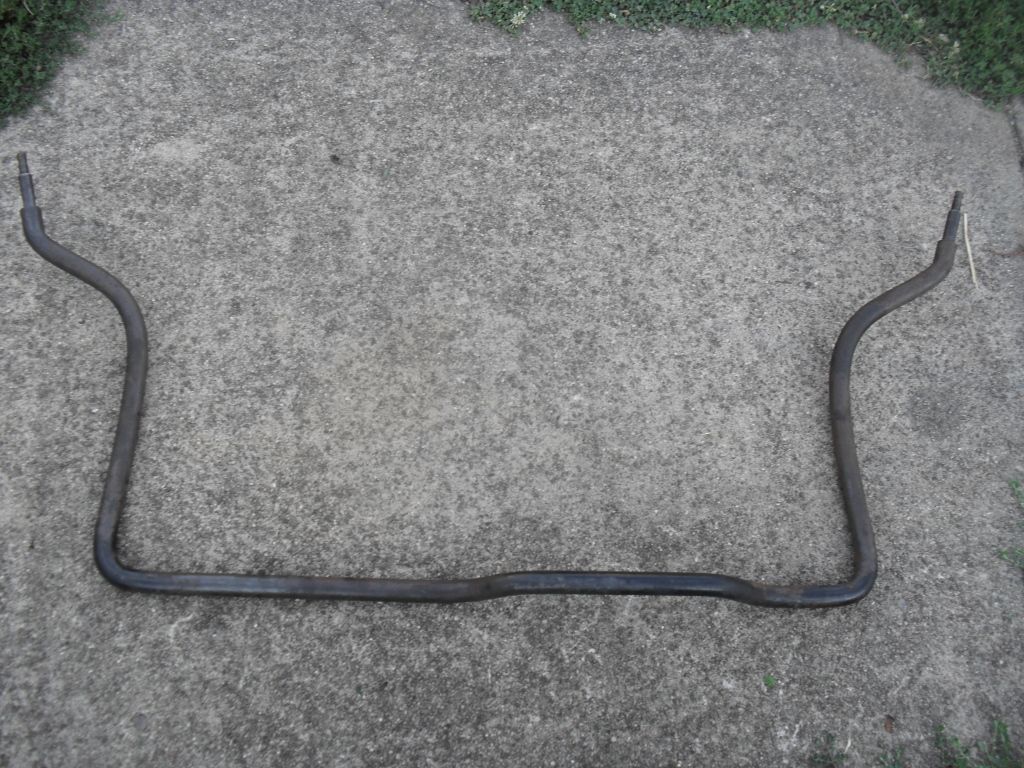
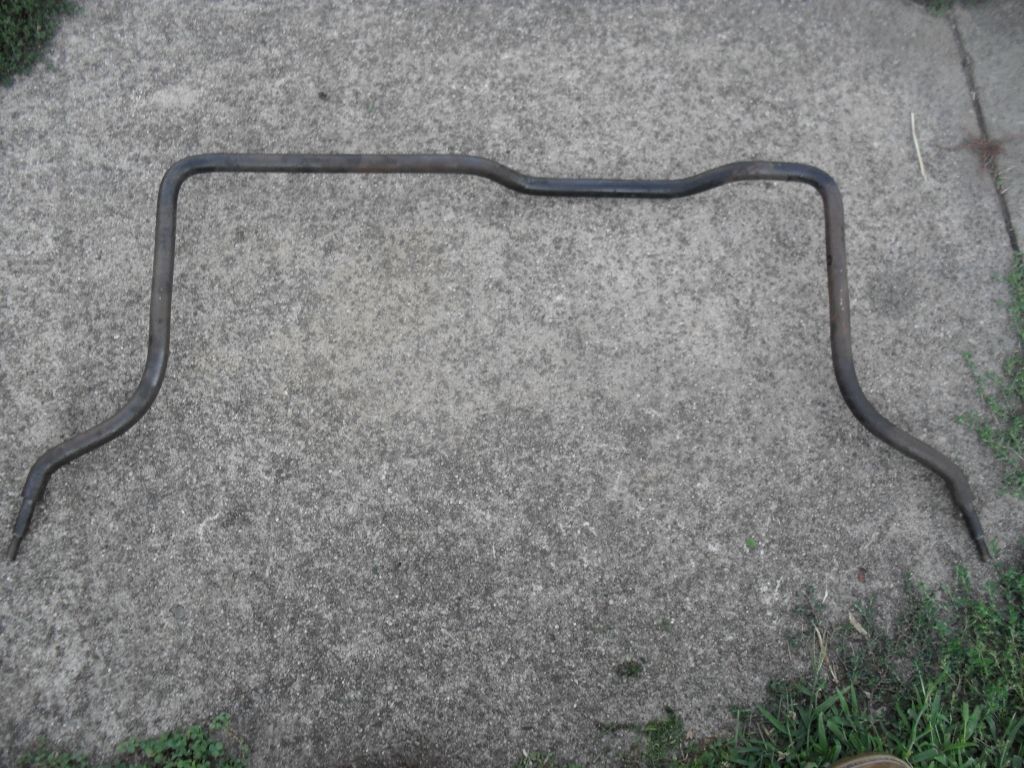
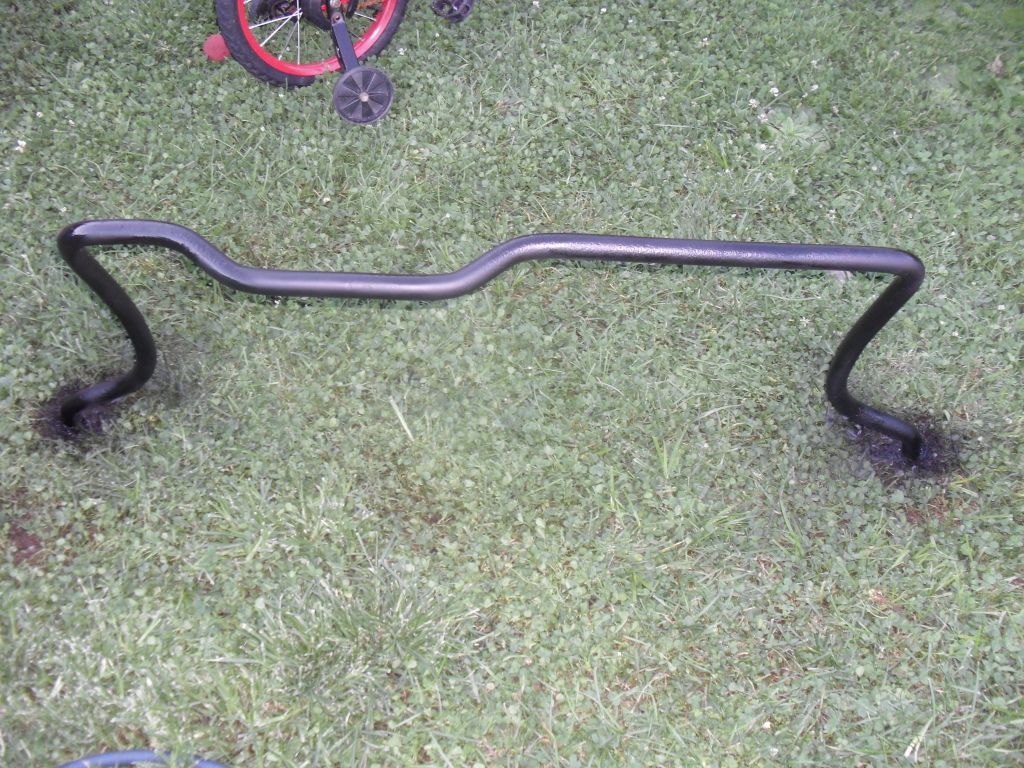
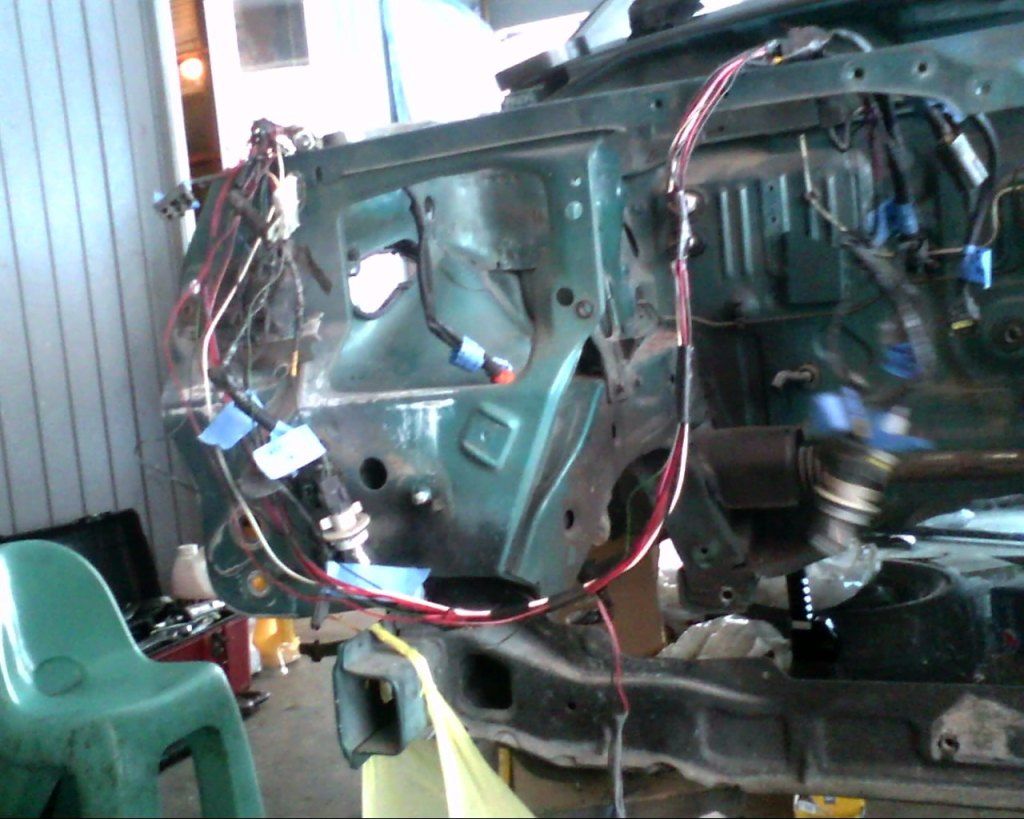
rolled the car out and did the rear tranny mount, it's just two 3/16ths plates going from the mount to the transmission.. very hard to see or get a picture of..
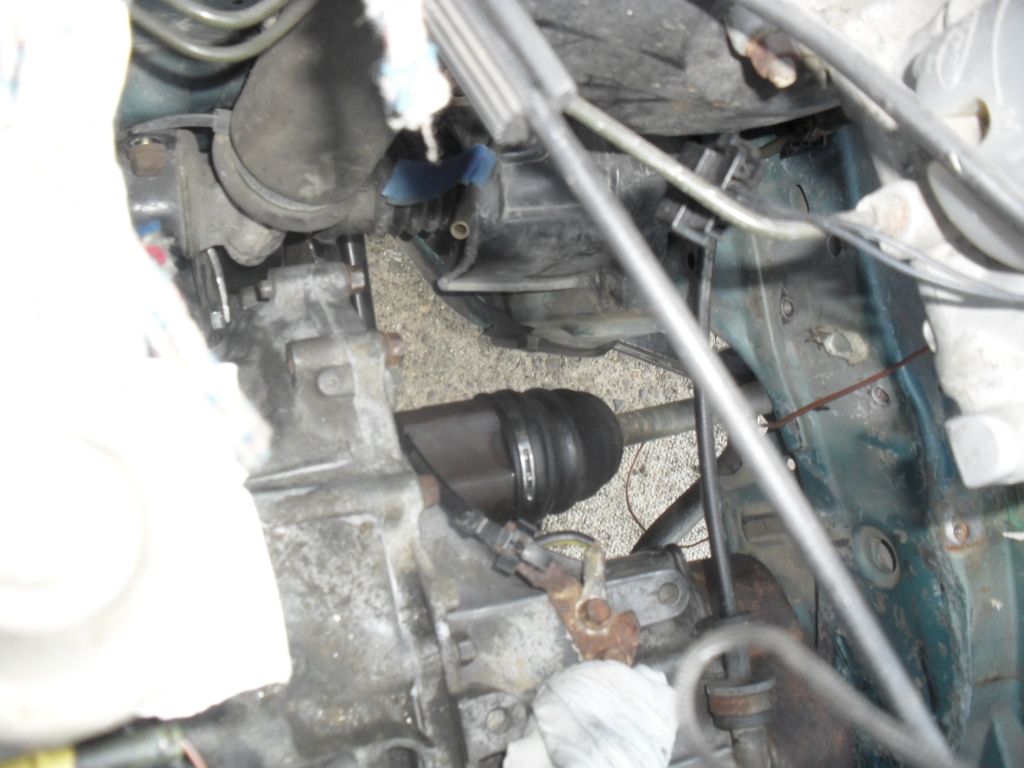
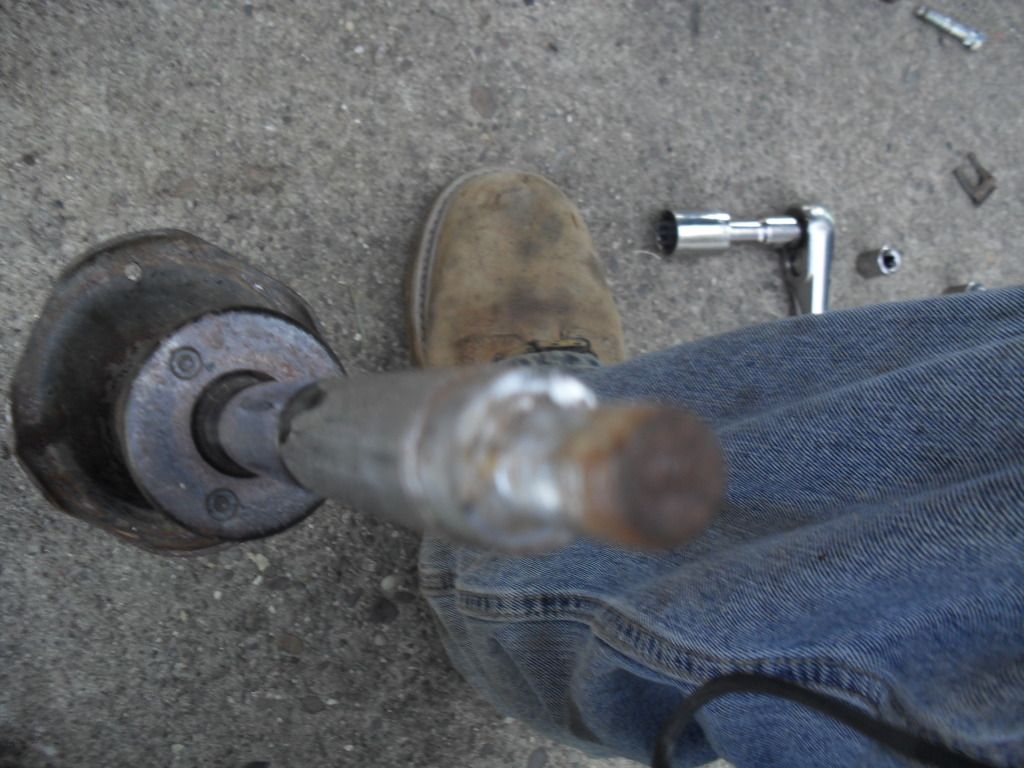
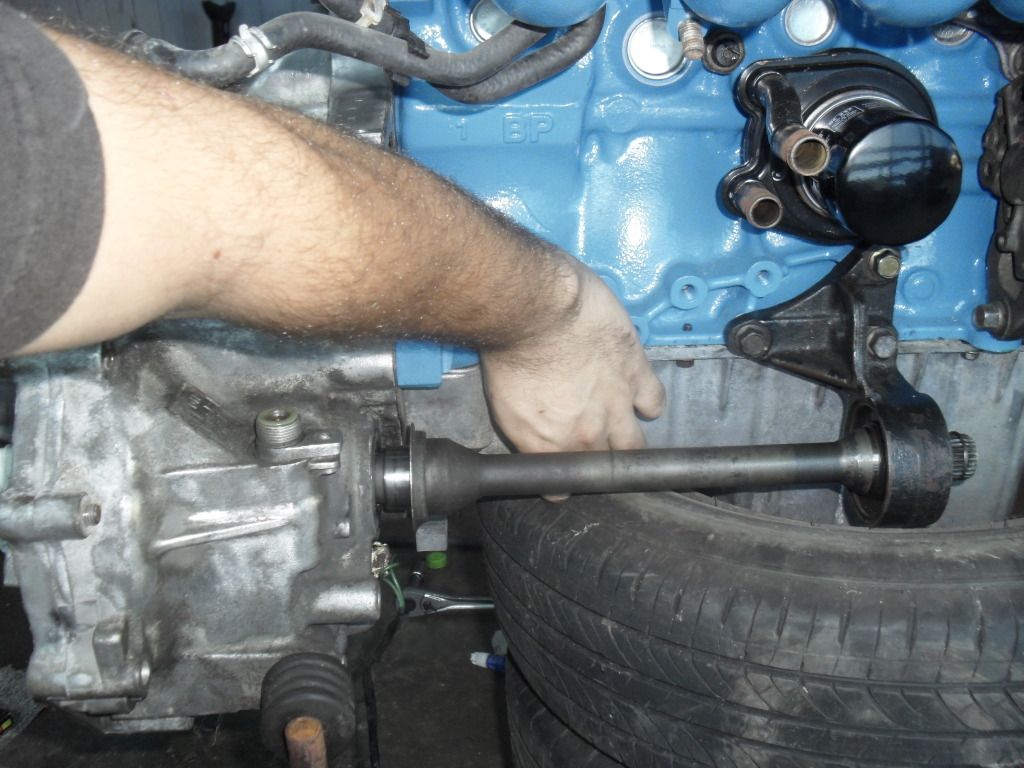
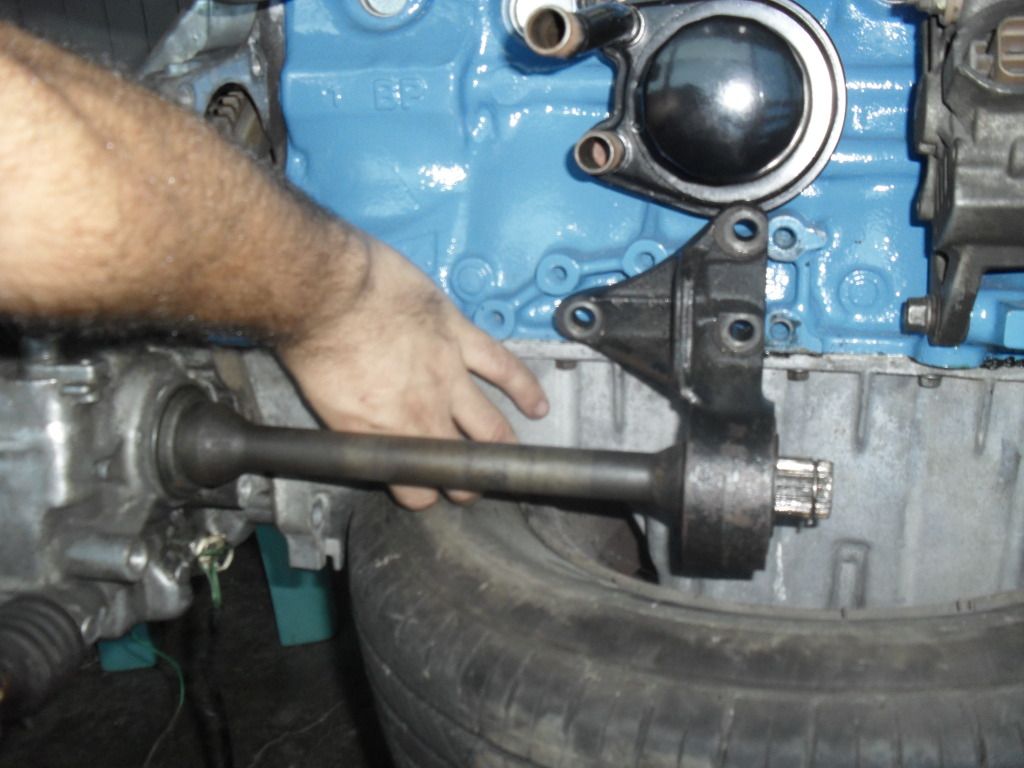
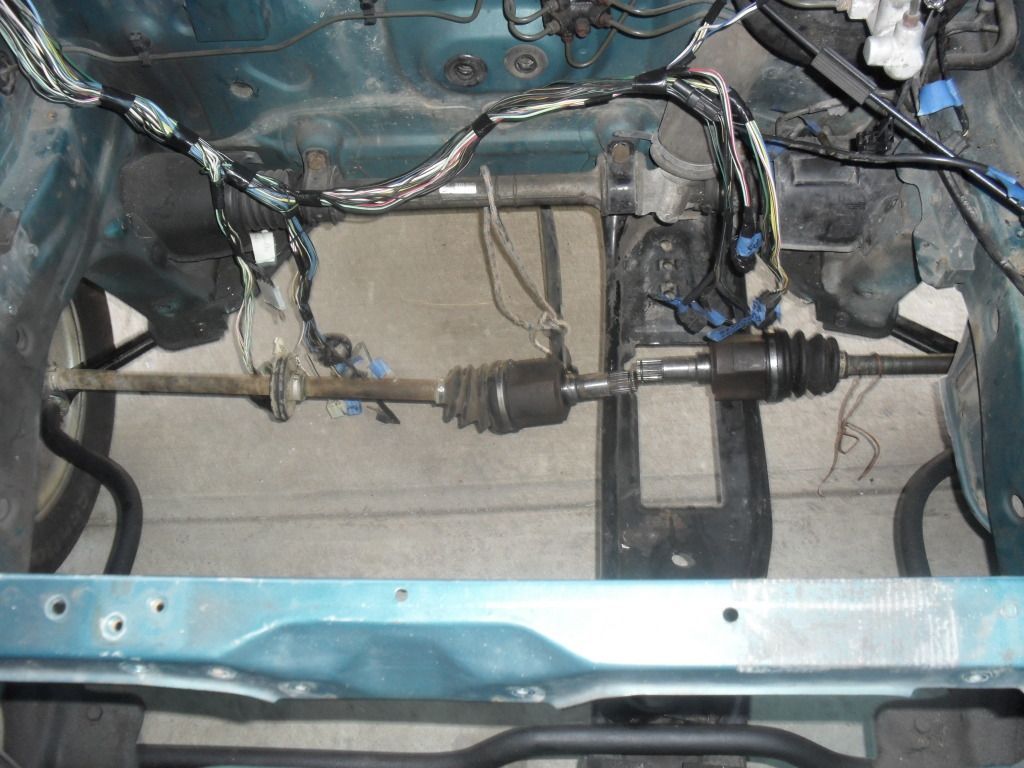
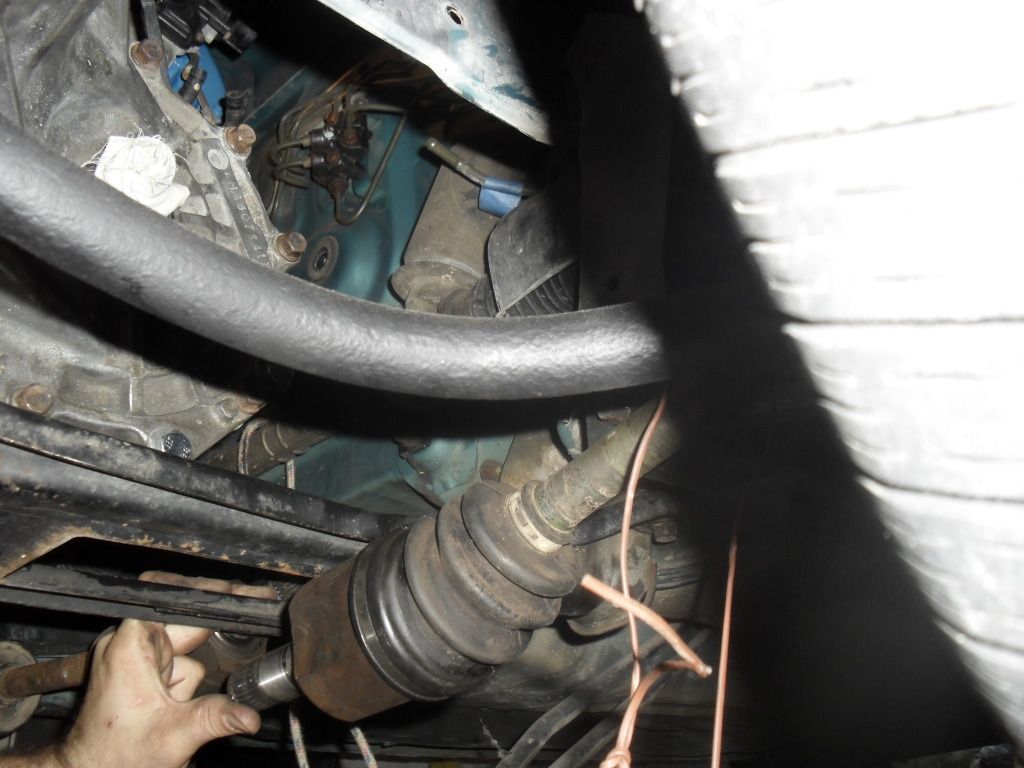
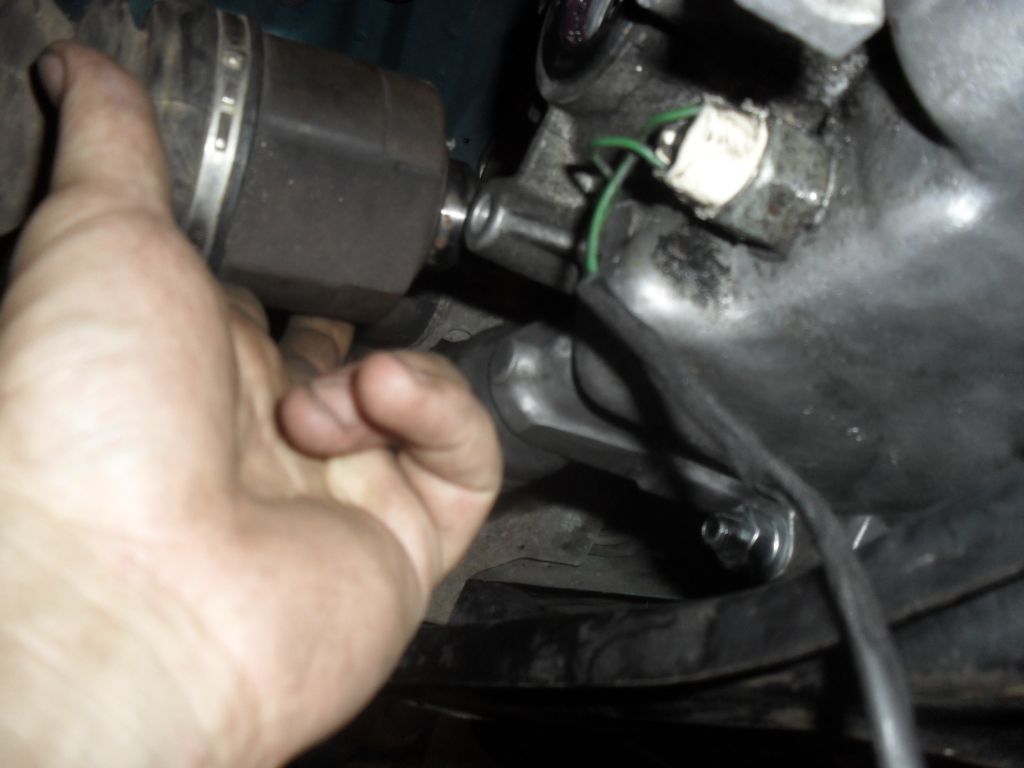
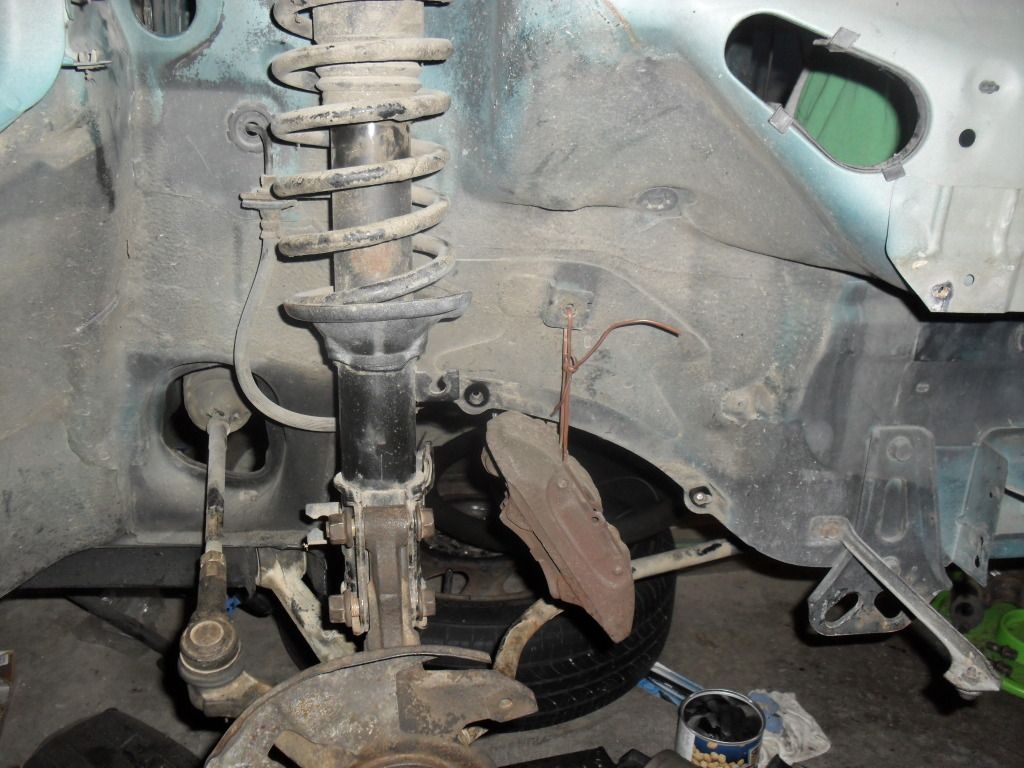
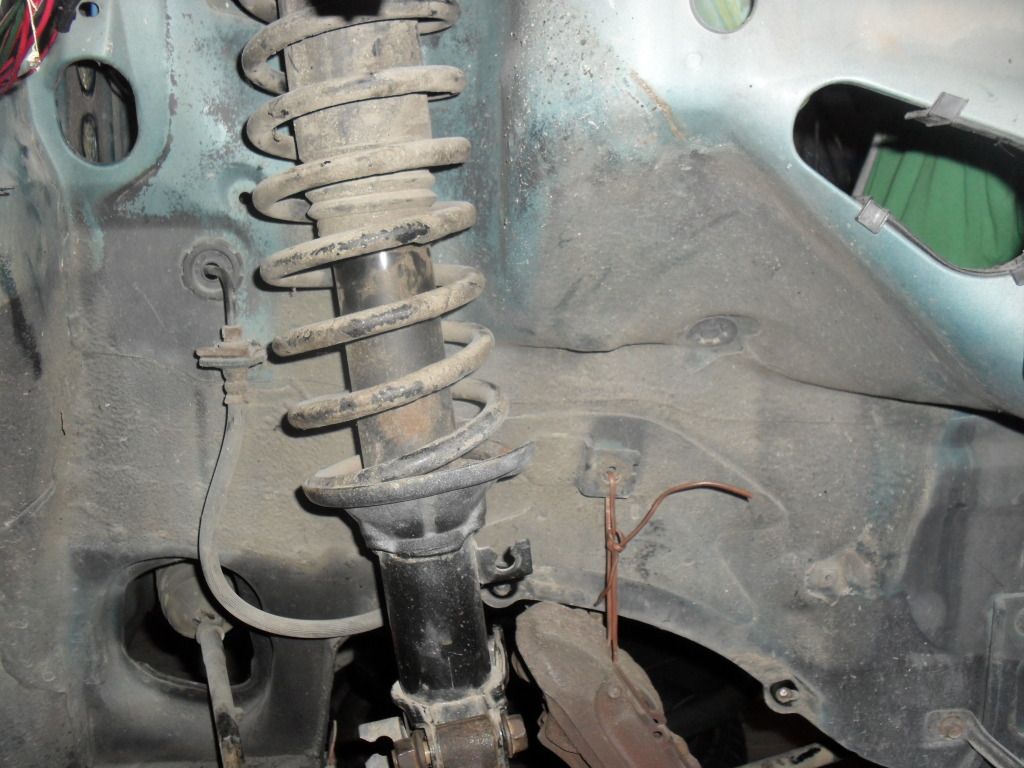
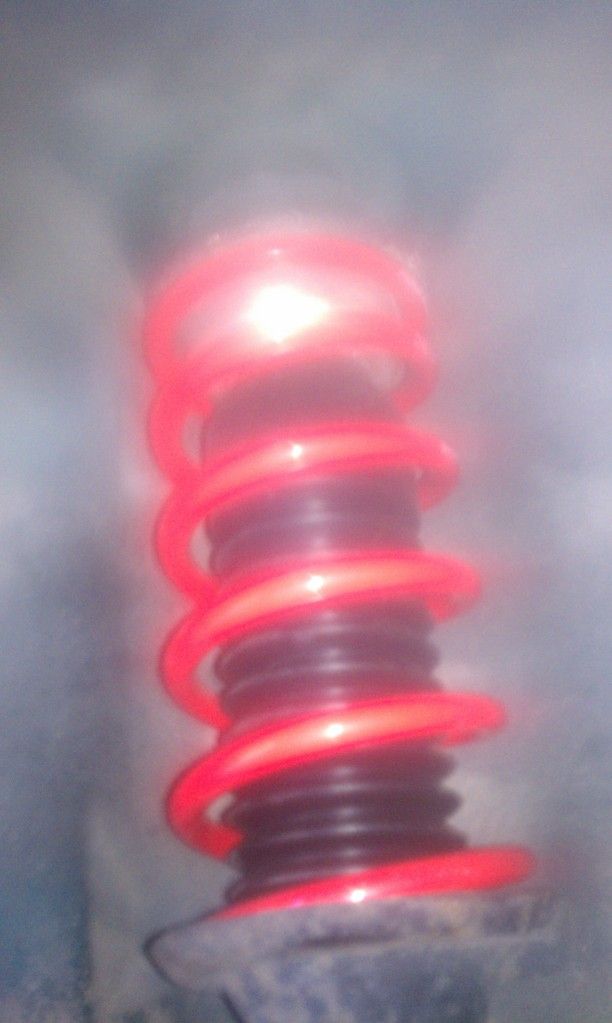
So then... as instructed by Advancedynamix, I took the springs off the struts, jacked the front end way up, and installed the struts w/o springs, and plugged the axels into the diff... I used a jack to raise and lower the knuckle the full extent of the struts range of motion and checked for binding at the CV's.. I didn't hear anything unusual, aside from a dry transmission case. I can fully depress the struts, and grab the midshaft, and it's got right about 1/8"-3/16" of play in it, not much, but it's definately not in a bind, so I think it should be good to go!..
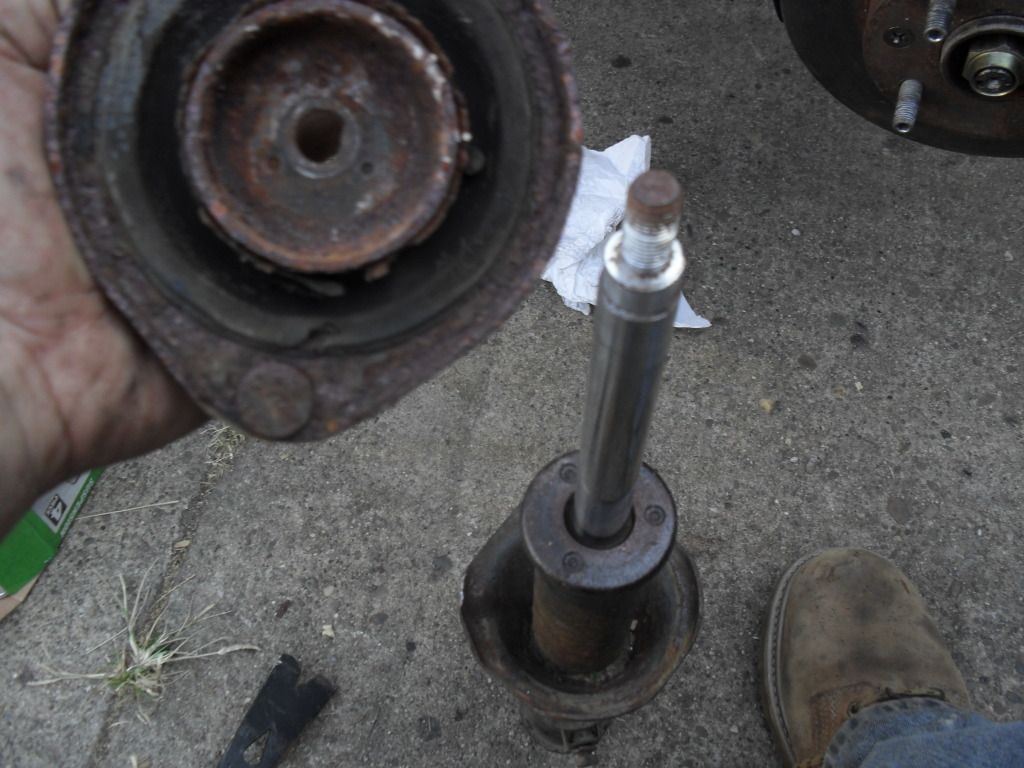
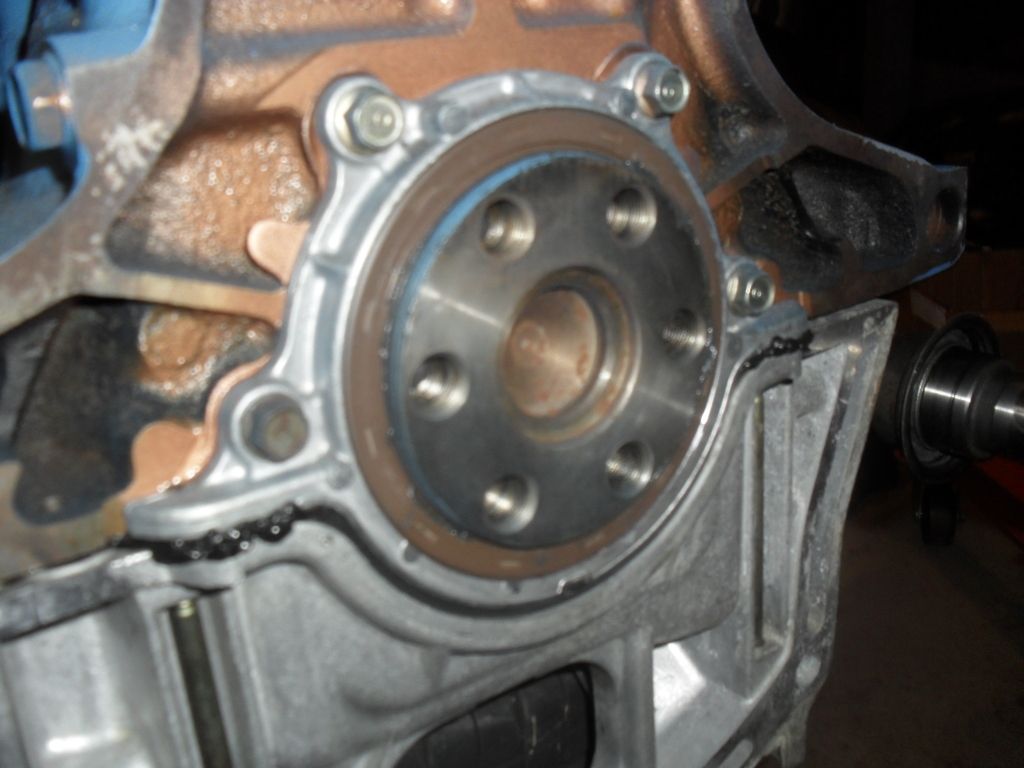
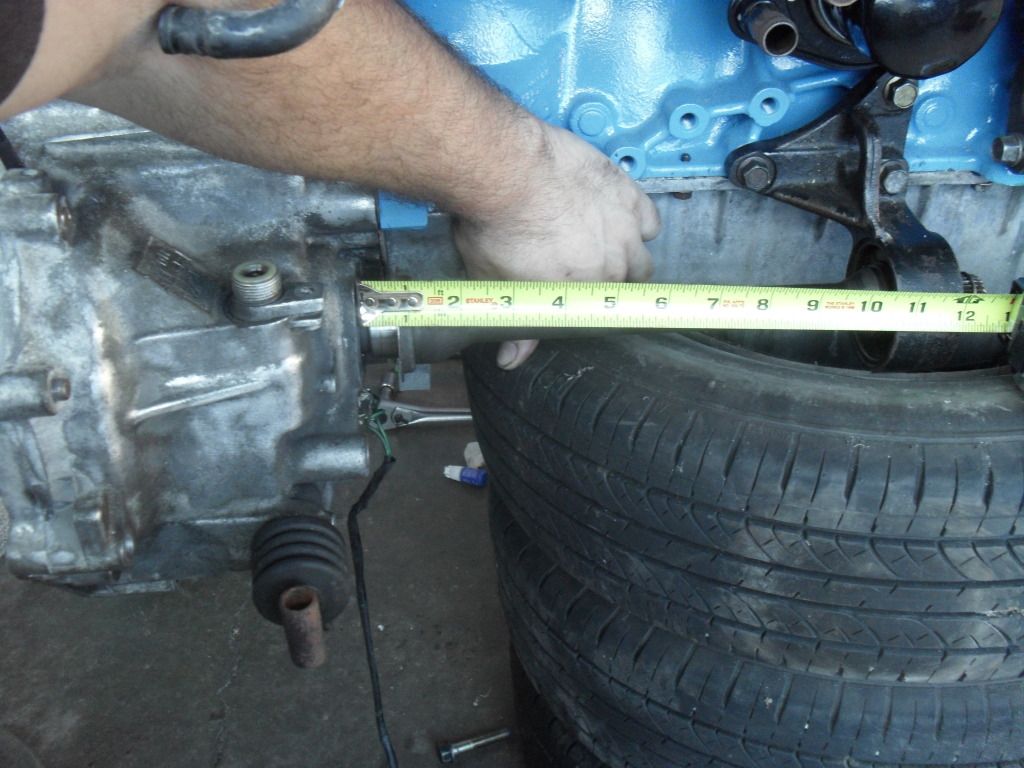
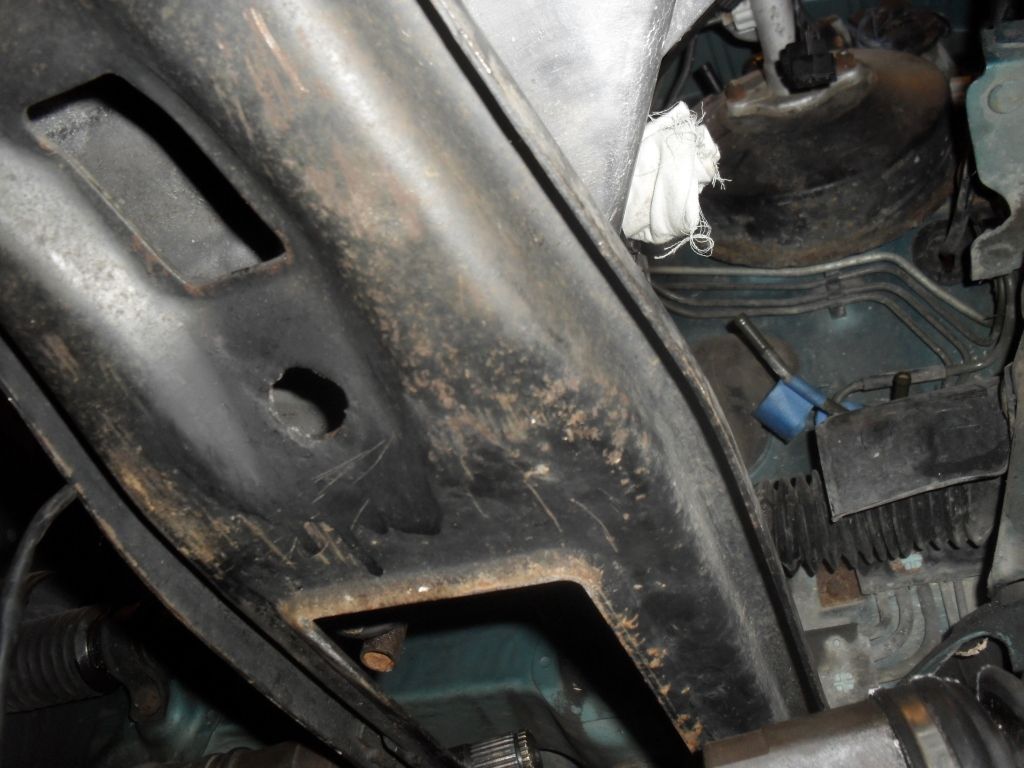
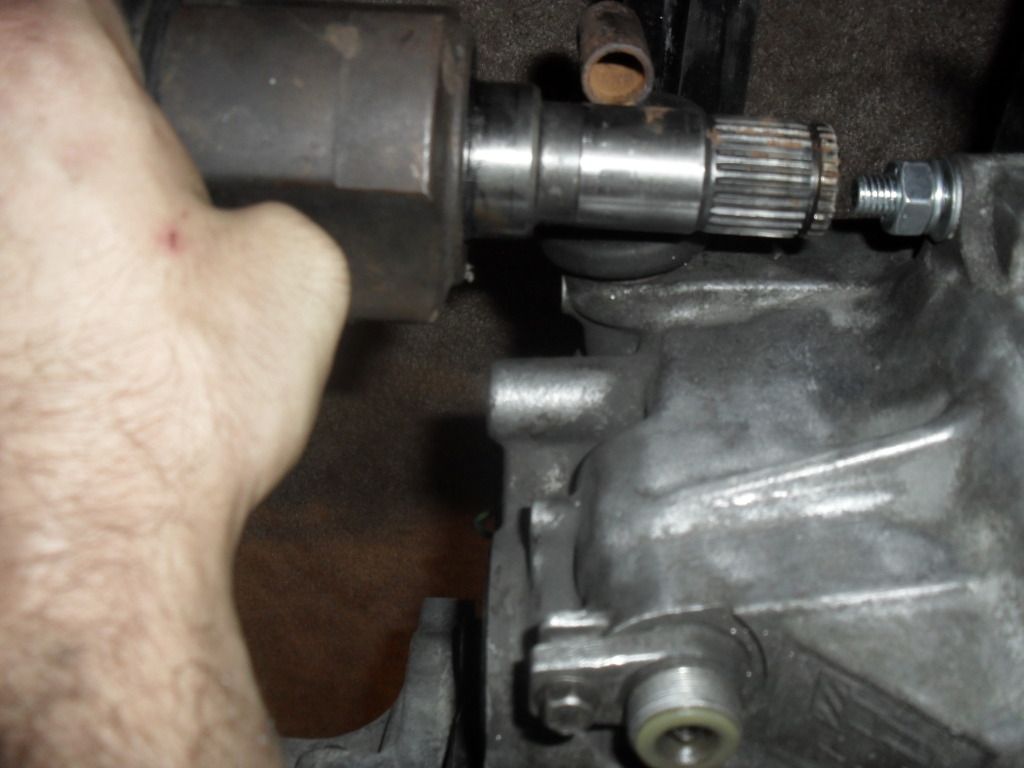
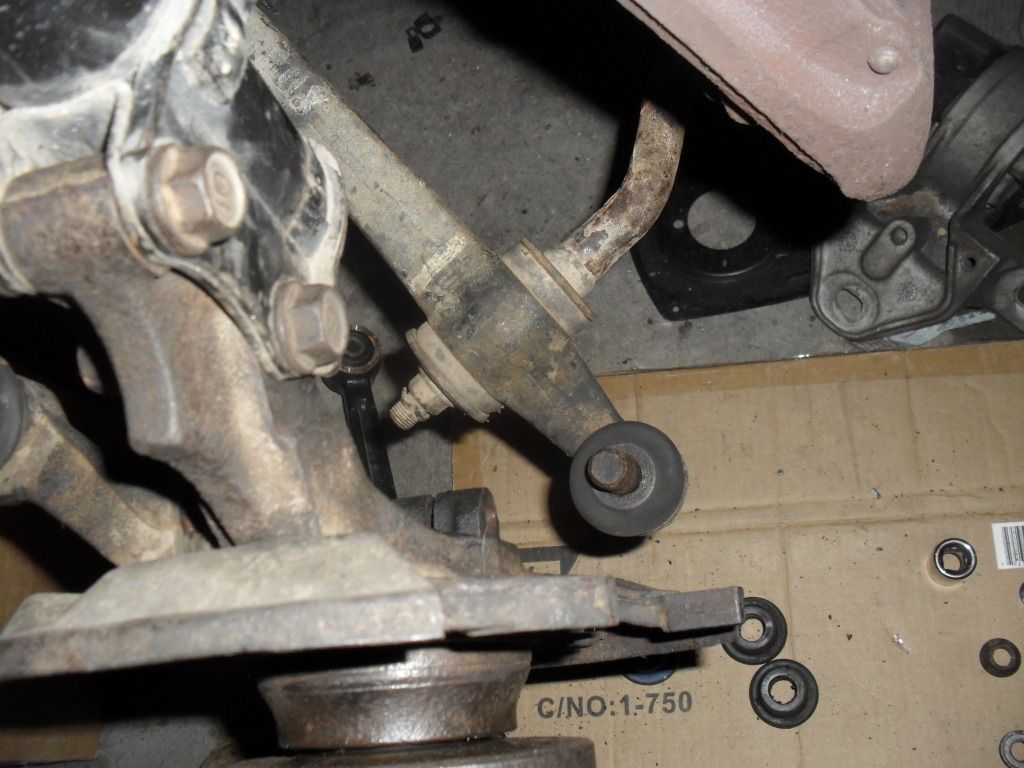
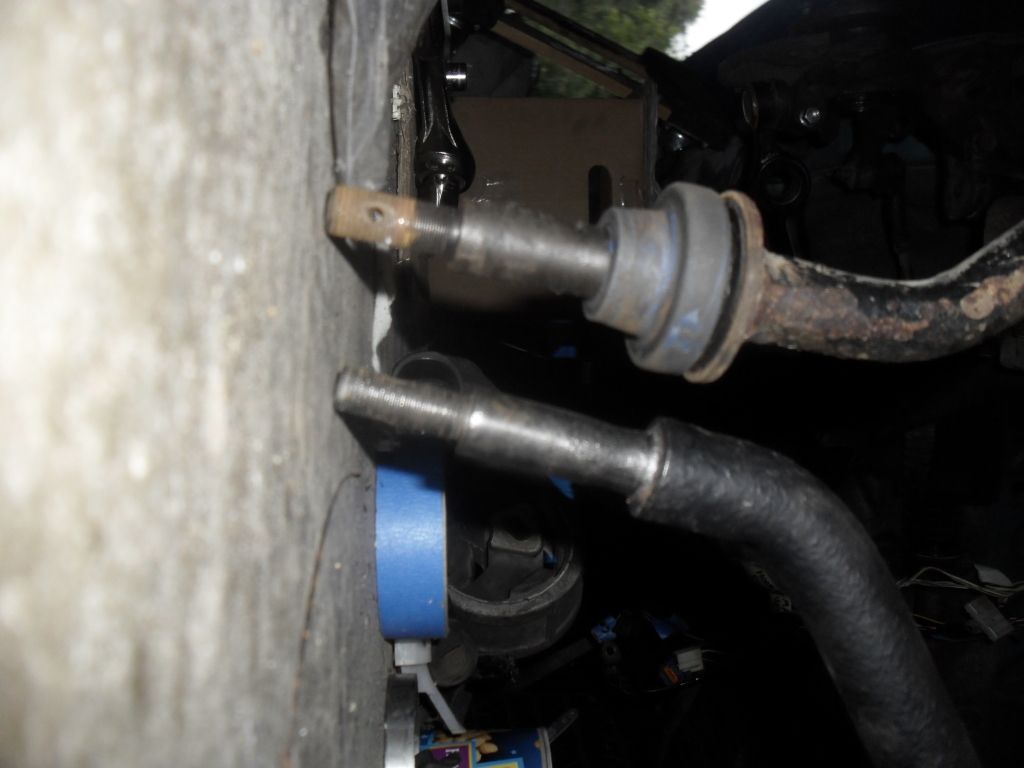
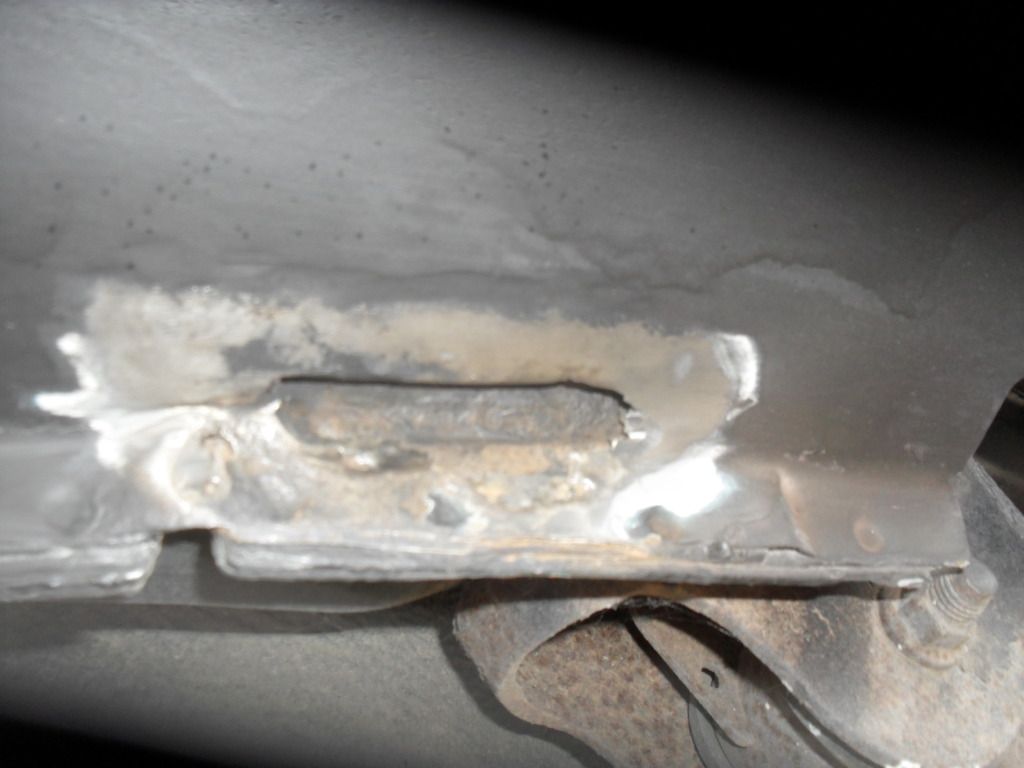
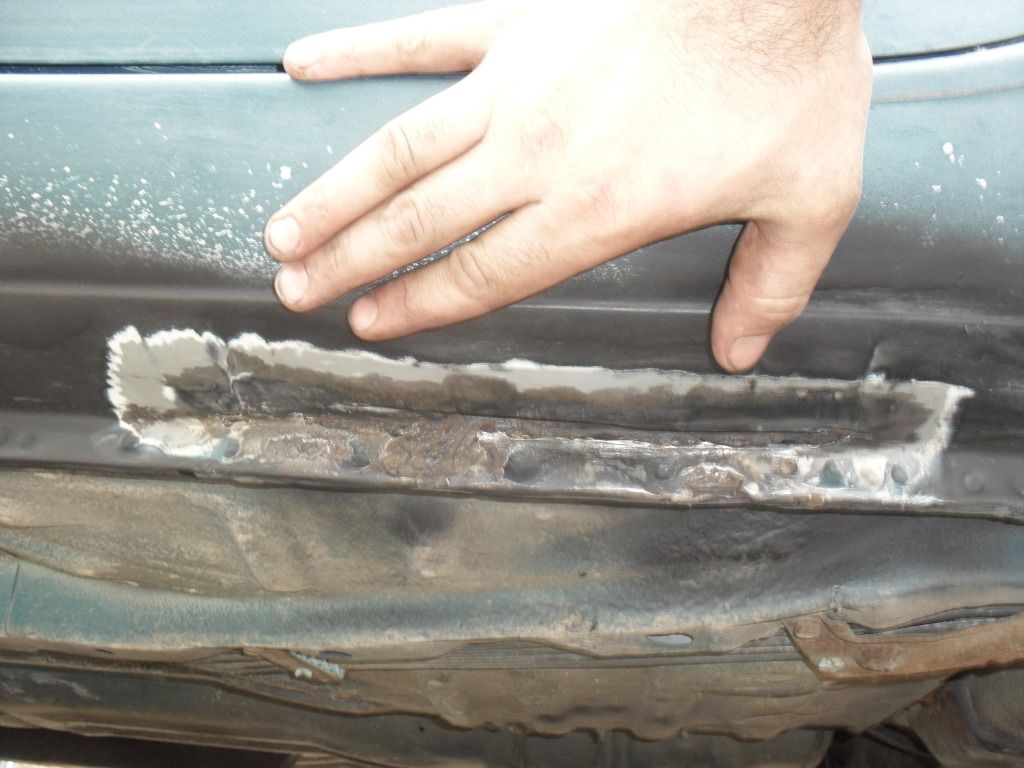
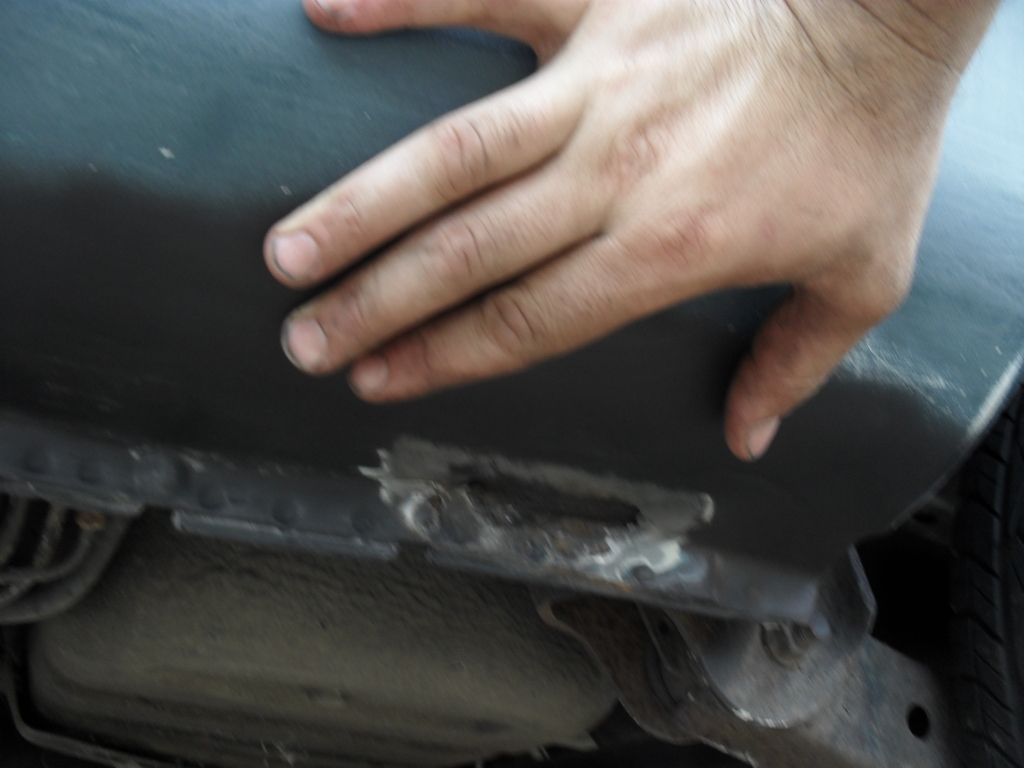
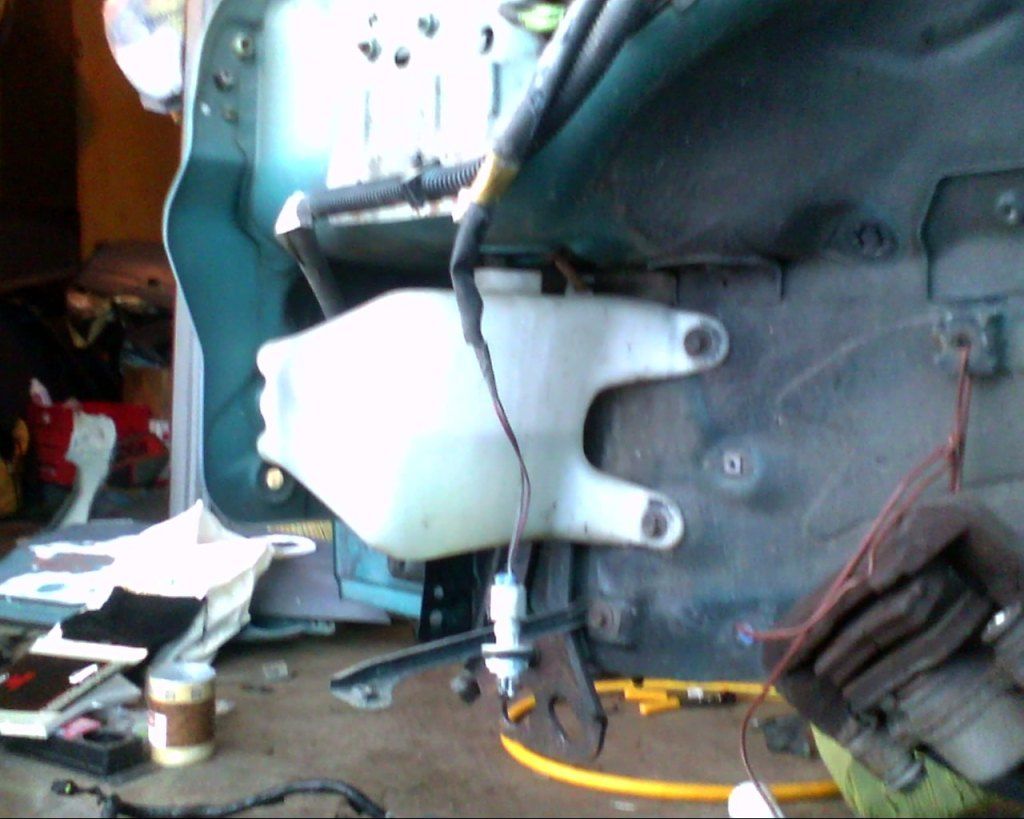
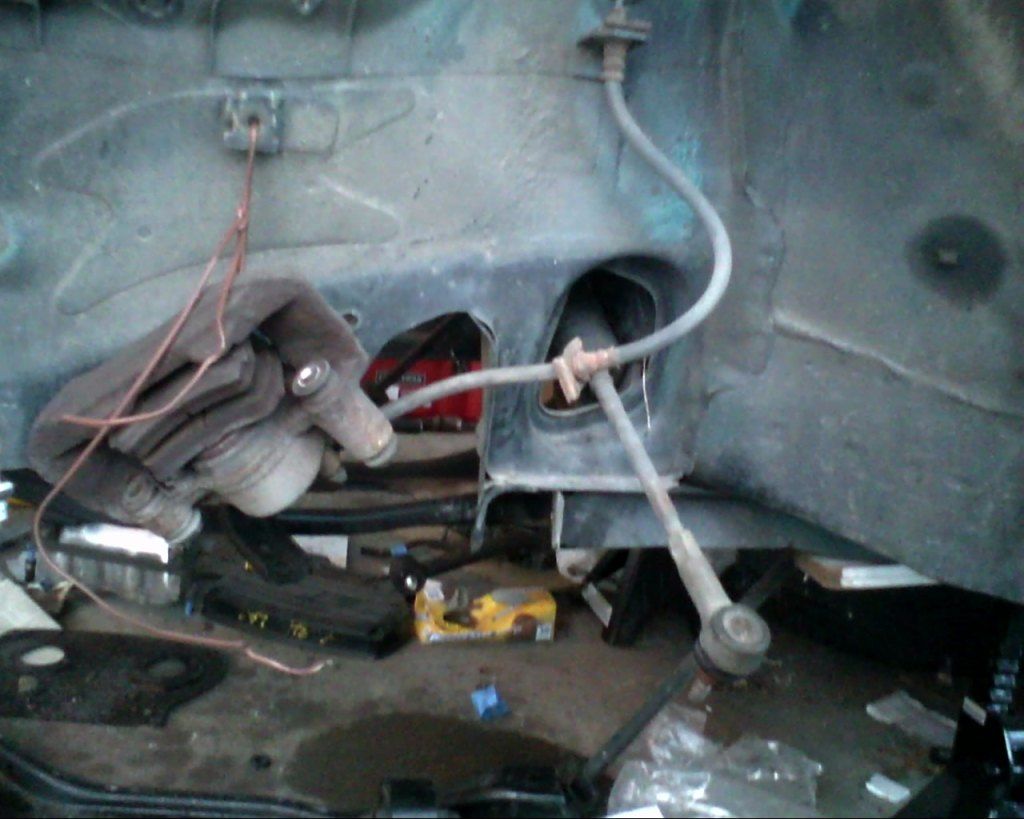
As seen here, the passenger side had some issues, I have to shave a little off the block plate where it sticks out...it was made for an auto tranny, even sticks out a bit in the front.
Announcement
Collapse
No announcement yet.
Aspire BP swap
Collapse
X
-
Yea, but I was wondering how their gearbox was "clocked" or whatever, if it's like a hydro or cable clutch tranny.. Kia does some weird stuff, I'm still trying to puzzle out this rio box.
Leave a comment:
-
Sephia stuff is probably the same as EGT/PLX, I think the Sephia is a BG chassis isnt it?
Leave a comment:
-
It's the xr2 cable transmission, not the egt/protege hydro tranny!
The rio lca was just for comparitive purposes, I'm not using it, and no, the rio knuckle doesn't do anything to correct it, it's just a different design in the kia's lca box(mounting point) that makes it work for them.
Soon I'll be posting pics of the kia axels working in my car, so keep your eyes peeled for that lol.. I'm also wondering what the Kia SephiA jackshaft and axel lengths are..
Leave a comment:
-
Man I cant believe how far forward the Rio LCA is? Does the Rio knuckle correct this? Also you are running a Hydro Tranny,what are you going to do for a cable setup?
Leave a comment:
-
I haven't, ill definately take that into consideration though. For sure, its a hydraulic tranny, so its clocked different, some adjustments might still be necessary...like having the bracket planed/milled to make it work, but that would still be better than my last attempt at welding cast iron!
Leave a comment:
-
Sub'd
Did you try the EGT half shaft? I think that be a better choice... jus a thought. The Aspire & EGT LH axles's a pretty much the same lenght.So that would put the RH sides very close as well....Peace-
Leave a comment:
-
IT FITS!
right about 1/4-3/8" on each side, took pulling the motor twice to get it this "good",(good being relative to the fact it will work) I think I'm gonna try round 3 and get a good 3/8-1/2" clearance on the crank pulley, wish I had a single v belt big nose pulley..but I don't.
plenty of room here, i mocked up the exhaust manifold, there's a small chance I could even run a stock type radiator with a couple love taps in the right place, if I wanted to.. haven't decided yet.
It still needs moved this way or that way just a hair, I'm going to make up a bracket to hold it while I get the motor mounts made up, I think I might get away with a no weld type mount on the passenger side and front tranny mount.
Leave a comment:
-
went ahead and did up my motor & tranny mounts with 3m window weld, Karl brought up a point with the engine settling, and I don't want to mock up the motor with squishy mounts, then go to install it later, it settle, and something be off or in a bind.. so it'll be a week before I can really fit the motor in place now, I think that's how long it takes to cure? Gives me time for other things, I can definately find something else to do, maybe get the front fender wells undercoated, and finish the patches on the rocker panel..
before
after
This brings up the point about too many chassis vibrations, I may end up using a different front mount if that's the case, but we'll have to see what happens. I am using some "custom" crossmember bushings made of car tire rubber (not pulled straight from a car tire) that I think will help absorb alot of the vibrations, I'm just not sure how it's going to play on the axels...open to suggestions.
I know alot of people fill the whole thing in, I just filled the holes, but this way I'm hoping the rubber in the mount will help absorb energy, it just won't be suspended by rubber and able to bounce like normal...we'll see
Last edited by zoom zoom; 08-13-2012, 11:44 PM.
Leave a comment:
-
So yesterday, my buddy, and soon to be best man Ike came over, we didn't get a whole lot done, but what we did do was alot lol, if that makes sense.. we got the engine and transmissions carried into the garage, and did some random cleanup stuff, then went to get measured for Tux's for the wedding and wasted the rest of the day.
Karl (Saftey Guy) stopped by today, we made a quick run to town, picked up some random stuff, nuts& bolts, a new chain hoist, 3m windo weld, blue(medium) threadlocker, and some MickyD's.. he snagged his aspire axel off me, and the tissue wheel I had made for him..
We started with this:
He helped me get the flywheel, clutch, and pressure plate mounted up..
Karls new best friend was there to help the whole time..stupid cat!
Then we threw the tranny on the end of it and I ran into my first big snag of the day, the capri XR2 axel doesn't fit, it doesn't go into the tranny/diff all the way..
jackshaft pushed in all the way, hits the oil cooler
jackshaft pushed in all the way, forced under the cooler putting it in a bind, that won't work!
So then I turned to the Kia Rio axel I have, torque steer being what it is blah blah, I just want the thing to run for now, when the turbo goes on I'll get to the capri axel..
Rio axel mounted in the passenger side spindle, measured the gap between the axels, it was 6 1/2", measured the width of the diff (eyeballed the tranny) it was 6 1/2" so this should work!
Karl left, and I decided it was time to have some fun...and ran into another snag!
uh oh, there she goes!
whoa easy now!
LOOKS GOOD DON'T IT!????!

OH CRAP NOOOOOOOOOOOOOOOOOOOOO
LOL, so that's where I'm at, I guess it's time to break out the BFH to make this puppy fit, I have to do both sides because this is dead centered where it needs to be for the axels. the front tranny mount holes on the tranny line up with the mount holes in the crossmember. it needs to slide back about a foot or more, so I gotta get ahold of some elbow grease to throw at it and squeeze this thing in. needs at least 3/8" on BOTH sides of the frame rails, i'm gonna shoot for 1/2" each side so I hopefully won't have to do this twice.
random shots of the fitment as it sits
Driver side
Passenger side
Leave a comment:
-
well, after breaking for a couple 3 weeks I've been hitting it hard this weekend, ran into a few snags here and there, but it's comming along nicely. trying to mock up the engine in the bay is where I'm at now, I'll let the pictures explain more..
The difference between Kia caliper bolts and Aspire caliper bolts, the lower one is different.
The difference between Kia Rio LCA to sway bar bushings, these WILL TOTALLY WORK IF YOU CUT THEM SHORT! same inner diameter to slip over the sway bar, and same outter diameter!
some random kia rio pictures, I used the 02 rio LCA and LCA bar to see how things would line up. They aren't gonna be on my car, but they might fit someone elses!
Rio vs Aspire LCA
Stock lineup of strut
The bend makes the lca line up inches forward from the stock location
Lineup pushed forward with LCA in steering knuckle (rio)
the front lines up good though!
Rolled the aspire out though, first time it's seen daylight in almost a year!
Found out the rear suspension sets as high, possibly higher, than stock since they're stiffer springs, it doesn't squat on them. it does feel good though when I press down on it, I think those 145# springs will be about perfect, I've got an idea of how I'm going to lower it without losing much strut travel. I think I'm gonna buy some spacers, the wheels sit too far inboard for my liking.
Anyway, I cleaned up the protege rims, just knocked the dirt and brake dust off, aired them up and tossed them on for now. I put the stud conversion kit in all the holes.. didn't tighten anything down yet there's still too much work to do for that.
media blasted the sway bar, used a wire brush on the die grinder, washed and painted it with rust converting primer/sealer, probably just leave it that way.
I got some pics of the work I did to the rust holes too, attempting to weld in new metal I cut off the parts car. I practiced on it for about an hour before I put the welder to my car, I could use another couple weeks worth of practice though!
before
painted with rust converting primer, I got as deep inside as I could holding the can in the hole..
new patch half welded in, only got part of the first hole done, one more to go and hours worth of grinding >.<
And today, this is what I did, ...
Post your Festiva or Aspire repair and maintenance issues. - USE THIS FORUM FOR ANY TECHNICAL RELATED POST (IE. How do I change my oil?, How to remove axle from tranny?, etc)
(pics incomming)
Leave a comment:
-
Removed the dash two days ago, and today I took the stock crossmember off, I need to get the ac condenser out of the way but I'm not sure if it just needs a piece of duct from the blower to the heater or what. I'd like to get rid of the blower altogether, but I don't.know if there would be enough heat to defrost the windows without it. Weight reduction, there's quite a bit of unnecessary stuff behind the dash. Hopefully I can remove enough to get to the wiring tonite and strip some more junk.
For anyone interested, the Aspire and Rio crossmember do not interchange, at all. You might be able to make something work with a lot of effort, but the bolt holes are too far apart for it to be worth messing with. The front holes on the Rio were 5 5/16ths apart, the aspire front holes were 3 1/2" apart, center to center. Didn't bother to measure anything else, it was obviously inches difference, and not enough metal to make it worth messing with. The aspire one was lighter anyway.
Also, there's a big difference in the aspire mounting bolts and Rio mounting bolts, but enough metal you can drill a hole and make the Rio mounts work, which I will be doing.Last edited by zoom zoom; 07-02-2012, 04:07 PM.
Leave a comment:
-
Driver side, this is the washer fluid resovoir:

Headlight wiring to keep on the passenger side harness:

Passenger side, the dark area is where the Pass Front airbag safing sensor is mounted, and that is the harness that connects to it in blue/orange sockets.

All the wires I cut out so far:

I think this is JUST for weight?!??!!? Have no idea, it's heavy, and it didn't support anything I know of, so I'm gonna remove it.

Pass side random pic:
Leave a comment:
-
So anyway, it's progress as usual for the KiaZorD, I took off the fenders and started the slow process of stripping un necessary wires from the wiring harness.
I hope I'm doing this right, if not I've got a 94 parts car to get a harness from!!!
I think I need to just keep the headlight/DRL stuff on the passenger side, but there was the o2 sensor, both distributor sockets, and a water temp sending unit mixed in the passenger side harness, so I started to strip the wires for those, and the IAT/MAF once I got back that far.
Tomorrow/morning, I hope to try and pull the dash out of the car so I can get the stuff in the passenger compartment out, I've probably pulled 10lbs of wire so far, got everything in a bag and I'll weigh it when I'm done.
Pics!
Driver side fender pulled:

Step back:


Driver side fender well:
Leave a comment:
-
Got a few things done the last couple weeks, I spliced the 4 wire tps socket into the 3 wires I will be using, and got all my tools picked up that I've been letting get scattered to the farthest ends of my house since I started on the transmission a couple months ago. The intake manifold is bolted on, hopefully I won't have to remove it, again.
I got the mbsp, oil pickup tube, and the oil pan all bolted up. I had some complications getting the mbsp on because the ARP main studs are taller than stock bolts, this is what happened.. http://www.fordfestiva.com/forums/sh...ad.php?t=43729
I think I've got every hole buttoned up that oil would leak from, so I need to figure out what type of oil I need to put in to do the break in and get it in the engine, its probably going to sit for a while until I get the car painted.
The rear suspension is giving me problems, the miata spring setup is ready to go, but i need to get some new bump stops. Advanceddynamics suggested I try these because you can cut them down to size or add to them. I want about an inch of free bodyroll before I get into the bump stops. http://item.mobileweb.ebay.com/viewi...id=16233257509
That's not the only issue I have in the rear suspension, aside from a sticky driver side drum brake, the passenger side where I tried to remove the strut doesn't want to bolt back on. The welded nut on the inside of the frame rail decided it wanted to break halfway off and go crooked, and I can't get to it to get a bolt started. I'm probably going to have to cut the strut out and bend the metal strut bracket back in place after I knock out the old nut and get ahold of a nice stainless nut and bolt/lock washer. Here's a crappy pic of what one side will look like, I painted the top hats black.
A thread about the rear suspension..
I'm hoping this week I can get both fenders off, the wiring is seeming .more and more daunting. The protege harness is complete, I don't know if I should swap it ALL out or what, ill figure it out when I get there I suppose. I need to get the dash out of the car soon too. I don't know what all I still need to do but with my schedule this is not gonna be done anytime soon.
I got one of the Rio steering knuckles rebuilt, they're ready to roll, but I don't want to put them on until I paint the sway bar and I'm not entirely sure what I should use to do that. Maybe another can of rubberized undercoating? I don't want it rusting any more than it already is. here's a link to a knuckle rebuild write up I did on fa.com,
I got both rear fenderwells wire wheeled, sanded, washed, and used a whole can of rubberized undercoating on each side. The stuff is almost a quarter inch thick, but hopefully it will cut down on road noise. 180k will put a lot of dirty crap under there.
I got some pics of the car and how it sits now, but I haven't uploaded them yet. More stuff got done but I can't remember atm, it was a very eventful 3 day break, I think I'm gonna take some vacation days in the next couple weeks to get more stuff done, like painting.
Leave a comment:
Leave a comment: