
-
I cut off most of the material leaving the back plate. Welded on two pieces of 1/8" x 2" x 48" to reinforce what was left. Also had to trim the ends a bit and cut 1/2" or so off the top. Here's a shot from one end...Originally posted by sketchman View Post

The ATH bumper now slides into place nicely and mounts to the four lugs below the hatch opening (had to drill holes for them of course) and the stock spot in the wheel arch.Leave a comment:
-
A couple of minor updates...
My first attempt at modifying the rear bumper beam didn't work out. Here's the second attempt....

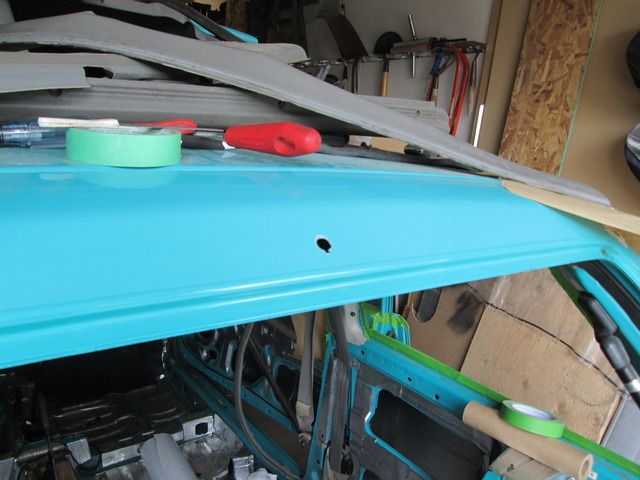
Also got the rear wiper reservoir in, the hose fed up the C-pillar and the nozzle installed.

Next up: remove the gas tank and the rear axle beam. The new tank and fuel pump I put in the red car will be switched over to this car as will the entire Aspire rear and front brakes.Last edited by fastivaca; 07-26-2015, 06:32 PM.Leave a comment:
-
Welp. I can honestly say this has made me want to get my Festy back on the road. Guess I can aim for Westiva 2016.Leave a comment:
-
Just a quick update....
- Sound deadener is all done and the carpet is almost ready to go back in. Still have some tidying up to do before that happens
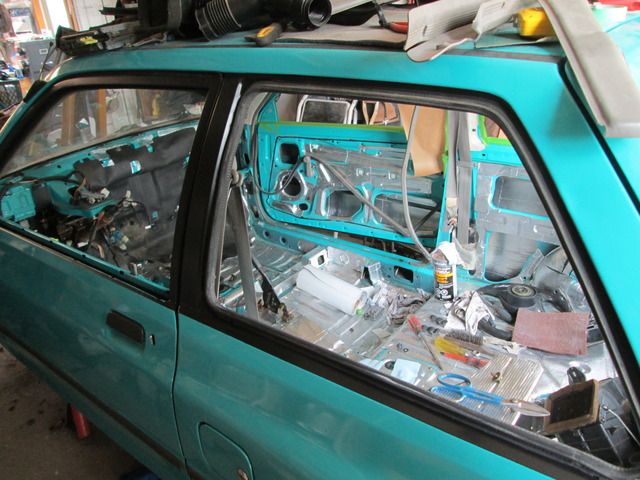
- I decided to paint the window surrounds to make it look like an LX. It will look better than body color with my dark tinted side windows. Driver's side is done, just working on the passenger side.
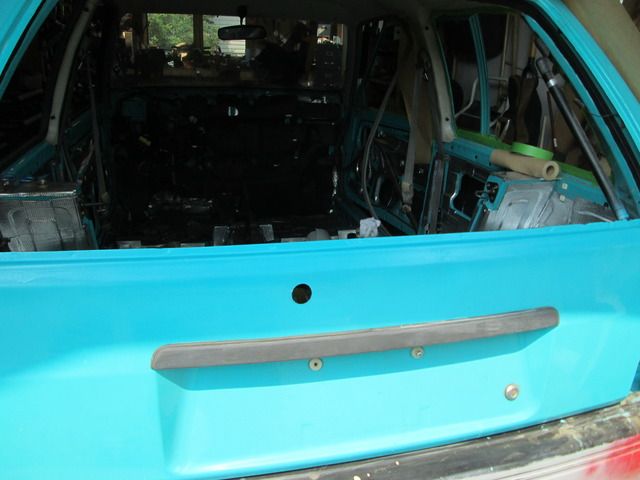
- Hatch glass was removed and the rust along the bottom of the opening repaired. Holes were drilled for the rear wiper. Still have to route the hose for the nozzle. Will be putting in the glass from my red car as it's already tinted and I know that almost all the defrost lines work.
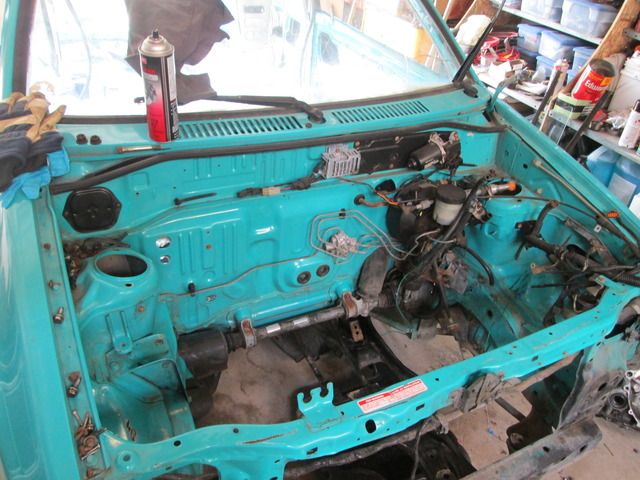
- Quick clean up of engine compartment done. I'll be doing some more as things progress
Next few things on the agenda for the next few days:
- Sort out what I can do before tearing into the red car. The idea here is to minimize the amount of time both cars will be immobile.
- Wire up the doors for power mirrors and speakers
- Get the engine and transmission mated up. This will entail modifying the oil pan on the B6T as I'm using the stock E-series transmission.
- Remove the Festiva axle beam and e-brake cable.
Obviously there's still a lot to do so unfortunately I will not be done in time to have the car at Westiva. So the red B6 car will being making its final appearance instead of the aqua B6T car making its big debut.
Thanks for your continued interest and encouragement.Leave a comment:
-
The most noise for those who have hearing loss that deadens everything but tire noise...it come from the rear where this pic is showing deadener !!Leave a comment:
-

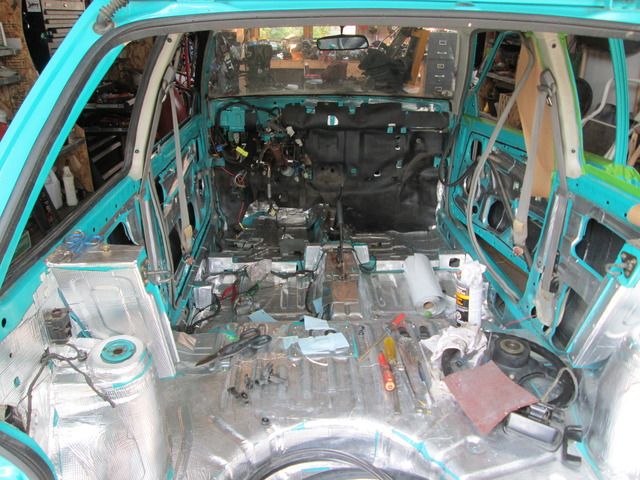
ATH bumper fitted... next step paint.

Sound deadener install started.Leave a comment:


Leave a comment: