Announcement

Collapse
No announcement yet.

Icetiva 3 race car build

Collapse
X
 
  • Filter
  • Time
  • Show
Clear All
new posts

  • Icedawg
    replied
    Wheels down

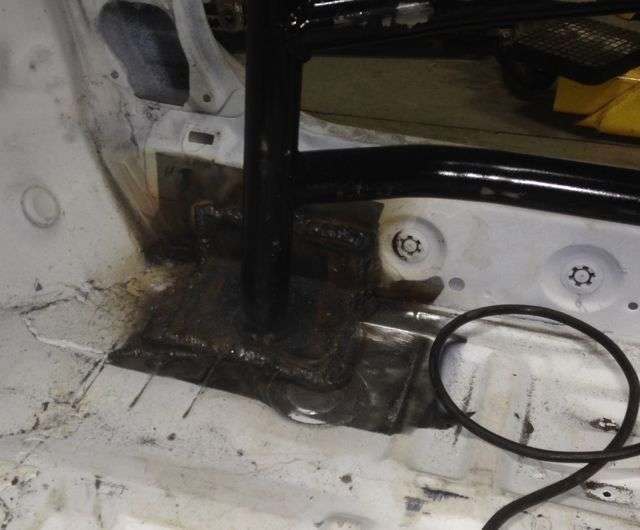
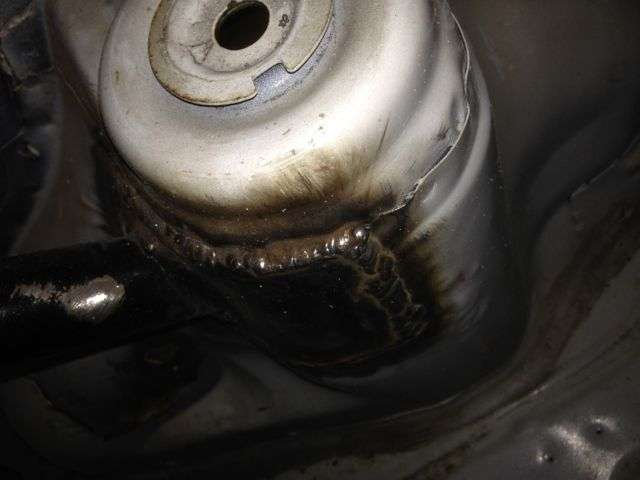
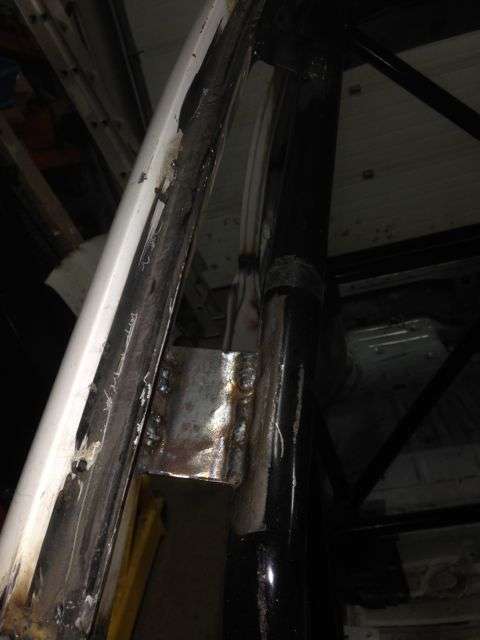
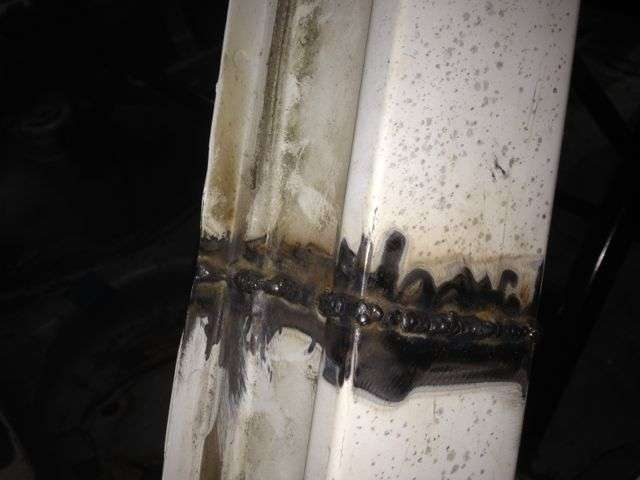
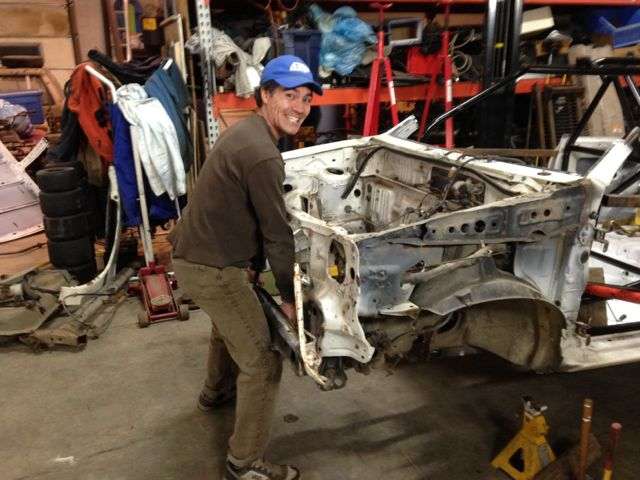
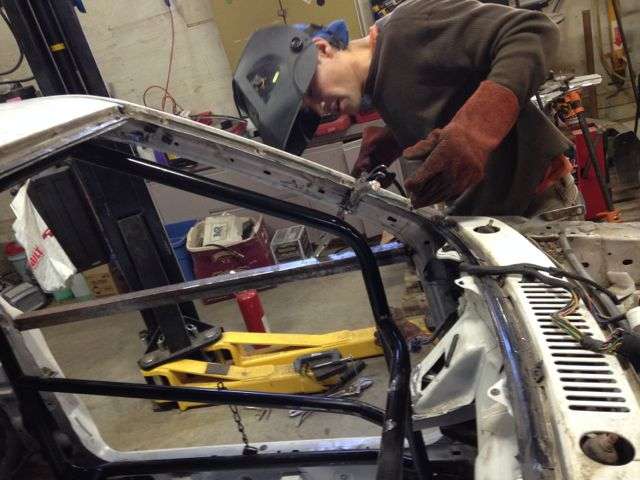
    Weekend 5 continued into the New Year week, with me doing some work after all that welding.
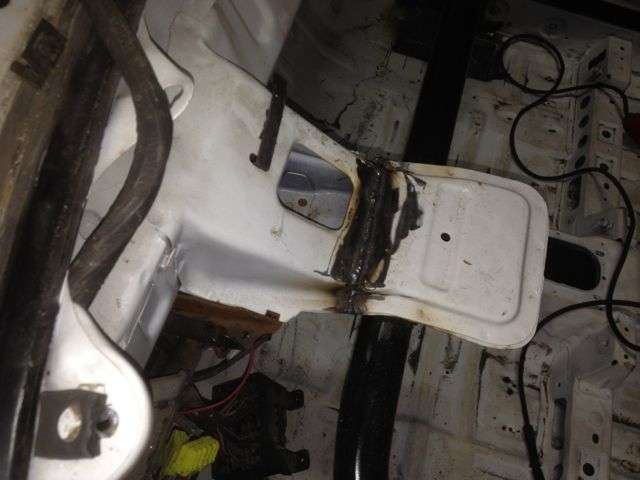
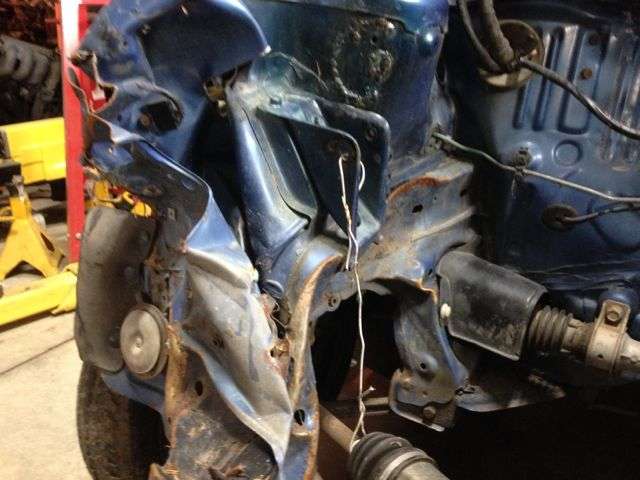
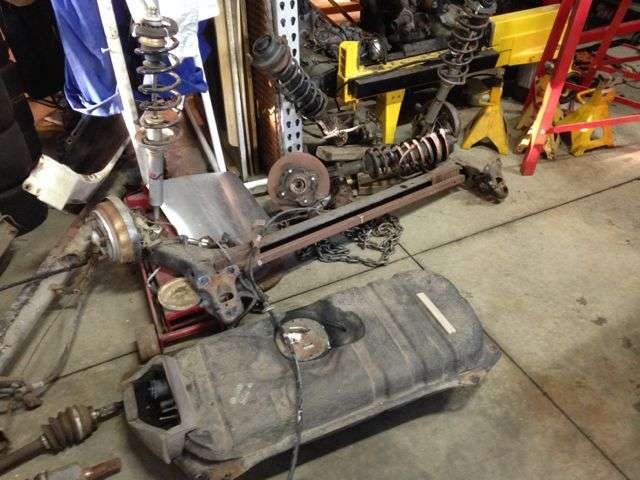
    Time to put a gas tank and running gear back in the car. The pics aren't much, just solid work.

    The tank has a 255 lph ho Walbro pump, for a 90 - 94 Eagle Talon, #341857. I had to swap mounting parts from the stock system to the Walbro, since the parts it came with fit the Talon instead, but it worked fine. There was a cut-and-splice with the wiring to change the plug end as well. For some reason the tank fought harder going into the chasis than other times I have done a tank swap, but it is in. (not much point in a pic though)

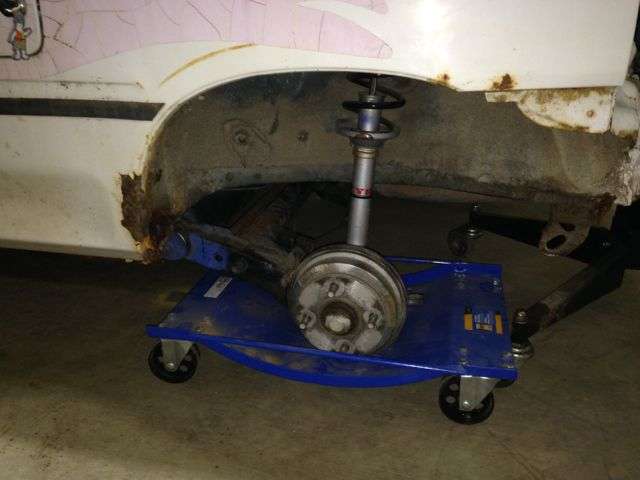
    Then on go the front and rear running gear, stripped form last year's blue race car.
    Rear has rebuilt brake pistons from a few years ago, with Ford studs pressed in for the wheel nuts.
    KYB Aspire/Festi struts
    Festi front springs, cut down by 1.5 to 2 coils, mounted in the rear. A little bending of the strut spring mount and the top seat, plus tying the rubber top spring mount to the top of the spring made the slightly larger diam front spring fit in the rear. This really reduces the bounce of the back end under race conditions, where the stock springs are so soft the car moves around way too much, even on ice where you want a soft suspension.
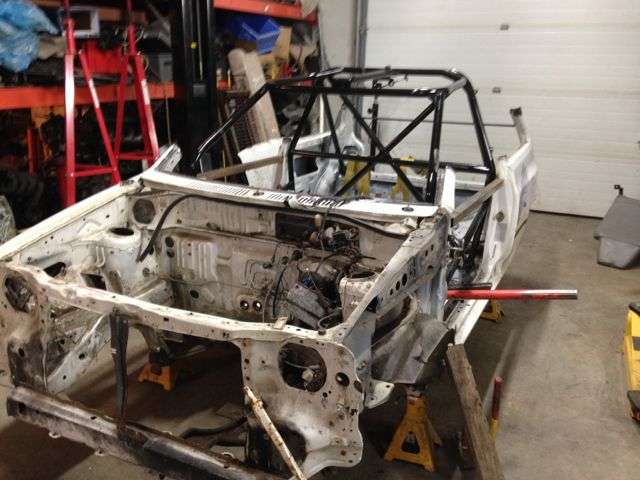
    There was some paint and grinding in the wheel well for the cage welding, and some rust removal from the frame rails, then a coat of Tremclad rust primer on most surfaces on the bottom rear area, too.


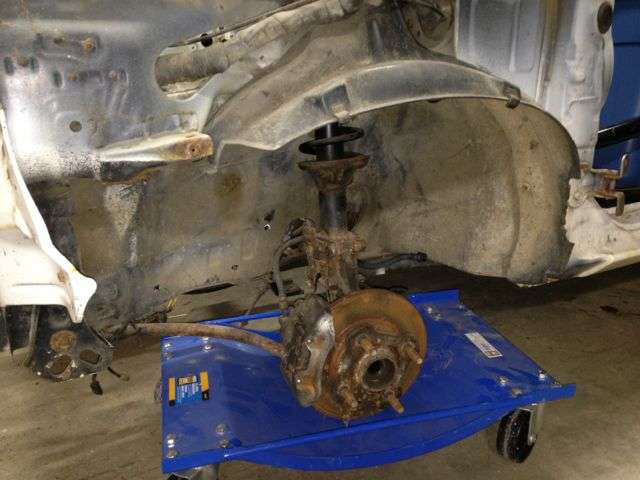
    Front suspension on too,
    Stock Aspire struts, which seem just a bit stiffer than Festi on bump, and surprisingly, a bit stiffer than KYB's too.
    Aspire front springs, with a few coils cut out.
    Strut bolt holes were ground out a bit, to allow some camber adjustment, so I can run about 0.5 to 1 degree negative camber.
    Brake pads, and wheel bearings were replaced last year. Calipers were also from the blue car, as they have been running, while the ones on the white car sat unused for many years. Ford studs were pressed into the rotors.

    Leave a comment:


  • Icedawg
    replied
    Yippee - all welded up!

    Weekend 5 saw two days of work by Hiroki, welding everything in solid after assembling and tack welding the weekend before. So it does not really look different, but it is a real shell again!

    He had to grind the undercoat off underneath to keep it from burning. And use very low current settings with the thin sheet metal of the Festi, plus carefully do a stitch, then swing around to another location to stitch, then back again, all day, to keep the heat from building up and thus preventing burn through. Awesome job on welding very different thickness steel together.

    One of the cage feet


    One of the rear brace support feet, helping stiffen the rear strut tower.


    tie-ins to the a-pillar, one low down, and one up high, with others to the centre of the roof along an extra bar in the top of the cage. Our club recommends one extra bar across the halo front to back to further support the roof, so there are some tie ins on that too. A rollover on snow can pack the roof in. We have a demo roof piece molded down around a drivers helmet, courtesy of a barrel roll 15 or 20 years ago.


    And the roof too


    The steering column/dash support bracket had to be cut to get the dash bar of the roll cage in place, so it had to be welded back on, of course.


    Many, many thanks to Hiroki for such a spectacular job!

    Leave a comment:


  • Advancedynamix
    replied
    Excellent thread!

    Leave a comment:


  • Icedawg
    replied
    Salvage

    The rest of weekend 4 went to harvesting needed parts from last year's blue Festiva Ice Racer. Since the white car had no running gear, I needed all the axles, suspension, wheel bearings and brakes that were replaced and installed on the blue car last year. The fuel pump from the red car was an upgrade, with an Eagle Talon High Flow Walbro pump, and the gas tank on the white car was dragged around in the dirt getting it into the shop, maybe OK, maybe not. Oh, and the steering coumn and steering rack were needed as well.

    Another shot of the damage on the blue car, with the frame rail folded back into the fire wall - just could not buff that out.

    And after a few hours I have pile of race car suspension parts, with cut springs, swaps from Aspire , front to back spring swaps, gas tank, steering rack and more.

    I could not remember what spring combo I used, and I did not write it down, so I guess I will have to measure them, just to know what it is. But I do know the front Festi of Aspire springs are now on the back and cut. I just can't remember what went on the front.

    Leave a comment:


  • Icedawg
    replied
    Ice & Road Racing

    Originally posted by Advancedynamix View Post
    Nice work! I like watching all the ice racing videos. It's easy to see why you guys wreck the cars so often. Do you ever run the car on dirt or asphalt in the summer months?
    Some of us run the ice racer in the summer, Robin S uses his B6T swapped Festi summer and winter. Here he is running in the Edmonton Indy 2011 support race, the NASCC Eurasia Cup.


    and getting chased down by me in my red car ice racing Jan 2012.


    Some of the Chevette and Neon ice racers run rallycross also. That is easier, as you don't really have to change over suspension, clutch and brake systems to switch from ice to rallycross, but all of that needs a major upgrade for good road racing.
    Photos by Terry Maclachlan, found at Skidmark Images
    http://www.pbase.com/skidmarkimages
    Last edited by Icedawg; 12-22-2013, 07:00 PM.

    Leave a comment:


  • Icedawg
    replied
    Originally posted by PhoenixSHO View Post
    its wierd that all the crazy stuff comes from Canada , my shogun , the KL v6 festy , and now this. I love it.

    Was this a generic cage you bought , or it was built from you guys? The good tube bender shops (the real ones) are hard to come by.

    this is my crazy project , if you haven't seen it.
    Wow that is really something special man! Hiroki keeps talking about wanting to build something like that. If I stop wrecking race cars and imposing on his fab skills maybe he will some day.

    The cage was built by G&G Racing in Leduc, AB, for my first ice racer (red car on page 1 of this thread). When I salvaged the car after twisting the frame badly I pulled the cage and stored it until this project. I am not sure the tube's were bent as well as they can be, but it is a strong cage.

    Leave a comment:


  • PhoenixSHO
    replied
    Originally posted by TominMO View Post
    That's cuz you have such long winters up there, and you gotta fill all that time somehow. I love it too.
    hahah thats true

    Leave a comment:


  • TominMO
    replied
    Originally posted by PhoenixSHO View Post
    It's wierd that all the crazy stuff comes from Canada, my shogun, the KL v6 festy, and now this. I love it.
    That's cuz you have such long winters up there, and you gotta fill all that time somehow. I love it too.

    Leave a comment:


  • Advancedynamix
    replied
    Nice work! I like watching all the ice racing videos. It's easy to see why you guys wreck the cars so often. Do you ever run the car on dirt or asphalt in the summer months?

    Leave a comment:


  • PhoenixSHO
    replied
    its wierd that all the crazy stuff comes from Canada , my shogun , the KL v6 festy , and now this. I love it.

    Was this a generic cage you bought , or it was built from you guys? The good tube bender shops (the real ones) are hard to come by.

    this is my crazy project , if you haven't seen it.

    Leave a comment:


  • Festiva_Fred
    replied
    Originally posted by Icedawg View Post
    We thought hard about sleeving the inside of the pillars, but in the end we did not. At the points we cut the B and C pillar there is a much thicker metal plate inside the pillar, running vertically. We cut the outer sheet metal on those pillars back, on the inside of the car, so that we could easily weld that centre plate together, and decided to call that good. If this were not a race car with a roll cage in it, we would have done a sleeve. But we concluded we could just weld metal plates on the outside of the sheet metal on the pillars, on the inside of the car, if we are still concerned about strength. After all, on the inside I am not concerned about looks. And we will be tying the cage to various points of the roof. So the sleeves seemed like overkill, given the presence of the cage itself.
    Gotcha, makes sense since it's caged I was just curious, couldn't see from the pics.

    Leave a comment:


  • Icedawg
    replied
    Originally posted by Festiva_Fred View Post
    Did you sleeve the inside of the pillars where you cut and rewelded them at? Just curious, I'm a bodyman and anytime we put on new rockers, quarter panels, etc I sleeve the joint on the inside with some plug welds on either side of the cut also.
    We thought hard about sleeving the inside of the pillars, but in the end we did not. At the points we cut the B and C pillar there is a much thicker metal plate inside the pillar, running vertically. We cut the outer sheet metal on those pillars back, on the inside of the car, so that we could easily weld that centre plate together, and decided to call that good. If this were not a race car with a roll cage in it, we would have done a sleeve. But we concluded we could just weld metal plates on the outside of the sheet metal on the pillars, on the inside of the car, if we are still concerned about strength. After all, on the inside I am not concerned about looks. And we will be tying the cage to various points of the roof. So the sleeves seemed like overkill, given the presence of the cage itself.
    Last edited by Icedawg; 12-21-2013, 09:11 PM.

    Leave a comment:


  • Festiva_Fred
    replied
    Did you sleeve the inside of the pillars where you cut and rewelded them at? Just curious, I'm a bodyman and anytime we put on new rockers, quarter panels, etc I sleeve the joint on the inside with some plug welds on either side of the cut also.

    Leave a comment:


  • Icedawg
    replied
    Tacking it all together

    Weekend 4 saw real progress to a carhtd
    Strongman Hiroki lifts up the shell so I can put it on jack stands

    then we position the cage, wrestle it into place, strap it down, test fit the roof and remove it again to check for shape change in the shell, and tack weld the cage in

    the roof drops back on, and we pin it in place with twelve vise grips. There was a wee bit of a twist that required two sets of hands to force the roof to line up at all six points, but it worked out.

    Then the roof was tack welded in place

    And finally, the new race-car-to-be is a real shell again with a roll cage inside. It is just tack welded so far, so there is a lot of welding yet to do, but it is intact. A great Saturday result.

    Leave a comment:


  • Festiva_Fred
    replied
    Very nice work!! :thumbright:

    Leave a comment:

Working...
X