-
Looking good! But man did that thing look like it had some sweet 90s graphics or what! -
Painting time
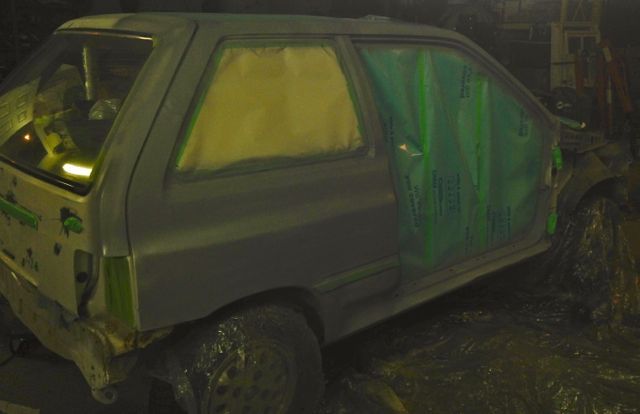
This shell had badly oxidized paint, heavy mold, and lots of rust through, plus a bashed in front fender, and rusted out hood. Plus those lovely "Festiva fun" decals. And white is just not the right colour for a car racing on ice and snow!
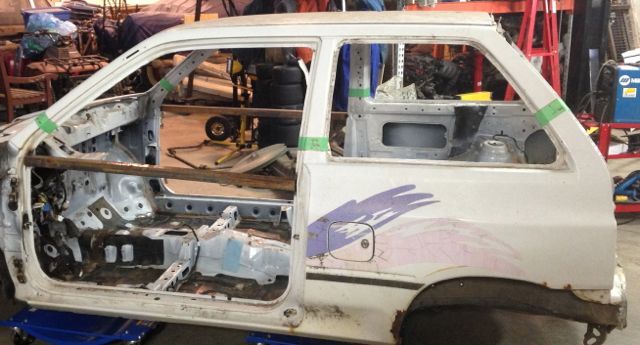
the decals took a day and a half to erase off, and then de-glue and sand the gunk off!
The colour scheme was decided by the already painted parts from the blue race car and this shell- a white car with goodish roof.
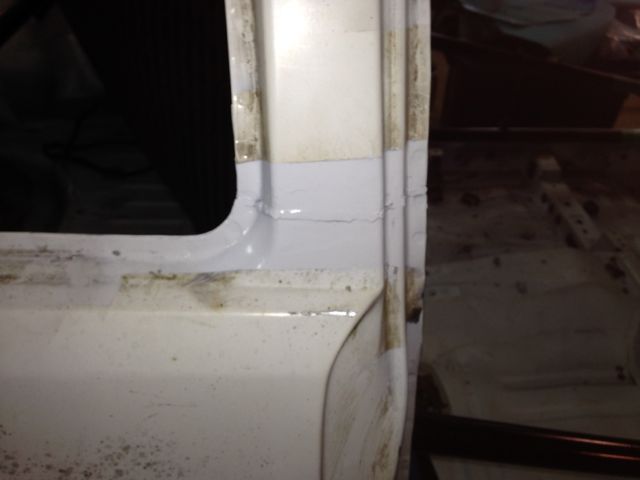
So the idea was to save work by just painting the rear quarter panels blue, the bottom of the back hatch, and the replacement hood. But the colour matched white did not work out so great on the frakenstein patches on the roof welds. So I decided to repaint the upper side frames as well.
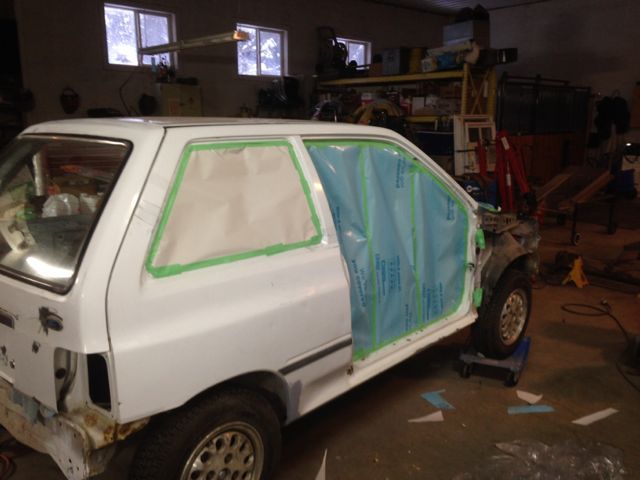
Time to start, sanding, cleaning, taping up.
I must have put my finger over the flash when shooting the primer coat, oops!
White on the top first, base and top coat (gettin' fancy), blue on the bottom
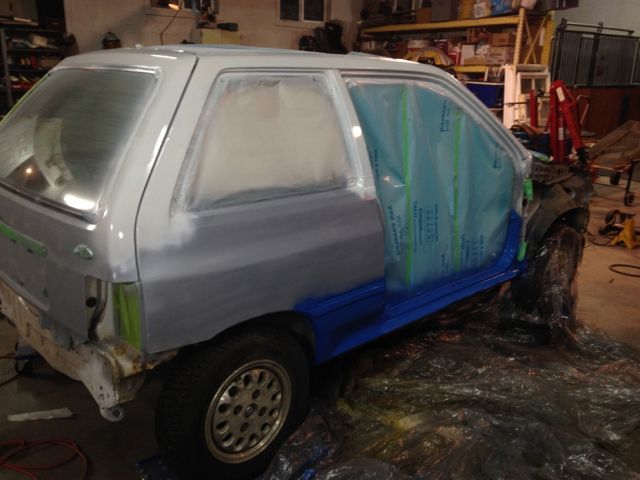
And then finishing the sides off, with a little white on the window frame of the door.

It's starting to come together.Leave a comment:
-
^^^ Interesting idea. Do you think the wiring can take all the turning of the wheel?Leave a comment:
-
Why not run some Snowmobile / ATV handwarmers into your steering wheel?Leave a comment:
-
Actually the defroster seems to work fine on the front window. And the side defrost vents are plugged off, which probably increases flow to the window.Originally posted by Bert View Post
But with the defroster on, and no dash/face vents it does get cold in the car. My hands have been freezing at then end of a race, since there is no side window.
The back window is a problem, since the window heater/defroster usually does not work, and in the new car the window will be removed and replaced with plexi. A top spoiler/deflector on the top of the hatch helps a bit to keep the turbulent snow blowing at the back end from depositing on the window, but it is not a complete solution.Leave a comment:
-
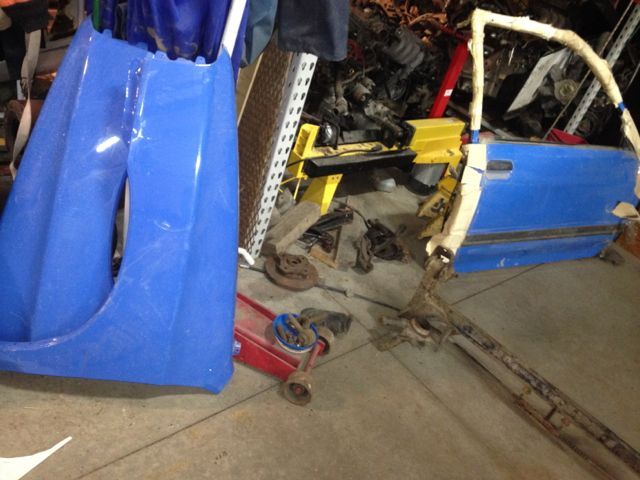
There really is no "laughing off" a race wreck, but there is walking away from one! I have to say I have been pretty unhappy each time I wrote off a chassis. But it is part of the sport. You have to take stock of how you are, if you can salvage the chassis, and then what you can salvage from the car for the next tub. Lots of both the red and blues cars is going into the new one. Engine and tranny mounts for the B6T, G25mr tranny, axles, wiring harness, dash, gauges, plexiglass windows, modified axles, struts and springs, fresh brakes, removable steering wheel, race seat, the list of already modded parts goes on and on. Old cars don't die, they transmogrify!Originally posted by Bert View PostLeave a comment:
-
-
PS: what do you folks do to address windshield defrost over and above the inherently lousy OEM blower/heater core assembly?Leave a comment:
-
That is a huge amount of time and effort and meticulous work you're doing there! Going to be difficult to laugh off a t-bone or similar crack incurred during a race. Hardly what I would call an expendable car with that amount of work done to it.
Wonderful thread with lovely descriptions and pictures.
I hope you guys do well this season and still have an intact car to show for it in April.Leave a comment:
-
A blank canvass
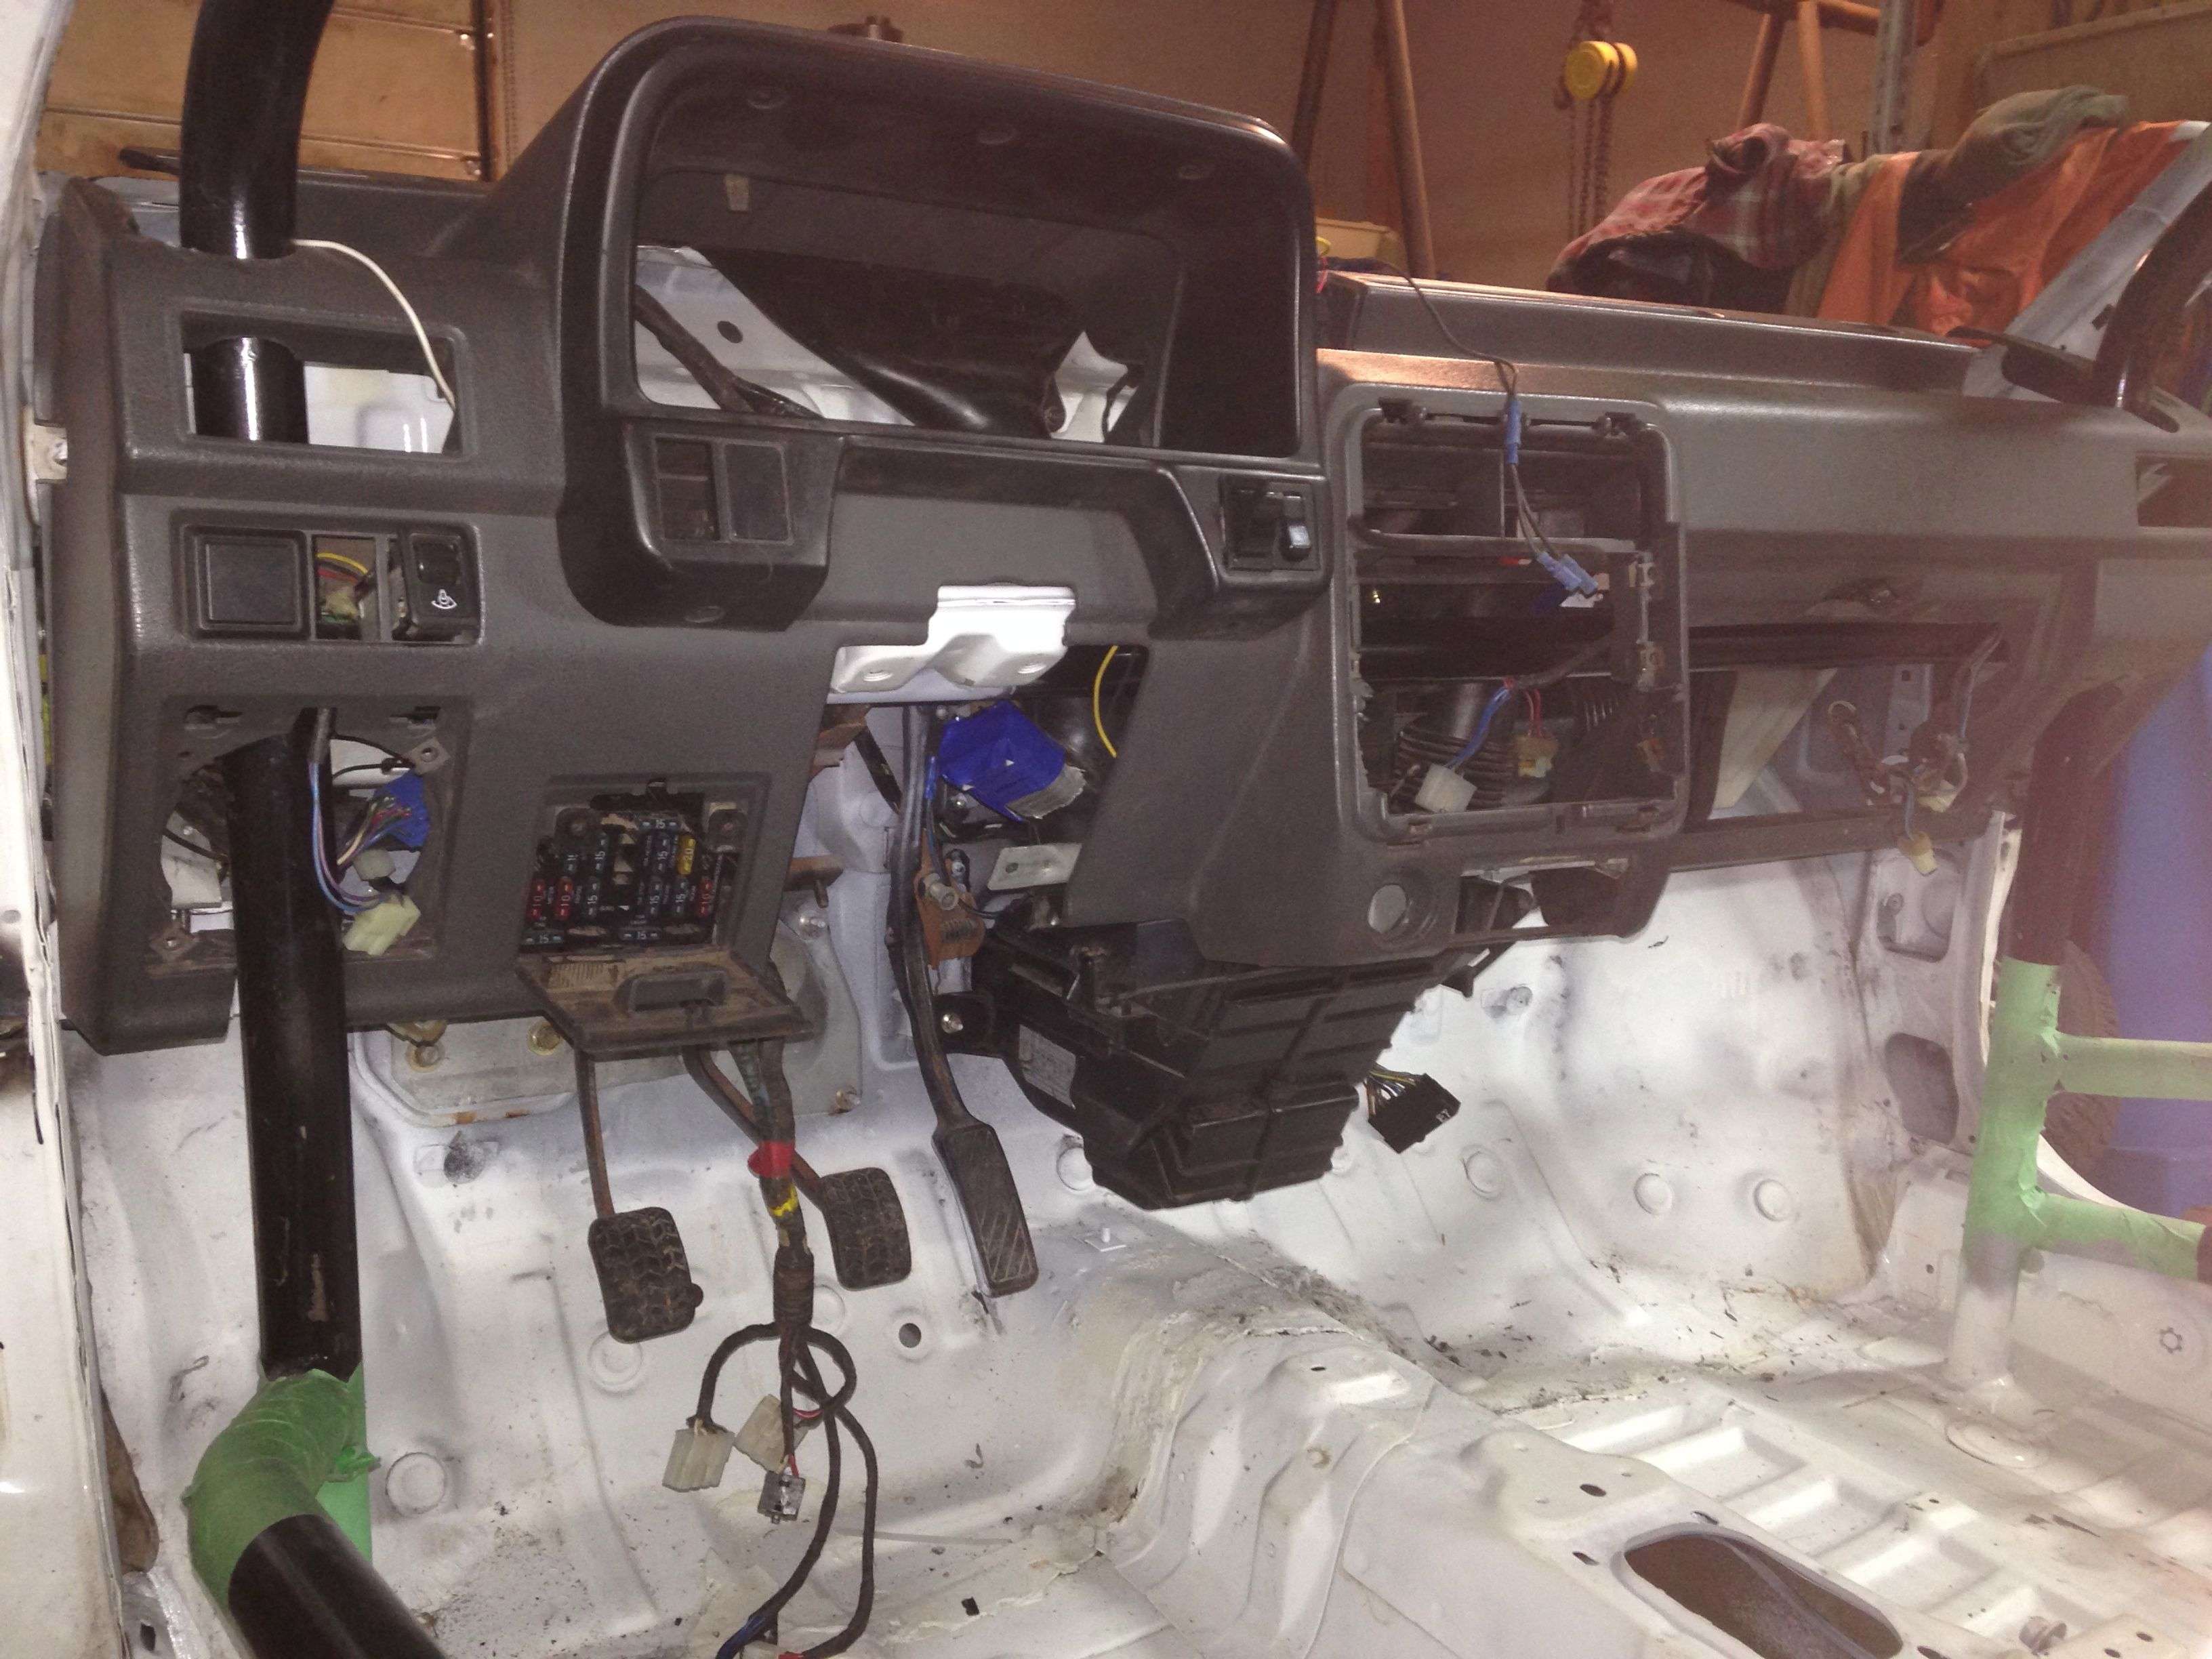
Finally time to tackle the interior, and put wiring, heater core and dash back in.
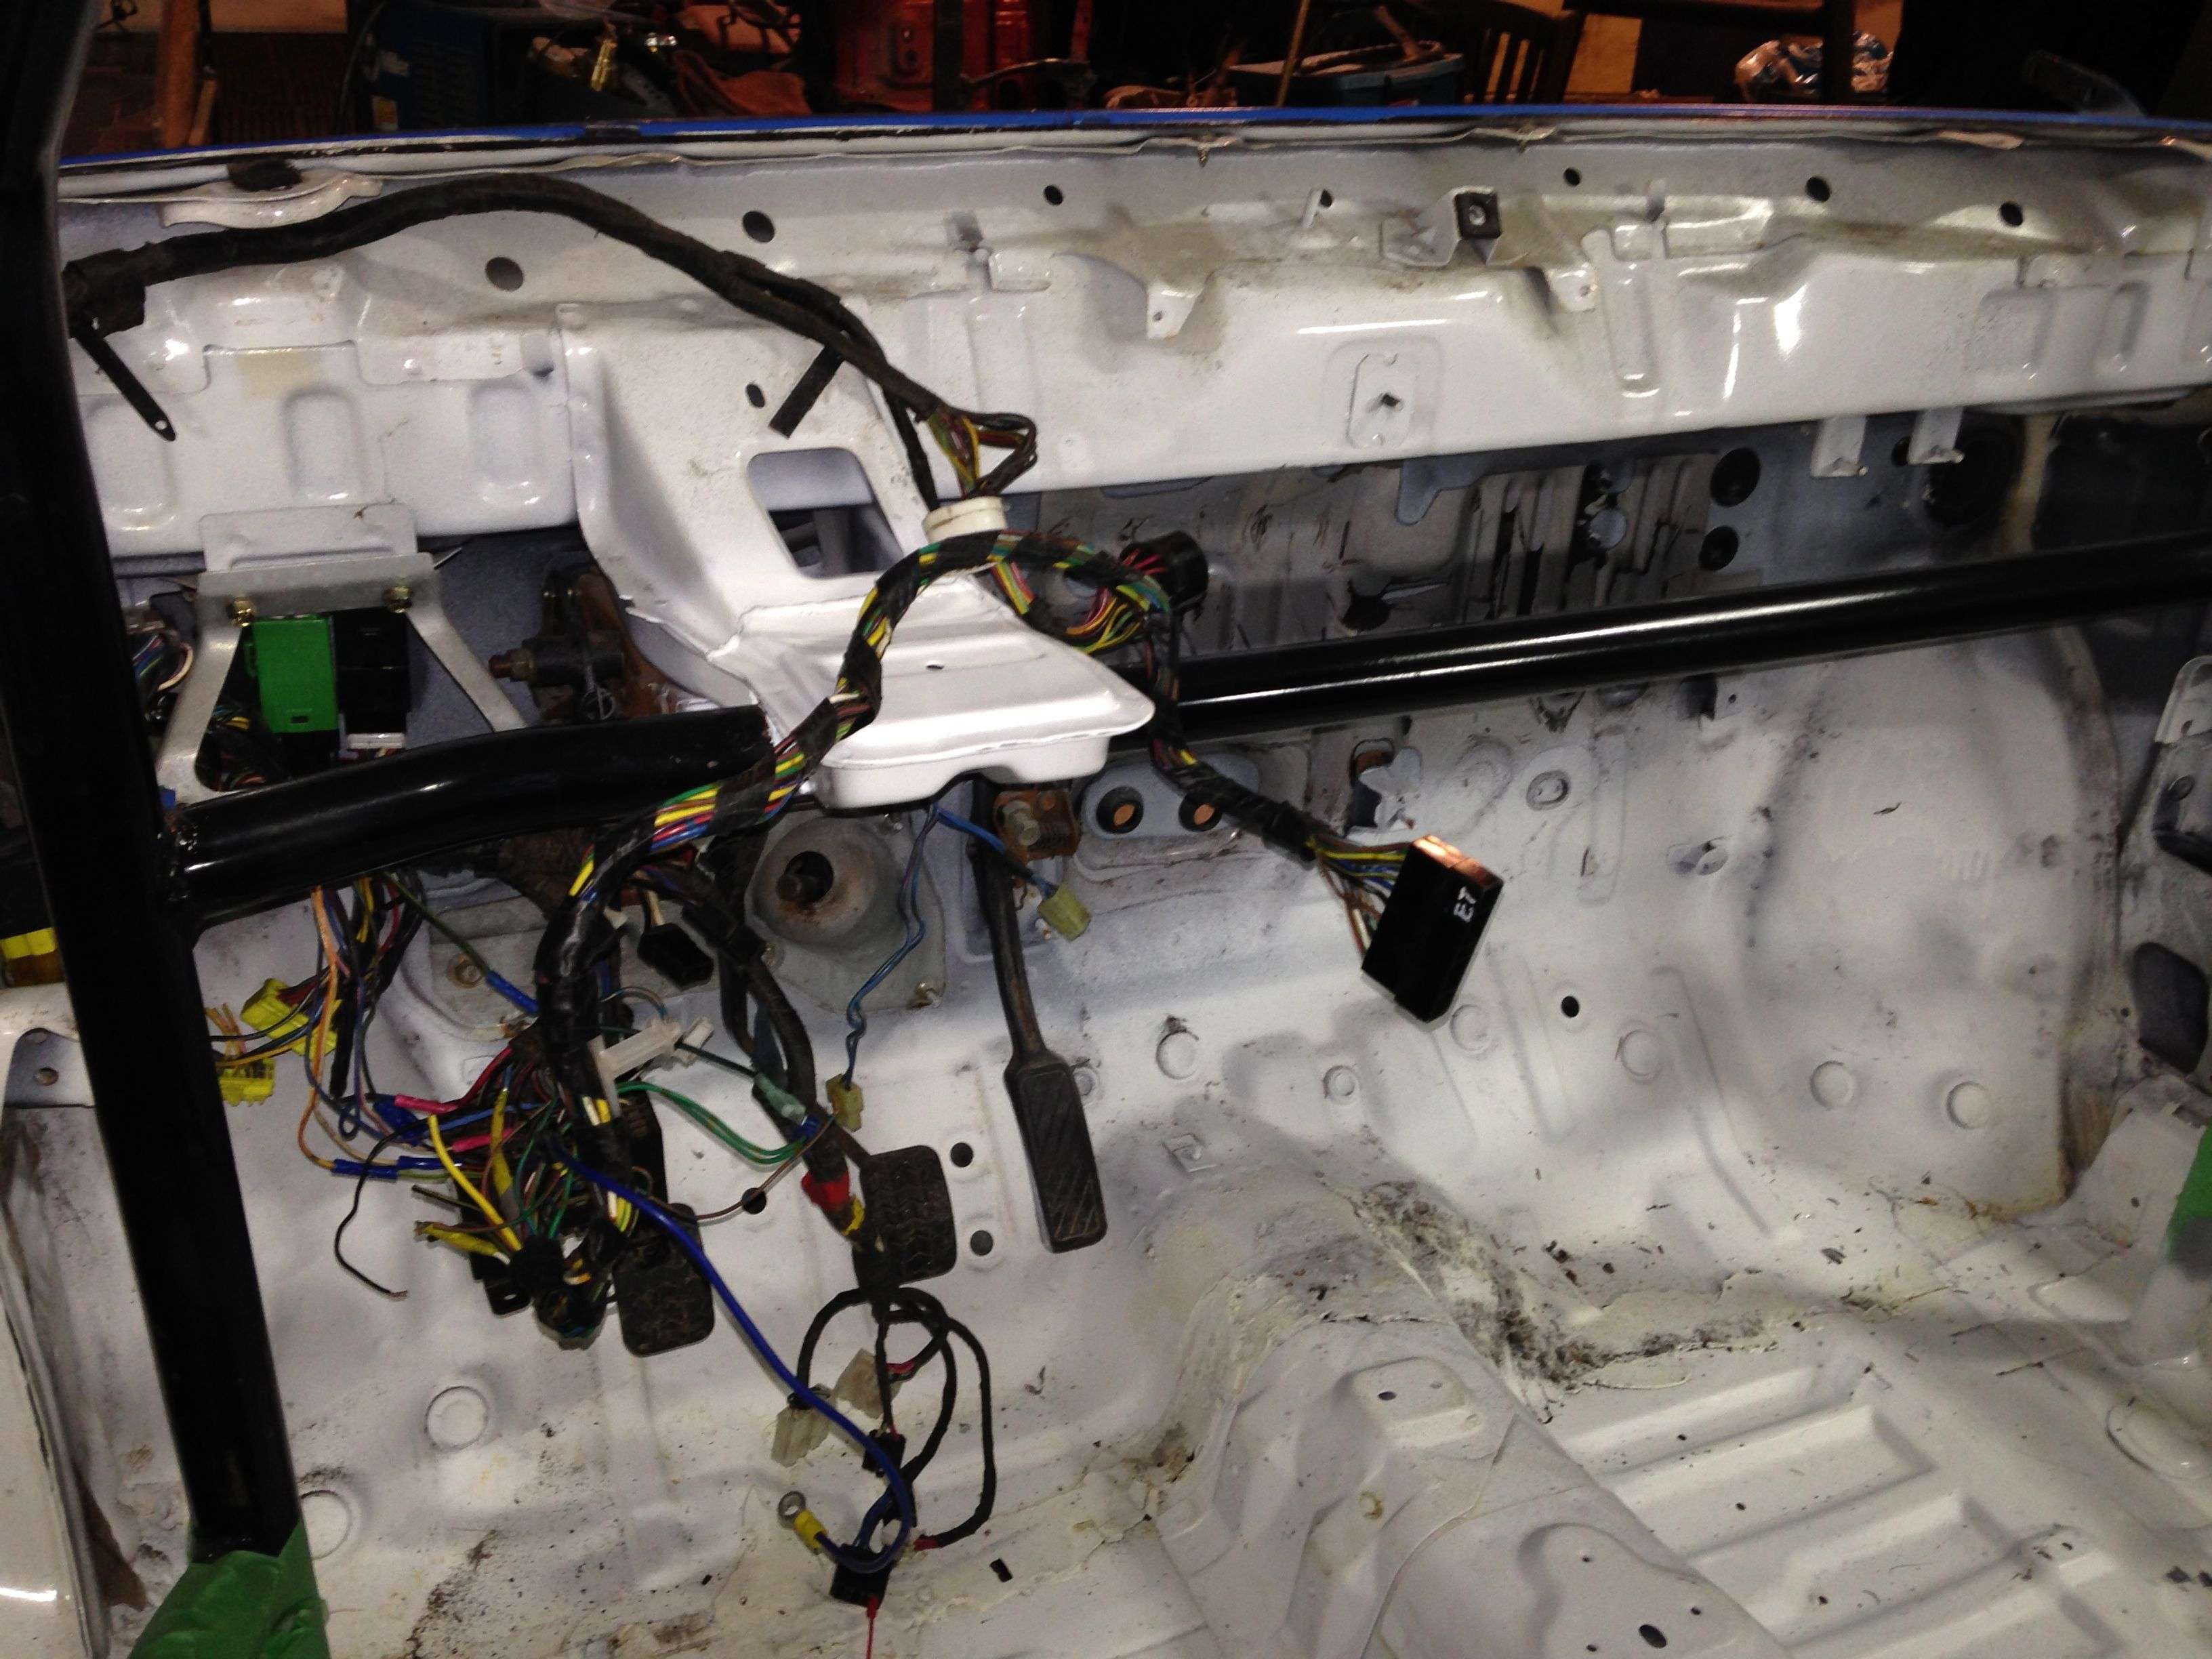
Before, with newly trimmed Festi wiring and connector to B6T ECU installed.
And after, with heater core and wiring back in, and dash placed. It needs to be clearanced a bit more, as it looks like the roll cage is 1/4 inch further back in this car, so that it can be bolted in place. But it now looks a bit closer to a car. The dash is so darn light it makes no sense to get rid of it and fab up mounts for the heater controls and gauges, so back in it goes, even if it is a race car.
 Last edited by Icedawg; 01-10-2014, 06:48 PM.
Leave a comment:
-
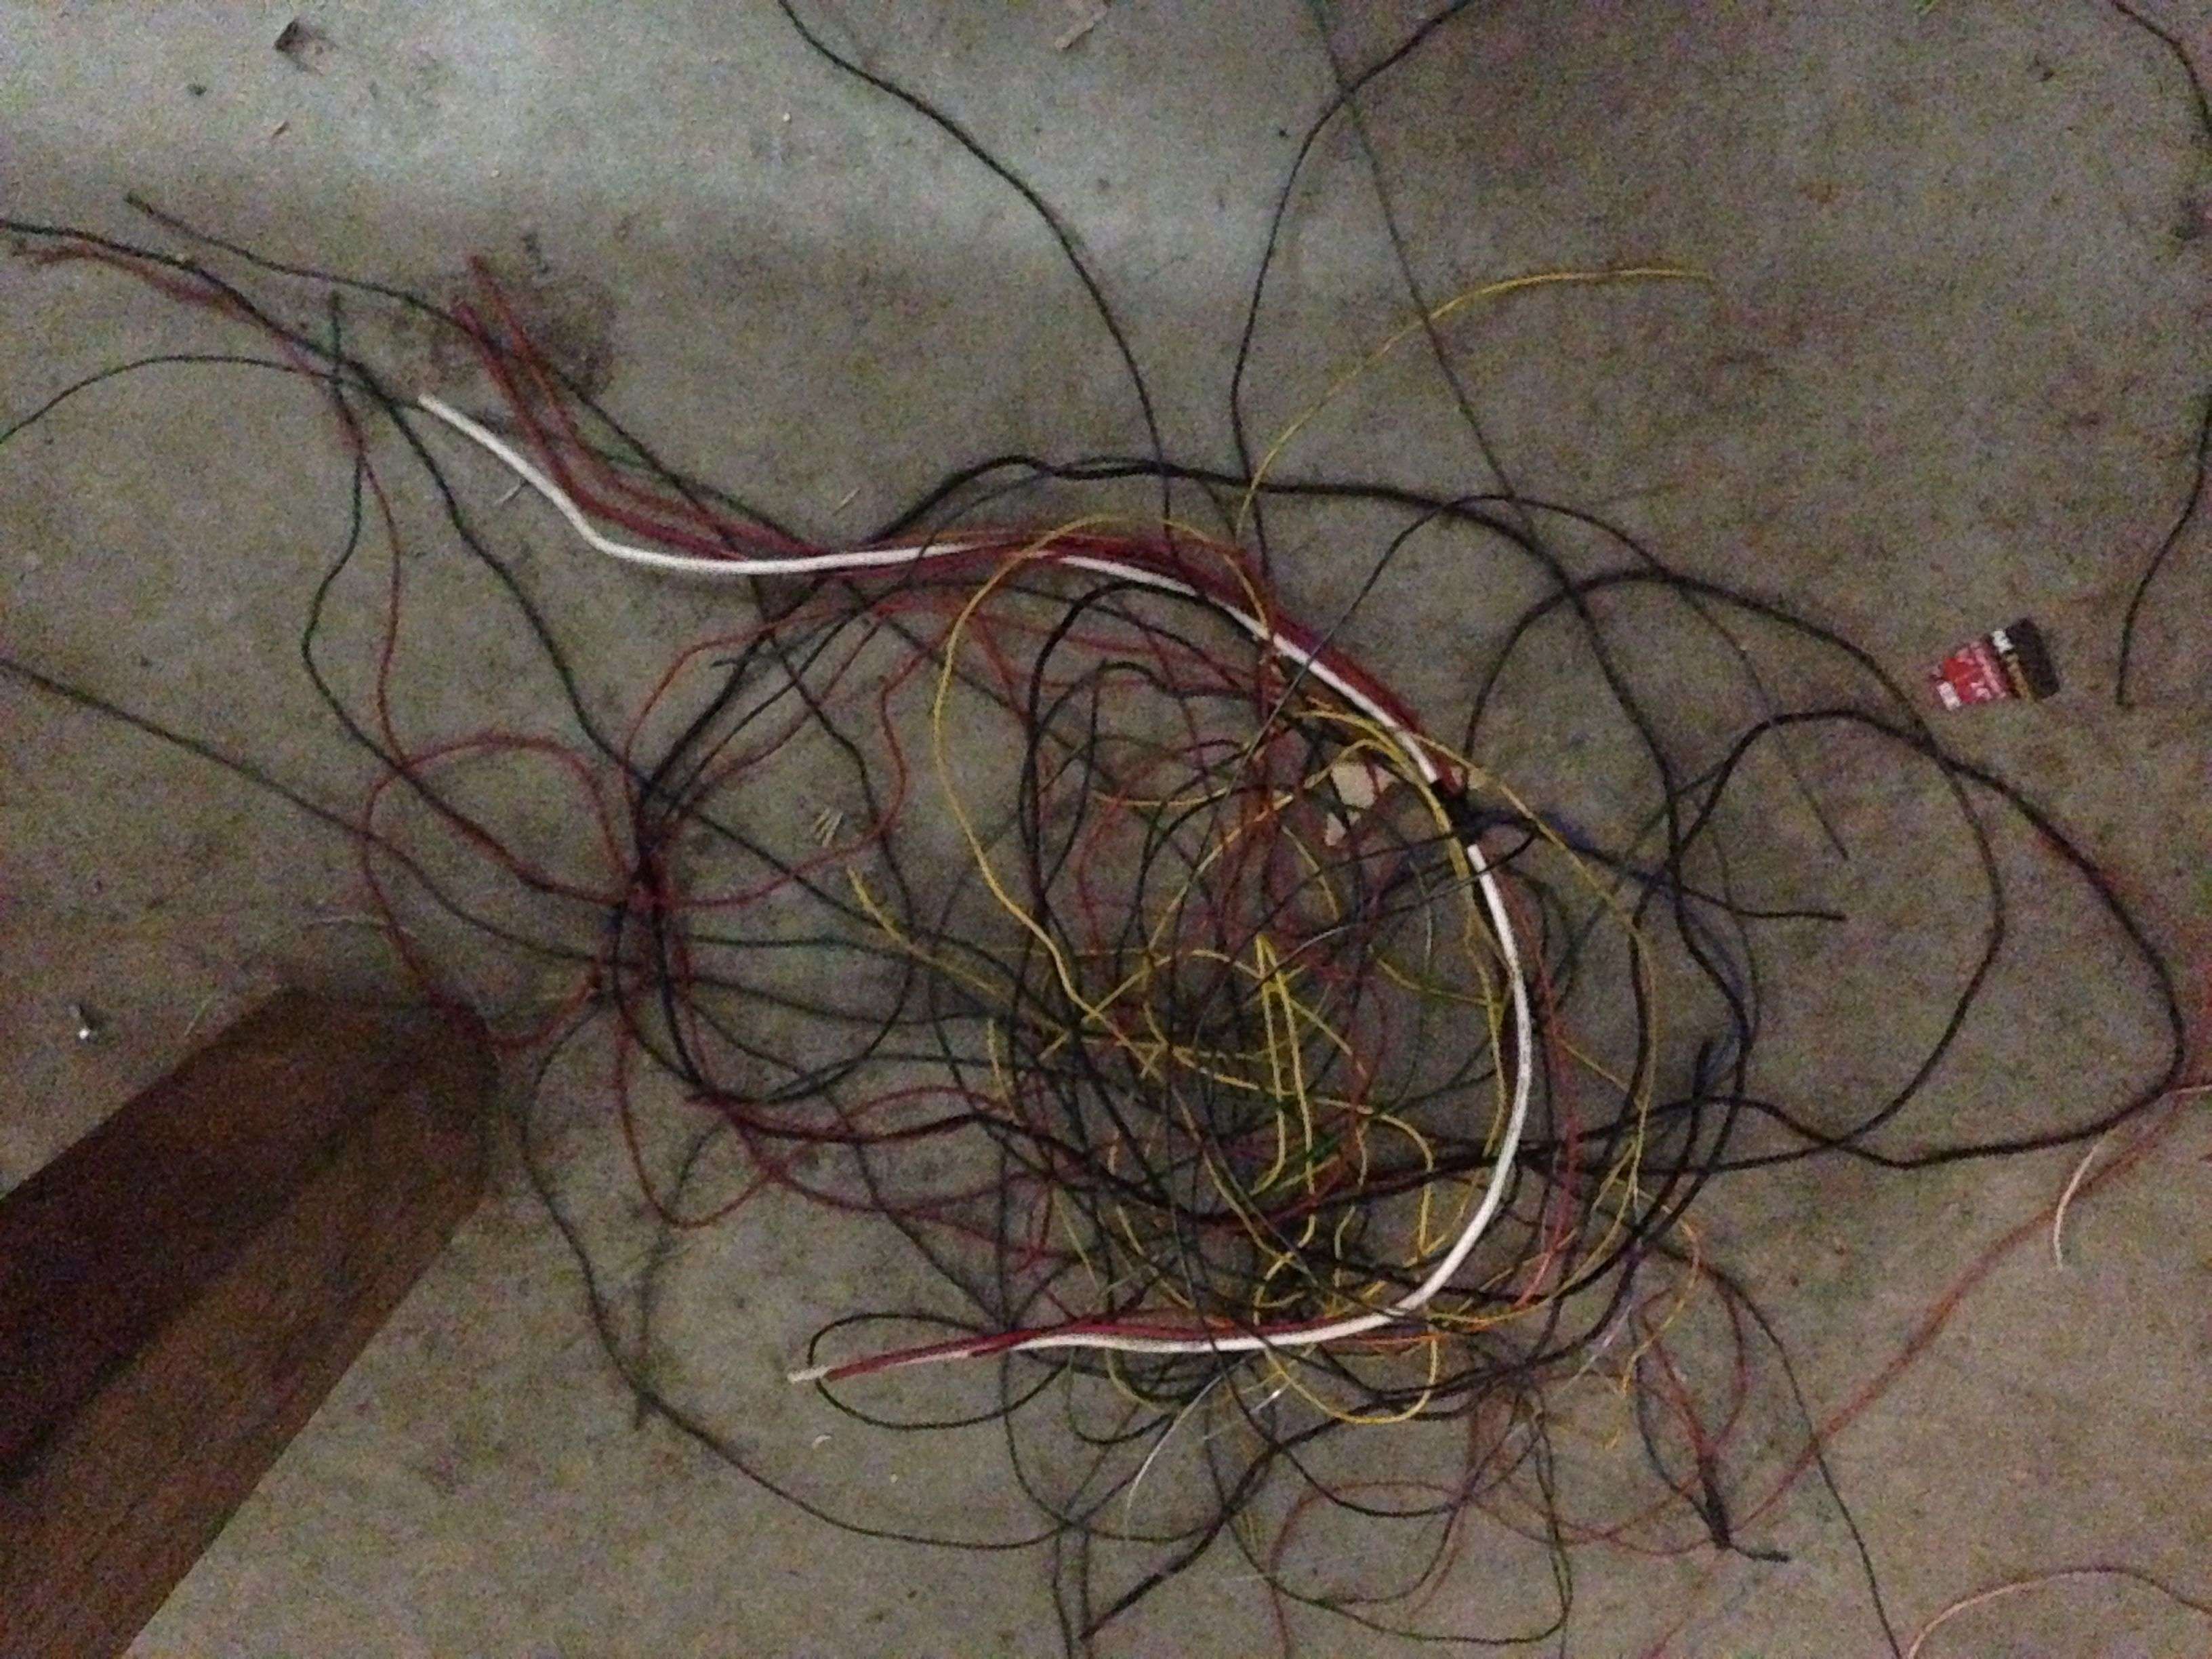
wire
This is about half the wire I took out of the Festi harness. It took a long time, and certainly was not much weight savings, but putting the harness back into the engine bay and cabin again was a lot easier than it would have been with all the extraneous plugs and connectors hanging on.
All of the VAF wiring, the daytime running lights, environmental control connectors, horn, turn and parking lights, wiring came out of the front harness, and everything except fuel pump, fuel send, inertia sensor, brake and tailights came out of the rear harness. Then a lot of fresh electrician tape went back on.
 Last edited by Icedawg; 01-10-2014, 06:41 PM.
Leave a comment:
-
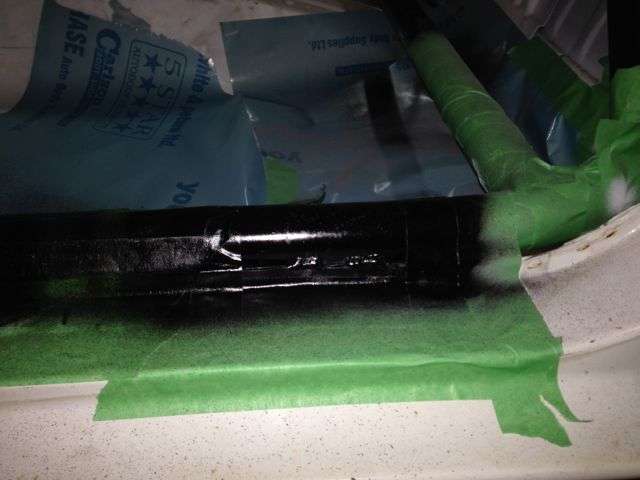
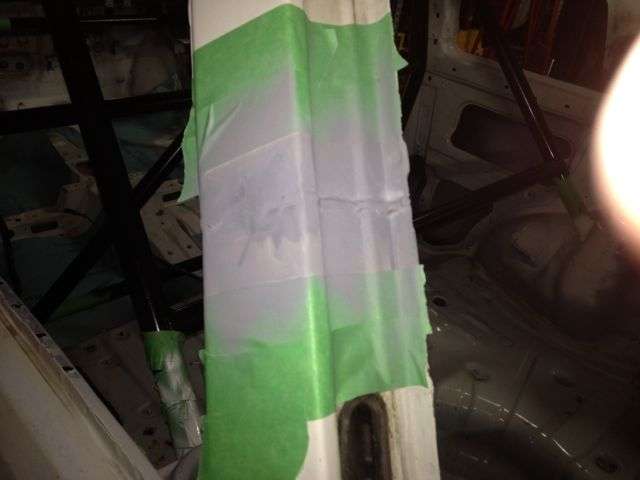
More paint
Weekend 6
Those welded cage feet needed paint too. That was tedious too, all the taping and masking to get paint only where it belongs. The bottom bar also needed painting where it was cleaned of paint to be welded onto the door sill. As did the tie ins on the A-pillar. So much time for useful, but unexciting steps. I could not get a Ford white paint to match the shell white from Dupli-Color paints, so it looks like I will have to get colour matched spray bombs to paint the outside of the roof.
Then I spent a half day stripping the main Festiva wiring harness of uneeded wires and connectors, to prepare it for re-installation.
Painted feet

Painted bar at sill tie ins
and primer on roof welds, awaiting the right white!
Leave a comment:
-
Tedious Progress
Jan 2 & 3, still in New Year's Week
It feels like a long tedious struggle throughout this update.
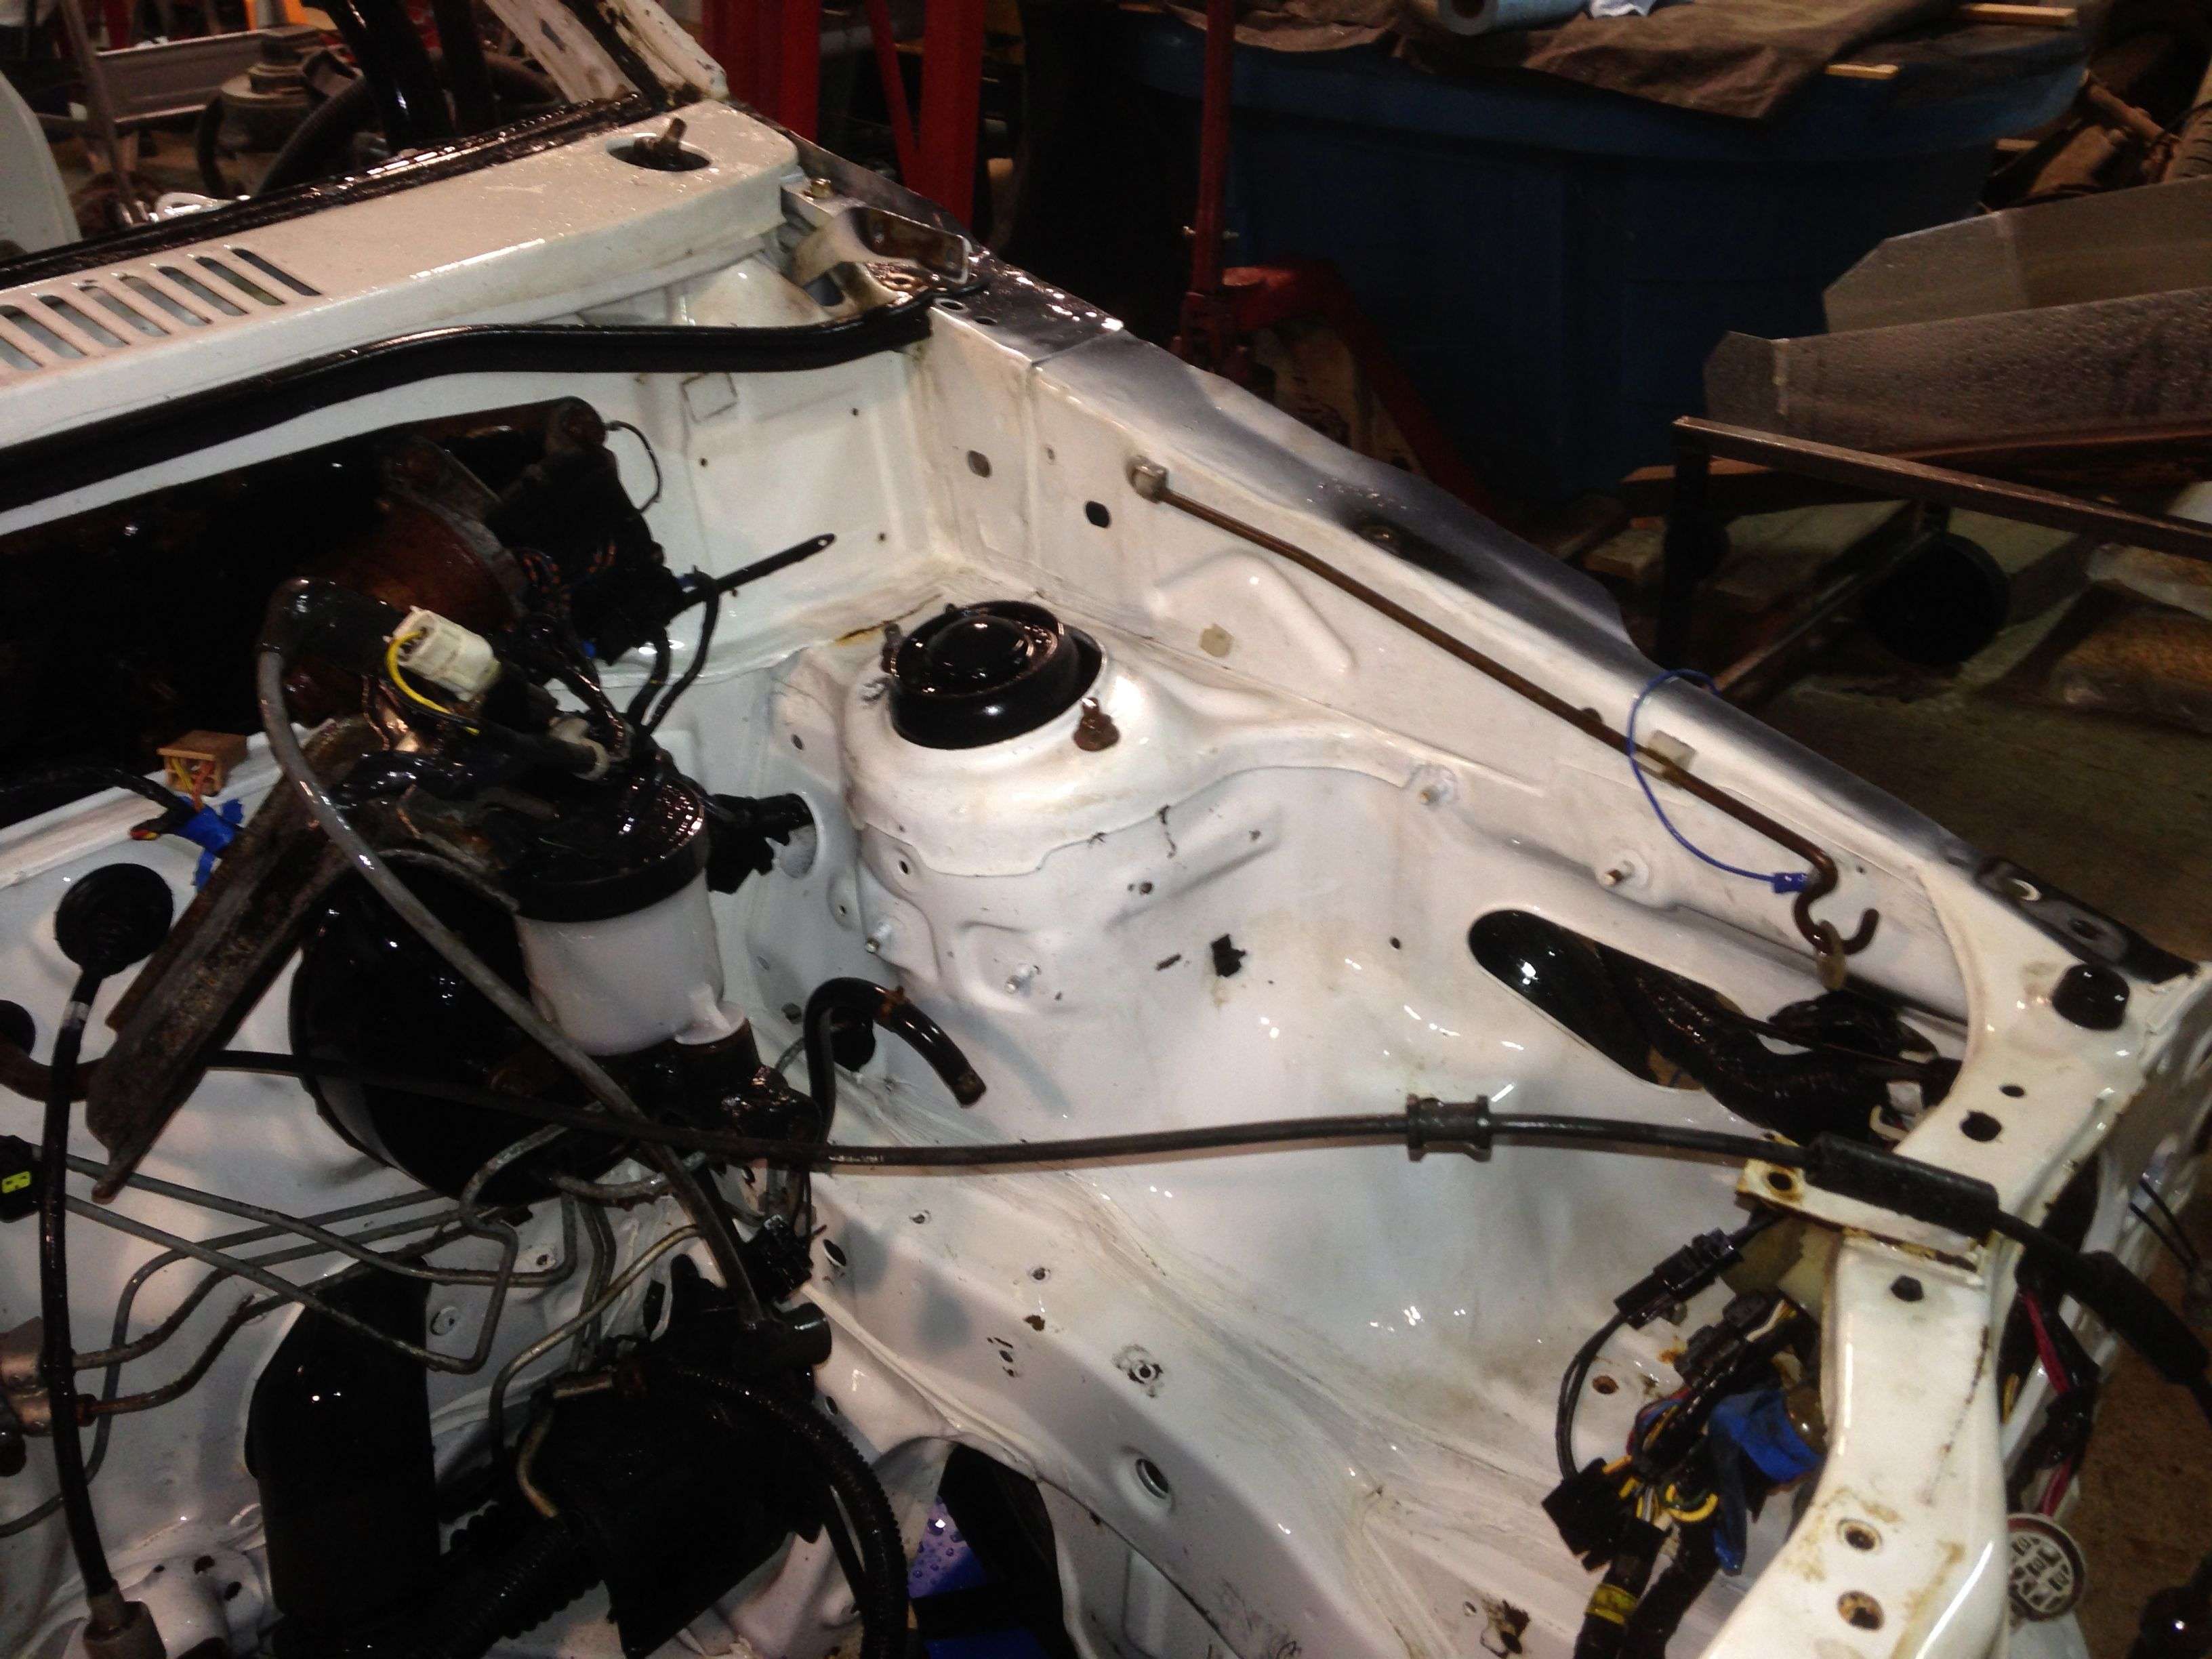
First, I re-installed the steering rack, and the brake master cylinder ,both transferred from the blue car, then connected all the brake lines.

After years sitting outside the engine bay was pretty ugly
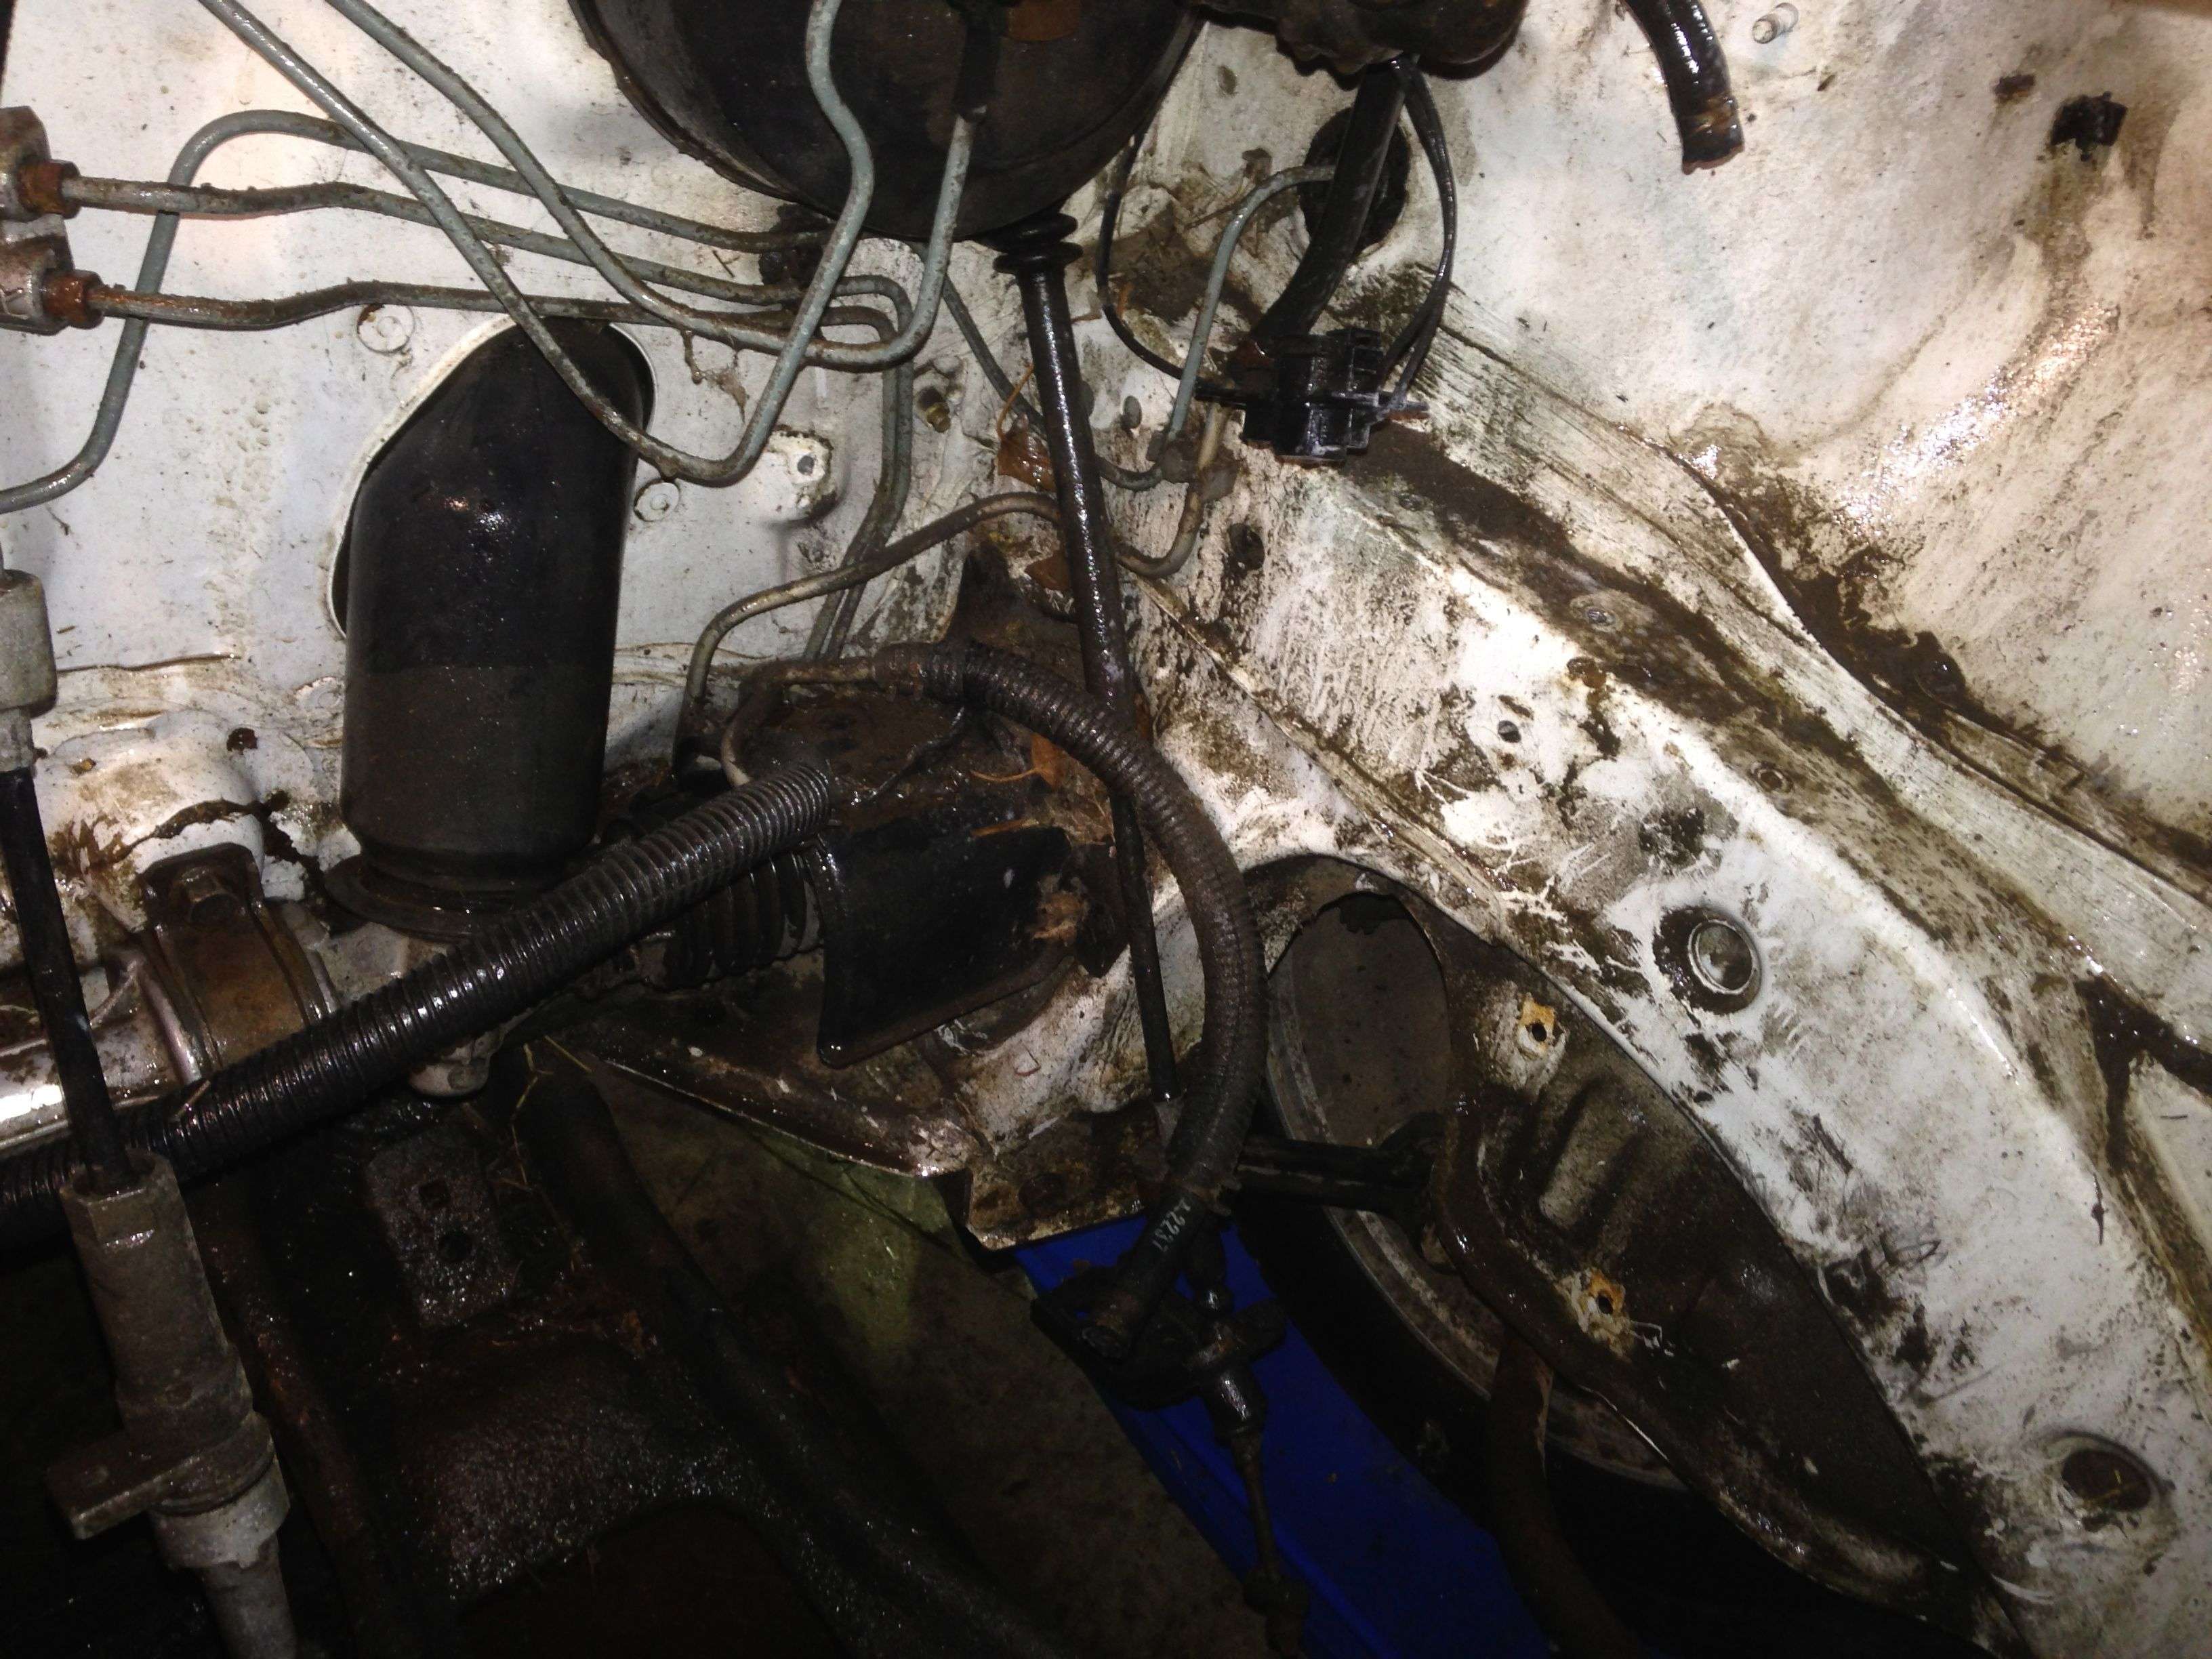
And it is amazing what a pressure washer can do
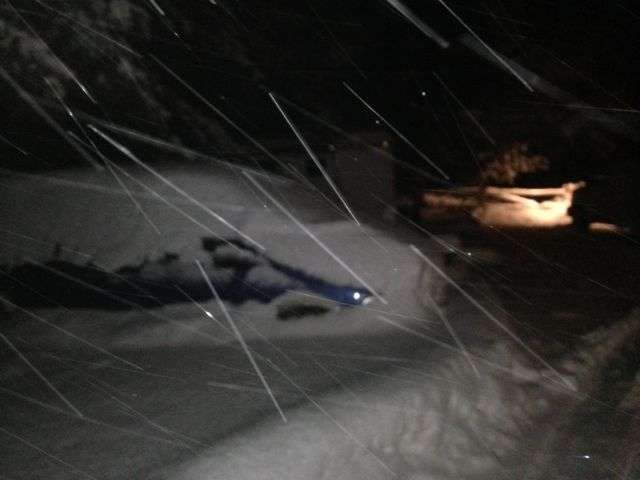
Then a brief interlude to get a new rear axle for Hiroki's car, from a trip to Pic N Pull. The current one was bent by a half inch, and had major toe in on one side, out on the other, nasty to race.

By the time we were finished unloading, washing the engine bay, and cleaning up the axle it was nasty outside. those streaks are snow coming down.
 Last edited by Icedawg; 01-05-2014, 10:22 PM.
Leave a comment:

Leave a comment: