Announcement

Collapse
No announcement yet.

Icetiva 3 race car build

Collapse
X
 
  • Filter
  • Time
  • Show
Clear All
new posts

  • Icedawg
    replied
    the home stretch

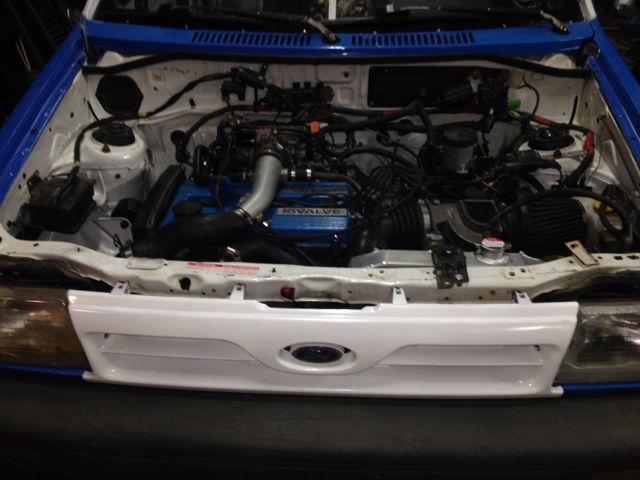
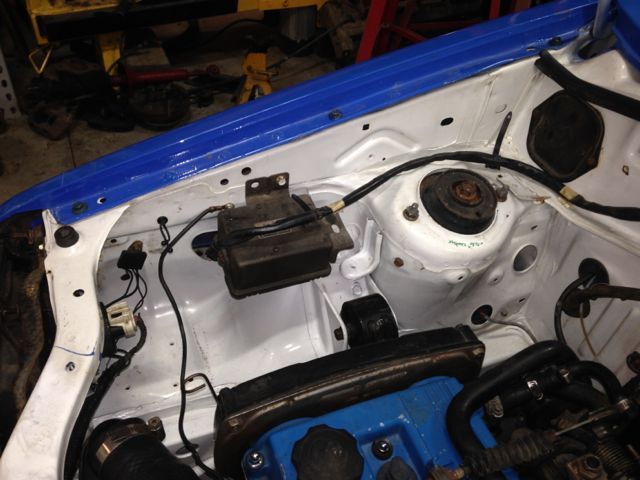
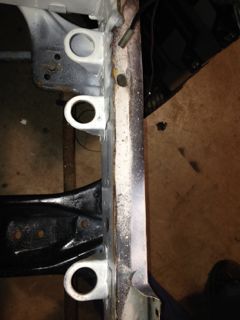
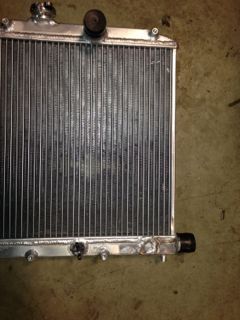
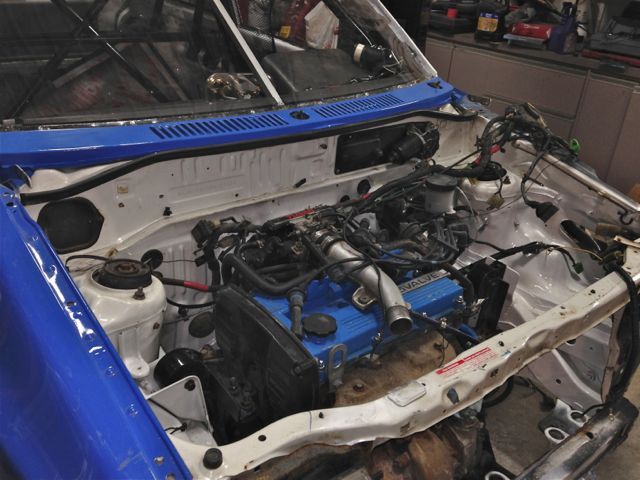
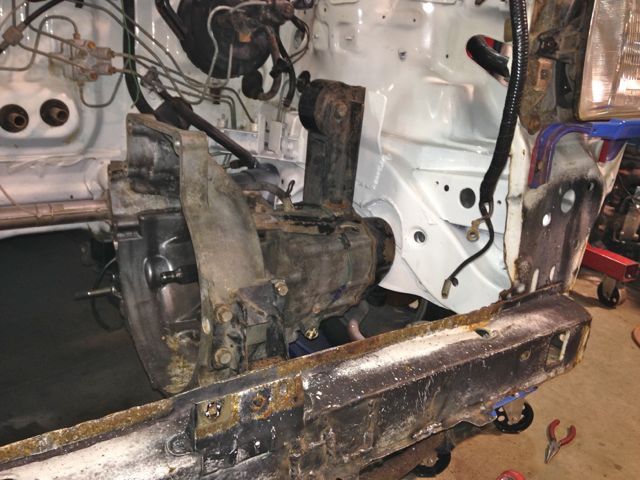
    Weekend 13 and 14 were spent rushing to get it finished for at least one ice race weekend in 2014. Here is the engine bay, with a few views of the Honda Civic racing radiator in place.


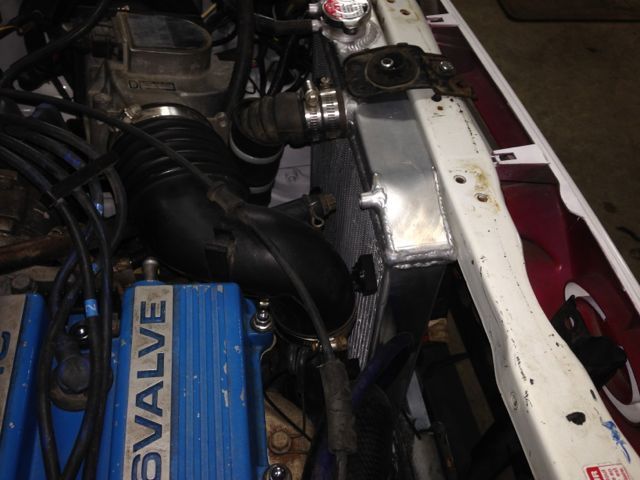
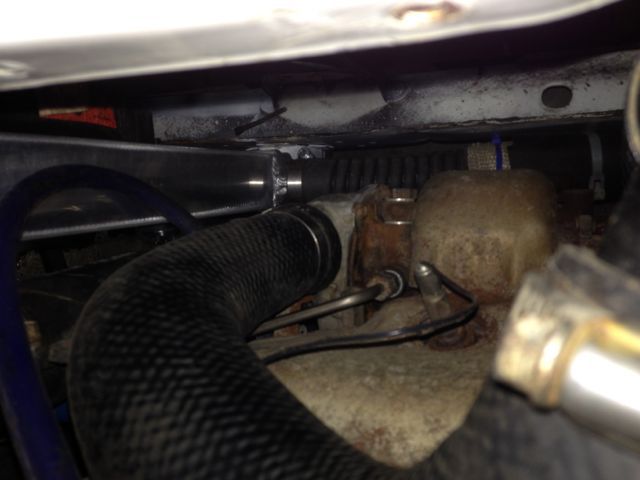
    and way down at the bottom the side port on the rad clears the turbo nicely.

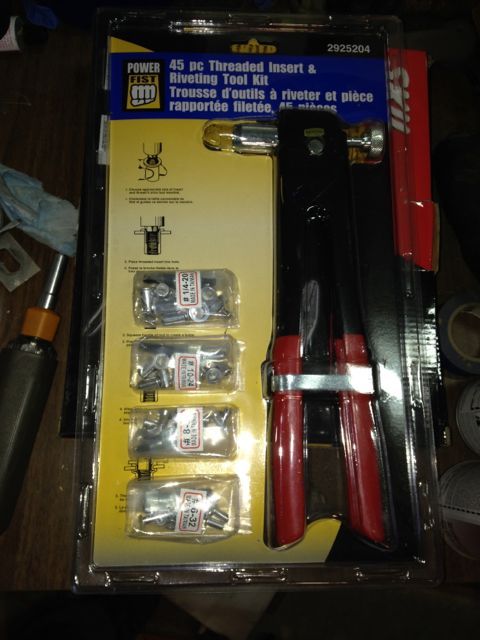
    I went wild with the thread insert and put mount screws along the fire wall for all the B6T wiring, and vacuum system. I deleted the charcoal vapor canister and vacuum controls that went with it, so only one of those three vacuum relays is used now, the other two are shorted to each other on the vac system, and the electrical leads are not connected to those two.

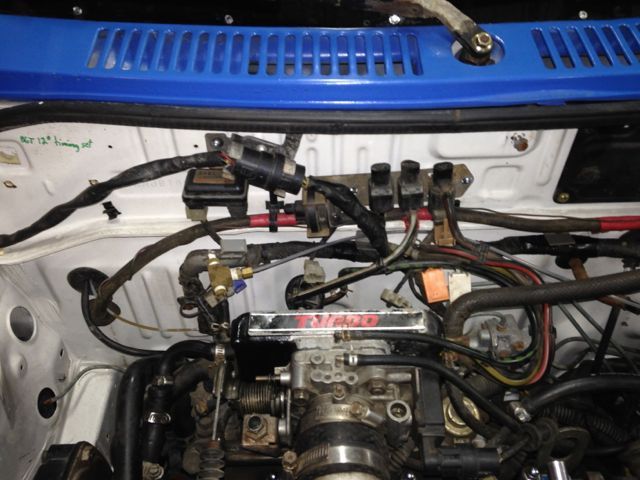
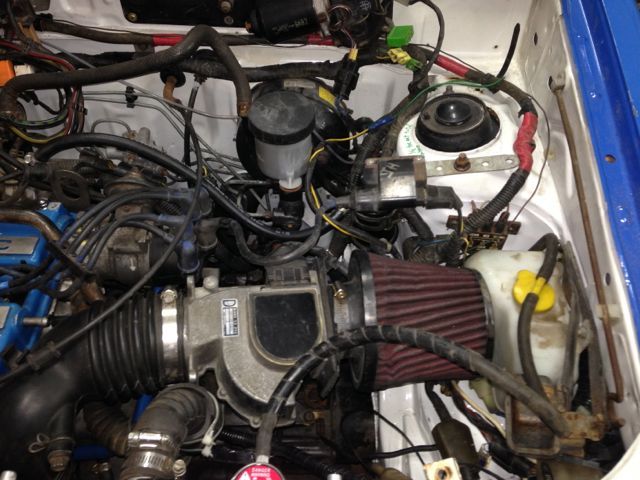
    the knock box mounted with a stock Festi threaded spot on the passenger wall

    and the intake and vaf assembly

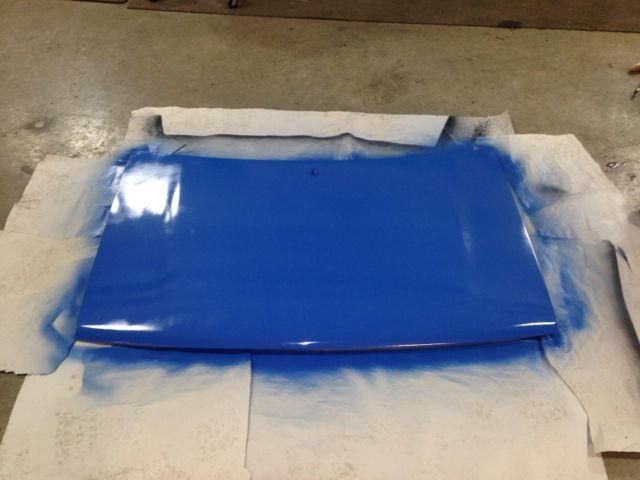
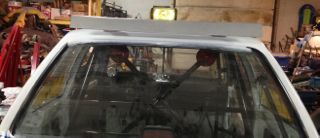
    then the last paint job, to the hood

    Leave a comment:


  • Icedawg
    replied
    Originally posted by Icedawg View Post
    I went with a Civic e-bay aluminum racing radiator.
    We added a third bottom post support to mate with the pins on the bottom of the civic rad. The rad exit port did not clear the transmission mount, so it had to be cut off, welded shut, and re-welded onto the side of the tank.
    That cost a bit, so the savings on the e-bay rad over a new Festi auto rad were consumed, but I like this thicker but more compact radiator.
    Sorry, I'm new to Photobucket, switched last week when Imageshack started charging fees, and I did not use the library quite right the first time with those two shots, so they got lost from the post.
    Last edited by Icedawg; 02-18-2014, 10:28 AM.

    Leave a comment:


  • Icedawg
    replied
    engine in

    Thursday before weekend 12 I got the engine dropped in! Sweet.

    But I could not get it finished for weekend 12, the start of the ice race season. Spent the weekend as a volunteer for the racing in registration, timing and snow plow, and now its back to getting it ready for next race weekend.

    Leave a comment:


  • Icedawg
    replied
    Ice Race Parts

    There are a few extras needed for ice racing. To mount them I bought this thread insert tool. It works very nicely!

    Spoiler, top rear mount fog light, and top mount brake lights

    And then the tie down straps for the rear hatch

    And the Lexan front window

    Leave a comment:


  • Icedawg
    replied
    Rad swap

    I went with a Civic e-bay aluminum racing radiator.
    We added a third bottom post support to mate with the pins on the bottom of the civic rad. The rad exit port did not clear the transmission mount, so it had to be cut off, welded shut, and re-welded onto the side of the tank.
    That cost a bit, so the savings on the e-bay rad over a new Festi auto rad were consumed, but I like this thicker but more compact radiator.

    Leave a comment:


  • Icedawg
    replied
    Originally posted by Larry Hampton View Post
    Down south we call them "washboard roads".
    Yeah I can see that, but corduroy roads are worse. They are roads made in the pacific northwest when they were logging original growth forest a hundred thirty years ago and more. They would lay logs down cross wise to the direction of travel, in the mud, to lay a road for the logging. Really kidney rattling!

    Leave a comment:


  • Icedawg
    replied
    Originally posted by SiliconSoul View Post
    Awesome pics and writeup IceDawg! That car is looking way too clean to be an ice-racer - it should be in a showcar somewhere!
    Hey thanks man. Of course I am not taking pictures that feature the flaws in my paint job and body work! But while it will be a nice and pretty race car, it is way far from a show car.

    Leave a comment:


  • Icedawg
    replied
    Tranny mounting

    Originally posted by sketchman View Post
    'Stand-off cubes with a lower cradle' - why?
    Oh wait. Stand-off cubes do the lowering? Not taking up the space and keeping the engine in stock location? Yeah, that's probably it. Sorry. Been awake too long again.
    Yeah that's it! And here is what the whole thing looks like:
    Clearancing the frame rail, cutting the hole and mounting the fourth support:

    and nicely painted too

    G25mr transmission in place, fitting nicely in the clearance hole

    It sits very close to the steering box, and only fits because it is dropped low.

    On the previous build some of the web on the steering box was removed to make a bit more room for the engine to rock, and to get the engine and tranny in place when dropping it in, as shown in this pic below. I ground the web away on this car's steering box after the shot above was taken.

    And those standoffs Sketchman was wondering about drop the cross member down so there is enough clearance and the engine does not have to move forwards to clear instead.

    and at the back
    Last edited by Icedawg; 02-12-2014, 10:59 AM.

    Leave a comment:


  • Larry Hampton
    replied
    Down south we call them "washboard roads".

    Leave a comment:


  • Icedawg
    replied
    Nut bar

    Cleaned up the nuts, mounted the cross member, then H welded the nuts back in place, and closed the boxes up again. Hit it with some paint after, but it's easier to see before painting.

    and under the floorboard for the back end nut

    Like everyone, I am really jealous of Bryant's Gomez ULTIMATE build with that brand new Festiva chassis, no rusty bolts and nuts, no holes in the floorboards, no hours wasted on fixing rust problems!

    Leave a comment:


  • Icedawg
    replied
    Originally posted by Flyin4stroke View Post
    That clutch will be your weak point. I used a eBay f1 on my b6t and it slipped the first time I went 12lbs on the stock turbo. I got another pressure plate and now I'm blowing the clutch on 16 lbs. it hard to run fast went you can't mash the clutch while on the gas.
    Yeah I did wonder if the ebay company was going to be good enough. It worked fine when first installed. It did slip a bit when I ran over really rough "corduroy road" ruts in a sequence coming out of a slow corner that rutted up really badly, so I had to feather the throttle a bit. It seemed to come from the grip/slip/grip repeat caused by the ruts. Taking it apart it still looks really clean. I run 10 to 12 pounds of boost, and on ice with bolted tires there is never as much grip as on pavement, so hopefully that will keep it working.
    I had a stock B6T clutch on it, new, from a reputable company, and it started slipping pretty quickly, so this one has lasted longer. But I am sorry to hear my worry about this clutch is valid.

    Leave a comment:


  • Flyin4stroke
    replied
    That clutch will be your weak point. I used a eBay f1 on my b6t and it slipped the first time I went 12lbs on the stock turbo. I got another pressure plate and now I'm blowing the clutch on 16 lbs. it hard to run fast went you can't mash the clutch while on the gas.

    Leave a comment:


  • sketchman
    replied
    'Stand-off cubes with a lower cradle' - why? Not calling you an idiot. Seriously curious.

    Oh wait. Stand-off cubes do the lowering? Not taking up the space and keeping the engine in stock location? Yeah, that's probably it. Sorry. Been awake too long again.
    Last edited by sketchman; 02-11-2014, 03:31 PM.

    Leave a comment:


  • SiliconSoul
    replied
    Awesome pics and writeup IceDawg! That car is looking way too clean to be an ice-racer - it should be in a showcar somewhere!

    Leave a comment:


  • Icedawg
    replied
    Tranny mounts

    Weekend 11 still, its time to go back to work on the chassis to clearance the engine bay for the G25mr transmission, and prepare the mounts.
    Here is what we will cut out, with a template from a mockup on another chassis.

    Here is the cross member, with strength added across the open whole in the middle, and along the curved portion with extra plating, plus a few spots carved or clearanced a bit. And then the whole cross member is dropped a bit more than an inch, with standoff cubes made out of square tubing.

    Here are the engine and tranny supports. There is a fourth support from tranny to driver side frame rail, the front tranny support is a small mount to allow room for the Aspire sway bar. And the rear tranny mount is a solid mount with no rubber in it, because these rear mounts tend to come apart from all the force and stress of ice racing and pounding across the rough surfaces.

    And things like this are why it takes so long to build a 20 year old car. Two of the nuts that are tacked on for the bolts that mount the cross member broke free when trying to remove the cross member. So the front rad bar had to be cut open to access the nut, and a whole had to be cut in the floor in the cabin to access the other one, PB blaster used to soak, plus a torch to get it unscrewed. Now it will have to be fixed.

    Leave a comment:

Working...
X