Originally posted by bhazard
View Post
-
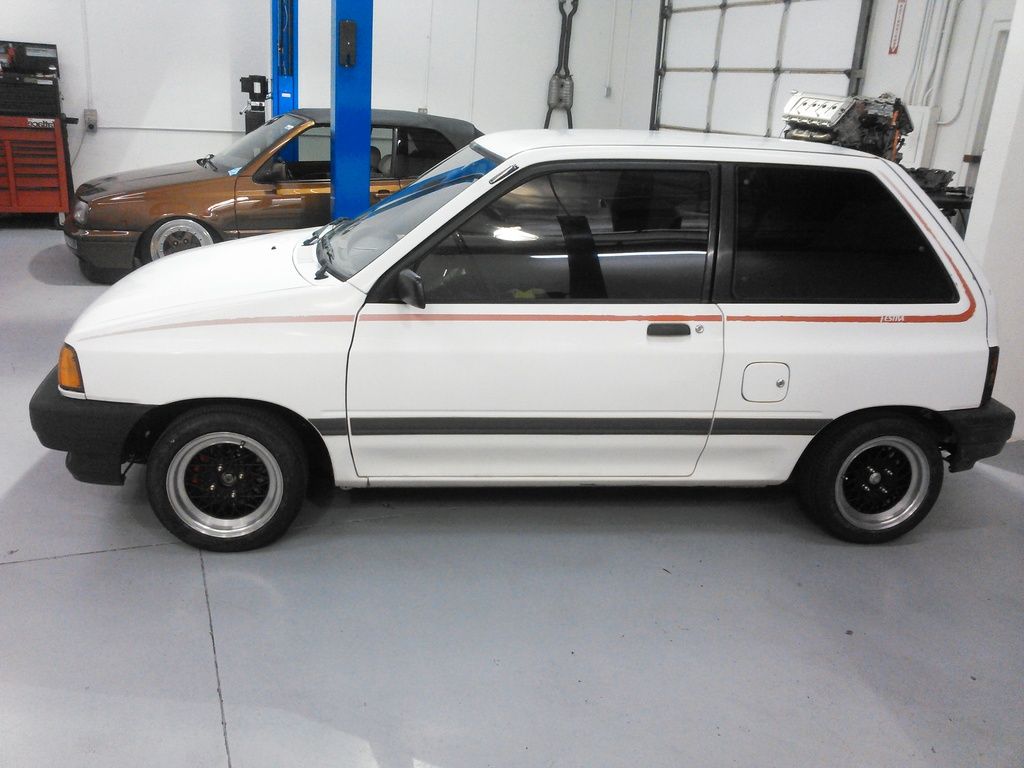
Success! Pedro now has Aspire front brakes, new wheel bearings all around, new control arms and tie rod ends, and adjustable coilover shocks. Right now I'm running -3 degrees camber on all 4 wheels with 0 toe. Before all these mods the car had the typical 60mph death shake that seems to plague so many festivas. Now, the death shake has been reduced to a barely noticeable wiggle of the steering wheel. This could have been remedied by the better quality tires, but I think the negative camber helps as well as the improved dampening in the shocks. Pedro is now very comfortable to drive at any speed.Last edited by Advancedynamix; 05-18-2015, 01:45 AM.Leave a comment:
-
Forgot to answer the second part of the question. The spacer/ adjuster is the calculated thickness to compensate for -2.8 degrees negative camber on a 21" tall tire. The top of the tire moves in.Originally posted by CharlieZ View PostLeave a comment:
-
Thanks Greg! I'm enjoying all the updates to your race garage thread too.Originally posted by eurotiva View Post
At this time I only have the few sets I made for my own cars. These would be pretty pricey. 300+ dollars a set, because of the machine setup involved in making them. When I find my original drawing I'll post it up in the suspension forum for others to reproduce.Originally posted by rmoltis View Post
As you said, this is better than wheel spacers and they allow a wide range of adjustment, but they aren't easy to set use so you'd almost have to do your own alignment. I've been working for 6 hours on aligning this car and am just now wrapping up. No alignment shop is going to want to fuss with this stuff to get it right. That's the big reason I haven't pursued having these made for people. I need them because I plan to hang this little car sideways at over 100mph around turn 3 at INDE this coming weekend. I have no room for compromise in my setup.
Thanks!Originally posted by rmoltis View Post
Because I'm not using bolts or nuts with a flange head, they compensate for the slight angle. 3.5 degrees on a .600" circle is very little difference.Originally posted by CharlieZ View Post
Thanks Danny!Originally posted by kumalaba View PostLeave a comment:
-
Nice work. There is some incredible talent on the board. How will you handle the resulting angled gap under the spindle attach bolt head? Do you think the adapter needs to be as thick as you've machined it? I don't have the skill or facility to do any thing like this so I have no "bonafides". You can discount the question if you want.Leave a comment:
-
Would there be a possibility you could get me a set of these?Originally posted by Advancedynamix View Post
Maybe with the new hardware?
I've been looking into those plastic ez shims the alignment shops use.
And apparantly they are crap as far as long term settling and changes from the plastic deforming.
Everything I research says to use steel spacer/camber toe changers.
They hold shape and don't give.
Also adding wheel spacers to the outside of a.
wheel drum extends the distance of the wheels leverage point further from the bearings that the load is placed on.
I'm not sure if that is semantically correct lol.
But I don't want my bearing life to be compromised with a spacer.
And I don't want plastic, deforming or failing.
Makes sense to make a dual purpose spacer/toe adjuster/camber changer.
That goes behind the drum.
Would this be possible?
I could compensate you for material and time.
It looks as if you made them?
Also I'm sure I would need another baseline alignment to calculate
What shape and angle they need to be?
I'm just imagining a shop breaking it all apart, using plastic crappy shims.
And reusing crappy old rusty 19yr old hardware to reinstall said parts.
Doesn't sound appealing to me.
I need a better way.
PM me if your willing.
Love the work, the ideas, and the inspiration.Leave a comment:
-
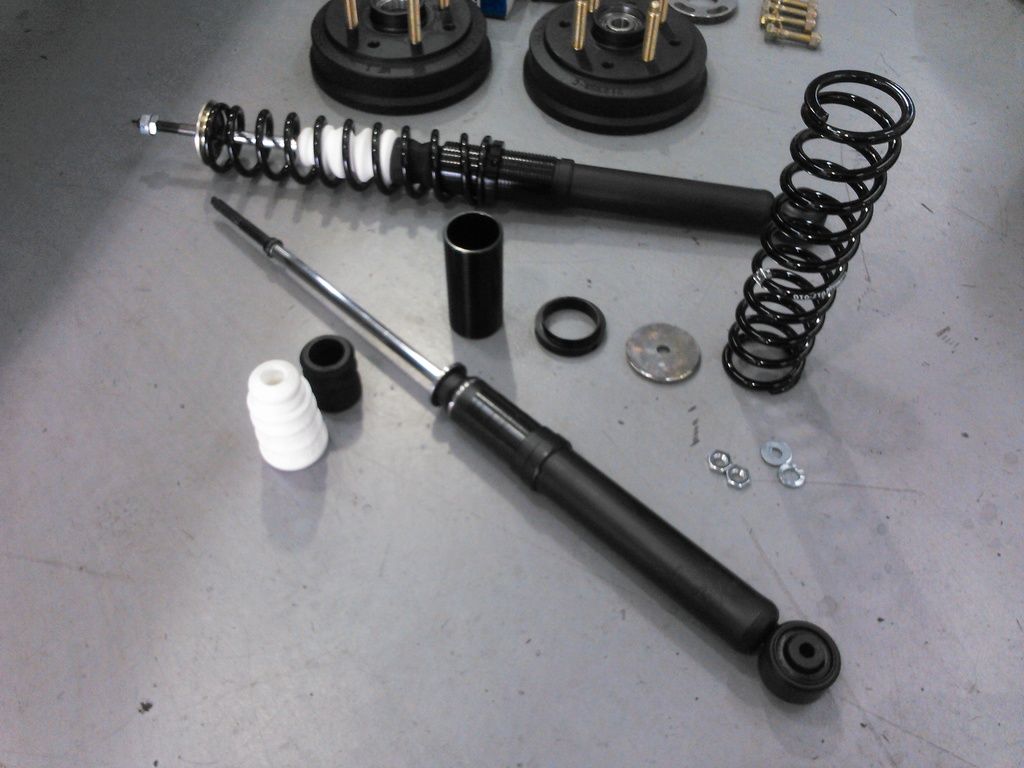
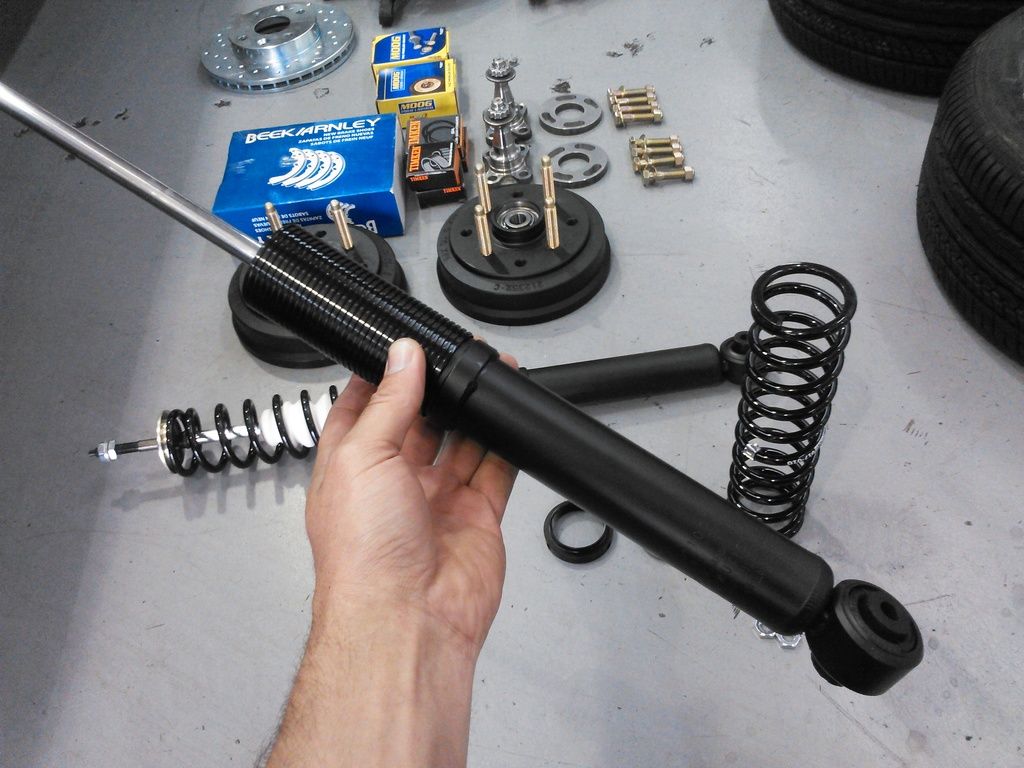
I am using KYB Excel G shock absorbers for a 1993 VW cabriolet. They are a few inches shorter than the festiva shocks and have stiffer compression dampening to help with car control. They should be an enormous improvement over the stock fitment monroe shocks that were on Pedro.
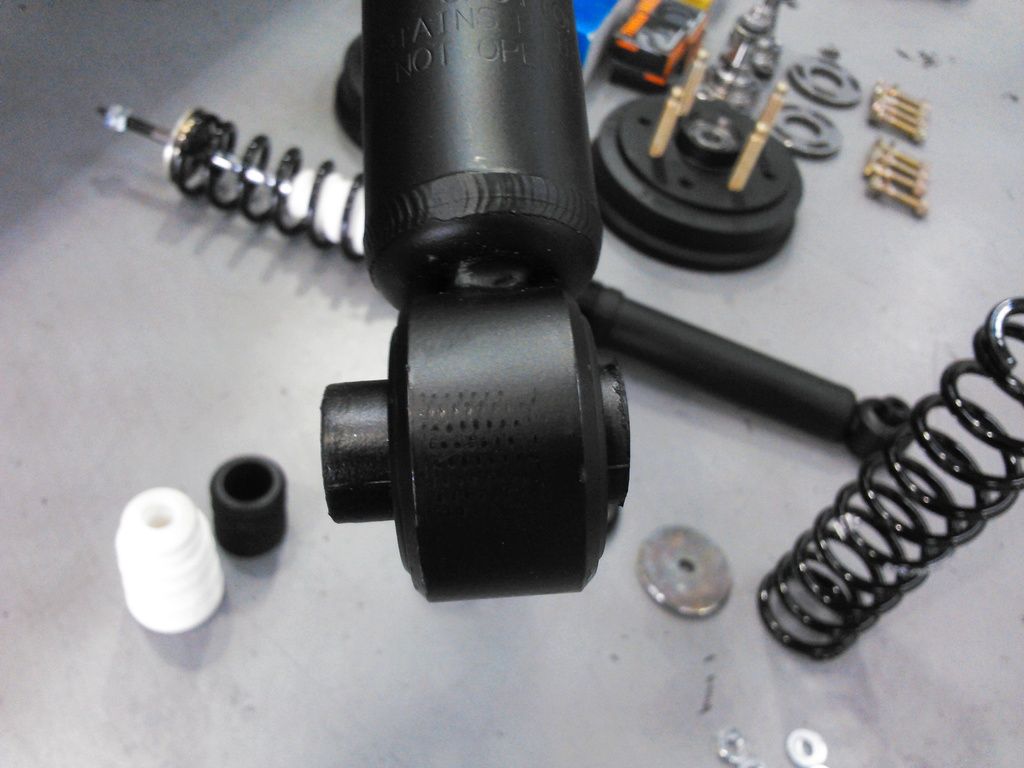
The lower mount is to wide for the Festiva, so I hack it down on 1 side with a cutting disk on my angle grinder and then I use washers to space the other side when I mount it in the car. The long end and spacer washers go towards the wheel so that the shock is spaced away from the wheel. This allows the beam to articulate without contacting the shock body and it gives a bit more room for tire clearance.
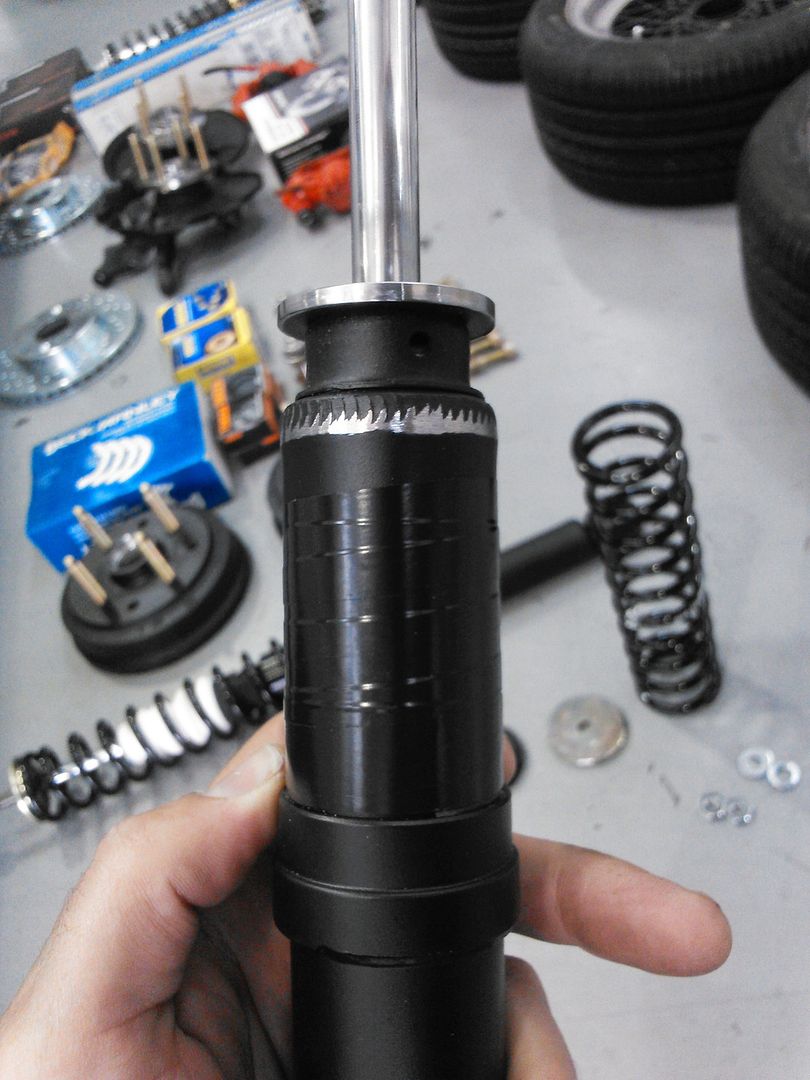
I ground down the diameter on the top seal plate and buffed the weld seam a bit (only had to buff the pant off really, and only 1 shock, the other was fine) to fit the small body threaded adjuster sleeves. I plan on taking these back apart later to make some mods to the shocks, so I didn't glue the sleeves on like I usually do. I just used electrical tape to make them a tight fit, so they don't try to spin on me when I'm adjusting them on the car.
The small body (36mm bilstein) sleeve fits snugly over the taped body and locates on the ring that normally holds the removable spring perch on the VW.
SOUTHWEST SPEED SLEEVES are pretty cheap (12.99) and a good quality part.
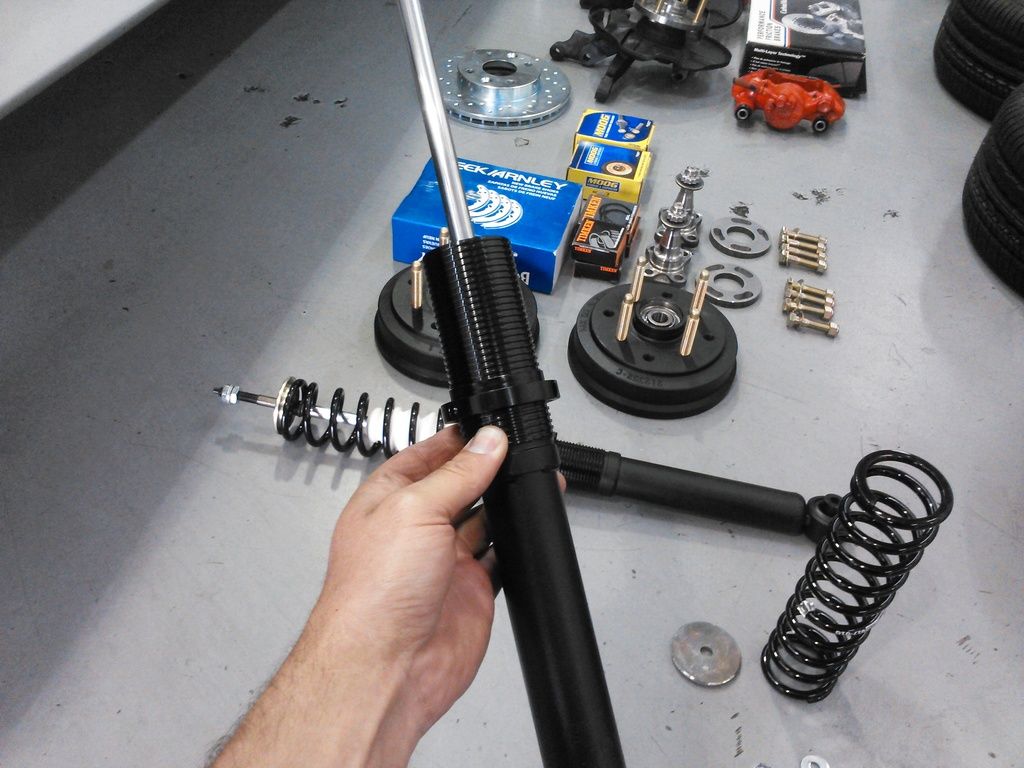
The adjuster nut is also from S.W. speed. They are sold individually. These don't have the locking set screw like some kits do, but you could buy 2 nuts and use 1 upside down to lock the other. I have never had a problem with them moving. I used to drill and tap these for set screws, but I always left mine lose for easy adjustment and never used them so I quit tapping them.
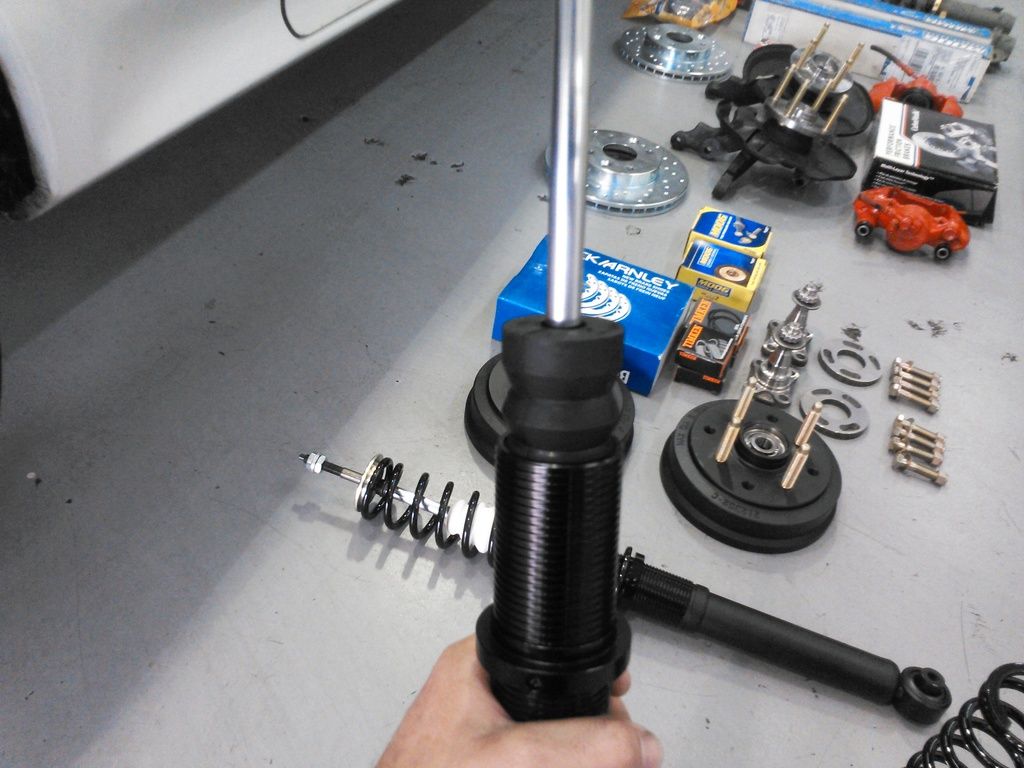
This is the bump stop that came with these KYB shocks. I stuffed it down in the sleeve to act as a spacer for my progressive bump stop.
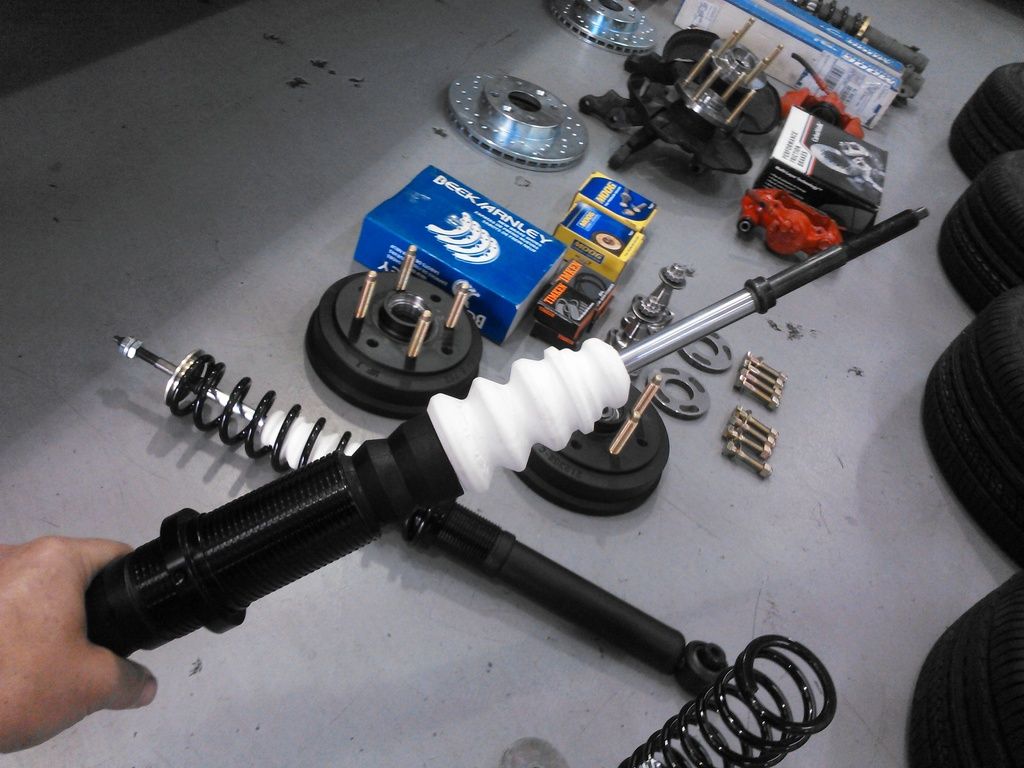
This progressive bump stop is a bilstein part for a 2005ish VW golf/beetle. I cut the lower hump off. I plan to run 1" of travel before using the progressive bump to raise my rate.
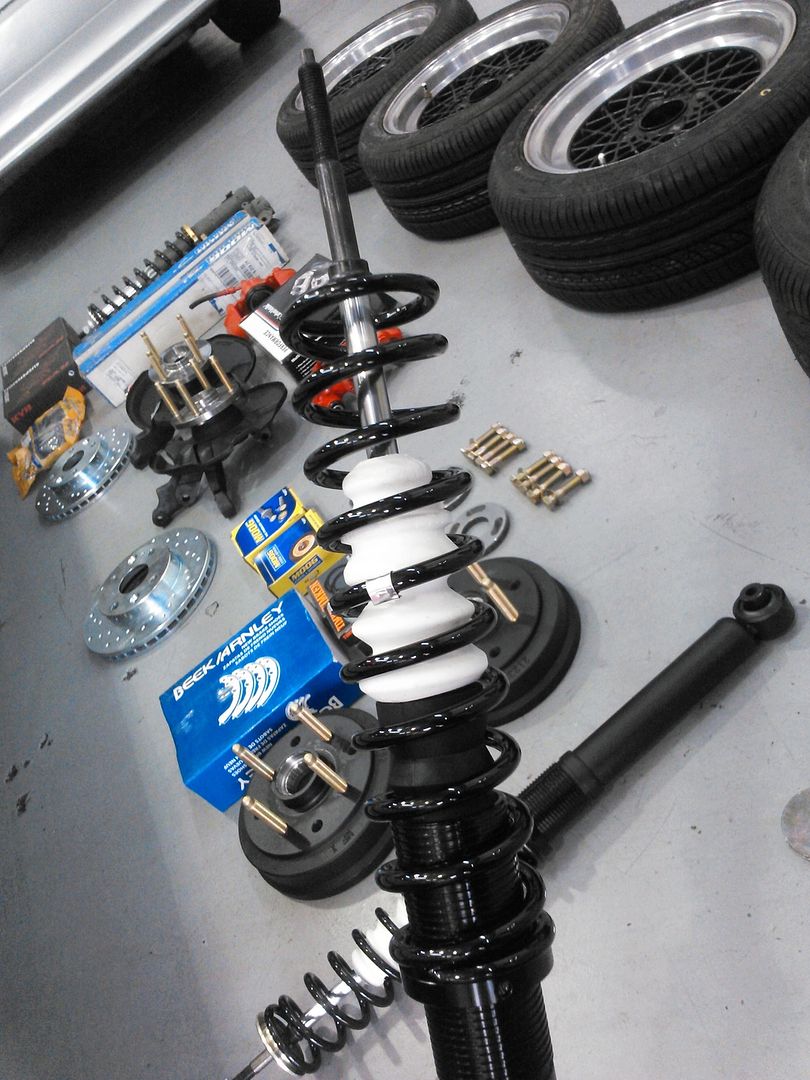
I'm trying a 10" 105lb spring rate on the rear with these shocks. This is probably too soft, but I'm hoping that the bump stop will do it's job along with the slower compression dampening of the VW shock. My goal is to have a soft and supple ride, with excellent handling and towing capacity on a car that is exremely lowered. Right now, my front shocks wont allow the low ride height that I want, but I will make new shocks for the front that will allow me to put Pedro close to the asphalt.

I made a bunch of these upper spring hats a couple years ago and this is my last set. I sold the rest to members. Don't plan on making any more, but have given my dimensions to a few guys with machining capabilities here on the site. If anyone would like to make these for people then plug yourself on this thread and people can I.M. you.
With the spring hat on the shocks, they are ready to instal with the stock rubber mounts (re-using my 1988 original bushings and washers). I used the nuts and spacer that came with the shocks and they seem to fit perfectly. I'm not running the plastic interior panels on this car, but I would have to cut about 3/4" off the threaded part of the shock to clear the panels if I was. Pedro is getting bedlined in the back so I can use him like a little truck.Last edited by Advancedynamix; 05-17-2015, 10:31 AM.Leave a comment:
-
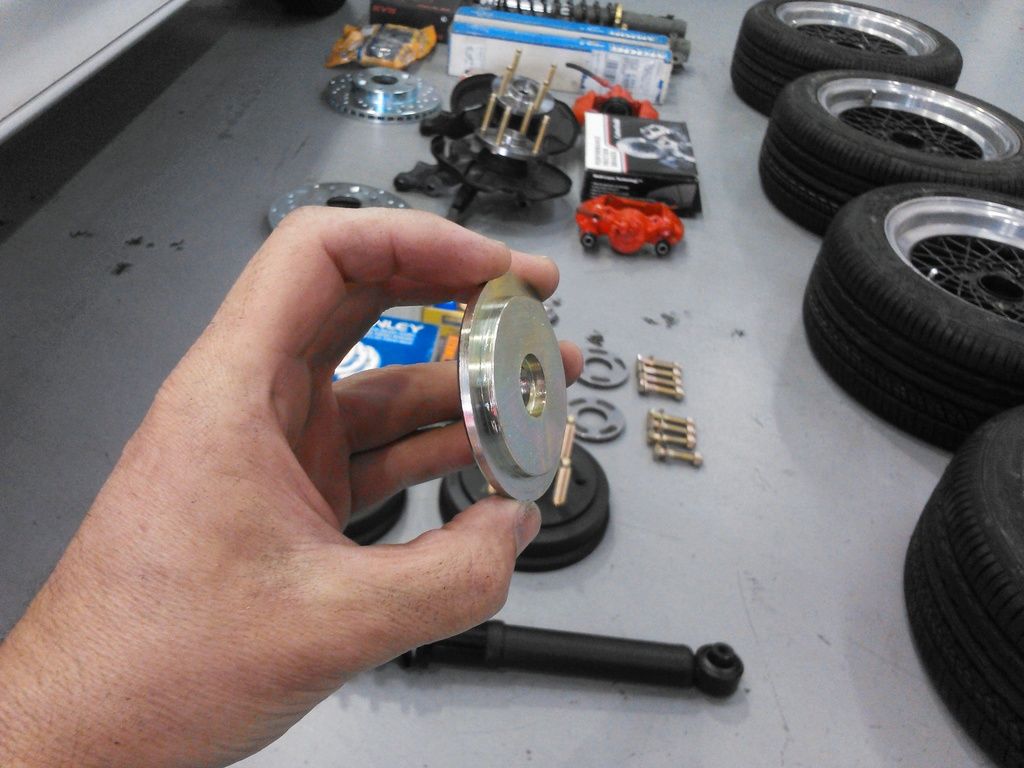
So I cobbled together some camber adjusters for the rear. They are 1018 cold roll steel with a 3.5degree ground angle and the slot clocking puts the rearward upper bolt slots center 10 degrees before 12 o clock on the grind centerline.
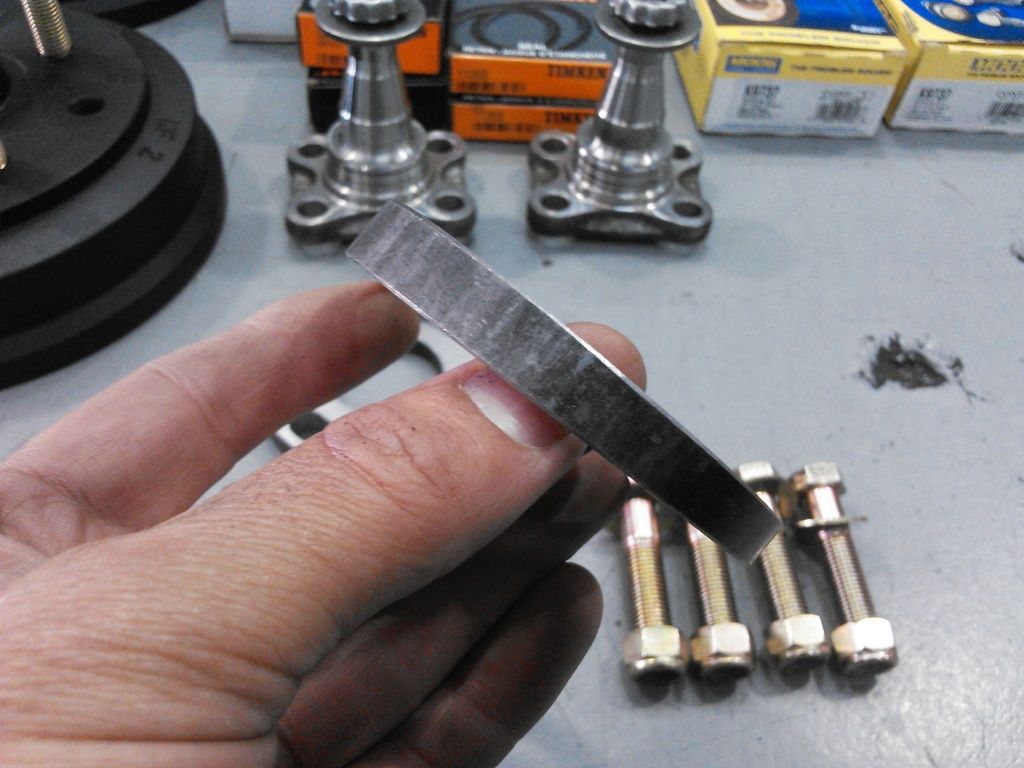
This allows me to adjust my camber, and toe simultaneously.
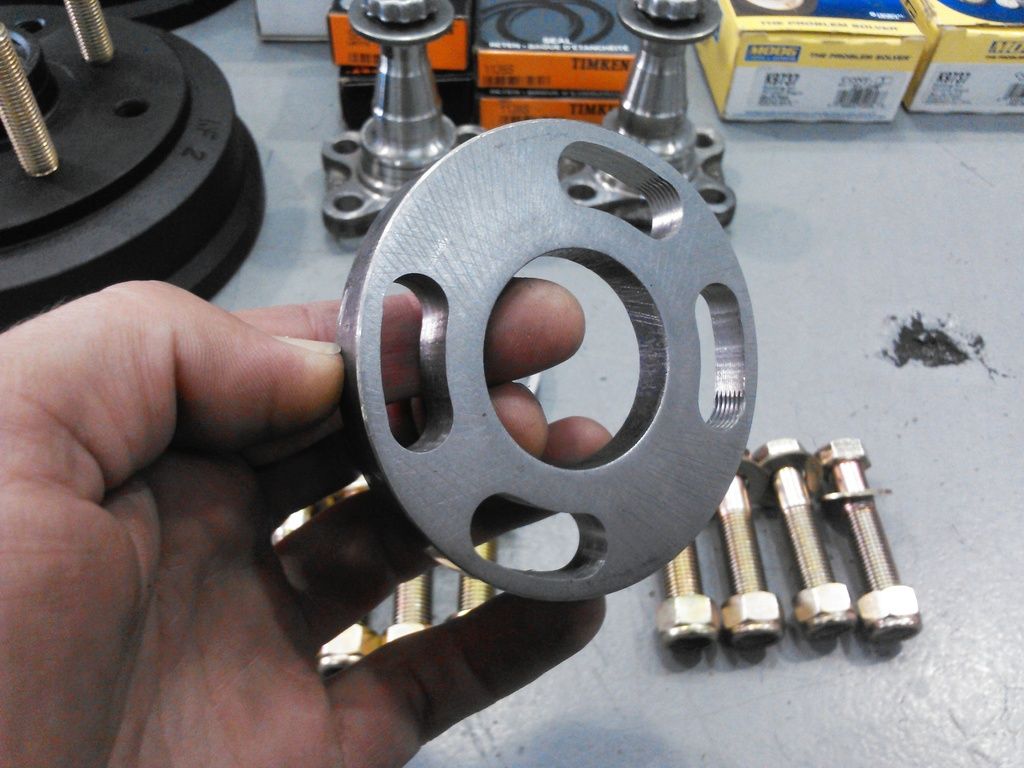
They are side specific.

I then press out the mounting studs on the stub axles and ream them for 7/16 hardware. Looking back, I should have threaded them for 7/16 hardware so I could adjust these without taking the drums off the car. Always room for improvement.

This is what they look like installed. I also make little extenders for the handbrake cables, but I haven't made those yet for this car, so no e-brake for now.Leave a comment:
-
That all depends on your plans with the car. Longer studs tend to offer a wide range of adjustment and wheel choices. I use ARP studs when I run very long studs because I know they will hold up to my driving, even with thick spacers. The drawback is that they look funny to most people and you have to run open ended lug nuts.Originally posted by Powerstiva View Post
Since Pedro is a test mule for my whacky theories and strange sense of humor, I need to be able to fit many types of wheels onto this car.
Thanks Bert. Your posts and comments on this site are very helpful, so I'm really glad you keep stopping in.Originally posted by Bert View Post
Those are 12" long 150lb black magic springs from southwest speed. They would be too long on my other struts, but give a full range of adjustment on these bilsteins. These struts are exactly the same length as stock Festiva struts.Originally posted by bhearts View PostLeave a comment:


Leave a comment: