Announcement
Collapse
No announcement yet.
Pedro the Festiva's build thread.
Collapse
X
-
Charlie; My compliments. It's remarkable how talented you are at improving upon nearly every aspect of drivability, ease of maintenance, and performance of these now 25 year old cars! I have to visit the forum every now again just to see what you're up to. Your end results invariably look to be "factory" (which really is amazing!) and yet you field entirely re-engineered cars.
-
Looks Awesome!! I can not wait to get back to the states and swap my car and your build threads always motivate me! And noob question but how do I find out what wheel studs i should use?Last edited by Powerstiva; 05-17-2015, 04:29 AM.
Leave a comment:
-
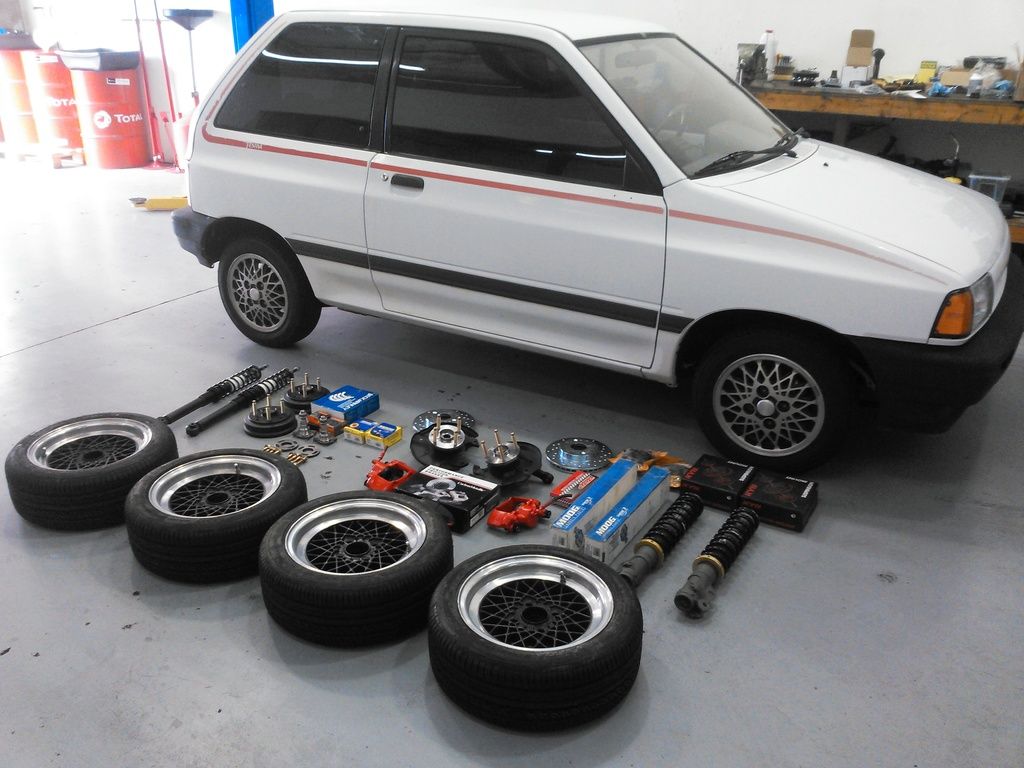
Wheels: 13x6 ET15 BBS RA 4x100 with 175/50-13 Nankang NS2 tiresOriginally posted by gergorian View PostAww man. Looks fun! Couple of Questions. What wheels are those and what are the specs on them? Also, what studs did you press in? One more. What bump stops did you use as well?
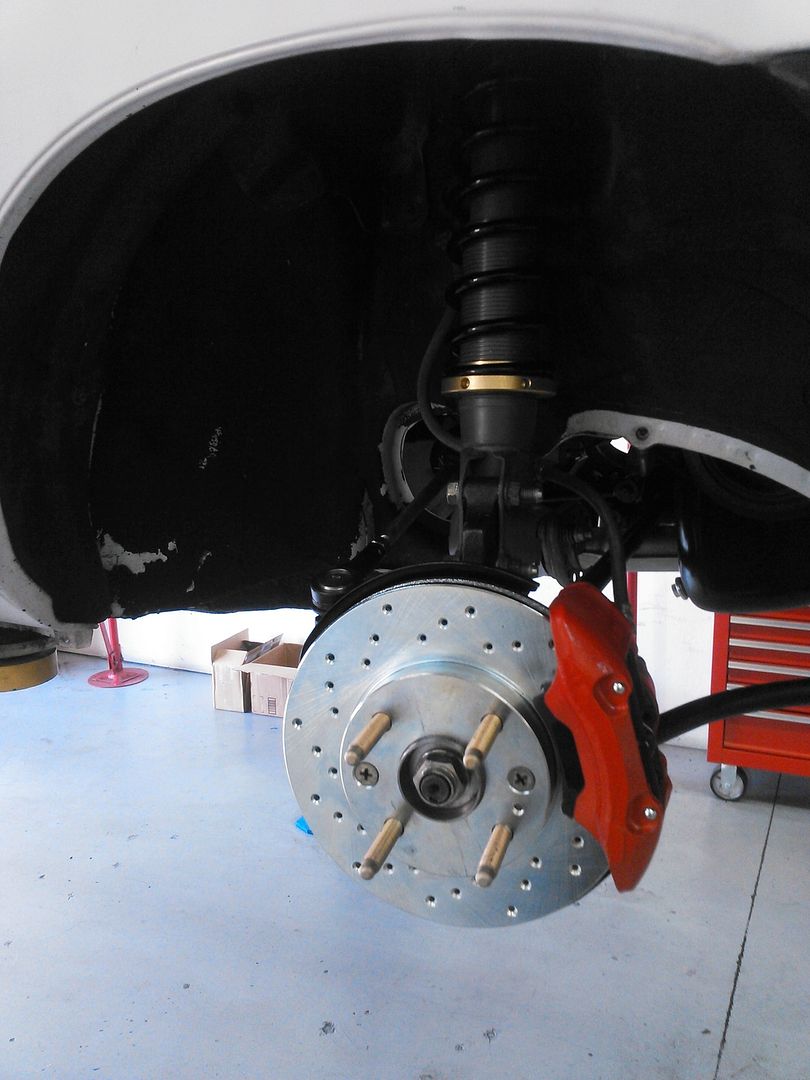
Studs: 12x1.5mm x 65mm ARP racing studs.
Bump Stops: bottom/rear VW mk1 kyb Top/2005 VW beetle/golf Bilstein cut down.
No need, my beam bushings are fine. I'm actually not going to install the poly sway bar or control arm bushings yet. I'll do that at the track to compare lap times to see if they make a real difference in control.Originally posted by rmoltis View PostGreat collection of parts.
Looks like you have everything.
Even a couple things I didnt.
Adjustable shock setup, wheel spacers, and wheel studs.
I do have those drilled rotors sitting here new in box.
But decided against them.
Awesome setup can't wait to see the results.
Where are the new twist beam bushings at :toothy7:
Leave a comment:
-
Originally posted by Advancedynamix View Post
Great collection of parts.
Looks like you have everything.
Even a couple things I didnt.
Adjustable shock setup, wheel spacers, and wheel studs.
I do have those drilled rotors sitting here new in box.
But decided against them.
Awesome setup can't wait to see the results.
Where are the new twist beam bushings at :toothy7:Last edited by rmoltis; 05-16-2015, 01:03 PM.
Leave a comment:
-
Yes! I want to see the Origami Swan!Originally posted by Advancedynamix View PostNow on to the fun stuff.
Leave a comment:
-
Pedro passed emissions today! The b6d swap runs cleaner than the Carb b3 ran in Babe. This is always a relief when running a fresh build through smog. Now on to the fun stuff.Last edited by Advancedynamix; 05-12-2015, 12:14 AM.
Leave a comment:
-
I'll just get The Professor to make me one out of coconuts.....Originally posted by Advancedynamix View PostJust use heavy duty copper 1/4" ring terminals and crimp and solder them. I use a blow torch and high temp electrical solder. Then heat shrink the crimp and about 1" of the wire with heavy duty shrink tubing for strain relief. They sell heavy duty raychem shrink tubing at home depot, and NAPA can order the copper heavy gauge terminals with 1/4" hole. Electronics suppliers can get high temp solder and the blow torch can be fashioned from pieces of brightly colored paper. Oh... wait, no, that's an origami swan, get the blow torch from Home depot too.
Leave a comment:
-
Just use heavy duty copper 1/4" ring terminals and crimp and solder them. I use a blow torch and high temp electrical solder. Then heat shrink the crimp and about 1" of the wire with heavy duty shrink tubing for strain relief. They sell heavy duty raychem shrink tubing at home depot, and NAPA can order the copper heavy gauge terminals with 1/4" hole. Electronics suppliers can get high temp solder and the blow torch can be fashioned from pieces of brightly colored paper. Oh... wait, no, that's an origami swan, get the blow torch from Home depot too.Originally posted by TominMO View PostWhere do you guys get the connectors for your battery cables for these AGM batteries? They don't seem to have them at Advance Auto for instance.
Leave a comment:


Leave a comment: