Announcement

Collapse
No announcement yet.

Rosie - My 1992 Gl Automatic 2016 Project

Collapse
X
 
  • Filter
  • Time
  • Show
Clear All
new posts

  • Rosie - My 1992 Gl Automatic 2016 Project

    I created this thread to report on the progress of my 2016 Festiva Project.
    I bought Rosie from my friend Sam after listing her for sale for him on craigslist for a couple of month for $400.
    I had also posted an earlier thread here about the listing. I though Rosie was sold to a guy in Columbia but
    he only got about 26 mile away on his way back home when she died. I told him to bring her back, that I would refund his money,
    and I would take Rosie for my own.
    First I pulled her head and discovered the head gasket was blown between cylinders 1 and 2 and 3 and 4. I put a new one on
    her and while she does run, she starts smoking gray when warmed up... so as I suspected, the head is warped. I ordered
    a rebuilt head that I will put on her when I get her interior done (I completed stripped it out).
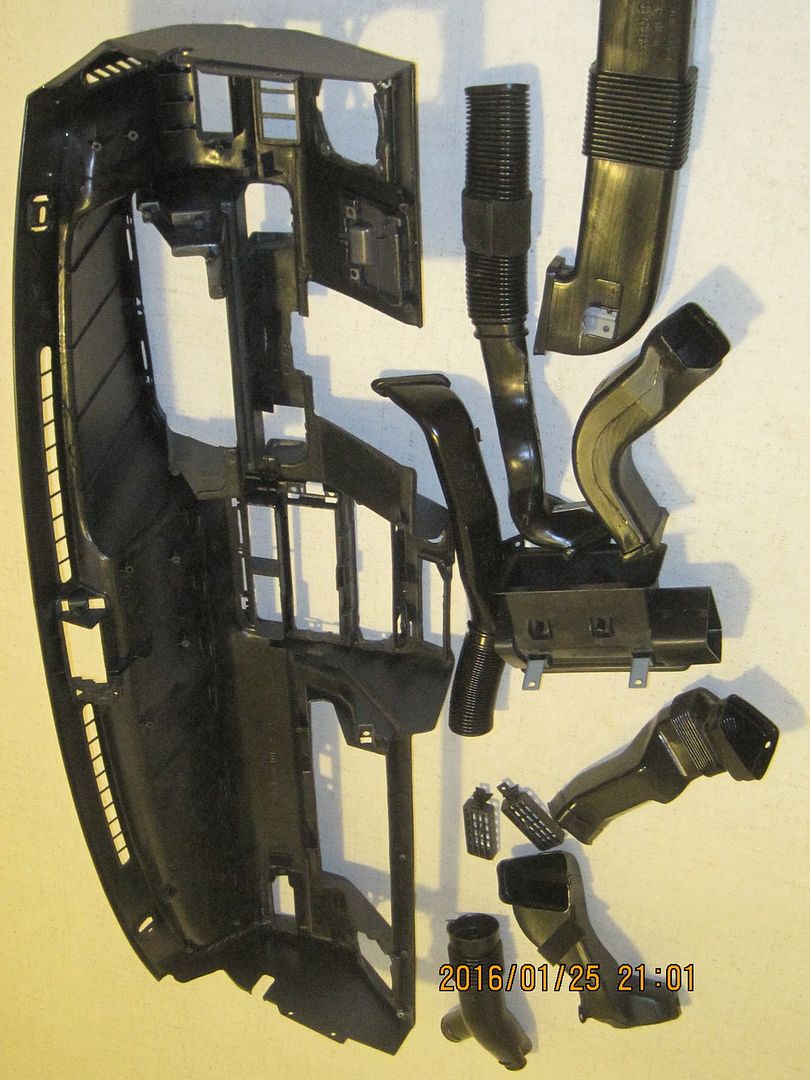
    Rosie had been sitting at Sam's for about a year and a half with a leaky sun roof so her interior was in sad condition.
    I am keeping a daily diary of my progress and also a spread sheet showing everything I buy for her.
    Instead of embedding photos, I will add a link to photobucket which shows all the pictures. I will add more as I progress.
    I will post my progress diary a little later on. In the meantime here are picture showing some before and after shots.
    (tried to sort oldest first on photobucket but not sure it will display that way).

    Comments, questions and suggestions are welcomed.

    http://s1222.photobucket.com/user/19...osie%20Project
    Last edited by 1990new; 01-15-2016, 09:00 PM.

  • #2
    Jesse. what is the silver backed insulation/ sound deadening material you used? Source?
    "Blue92"- 92L 5 spd, original owner- 185K, B8,DD..
    "Pedro"-88L 5-spd, B6D (built by Advancedynamix)
    "Blanca"-92 GL auto, 125K(FM8 Lowest Miles)- B6 daughter's DD
    "Tractor Blue"- 89 L auto, 110K
    "Chester"-88 LX, runs but not street legal
    "Wenona"-89L parts car
    "Flame"- 89 LX 5 spd ,parts car

    Comment


    • #3
      Looking good!

      Comment


      • #4
        Originally posted by william View Post
        Looking good!
        Thanks...lots of work left to do. I'm even thinking seriously about investing the money to put a 1.6 in her. Going to look at a 94 Capri today that showed up at
        my local LKQ yesterday.

        Originally posted by jawja jim View Post
        Jesse. what is the silver backed insulation/ sound deadening material you used? Source?
        That's Peel-N-Seal Paid $16.48 per roll for it at my local Lowes. Rolls are 6"x25' and it looks like it will take 5 rolls to completely line the interior surfaces.
        I researched it quite a bit on the internet and while there were some negatives, most of the the reviews gave it a positive when comparing it to the higher cost
        butyl backed products which sell for almost 4 times as much money.

        Comment


        • #5
          You will love the b6d swap . Its the engine these cars should have had from the factory.

          Sent from my SAMSUNG-SM-G900A using Tapatalk

          Comment


          • #6
            Funny, we have passed around a 93 GL Auto named Rosie out here in AZ. Dragonhealer now drives her daily, but she used to be Tweaks roomate. Looking forward to more pictures and progress on your Rosie!
            Last edited by Advancedynamix; 01-16-2016, 11:55 AM.
            Driving for me is neither a right nor a privilege. Driving is my passion, as it was for the people who invented the automobile, the people who paved the first roads and the people who continue to improve the automobile. Please respect this passion.

            Comment


            • #7
              Originally posted by william View Post
              You will love the b6d swap . Its the engine these cars should have had from the factory.

              Sent from my SAMSUNG-SM-G900A using Tapatalk
              I went to LKQ today to take a look at the 94 Capri. The good news, it was an XR 5 speed.
              The bad news: Looks like someone had pulled the engine before they brought it to LKQ. The car was pretty well stripped and there was a stripped B3 engine which had just the head on it sitting on its side in the engine compartment. Apparently someone had the same idea that I did. I will keep watch for one.
              Met a 92 year old man there looking for a glove compartment handle for his 1999 Dodge Durango. I help him find one and he told me all about his time in the Navy in the South Pacific during WWII. Gives me hope that this may not be my last Festiva project after all.

              Originally posted by Advancedynamix View Post
              Funny, we have passed around a 93 GL Auto named Rosie out here in AZ. Dragonhealer now drives her daily, but she used to be Tweaks roomate. Looking forward to more pictures and progress on your Rosie!
              Dragonhealer told me about his Rosie. He is sending me the seat mounts and box for the auto seat belt control.
              Didn't do a lot today. Everything if off the hatch and I got it cleaned up and compounded today. Will post some more pictures to the album as things progress.
              Last edited by 1990new; 01-16-2016, 07:17 PM.

              Comment


              • #8
                I added a few more pictures to the photobucket album of the hatch hardware that I put back on today.
                I had pulled a couple of the grommets that surround the ford focus trunk lock at LKQ on Saturday (they didnt't charge me anything for them).
                The rubber gasket for the hatch lock was missing on Rosie. I took one of the Focus grommets and used a pocket knife to slice off a ring from the center on the back side.
                The inside and outside diameter was perfect for the Festiva lock. If you try this, put a wooden dowel close to the same size as the hole throught the center and use a very sharp knife to slice it
                to the same thickness all around.

                Comment


                • #9
                  The high was in the mid 40's and it was windy so I didn't do too much to Rosie today (my garage is full of her insides so she is outside).
                  It was 29 at my house last night.. our first below 32 night of the winter and we are supposed to get another one tonight.
                  I did get a fix done to the passenger side hanger hook area where the tack welded nut came out when I tried to remove it to get the headliner out.
                  The metal around it had rusted badly for some reason because of the leaky sunroof I suppose. I drilled holes and cut threads in a small aluminum bar and bolted it in place
                  so it would line the hole for the clothes hanger in the same position as it was. I will replace the hook with a hand hold that will hide most of the damage
                  that I did to the headliner trying to get the rusted screw out.
                  My seat anchors and auto belt control box arrived from dragonslayer60 today. Seat anchors look like new. I will paint the control box to make it look like new too.
                  I added three more pictures to the album showing what I did today.

                  I also changed to sort to show the newest photos first so you dont have to wait for the old ones.
                  Last edited by 1990new; 01-19-2016, 09:47 PM.

                  Comment


                  • #10
                    Today I cleaned up the rear wiper assembly and put it back in the hatch Also put on a new cover over the shaft. I had ordered the cap from FourGreen a year or so ago.
                    I also installed a mercury cargo light switch in the hatch. I put the vapor barrier and the hatch panel back on.
                    Only thing left to do at the hatch is paint the wiper arm and get a new wiper blade.

                    Not sure if people know about this or not but I found a really easy way to remove the vapor barrier (as long as it's not too brittle).
                    You just carefully peel a corner away from the sticky butyl leaving it on the metal. Once you get it started, then rip it off really fast.
                    I've found that when I do this the butyl stays on the metal and the vapor barrier comes off clean.

                    Also finished installing the remaining sound deadening.
                    Took some more pictures today but didn't upload them.

                    Comment


                    • #11
                      Moving right along with Rosie... I removed the wiring harness, duct work and every thing metal from the dash. I cleaned the ducts inside and out. Tomorrow I will
                      Clean the plastic part of the dash back and front in the driveway. I also ordered some foam tape to replace the seals around the vents. I plan to add wire for future accessories that I hope to add later. I have courtesy lights that I will add when I replace the dash. I will paint all the metal parts before I re-attach them to the dash. I added more pictures to the link but here is one of the dash and duct work. Oh.. and I reinstalled the e-brake today.

                      Last edited by 1990new; 01-25-2016, 09:50 PM.

                      Comment


                      • #12
                        This would be a good time to wire for a future dash clock.
                        You might as well wire for a future power antenna and progressive power door locks too. You will need to get another ECU plate at the junkyard and install it on the right hand (European) side.

                        Comment


                        • #13
                          Will do... Why a second ecu plate?

                          Comment


                          • #14
                            Just a nice flat surface to mount stuff on behind the glovebox.
                            I put cruise on the left and Viper on the right.
                            Last edited by bravekozak; 01-26-2016, 07:00 AM.

                            Comment


                            • #15
                              What about gauge and color recommendations for wires to add to the harness?

                              Comment

                              Working...
                              X