 Tweet
Tweet
I got a request to explain how to do the manual fan switch so here it is. Hope it is okay in this section.
Materials: 30-40amp relay, 14-16 gauge female connectors, 14-16 gauge eyelets, shrink tubing, 14 gauge wire (5-7 feet?), and about 2 feet of 10 gauge wire, solder, and Harbor Freight torch( $9)
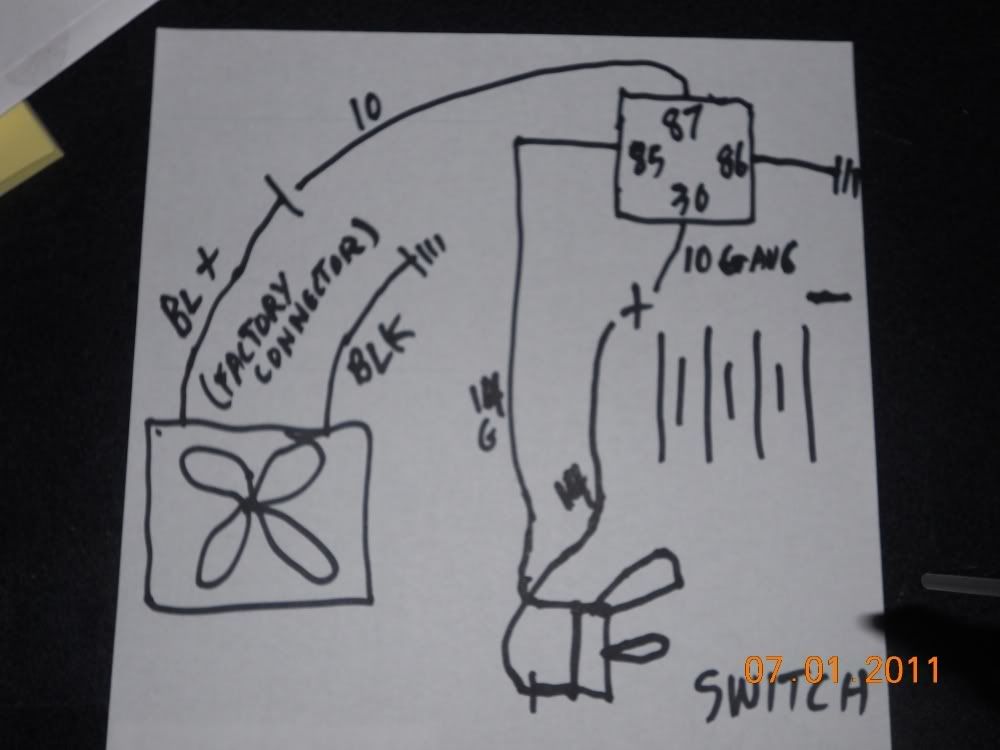
Here is the schematic for wiring:
The only bad thing about this way of wiring is, if you forget to turn off switch, the fan will continue running and kill your battery. It was so hot I did not feel like hunting down a 12 volt key on wire, but I'll do it in the near future.
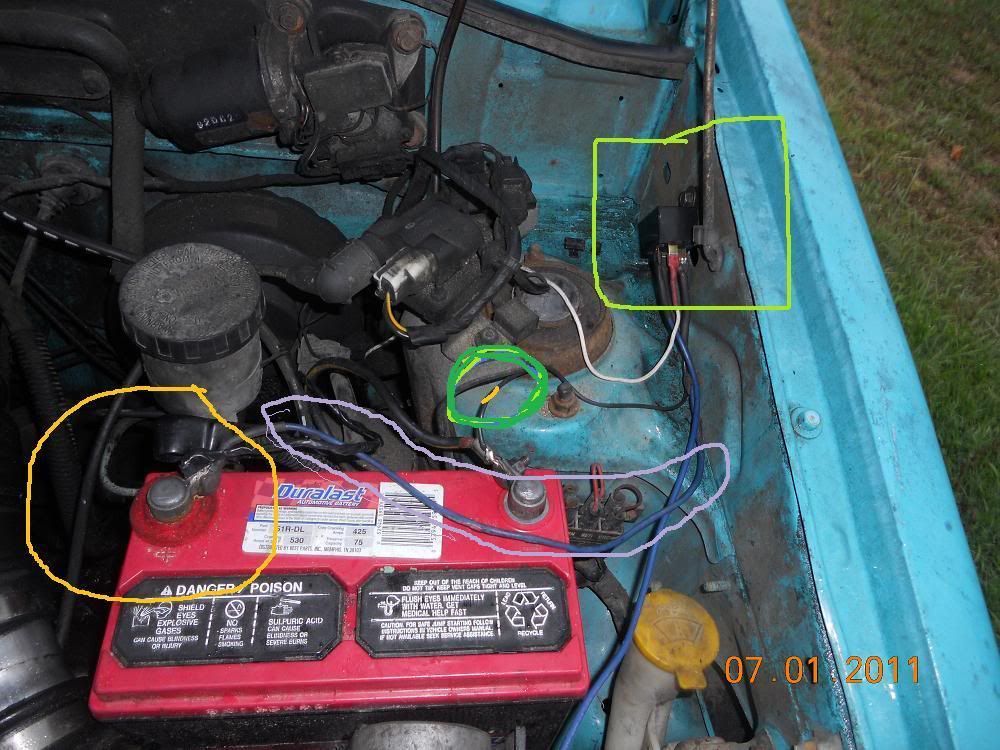
In this picture, the lime green square is the relay with a convenient threaded hole to mount it to fender.
The dark green circle is the 14 gauge wire that goes to the ground on the battery and
also number 86 on the relay.
The light purple circle is the 10 gauge wire that goes from battery positive to number 30 on relay.
The orange circle is the wire that goes into the cabin to one side of the switch and the number 85 on the relay. The other side of the switch is battery positive that goes into the cabin also. This circuit allows the relay to energize.
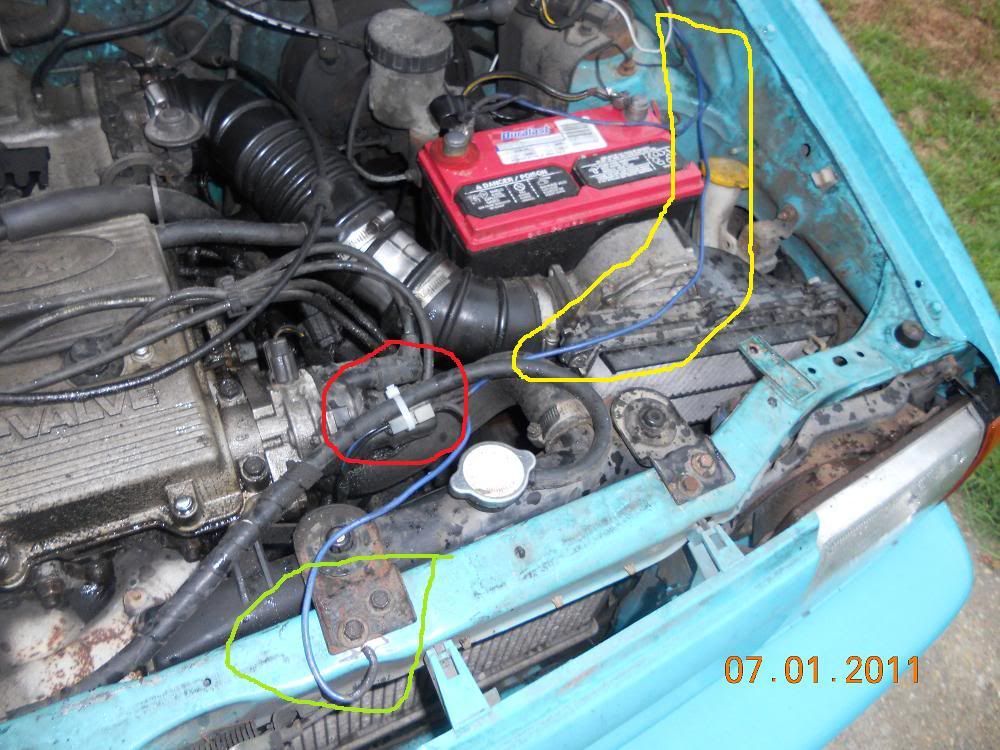
In this picture, the lime green circle is the ground wire to the factory fan connector. I mounted it under the radiator hold down and the female connector to the connector.
The red circle is the factory fan connector.
The yellow circle is the 10 gauge wire that goes from number 87 to the blue positive side of the factory fan connector.
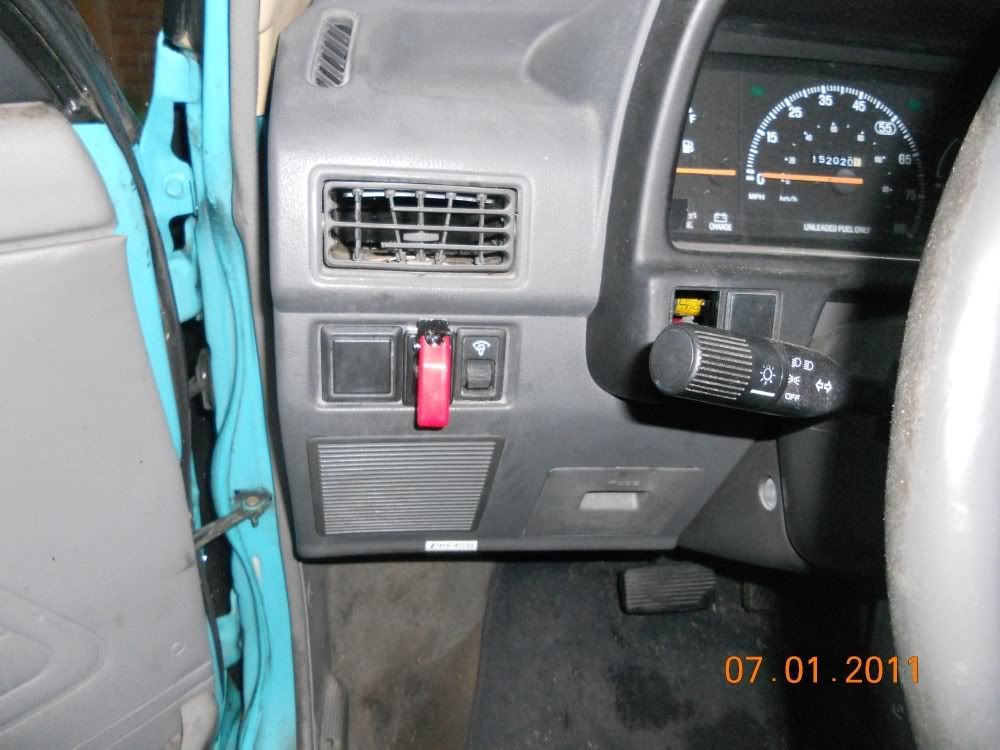
This is how the switch looks inside the cabin.
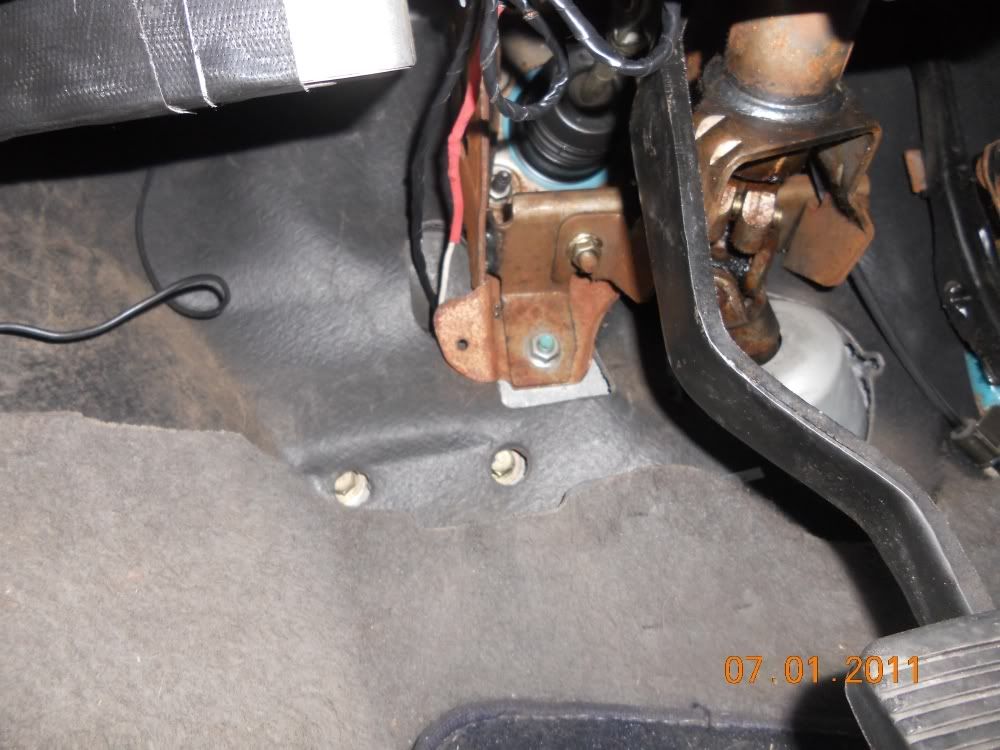
This is a grommet that you can run the wires to the switch into the engine bay, it comes out under the master cylinder.
Hope this helps, if you need more explanations feel free to ask.
Materials: 30-40amp relay, 14-16 gauge female connectors, 14-16 gauge eyelets, shrink tubing, 14 gauge wire (5-7 feet?), and about 2 feet of 10 gauge wire, solder, and Harbor Freight torch( $9)
Here is the schematic for wiring:
The only bad thing about this way of wiring is, if you forget to turn off switch, the fan will continue running and kill your battery. It was so hot I did not feel like hunting down a 12 volt key on wire, but I'll do it in the near future.
In this picture, the lime green square is the relay with a convenient threaded hole to mount it to fender.
The dark green circle is the 14 gauge wire that goes to the ground on the battery and
also number 86 on the relay.
The light purple circle is the 10 gauge wire that goes from battery positive to number 30 on relay.
The orange circle is the wire that goes into the cabin to one side of the switch and the number 85 on the relay. The other side of the switch is battery positive that goes into the cabin also. This circuit allows the relay to energize.
In this picture, the lime green circle is the ground wire to the factory fan connector. I mounted it under the radiator hold down and the female connector to the connector.
The red circle is the factory fan connector.
The yellow circle is the 10 gauge wire that goes from number 87 to the blue positive side of the factory fan connector.
This is how the switch looks inside the cabin.
This is a grommet that you can run the wires to the switch into the engine bay, it comes out under the master cylinder.
Hope this helps, if you need more explanations feel free to ask.


 . Next time I'll get the whole lot of them, and sell the extras on here for $10+shipping
Comment