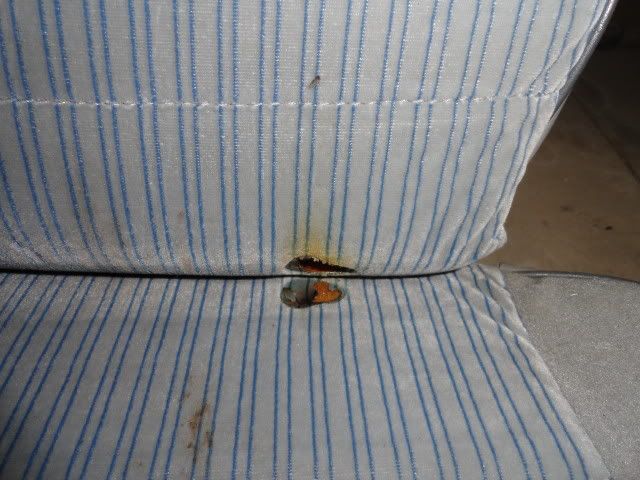
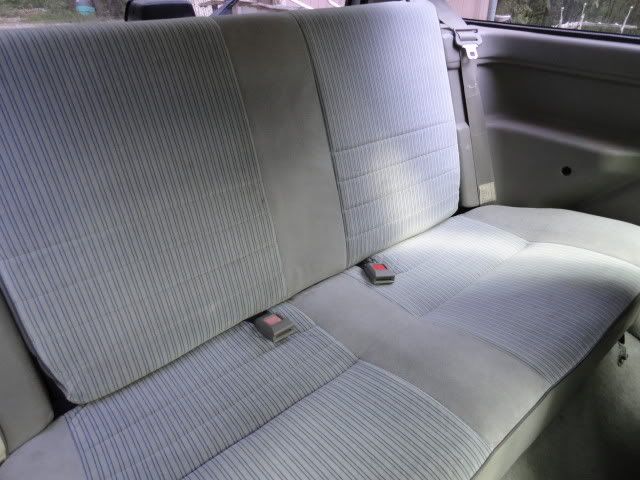
Festdiva's P.O. must have dropped his cigar in the back seat. It fell in the fold thus burning both the upper and lower seat covers. Did some swapping with Deathrace2000 for a replacement today. I had a good cover for a replacement but installing a different seat was much easier. If anyone needs the blue stripe covers I have a good set.
High School Tailgate Party!! Not as good as the ones before football games with 40-50 people though. The biggest one we've had was before the game against our rivals from Coupeville, our Freshman cheerleaders invited the Coupevillians over for food, needless to say it was very tense and there was a strong possibility I was gonna have to go for the tire Iron...
It actually /is/ an Aspire unit. I'm gonna keep it around anyway, and cut both threaded ends completely off. I might eventually make some sleeves to press fit onto the ends with the correct threaded diameter and see how it works. No sense in throwing it away when I can use it for other stuff (like test fitting parts).
Perhaps make a front or rear strut tower brace with it?
Is there any representative image showing how it's mounted? i see it's not the perfect shape, but the wheel arches look like they fit, which is one of the major concerns... no reason a carbon step plate or something couldn't "finish fit" the top.
Is there any representative image showing how it's mounted? i see it's not the perfect shape, but the wheel arches look like they fit, which is one of the major concerns... no reason a carbon step plate or something couldn't "finish fit" the top.
Think you'd be better off and safer to just swap out for another one or even an Aspire one if possible.
It actually /is/ an Aspire unit. I'm gonna keep it around anyway, and cut both threaded ends completely off. I might eventually make some sleeves to press fit onto the ends with the correct threaded diameter and see how it works. No sense in throwing it away when I can use it for other stuff (like test fitting parts).
I drilled and fitted my weld studs on the Protege power lock actuator brackets today. The M6 X 11mm weld studs I bought on eBay were just a tad too long, so I have to install them from underneath the Protege brackets. Otherwise, the door panel wouldn't lay flat. Only four weld studs were needed. I have plently left over, just in case any other members also want to attempt the power lock upgrade.


Leave a comment: