Announcement

Collapse
No announcement yet.

What have you done to your Festiva today!?

Collapse
This is a sticky topic.
X
X
 
  • Filter
  • Time
  • Show
Clear All
new posts

  • rollertoaster
    replied
    There use a special tool for pressing the hubs apart. I made my own based on the ford tool. Hopefully the shop you took it to has something like that.

    I raced my festy at the Autox today. It was a blast, even with crappy tires I was able to come within 1 sec of my buddy who drives a suby on race rubber. I need to find some springs to get it a little lower without losing contact on full extension. The car sits too high with 13"s


    ---
    - Sent from my iPhone using Tapatalk

    Leave a comment:


  • drddan
    replied
    Originally posted by 200KGPGTP View Post
    Did you do the front bearing/rotor yourself?
    Nah, pulled the knuckle and took it to a shop for the bearings. I took a big hammer, started to drive them out, but I cant stand using a hammer on bearings. Mine were a pretty tight press fit.
    I quizzed some shops about the bearings first, and the guy that knew about the Festy bearings and shims got the job! An old time drag car builder.
    Cost $70

    Leave a comment:


  • SuperDaveGulvak
    replied
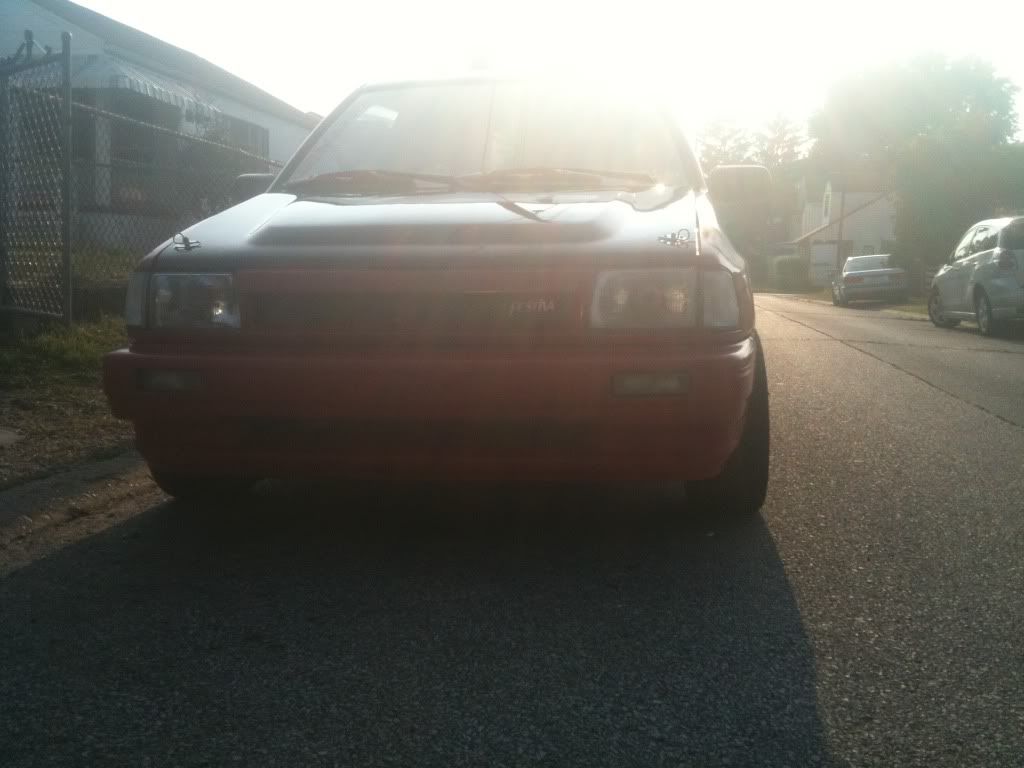
    Tinted the drivers side rear window. 2 down & the hatch to go Saved the hardest for the last since I never applied tint b4. Side windows turned out nice but a little worried on the hatch from horror stories of creases. Anyone got any tips?
    Last edited by SuperDaveGulvak; 08-07-2011, 03:43 PM.

    Leave a comment:


  • 200KGPGTP
    replied
    Did you do the front bearing/rotor yourself?

    Leave a comment:


  • drddan
    replied
    Put on lower control arms and tie-pod ends. Noticed they were bad when changing the rotors 2 weeks ago, but money only goes so far, so I had to wait til I got more of it. lol

    So, in the past 2 weeks......
    -new front wheel bearings(Timken)
    -new rotors
    -new calipers
    -new brake pads
    -new lower control arms
    -new tie-rods
    -new cv boots and re-packed cv joints
    -DIY alignment, runs straight and true

    now...its time to look at the rear brakes/suspension
    Last edited by drddan; 08-07-2011, 12:58 PM.

    Leave a comment:


  • kartracer46
    replied
    added a new Festiva to the fleet. my wife said if I found an auto she would drive it. so be it, there is now a green 93GL auto car here now. the old suburban will soon be retired due to gas consumption and near $4 per gallon to fill up.

    Leave a comment:


  • boydg1
    replied
    .... Why don't you do that, I for one, I think, would appreciate seeing it!!
    .

    Originally posted by 200KGPGTP View Post
    I really aught to take a video of my paper route and all my trooper festy endures day in and day out.

    Anyone interested?

    Leave a comment:


  • chrisofna
    replied
    Pulled my turbo off to check if oil is coming out of my exhaust ports.

    Leave a comment:


  • 200KGPGTP
    replied
    I really aught to take a video of my paper route and all my trooper festy endures day in and day out.

    Anyone interested?

    Leave a comment:


  • ENEMY_
    replied
    Raced!

    Leave a comment:


  • Flyin4stroke
    replied
    Installed a pillar gauge pod. Still haven't fixed my tach so it remains. This isn't finished product this was in test fitting stage. But you get the point.

    Leave a comment:


  • rollertoaster
    replied
    Finally finished the aspire swap but I'm having an issue with the right brake caliper binding up. I replaced the caliper and it is still doing it, I suspect the caliper mounting ears on the knuckle may be bent. Also properly torqued all the wheel bearings and greased my poly torsion beam bushings.


    ---
    - Sent from my iPhone using Tapatalk

    Leave a comment:


  • FeistyFesti
    replied
    You're right Gomez, I need an inline fuse on the battery + to number 30 on the relay wire, I just didn't have one on hand but will do so this weekend when I move my battery to the passengers side behind the headlight.

    Leave a comment:


  • Gomez
    replied
    Originally posted by FeistyFesti View Post
    I got a request to explain how to do the manual fan switch so here it is. Hope it is okay in this section.

    Materials: 30-40amp relay, 14-16 gauge female connectors, 14-16 gauge eyelets, shrink tubing, 14 gauge wire (5-7 feet?), and about 2 feet of 10 gauge wire, solder, and Harbor Freight torch( $9)


    Here is the schematic for wiring:


    The only bad thing about this way of wiring is, if you forget to turn off switch, the fan will continue running and kill your battery. It was so hot I did not feel like hunting down a 12 volt key on wire, but I'll do it in the near future.

    In this picture, the lime green square is the relay with a convenient threaded hole to mount it to fender.

    The dark green circle is the 14 gauge wire that goes to the ground on the battery and
    also number 86 on the relay.

    The light purple circle is the 10 gauge wire that goes from battery positive to number 30 on relay.

    The orange circle is the wire that goes into the cabin to one side of the switch and the number 85 on the relay. The other side of the switch is battery positive that goes into the cabin also. This circuit allows the relay to energize.


    In this picture, the lime green circle is the ground wire to the factory fan connector. I mounted it under the radiator hold down and the female connector to the connector.

    The red circle is the factory fan connector.

    The yellow circle is the 10 gauge wire that goes from number 87 to the blue positive side of the factory fan connector.


    This is how the switch looks inside the cabin.


    This is a grommet that you can run the wires to the switch into the engine bay, it comes out under the master cylinder.


    Hope this helps, if you need more explanations feel free to ask.
    Sorry to post days after but for your cars and your sake where is your fuse for the relay at minimum and possibly the fuse for the switch coming through the firewall.

    Leave a comment:


  • ENEMY_
    replied
    Way to low!

    Leave a comment:

Working...
X